

Making homemade clay is another great chance to interact with the natural world around us and help us get to know our surroundings even better. It doesn’t require any special equipment and even a general knowledge can produce a good quality clay for endless hours of fun. I love clay as an off-season activity, especially as the forest floor lies barren any hike can become a scouting mission. Clay also comes with the added benefit of adding another potentially fermented skill to your fermentation-arsenal, through it’s bacterial breakdown during aging.
Finding Clay
Clay is possible to find in many regions. The best places to look are areas where there is running water such as a stream, creek, or a river. Running water washes away the less dense soil particles revealing the strong water-holding layer of clay. It can be a lot of different colors such as grey, white, orange, and red, and has a slick, plastic-y appearance when wet. When it is bone dry, it’s noticeable by its cracking.
In addition to running water, construction cuttings into the earth, such as roadwork and building foundations are also great places to hunt for clay.
When you find an area that may contain usable amounts of clay, test it first by taking a handful and kneading it in your hand. Add water if necessary and test its malleability. The properties of clay will vary from location to location. If you can roll it into a coil and bend it into a ring then you have found yourself some good quality clay to work with. My favorite places with the best success have been hillsides with deep creeks cutting through them. Often the clay is easily visible just by looking at the stratification of the soil layers.

Harvesting
In all cases when harvesting from nature its essential to be mindful and respectful to the place were taking from. Take only what you need and be thoughtful to not influence unnecessary destruction. The great thing about making your own clay is how easily it will return to back to the earth.
Fill up your container, whether a bag or bucket. Any “debris” such as sticks and rocks and such we will filter out later, no worries if there’s stuff in it. It may be dry or wet, either way is fine. A stick, rock, trowel, or your own paws should be sufficient to dig with.

Processing
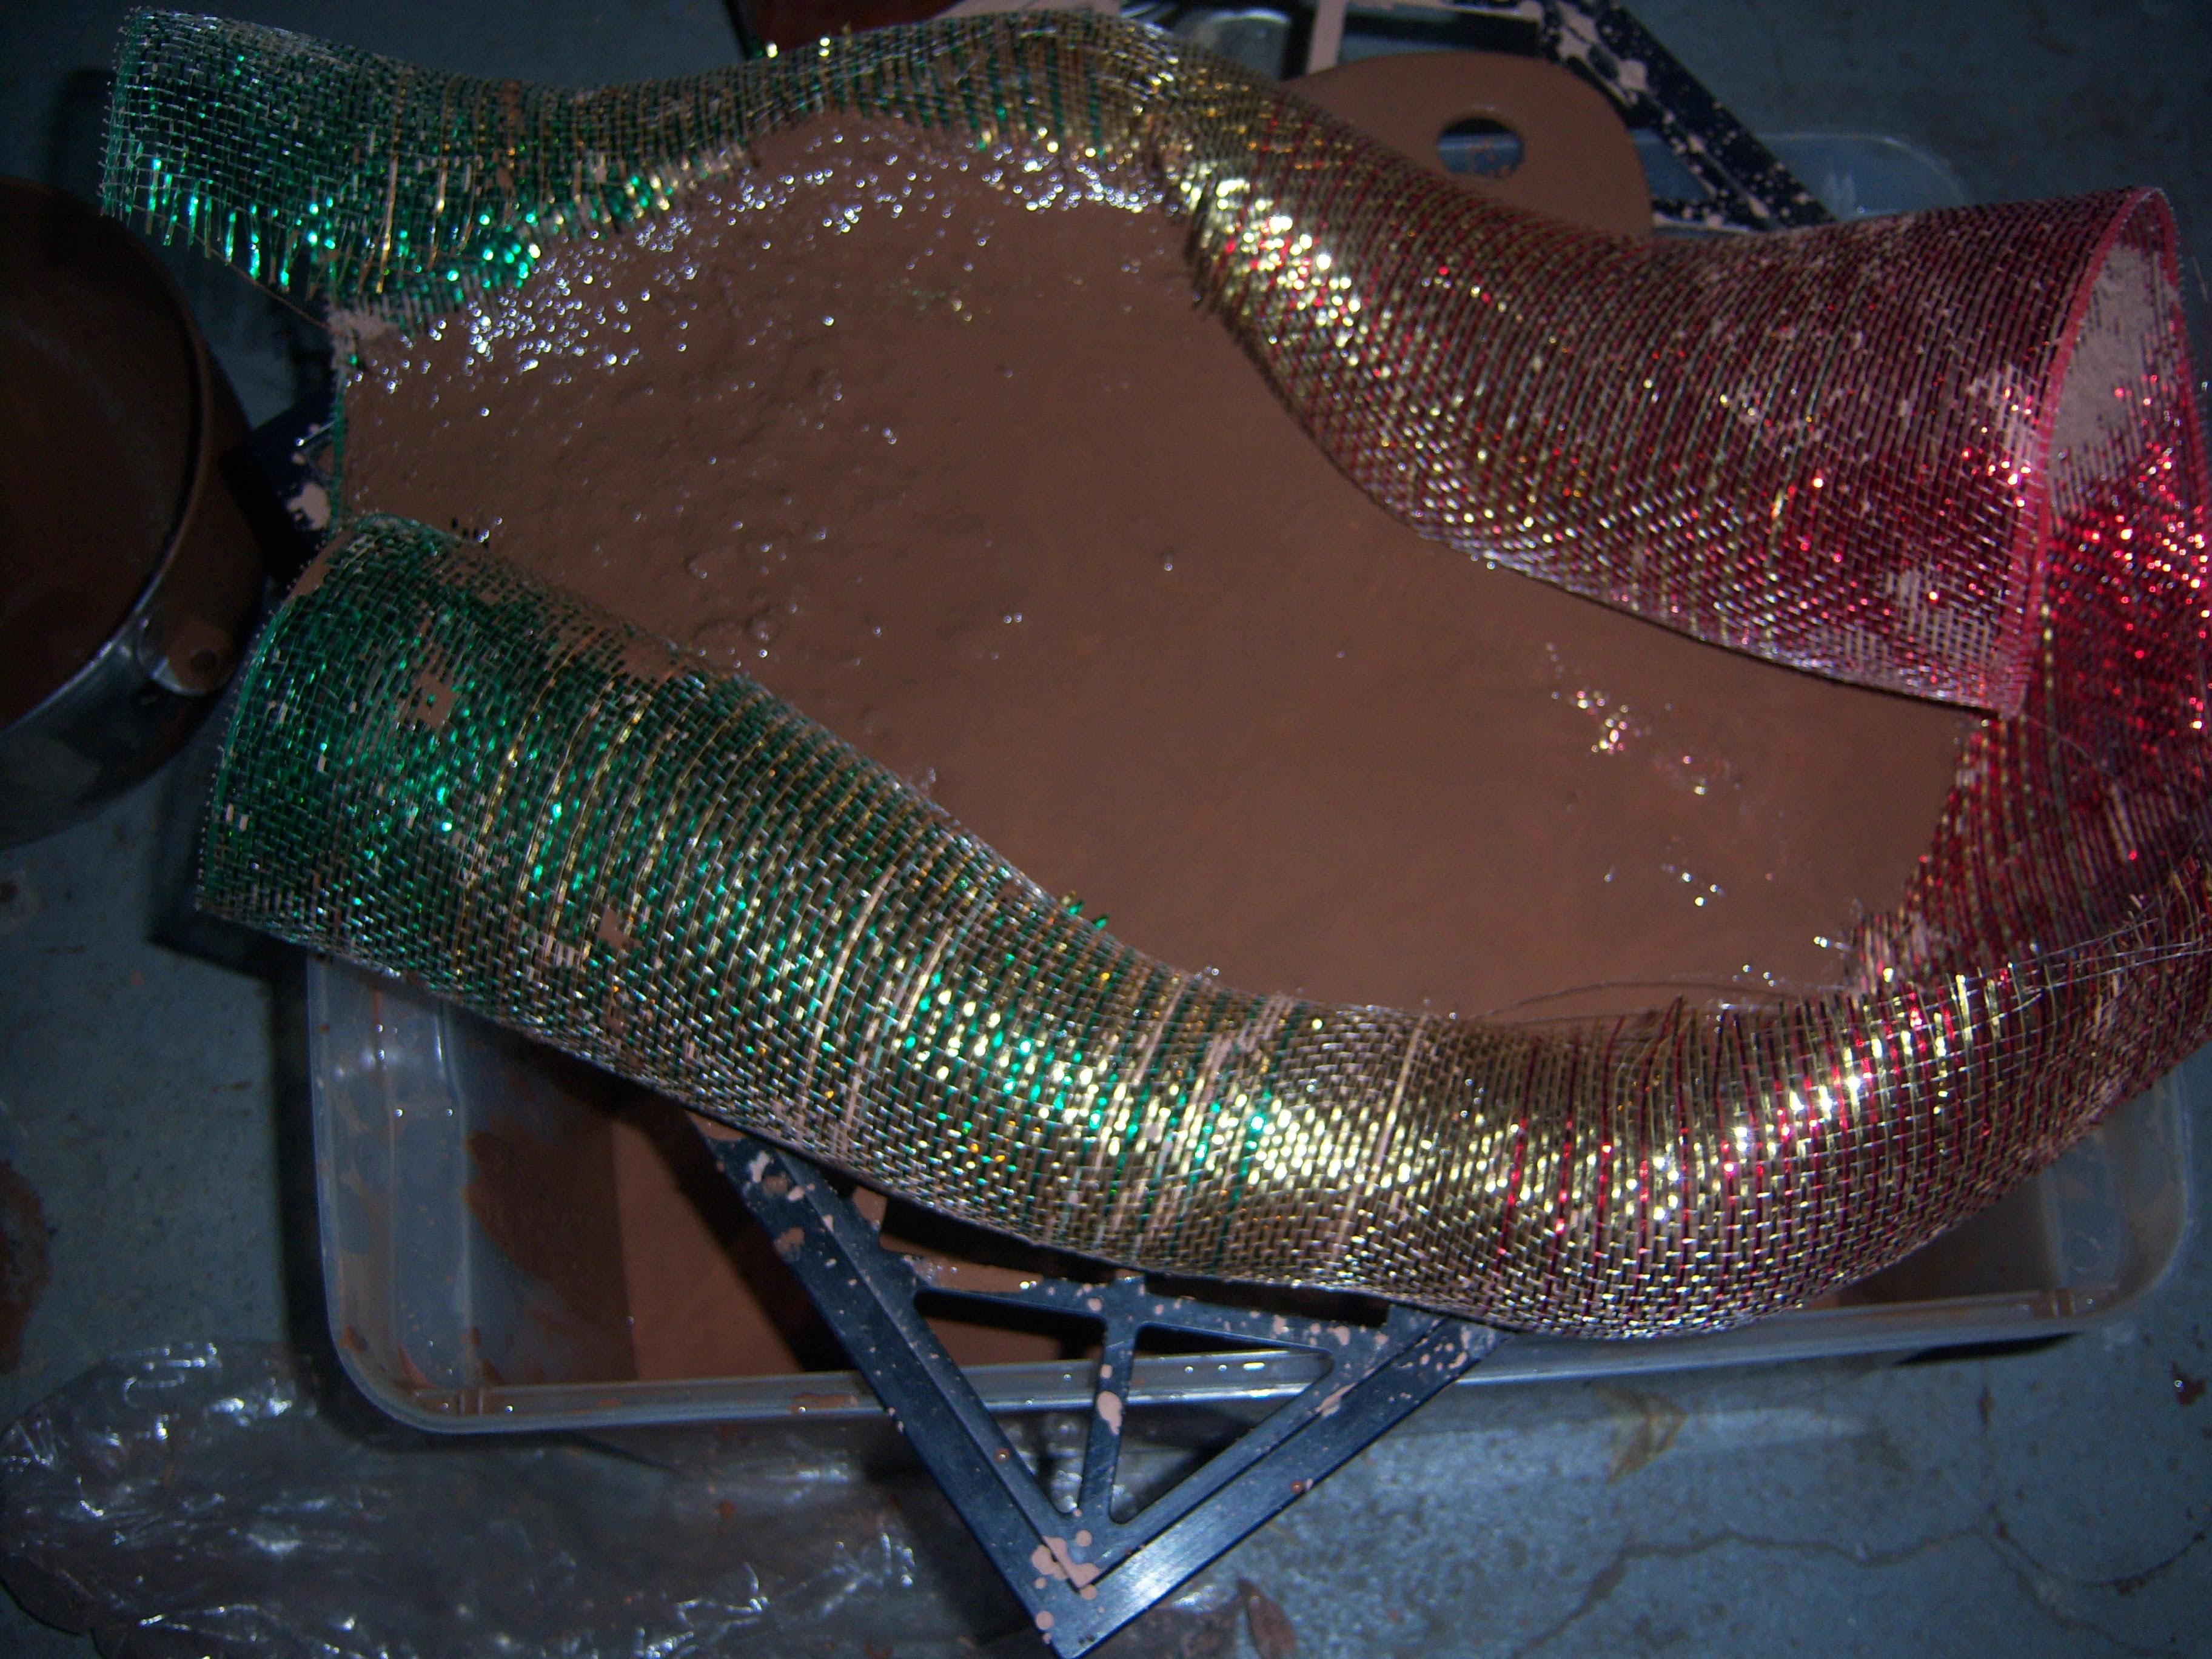
Unload your collected clay into a large container, at least twice the size of your amount of clay. Add enough water to the container to achieve a loose slurry, it should look like chocolate milk, maybe with sticks and leaves in it. Stir it up well. If there are chunks holding together, break them up with your hands. Let rest overnight to give the water a chance to really soak in.
When you return to the slurry, check to make sure all the chunks are broken up and all the clay is dissolved into the water. Give it another good stir. When the clay is fully dissolved into the slurry you are ready for straining.
Prepare your straining apparatus. We are not necessarily looking for a tight sieve, some netting will do fine. While we want to remove any stones and forest debris, we still want some variable sized particles, just not anything noticeably big. Sand and larger (relative to clay) particles known as grog actually provide strength to clay, and helps prevent cracking and warping by influencing a more even dry. I have strained through a kitchen sieve, a dehydrator tray, and a whole variety of fabric, plastic, and metal mesh. Give the clay a good stir to loosen up anything sunk to the bottom then pour over the sieve.
Finishing
At this point you should have some clean clay slurry and all we have left to do is dry off the water. Depending on the amount of excess water you may be able to skim some off the top as the clay settles down. Check for clear water on the surface.
You can blow a fan indoors or place the clay outside in the sun. In either case be mindful of surface drying and stir the clay periodically as needed to keep it working uniformly. Keep an eye on it and over the course of a few days you should see it thickening up. Watch it and play with it until you have reached a good workable consistency. Consider erring on the side of “wetter” as it’s easier to remove moisture than to add it back, but both are still possible.
Aging & Fermentation
The longer that clay is aged for the more potential it has to be broken down into finer particles that can be made into finer ceramics. Aging clay in an environment where it won’t lose moisture- such as in a plastic bag or a lidded bucket, allows the slow penetration of water in the clay particles that makes them smaller in size, and thus increases the clay’s plasticity.
During the aging of clay it can also sour. This is when bacteria present in the clay continue to decompose it. Through the process, amino acids are released which bond particles to further increase its plasticity. As the bacteria works the acidity also increases which brings particles closer together and forms a colloidal gel, which creates a very strong lattice giving the clay favorable strength. A rotten or moldy clay is prized for these reasons inspiring people to add all sorts of things like beer, vinegar, and milk to their clays. A rott-y clay can be used as a “starter” to inoculate new batches. I inoculated my clay with bacillus subtilus, a bacteria used to make the fermented food natto, but is also occurs naturally in the soil. I mixed it into the slurry during the “drying” phase, right after “sieving”, to experiment with this breaking down. And how’d it go? Who knows, but it’s about a year later and regardless the clay feels great!

This recipe was featured in our monthly newsletter. Subscribe to receive seasonal recipes, techniques, history, gardening tips, and science, as well as information on Pgh area fermentation events:
