

Growing grains has become a bit of an obsession, however with the more fashionable challenges of chasing high gluten in wheat, rye fell to the backburner for a while. Reestablishing a connection with the simplicity of making super delicious 100% rye loaves has reignited a fervor for the grain. This bread is super low maintenance with excellent results.
Growing rye is very similar to growing wheat and this primer can be used. Rye tends to be the first of our winter grains to be ready for harvest.
Sponge
- 125 g starter
- 280 rye flour
- 280 water
Final Mix
- All of sponge
- 100g seeds: sunflower, flax, pepitas, sesame, etc (optional/ amount is variable)
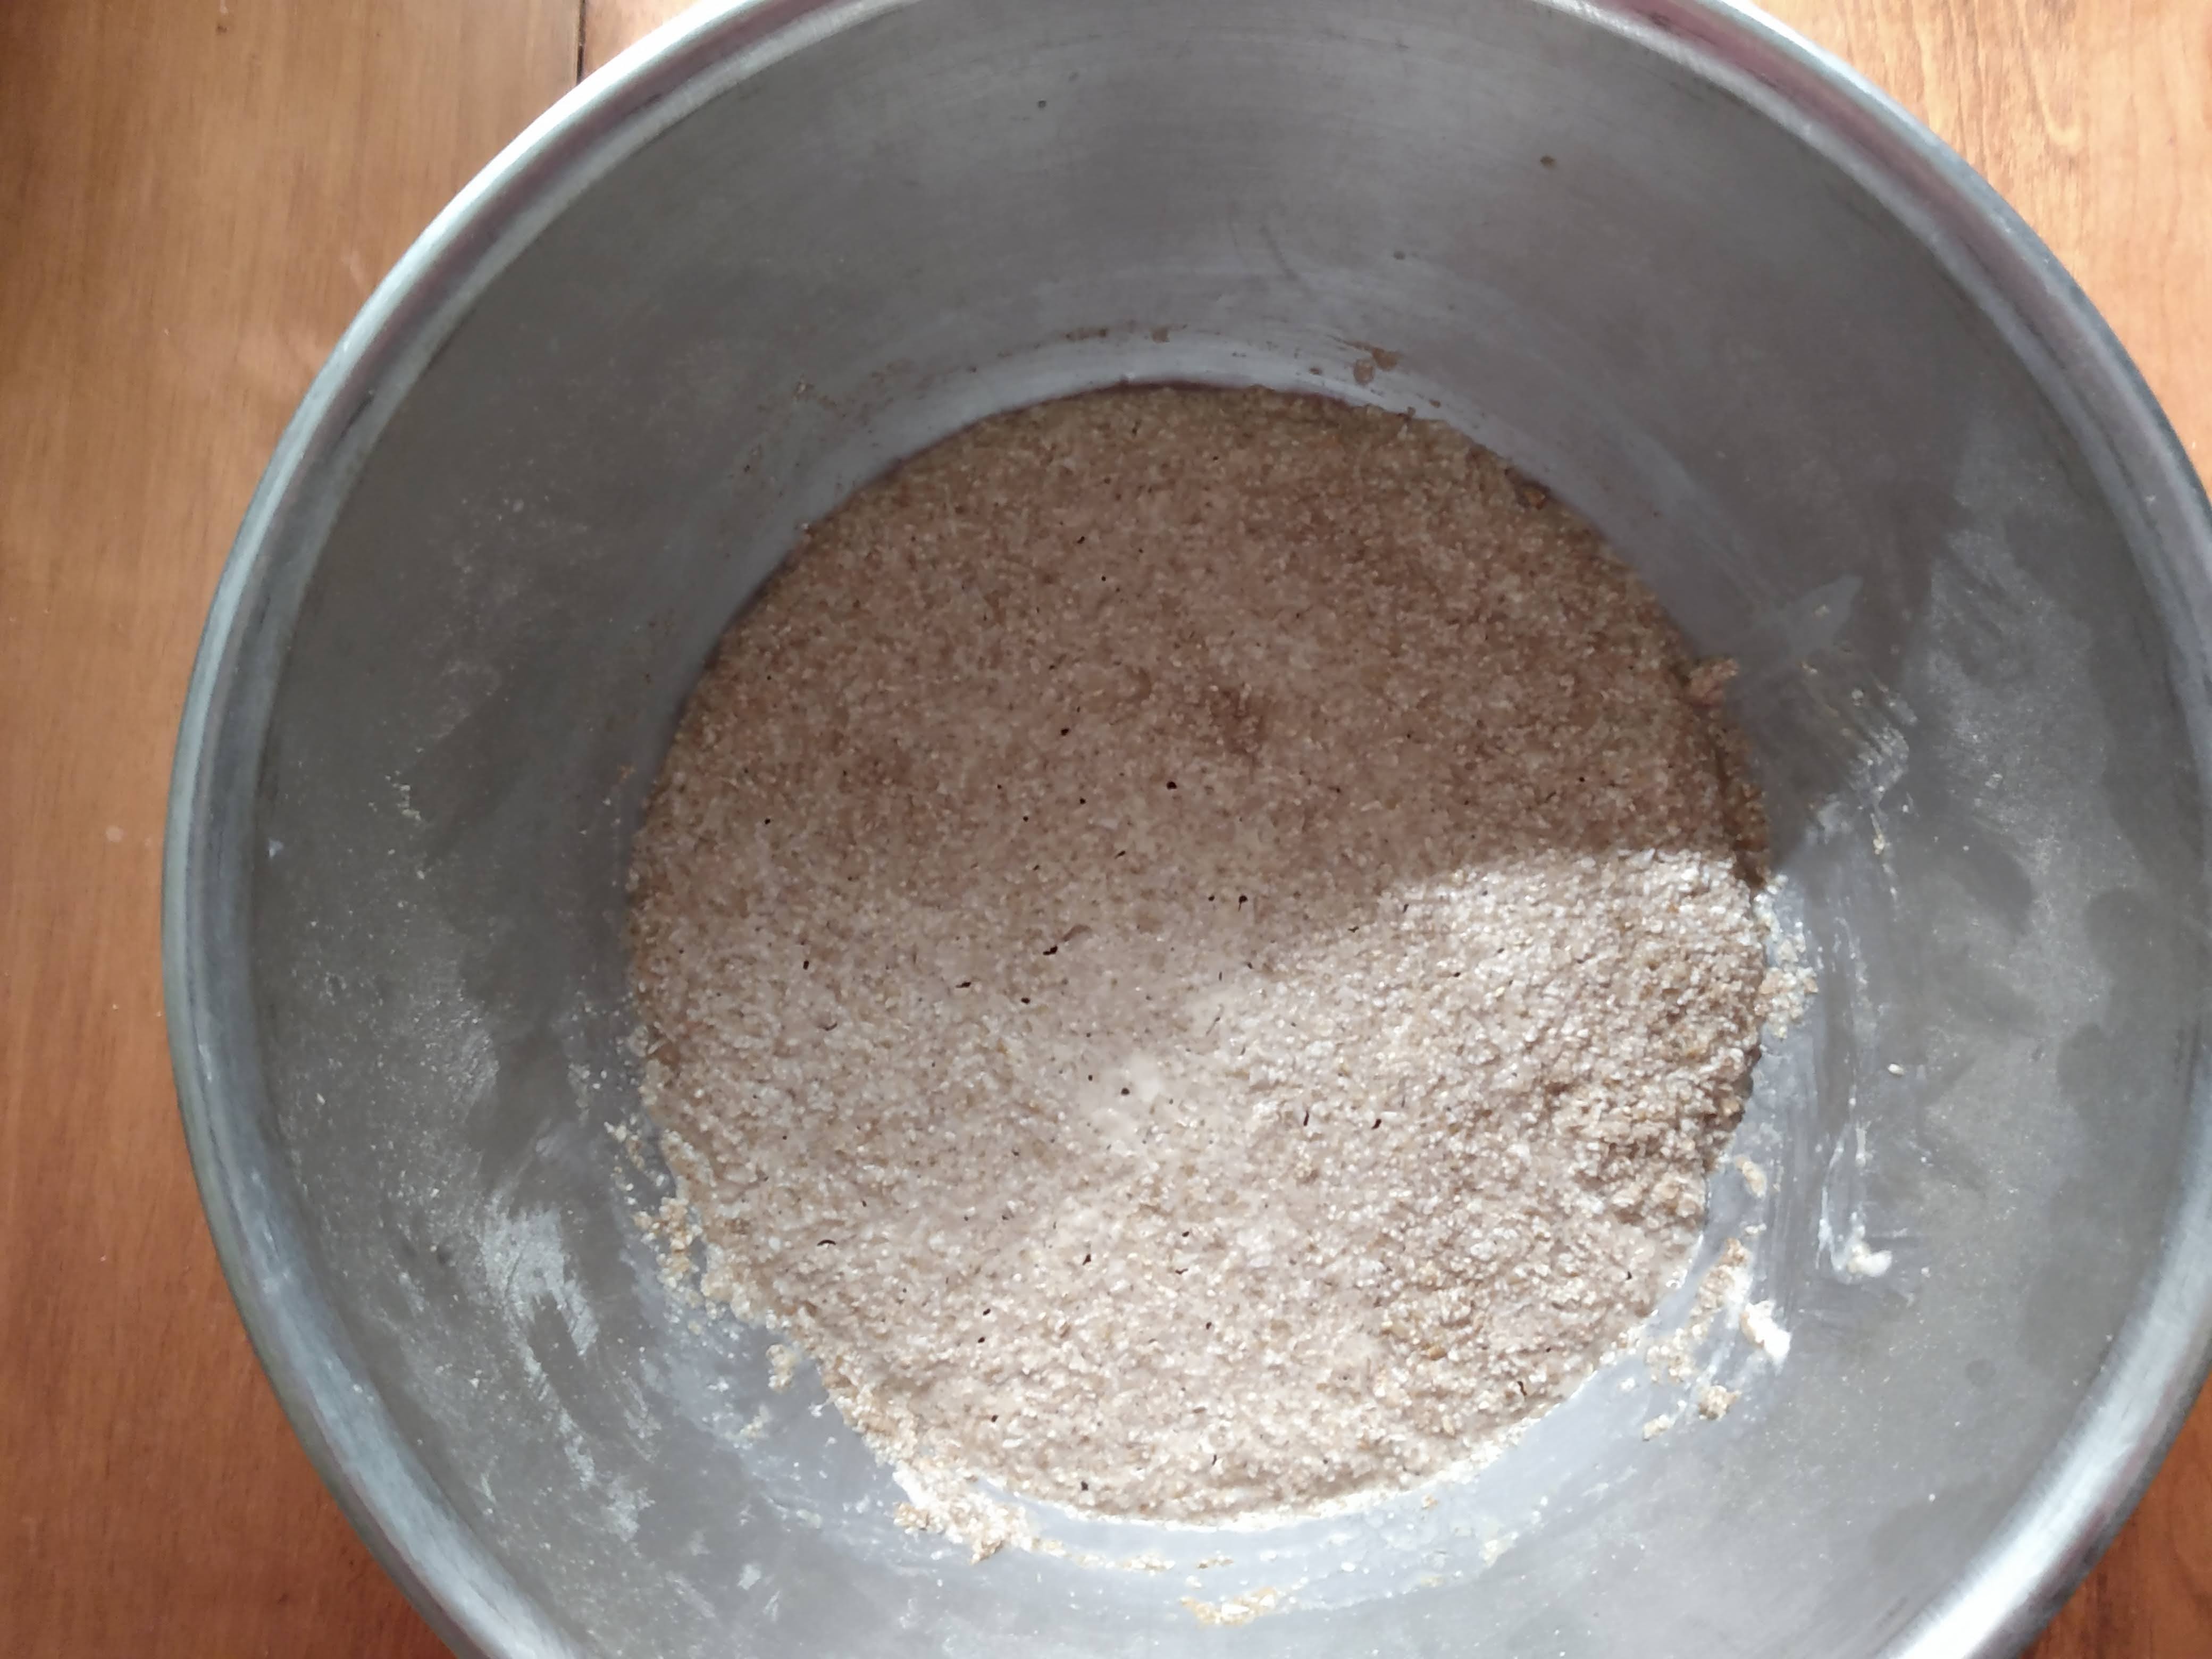
- 50g coarse rye (if possible, otherwise make up for it in rye flour)
- 230 rye flour
- 280 water
- 15 salt
Mix the sponge ingredients the night before, we’re aiming for it to rest 12 or so hours. The reason being that rye bread is unique in that it contains high amounts of amylase enzymes, and left to their own device these enzymes will consume too much starches in the dough and cause the end product to be gummy. The way to avoid this is to create an environment unsuitable to their activity, thus we make an extended fermented sponge to boost the overall acidity.
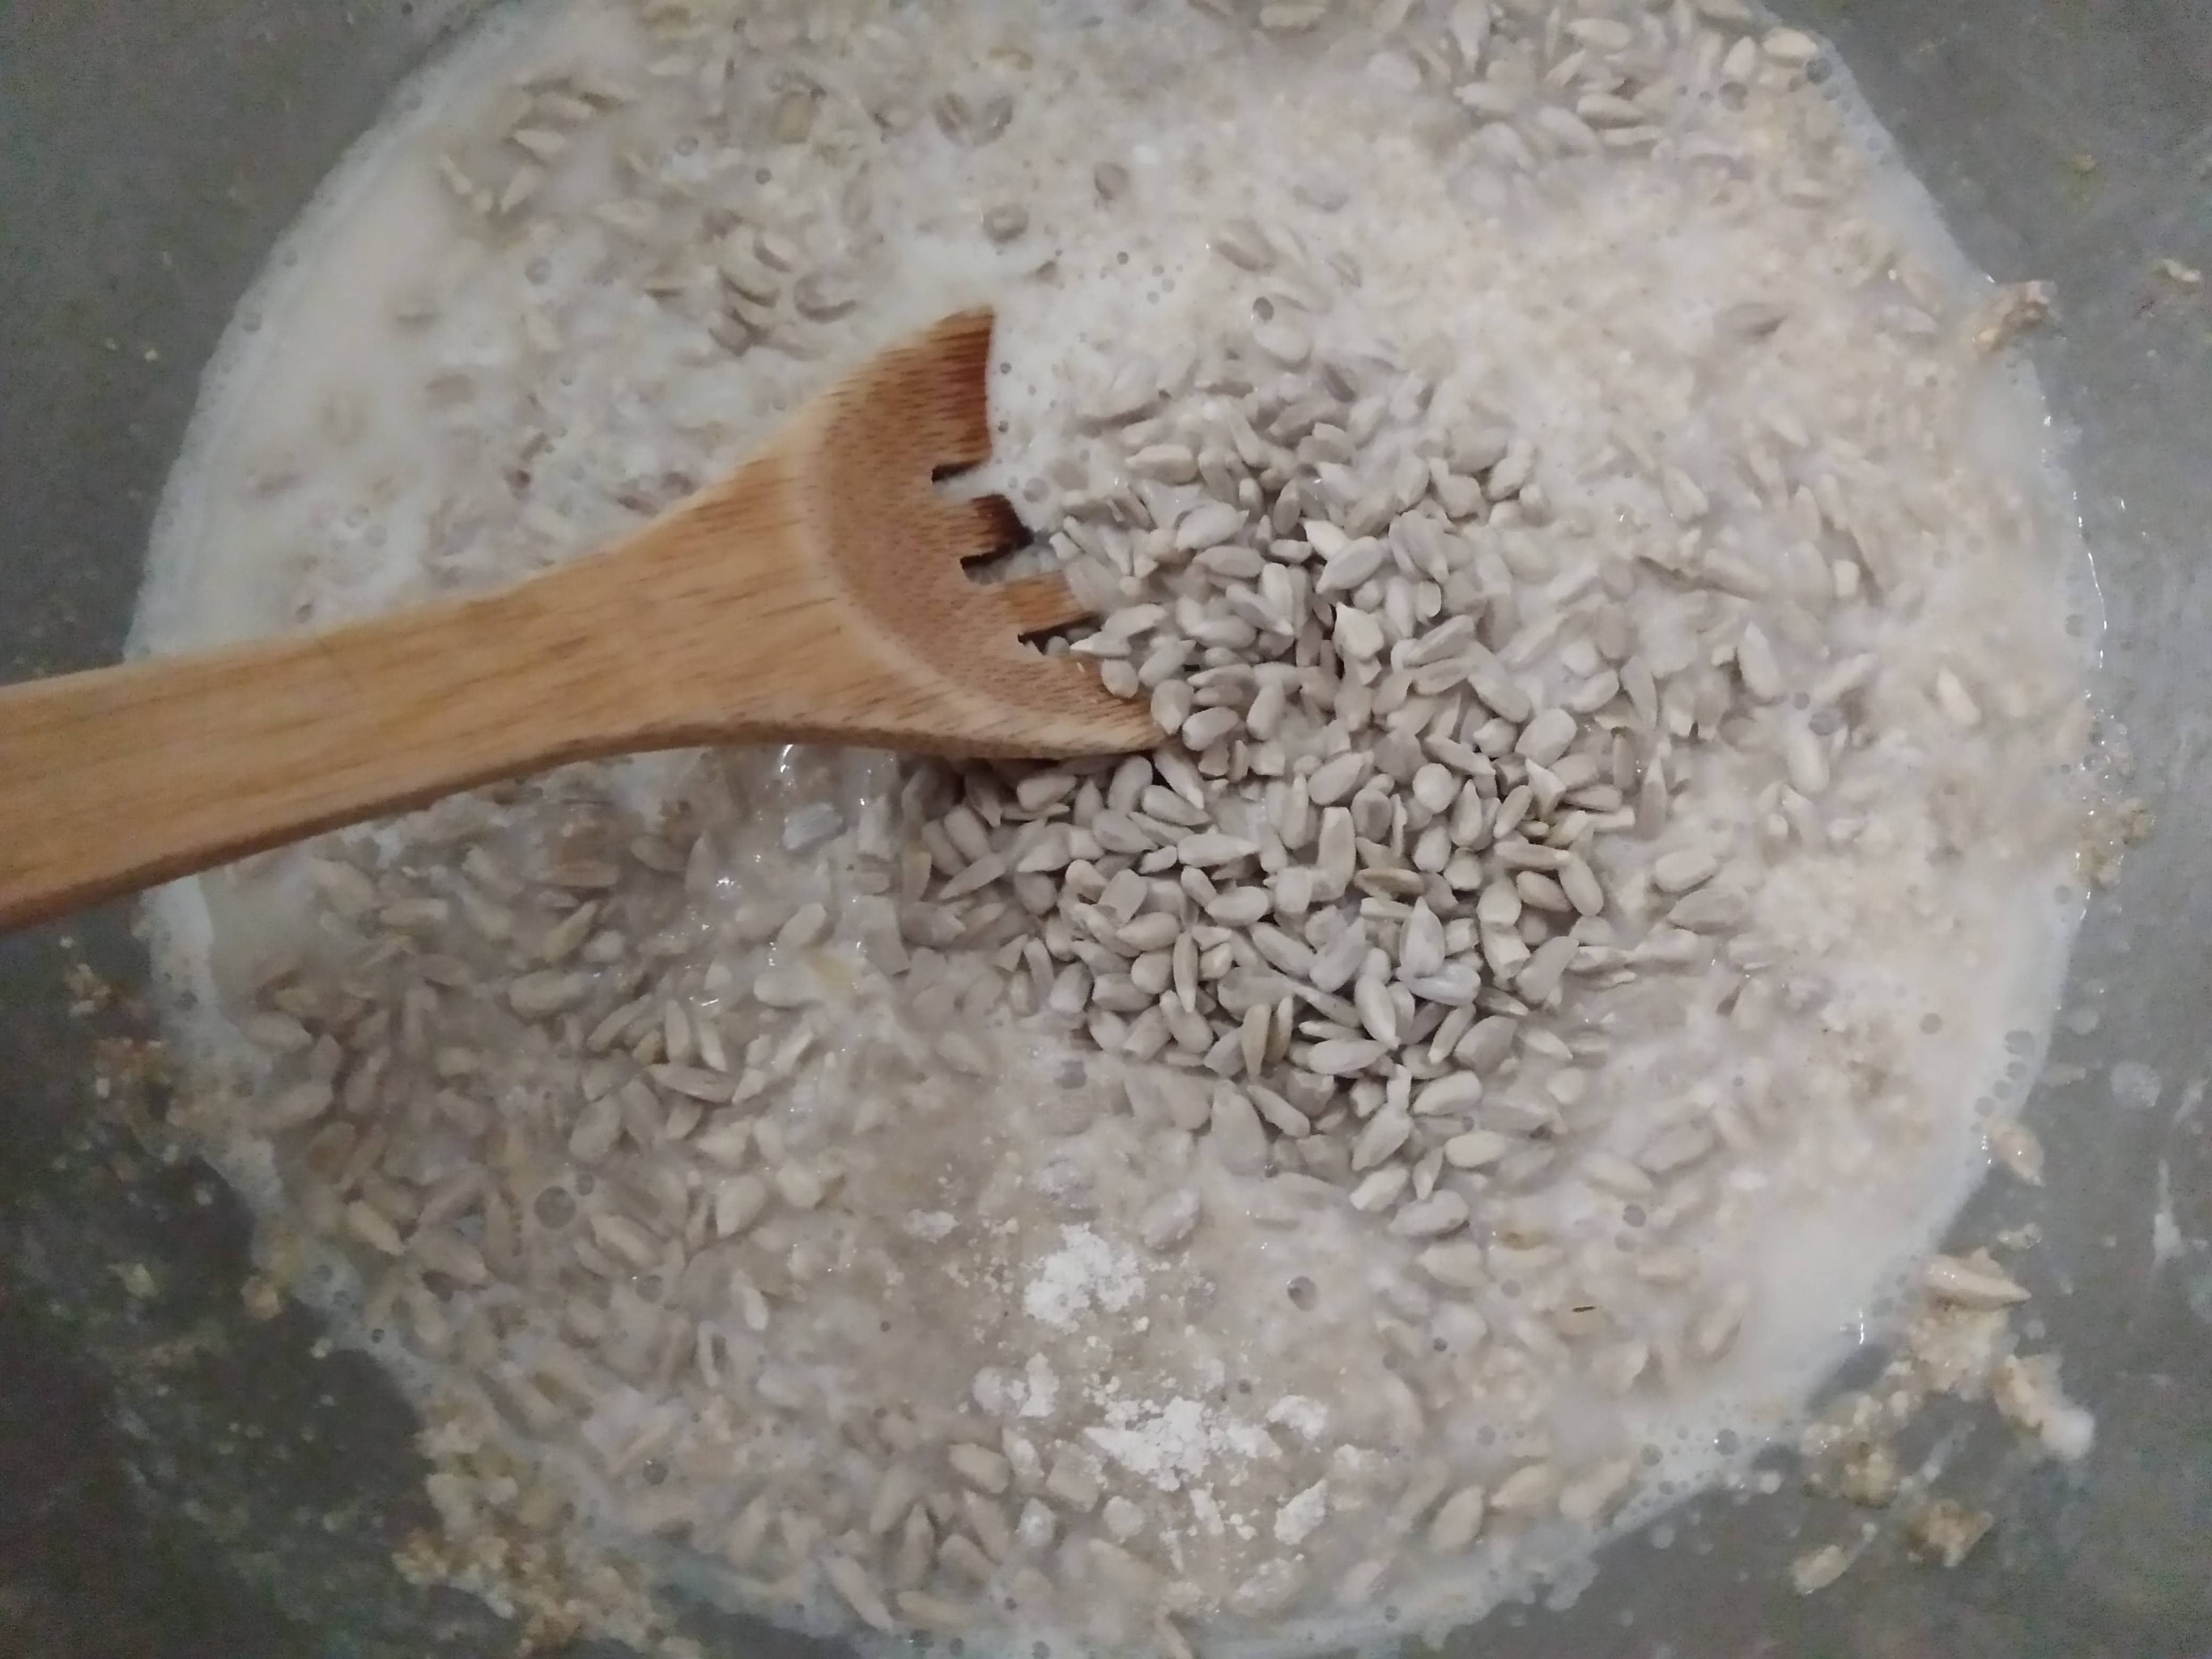
When the sponge has done its thing, mix all the remaining ingredients together. Note that the seed situation is entirely based on preference. I find that 100g of sunflower seeds suits my desires. We have our own grown pepitas, flax, and sesame but usually save them for other occasions.
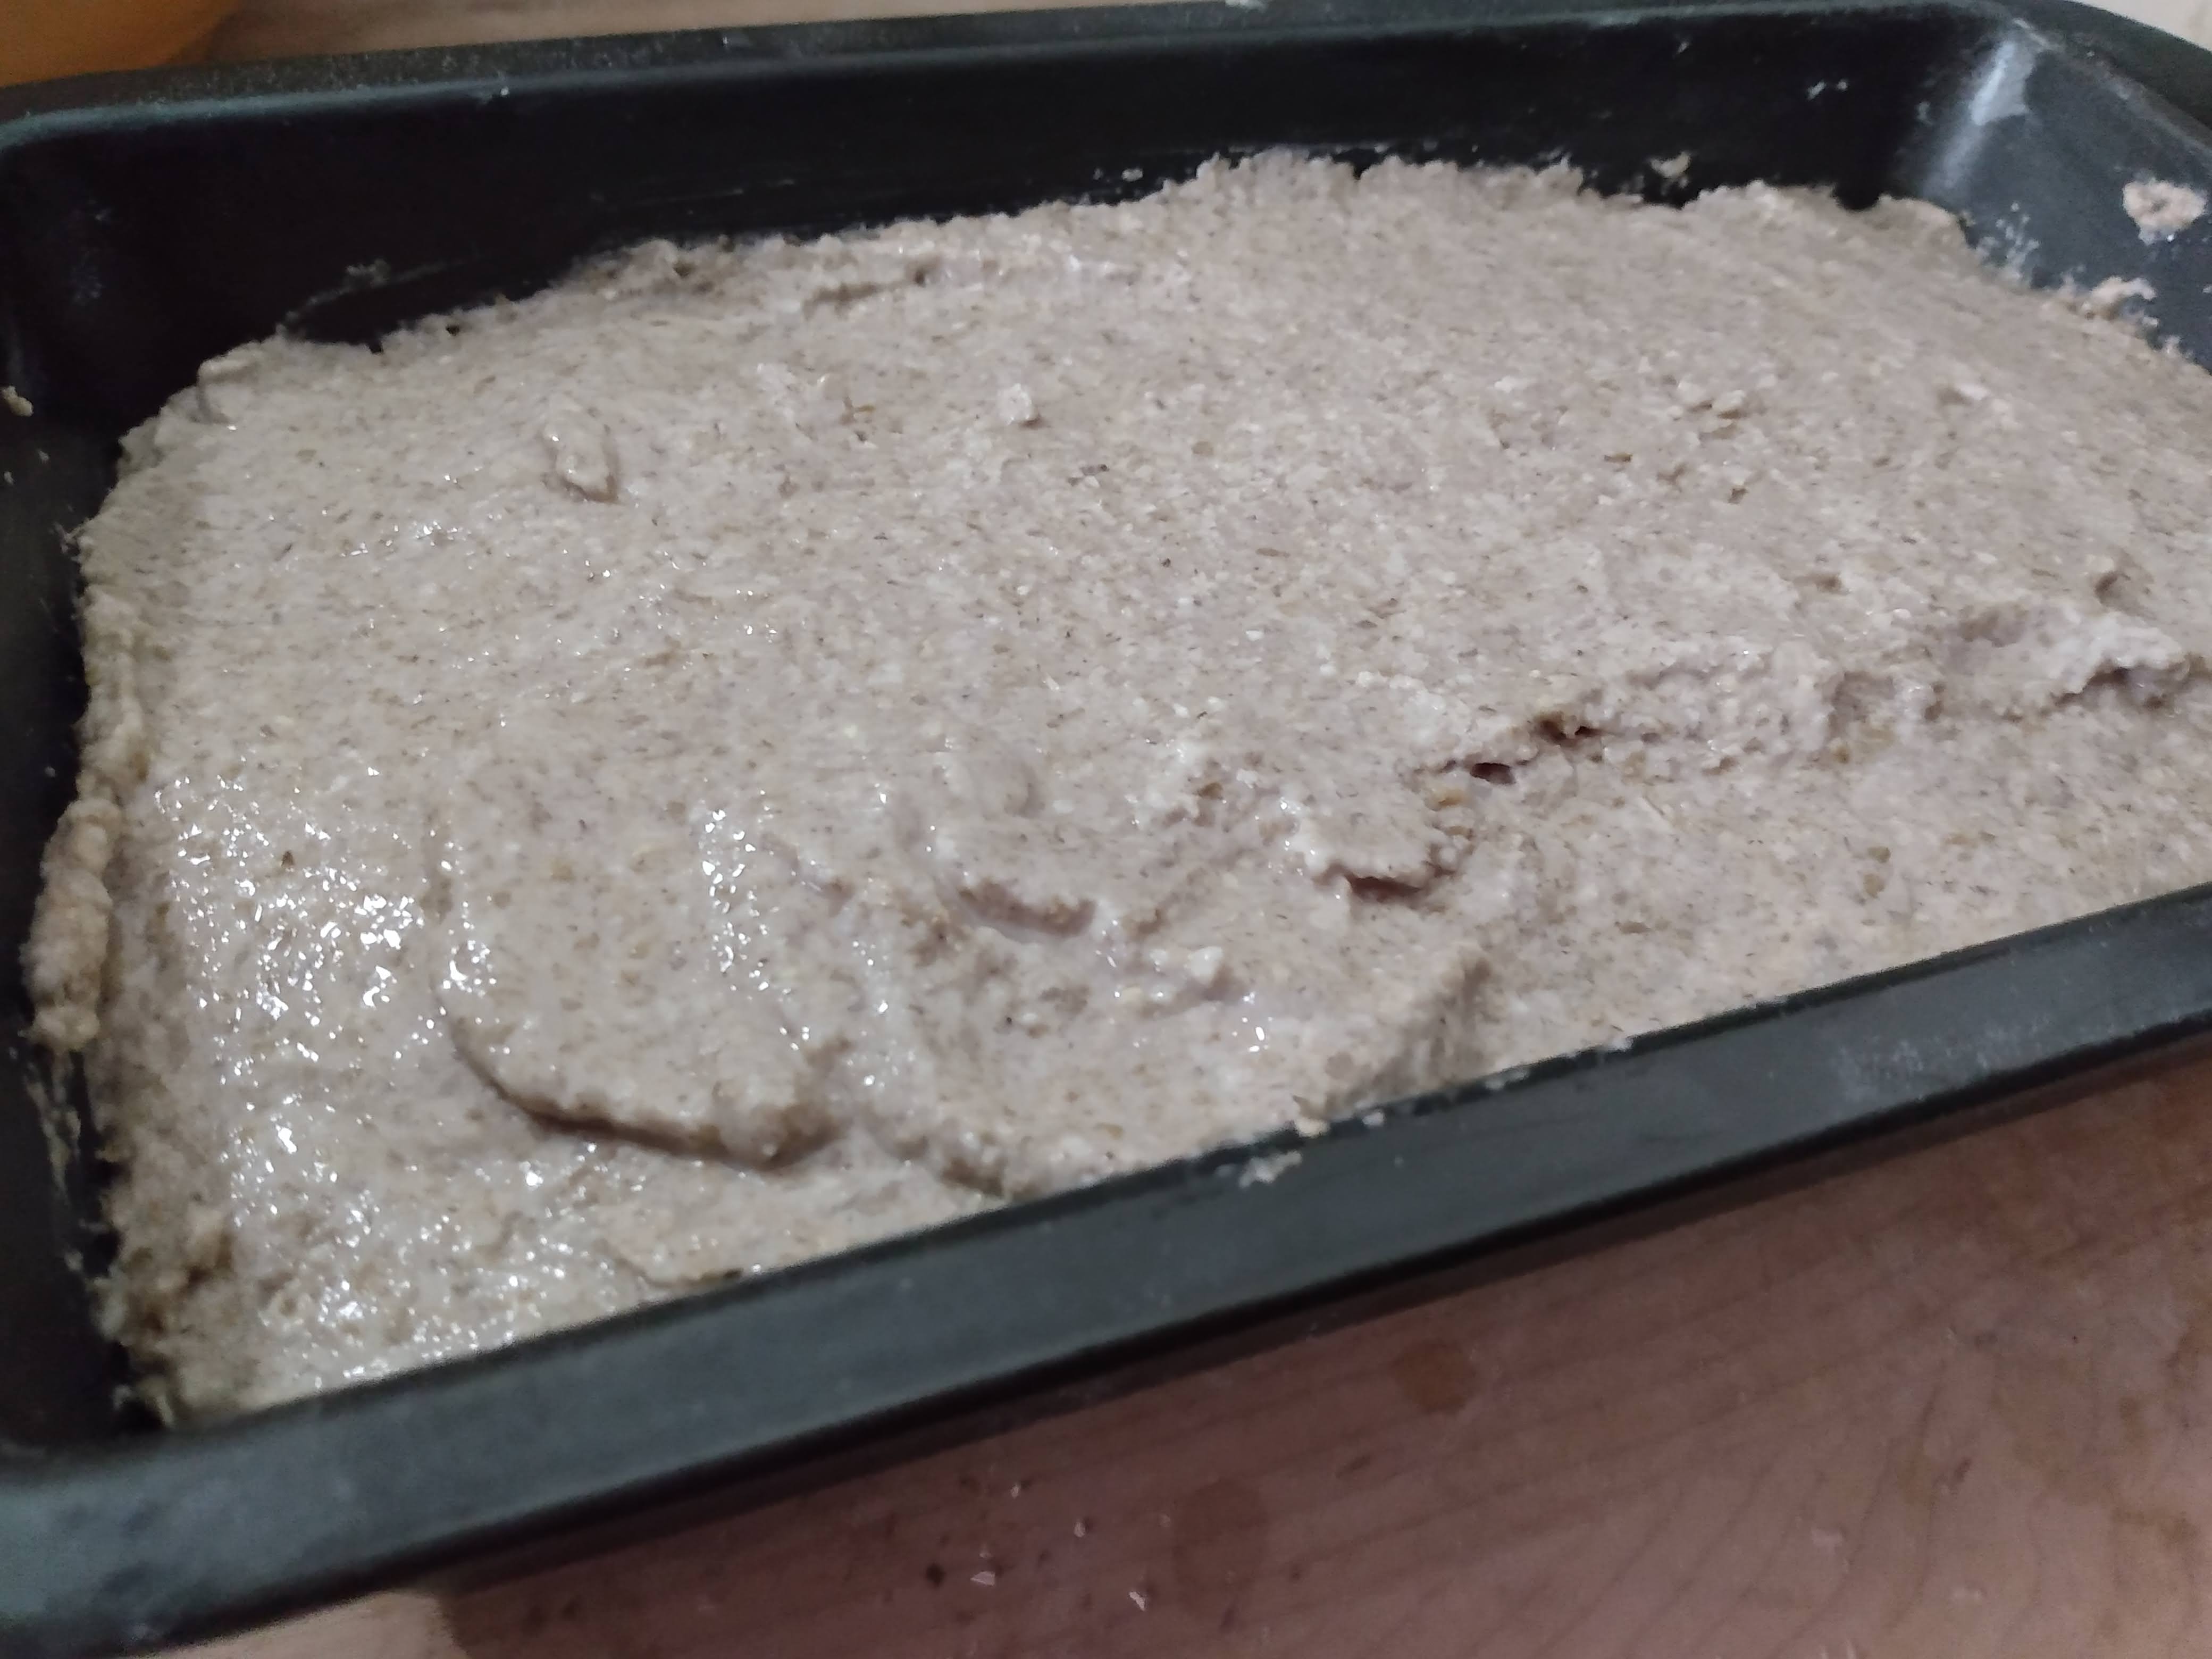
The dough should be sticky but won’t quite hold together, it’ll be more like a batter because of rye is naturally low gluten. Grease a common 8″x4″x3″ loaf pan with oil or butter and transfer the batter to the pan using a spatula to push out any air pockets and making it even. Dip the spoon in water to smooth out the top.
Using a second loaf pan of the same size, flip it upside down and lay on top to make a nice dome for final proofing. The dough is ready for the oven when cracks and holes appear on the surface. The time will be reflective of the temperature. It could be a hour or two, or over 12 hours. Depends.

When it looks ready, pop the loaf into an oven preheated to 450 degrees, including the loaf pan on top for humidity, and bake for 45 minutes. Remove the top pan for the final 10 minutes of baking time to get that final coloring on the top.

Remove the loaf from the baking pan and move to a cooling rack. Let it cool undisturbed for at least 12 hours. Then slice thinly and enjoy with anything!
