You can find frikah on the grocery store shelves, a modern day relative long severed from her ancient past as a non mechanized ingenuity. It seems today’s frikah is still a young grain that has been roasted or toasted, though its place as an mass ingredient in the store has replaced its magnificent standing as a unique process of transforming nature’s will into easy food.
A hull is a fairly inedible thin casing that can grow around each individual kernel of certain grains. Different grains can have varying degrees of hulls from ones that release the kernel easily to ones that hold it tightly. They have been known to help in the germination of the seed, but as far as for human food, they can be a challenge to remove from every dang kernel. Given that all of the unmodernized heritage wheats we grow at our farm come with firm hulls, it feels comfortable to speculate that hulless varieties may have come about through thousands of years of careful selection to evolve to the ones that give freely. The kernels from hulless varieties pop out without any extra effort in the threshing process.
Getting a hull off is a monumental task without machinery. While threshing can be as easy as stomping or whacking the seedhead, dehulling wheat seems to require either crushing the grain and winnowing away the hull or passing every grain through a narrow passage that sort of peels the hull off as it goes through (imagine passing it through a sort of pasta roller-type situation with an opening slight enough that it wicks the covering hull off without crushing the grain). Thinking about how much grain a person needs to eat to live, an efficient solution to dehulling is an important problem for the unlocking of nutrients to a community.
Ripening wheat passes through several stages to reach its harvestable place which are often called things like milky stage, soft dough, and hard dough- in that order. Soft dough usually has the best bread making qualities because the starches aren’t fully developed and the protein/ gluten potential is highest, while hard dough is a fully mature seed that is rich in starch and best prepared for future germination, or getting milled for doughs that use binders like eggs, etc. The milky stage, before the grain matures to soft dough, is full of a white goo that when a kernel is squeezed oozes out. As the kernel moves from milky to soft-dough is the perfect time to harvest for frikah- you’ll see why.
After harvesting at the early edge of soft-dough, the next step is to dip the grains in water and scorch the seedheads over an open fire. The fire will ideally burn away all the chaff, hull and other plant materials while the immature kernel is still green and holding enough water, hopefully, to repel the flame and be still standing in the end.
Then as the name indicates, frikah which means to rub, the burnt wheat is rubbed free and winnowed for a smokey green wheat kernel. Interestingly as well, the heat from the fire also halts any further enzymatic processes thus holding the contents of the kernels in this stage. The kernels can now be dried and stored for later use.
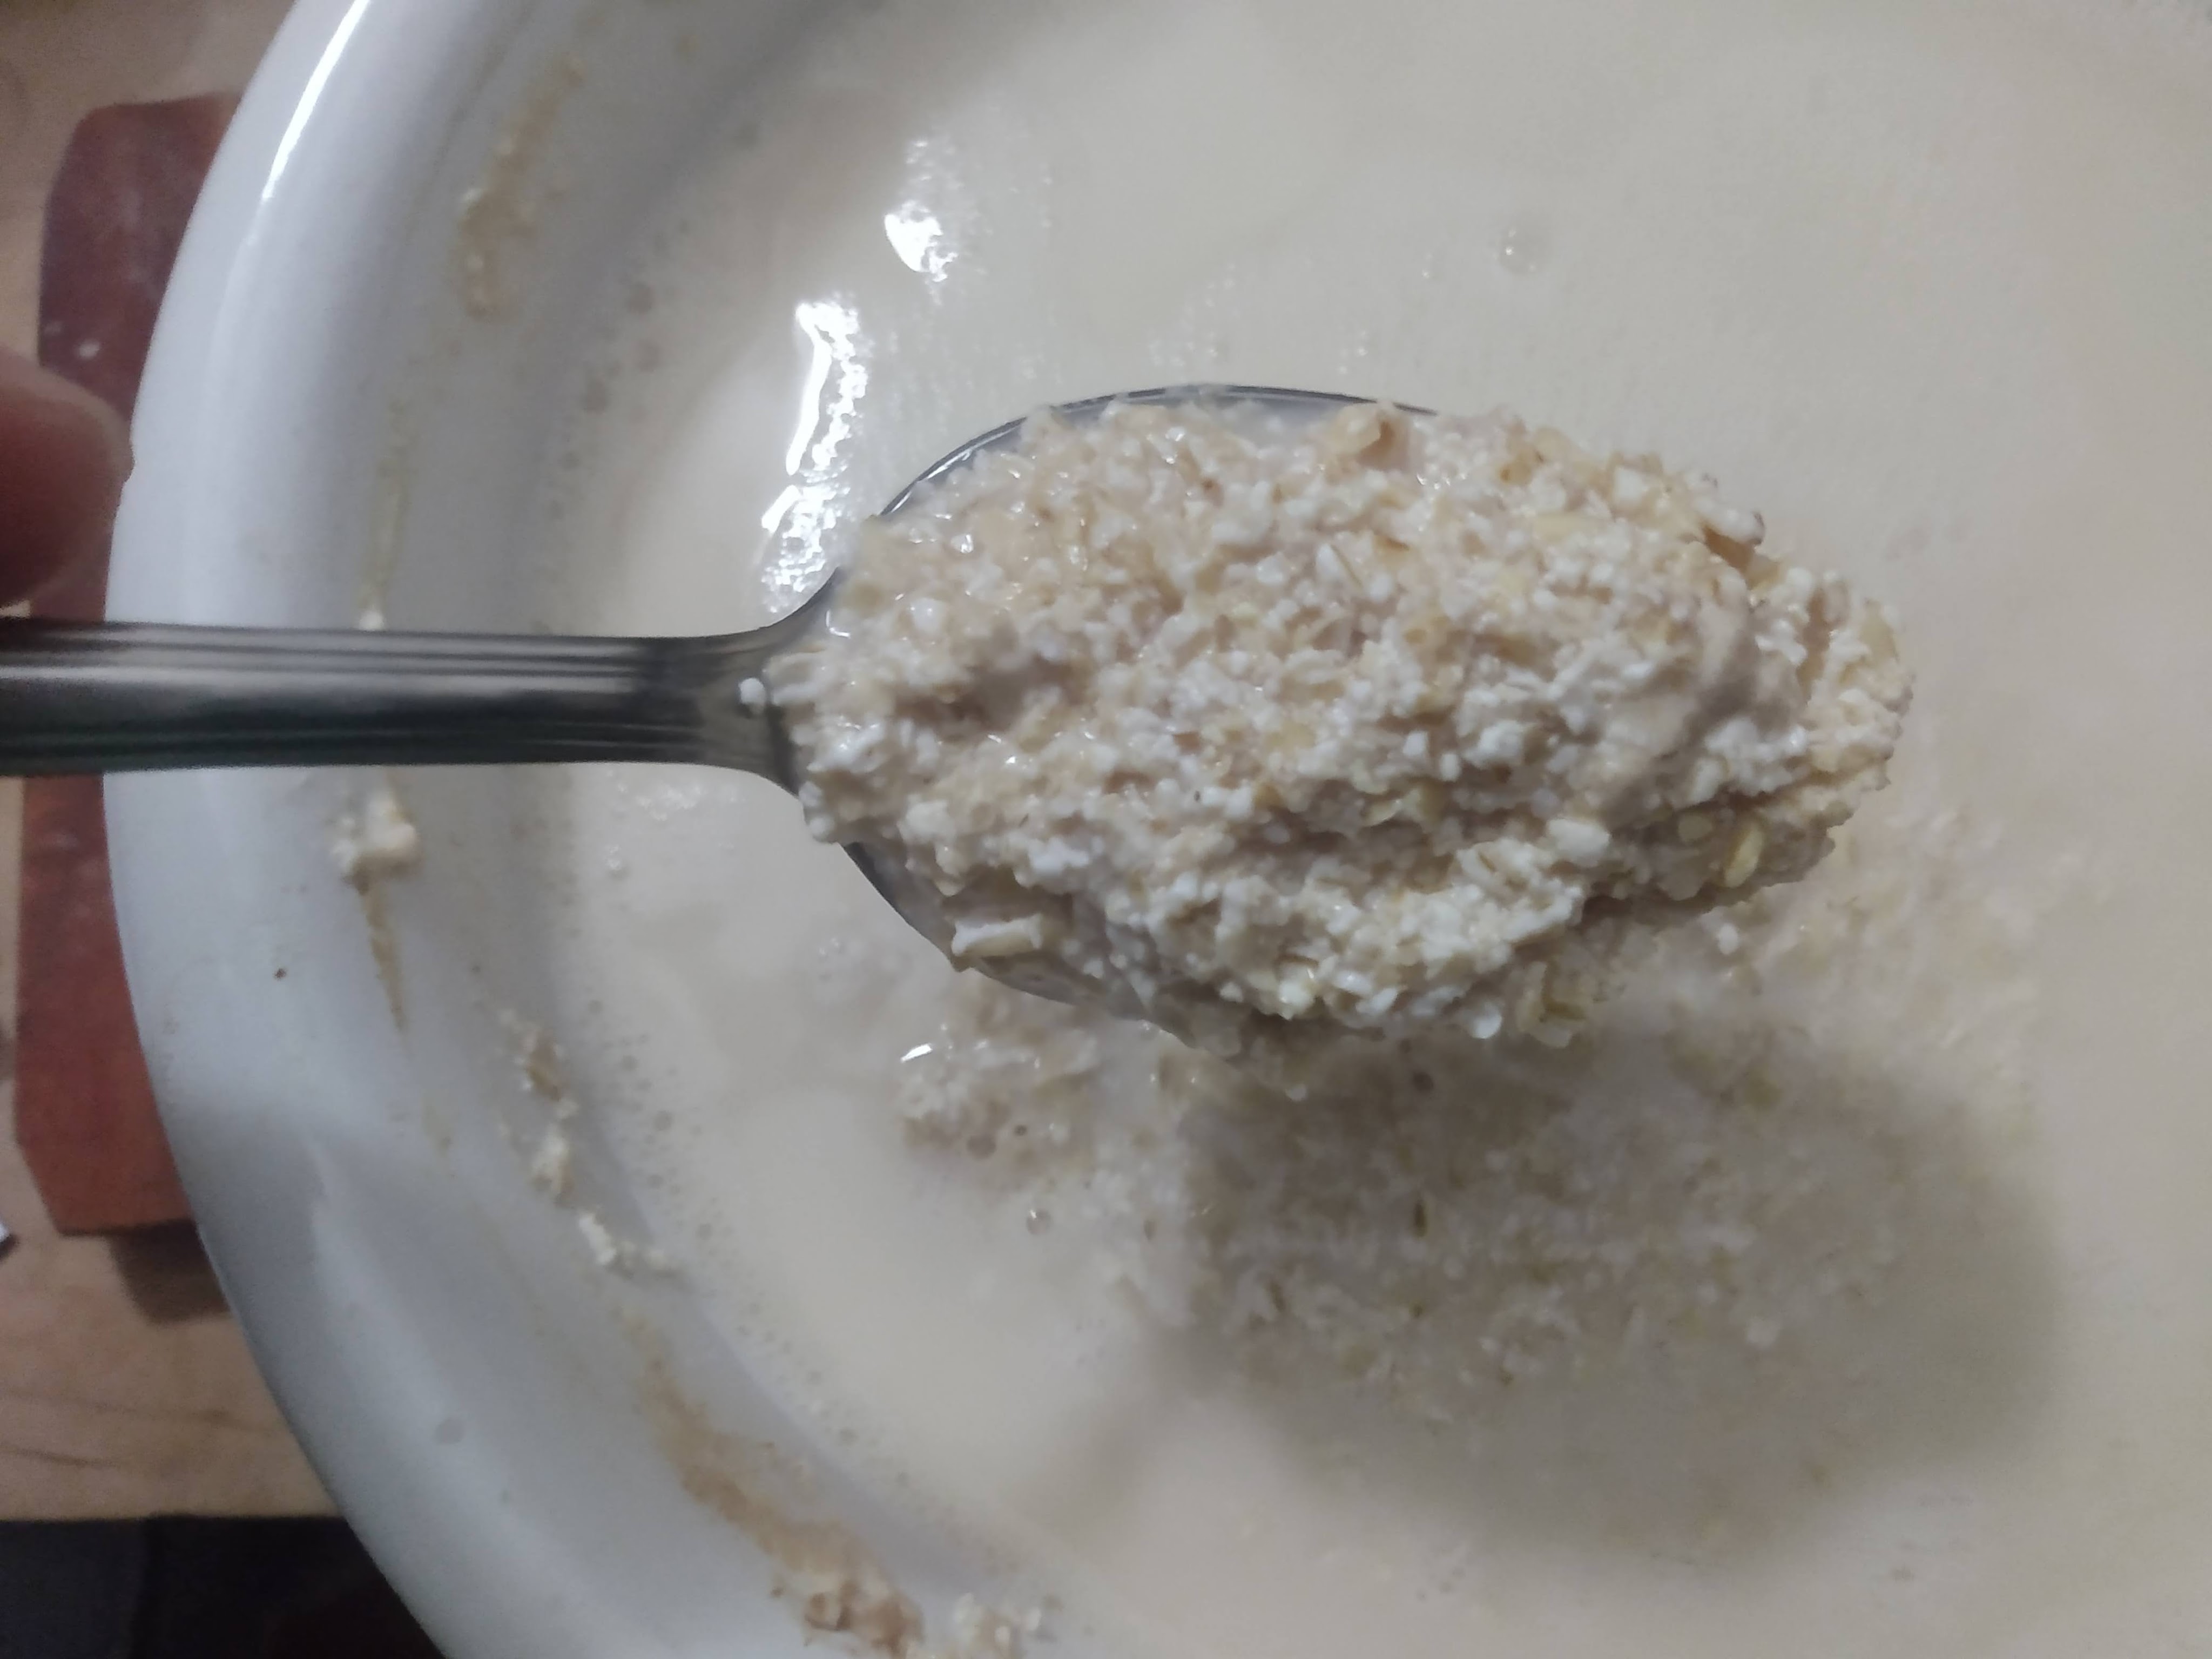
This recipe is a continuation of a ditty about the early days of grains and the gradual “rise” of bread. The first step to this process is making some fermented porridge, which is described in aforementioned ditty. I love the variability of a process where the same porridge can be cooked for your breakfast, and any leftover can become bread for scooping up your lunch and dinner. The more active the ferment obviously the better, so if your porridge has been sitting for a long time, scoop the scum off the top and make some flatbreads!
In modern days like we’re in where just about every aspect of a food and its production are able to be controlled for really specific outcomes, this recipe is a refreshing throwback to times when intuition and experience were more valuable than control, and “perfection” was likely defined in a less homogenous way.
Process
There are no precise measurements that make sense to give. However much fermented porridge you have to use is what you have, and obviously the water to grain ratio will be all over the place. Yet, none of that business should be much of a hurdle here.
Pour your porridge into a bowl. Add a sprinkle of salt. If you are doing this on a scale something like 16 grams of salt per 500 grams of final dough is good. If your breads are undersalted you can always sprinkle some finishing salt over them straight out of the oven. Always be careful to not over salt!
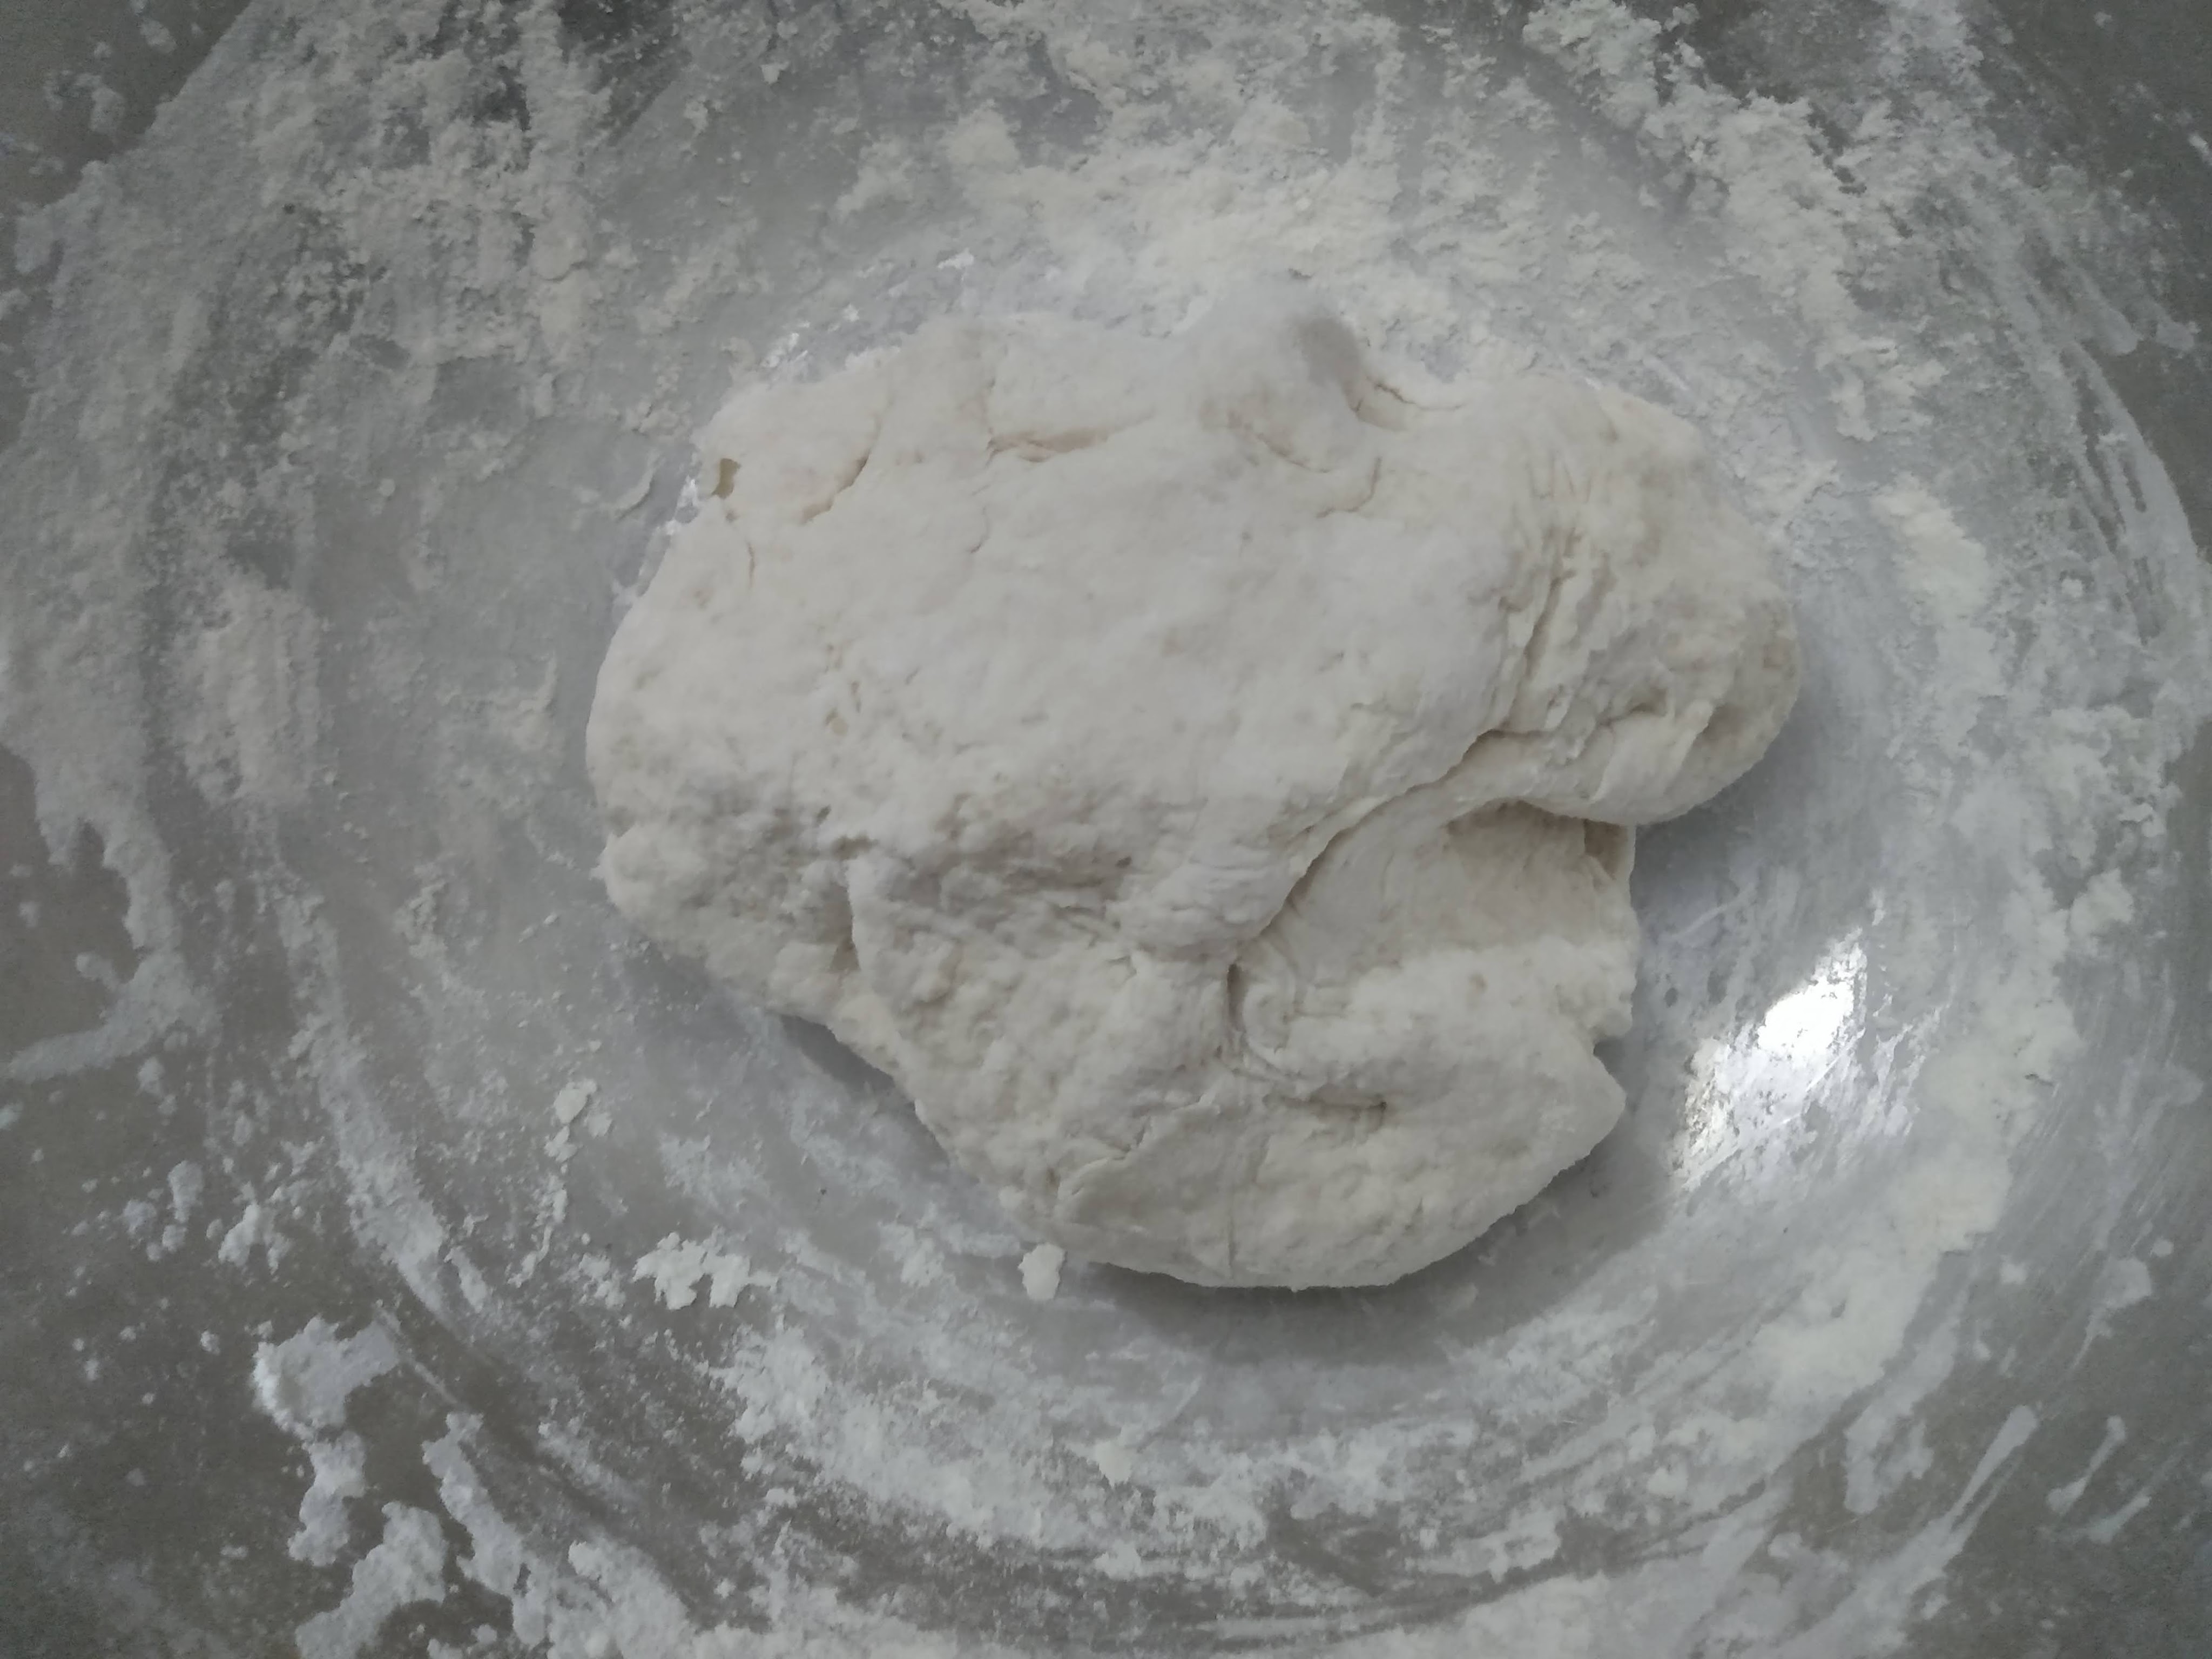
Start adding in flour that has good gluten building qualities. Store bought “Bread” flour is the ticket. Add gradually, mixing it into the porridge slurry until a dough gets formed. You’d want enough flour so it’s not a sticky dough but not so much that it’s super firm either. Intuition and experience right? Getting things right the first time is boring, you learn nothing. A recipe worth making is one that you earn a relationship with, right?
Give the dough a few kneads and let it rest. The goal is to have everything mixed and incorporated but being mindful to not overmix. Giving it a covered over night or long day rest is great. The dough can be stored in a container the fridge and used here and there if not needed right away.
When it’s time to make the bread, on a lightly floured surface cut the dough into whatever size your after, perhaps the size of a doubled golf ball? And then roll them into a ball. Let the balls rest for 20 or so min and in the meantime warm up a skillet on the stovetop to medium high.
After a little rest period, using as much flour as needed, roll out the balls into flat disks. You can press them first with your fingers, and toss them like a pizza or come in with your rolling pin. Play around with the thickness and size (which will also be factors in how hot your skillet should be) until you found what you like.
Cook the flatbread, flipping as needed until both sides are lightly browned and the bread is cooked all the way through. Breads can be dressed up with a drizzle of oil and a sprinkle of seasonings if that’s your bag. Then fill em up with delights!
Sometimes the grandeur of bread makes the grains feel unrecognizable from the labored summer months caring for it, processing it, and cleaning it. Porridge makes me feel closest to my grains. Tortilla retains an intimate connection too. I remember reading a long time ago somewhere that a bread baker was the first specialized profession. It’s easy to understand for anyone who’s tried to consistently integrate the time intensive task into their daily life. Before bread “technology” became widely accessible, porridge was the primary way people consumed their staple grains.
It’s believable to say that porridge is the rough stone that was smoothened into bread by the running waters of time, fermented porridge actually! Before porridge maybe there were handgathered kernels chewed between your teeth. Actually doing this yourself is a jolting time warp worth doing to reset your racing clock. It’s become an annual moment after harvest for us to hand thresh a small bowlful of kernels and eat them as is, just to remember. Next I’d imagine was progressing to crushing kernels between stones, earth’s teeth, and maybe add some earth tears like water, and there you’d have a porridge. Uncooked it would be a chewy mush. With enough time it would ferment and soften more, maybe making it easier to eat and introducing humans to their first versions of a sourdough starter. With a little added flour, cook a fermented porridge into a flatbread and there’s a leavened bread. Add a little more ground grain for an even firmer dough and with more time and a cook, you got yourself a loaf.
Fermented porridge can be made from any grain: wheat, rye, corn, oats, rice, and so-on. It can be cracked, ground, whole, or even just sifted bran. A hand cranked meat grinder works great for cracked grain and often pop up in the tool sections of thrift stores for a couple bucks. It’s possible to crack them too by laying the grains on a hard flat surface, draping a towel over them, and pressing hard on them with bottom of a jar, a rolling pin, or maybe a rock.
The prep work is easy, just covering your prepared grain with a generous amount of water or milk or nut/ seed “milk” to keep it submerged for a prolonged soak- a couple hours or a couple days or weeks at room temp depending how funky you’re feeling. The fermentation will help breakdown grain characteristics that inhibit digestion. In the morning, heat it in a pot until boiling, then lowering it to a short simmer, keep an eye on it all the while in case some extra liquid needs added along the way. The final consistency is up to you. Depending on where you’re trying to take your day, add a splash or nob of fat (buddder/ oil/ maybe bacon), pinch o salt, and any seasonings and delights (like those summer time berries you dehydrated or a potato) before cooking. For a quicker fermentation turn around you can backslop today’s porridge into a new one just like splashing in a starter. What an easy vehicle for any adventure.
Remember the rye bread recipe for traditional style pumpernickel from a few months ago? This one? The recipe used “scalding” which was heating a porridge situation until it was at least 160 degrees at which point the flour released its starches and gelatinized. In pumpernickel, this is what gave the gluten-lacking rye bread some bonding to help it hold its shape. This is the same process that occurs when cooking the porridge, transforming it into a lovely cohesive mush rather than water and grain that sit separately in a bowl like oil and water. It’s also the same process used for making injera which is a mixing of “fermented porridge” and scalded porridge to help the thin batter hold together.
Kvass
The same grains- whether cracked, ground, whole, or bran, but this time also adding old baked bread to the list, when covered with water and left to ferment is the beverage associated with Eastern European origin called kvass. There are a million variations to this beverage (including versions without grain), with many adding some kind of additional sugar whether it be cane, fruit, berries, vegetables, juice, honey, sorghum, or maple in order to get a spritely effervescent and maybe alcoholic beverage. Where’s the line between fermented porridge and kvass? Doesn’t seem like there is much of one, just don’t boil your kvass or you’ll lose the fire in that firewater. What’s the difference between beer and kvass? Beer gets most of its sugar out of its grains by sprouting them first (aka malting) and steeping them at a specific temperature (mashing), kvass is a little lazier and ferments things as they are with no special processes (although malt still may be used). It almost feels like kvass is a brew made of collected leftovers.
Winter is a good time to perch a brew of kvass on your radiators as if it were your hearth. To make it add cracked grains, old bread, and as much sweetener of choice as suits you. Dress it up with any other flavors and seasonings that inspire you. Don’t forget a little splash of sourdough starter to help get everything rolling (not required). Let the wild yeast ferment it at room temperature till it’s actively bubbling. Remember it’s winter so be patient. Then strain out the contents and enjoy.
(I suppose you can also not strain out the contents and warm it up into a nice porridge! Boom.)
The winter solstice has for myself become the day for annual miso-making traditions. It’s after most of the hardy holdout plants are finally delt a frosty blow, and grains and beans from the year are (hopefully) dried and threshed and stored away. Miso was introduced to me with an aura of magic- one of the first ferments I interacted with and so carries the same wild mystic held by the woods on a full moon’ed night as when I met it then. It’s retained its magic over the years, and that seems like a feeling worth fostering in anyway possible.
Sticking to annual miso-making means there are countless jars who present like vintages of wine marking out the years. The differences between the young and old ones are tremendous. It’s something that if you make, I highly recommend then hiding it from yourself for a couple of years. Just the other day I unearthed a crock that has been living on my porch for two years. It’s made of our homegrown marfax beans and danko rye. The location was an accident, probably nowhere anyone would recommend. I never really covered it or protected it from weather. The ceramic weights were covered thickly in fly pupal cases. After pulling them out and scraping off the top layer it was gorgeous miso with a fruity alcoholic smell the rest of the way down. It was scooped into a series of peanut butter jars to continue aging in the basement somewhere I already can’t recall.
Here’s how we’ve made miso, generally this same way every time, and may you find a way that works for you and becomes your own:
Preparing the Koji
First you’ll need some koji spores. Most people love GEM Cultures. If you’re really impressive you can go outside and find some growing out there somewhere. Either way add your cultures to a cooked starchy grain, mix, and incubate in mid-80 degree temps until your mold spores have colonized the grain. Since we mostly make our misos from homegrown grains like wheat or rye, it takes some extra cooking soften the grain enough to receive the mold. In other cases like with rice, a kernel that is just-cooked through and holds its shape is best. When your grain is cooked spread it out to let dry some and cool to about a mid-80’s temp and inoculate right away by spreading and mixing your spores in. The finished koji grain can be dried and saved or used immediately.
Preparing the beans
Unlike when making tempeh– who does better with beans cooked juuuust right (not over cooked), miso has no such need. Cook your beans fully after a nice overnight soak by boiling them, but in this cook no salt is needed.
Strain and let the beans cool. Often times I’ll let them sit out until the next day because life is busy.
Mixing
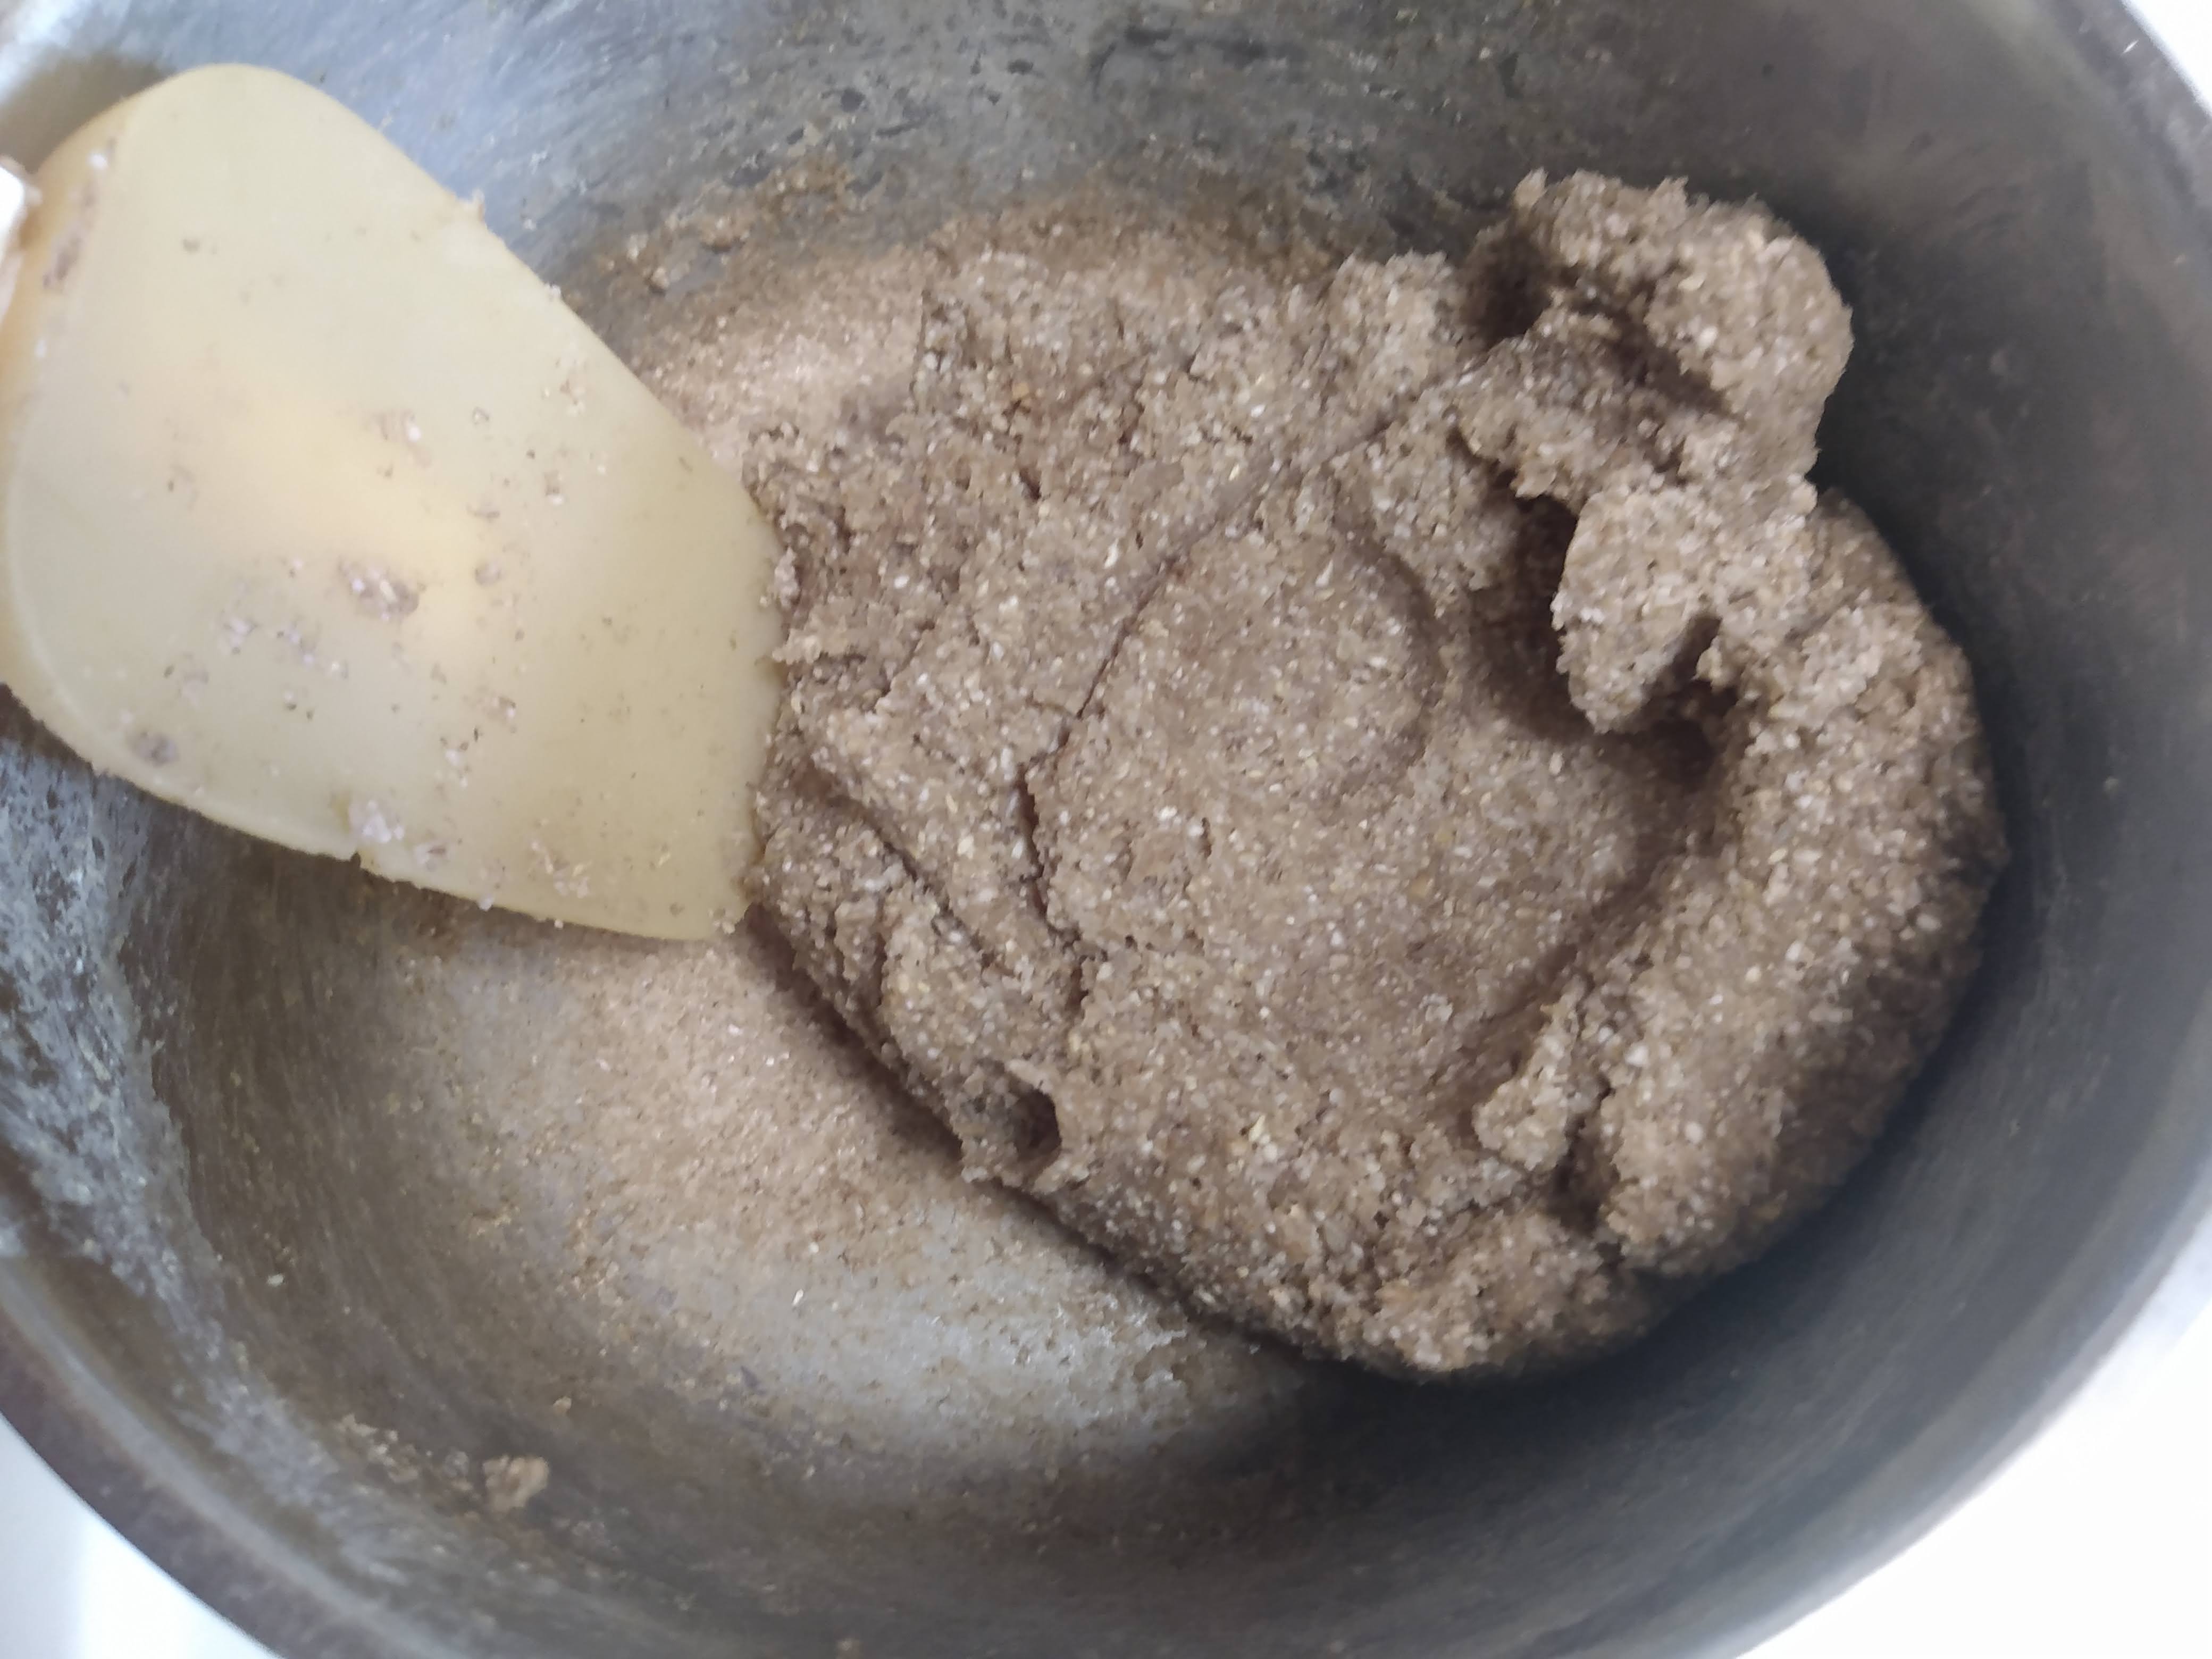
Next it’s time to combine the beans and koji’d grain. The many styles of miso can vary according to the ratio of each, as well as the salt levels but my usual aim is eyeballing a 60% bean and 40% koji ratio when preparing the ingredients. Whatever I come out with in the end is what I mix together in the biggest bowl I have. Something like a potato masher can be used but I feel like this is a job for your hands to make the beginnings of your paste. The beans will mush but obviously the grain won’t yet. You can still get the general idea of the consistency already though. Add a little water here and there to get a consistency close to paste with the understanding that things will be breaking down more over time.
Then mix in salt. I hold true here to the salt to taste perspective. Salt, mix, taste, salt, mix, taste. You want something salty but pleasantly so. Not overwhelming, but not under salted.
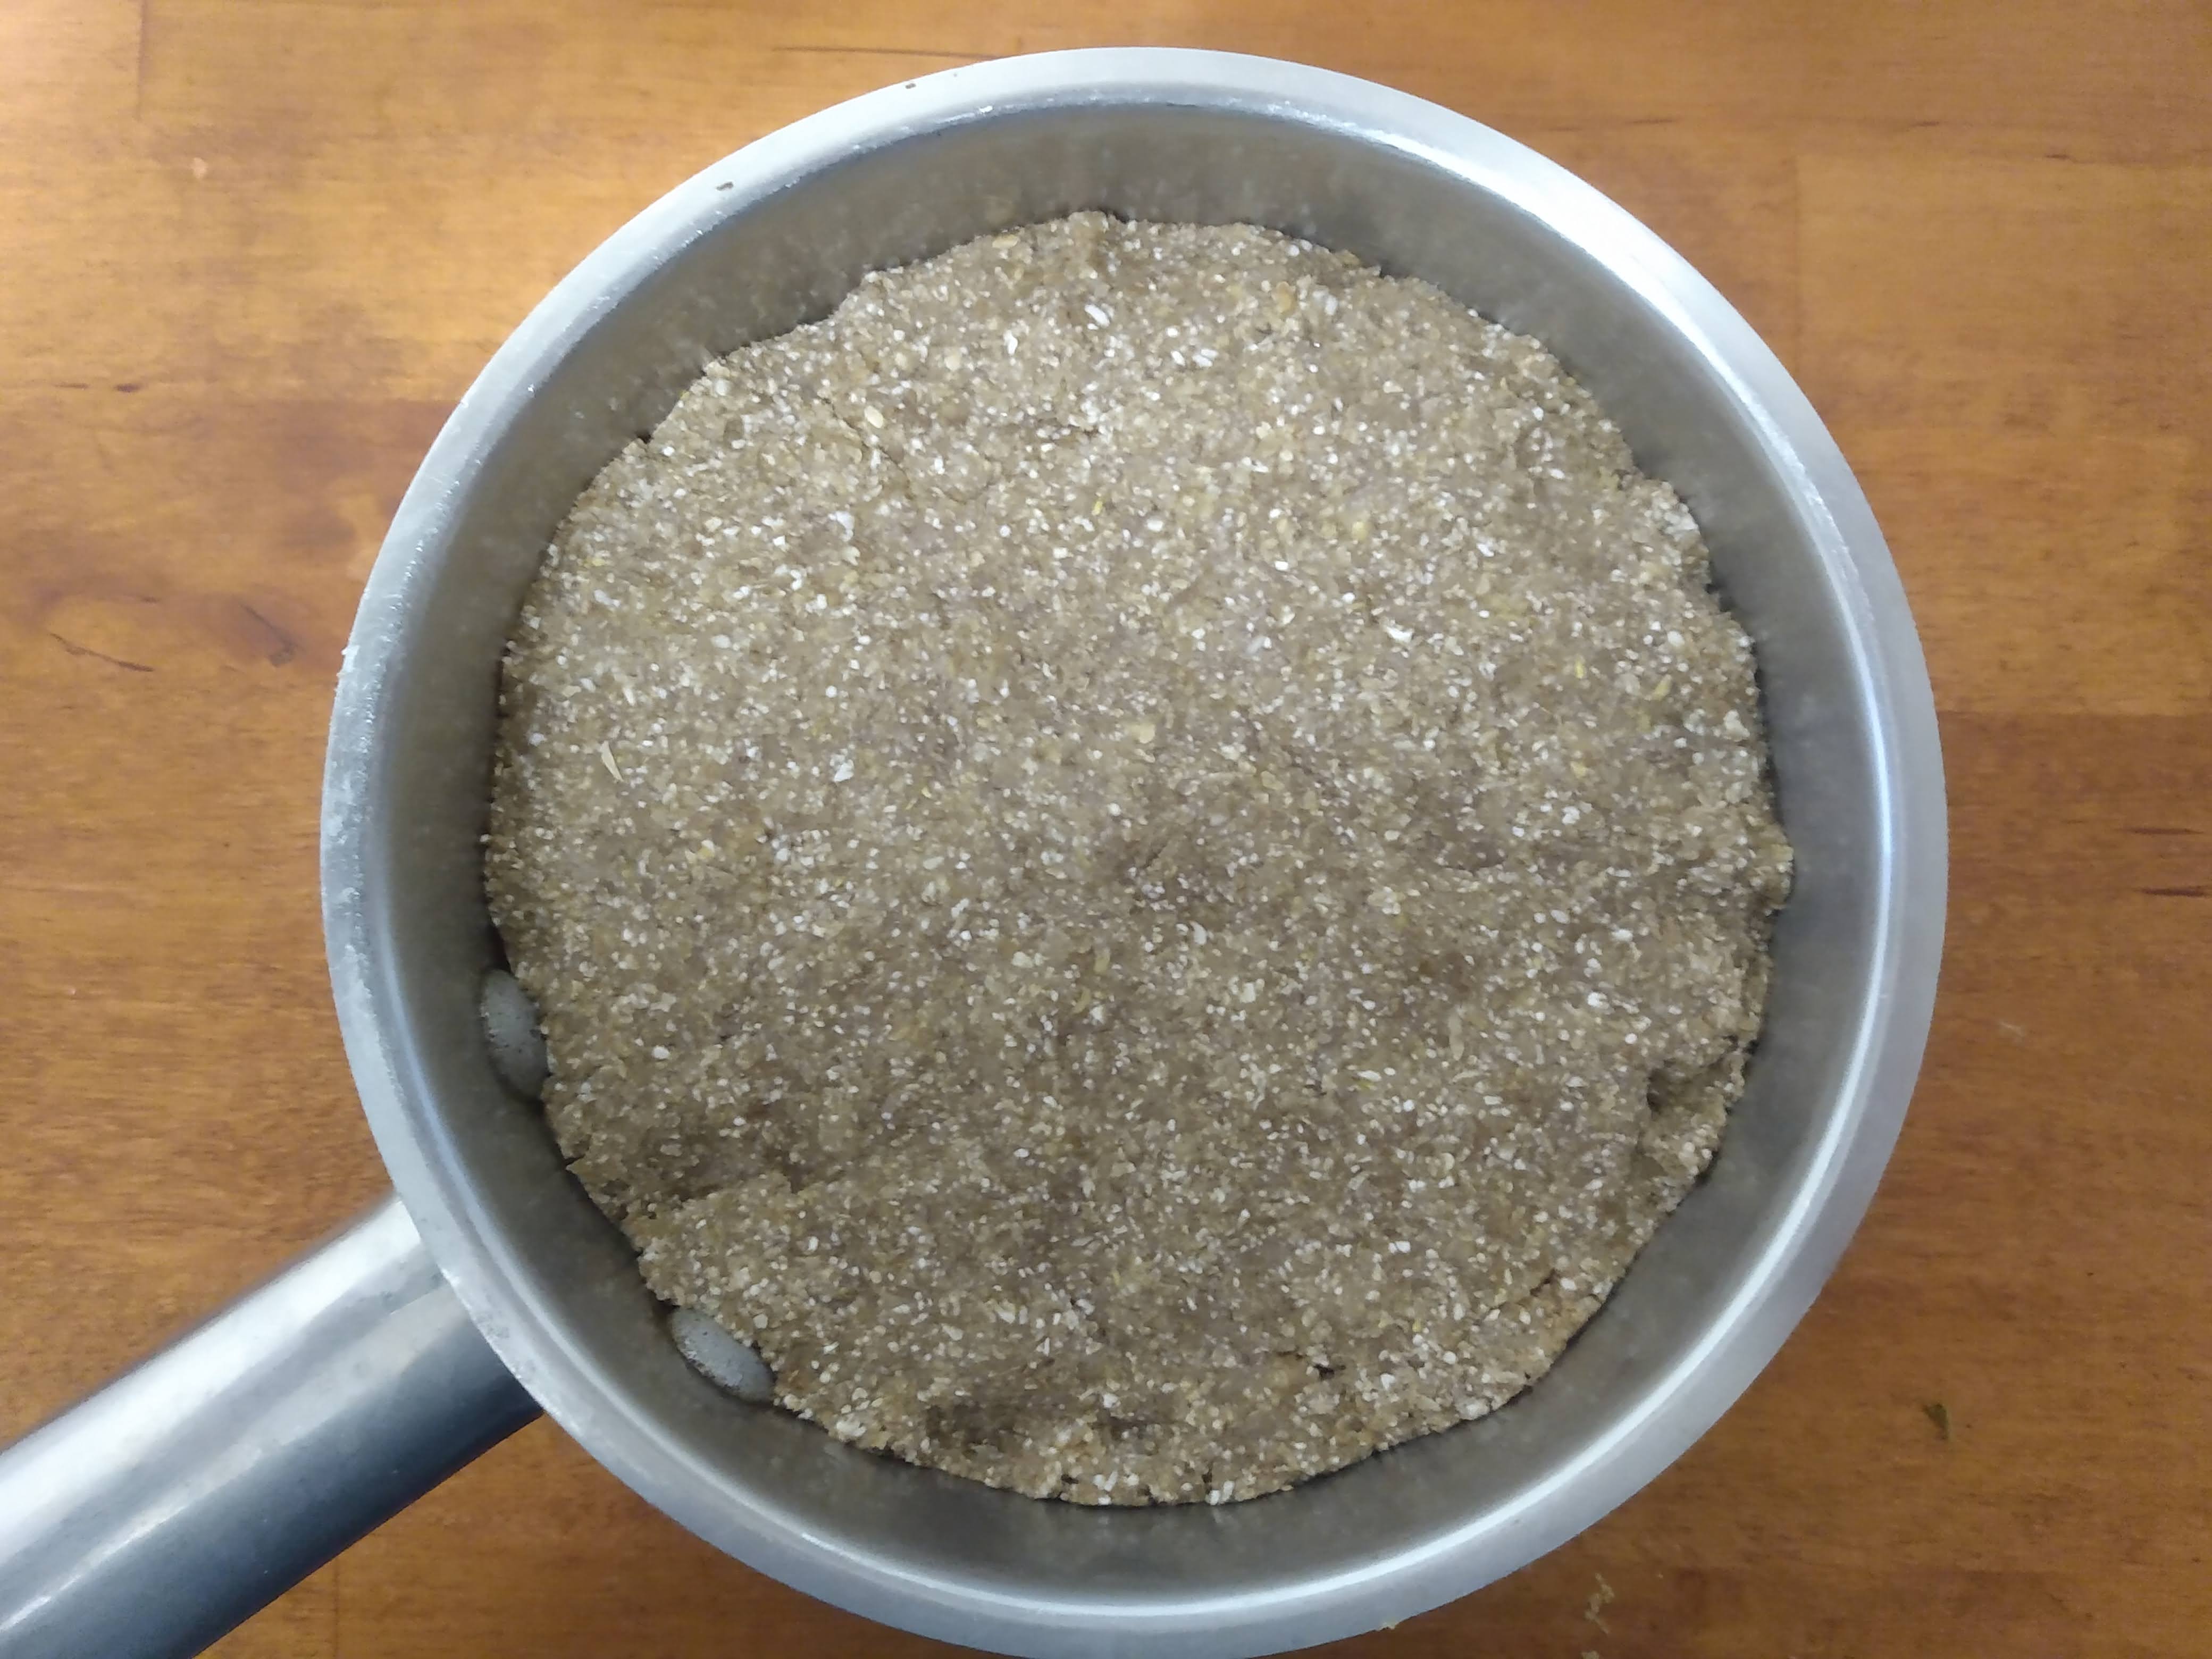
Packing & Aging
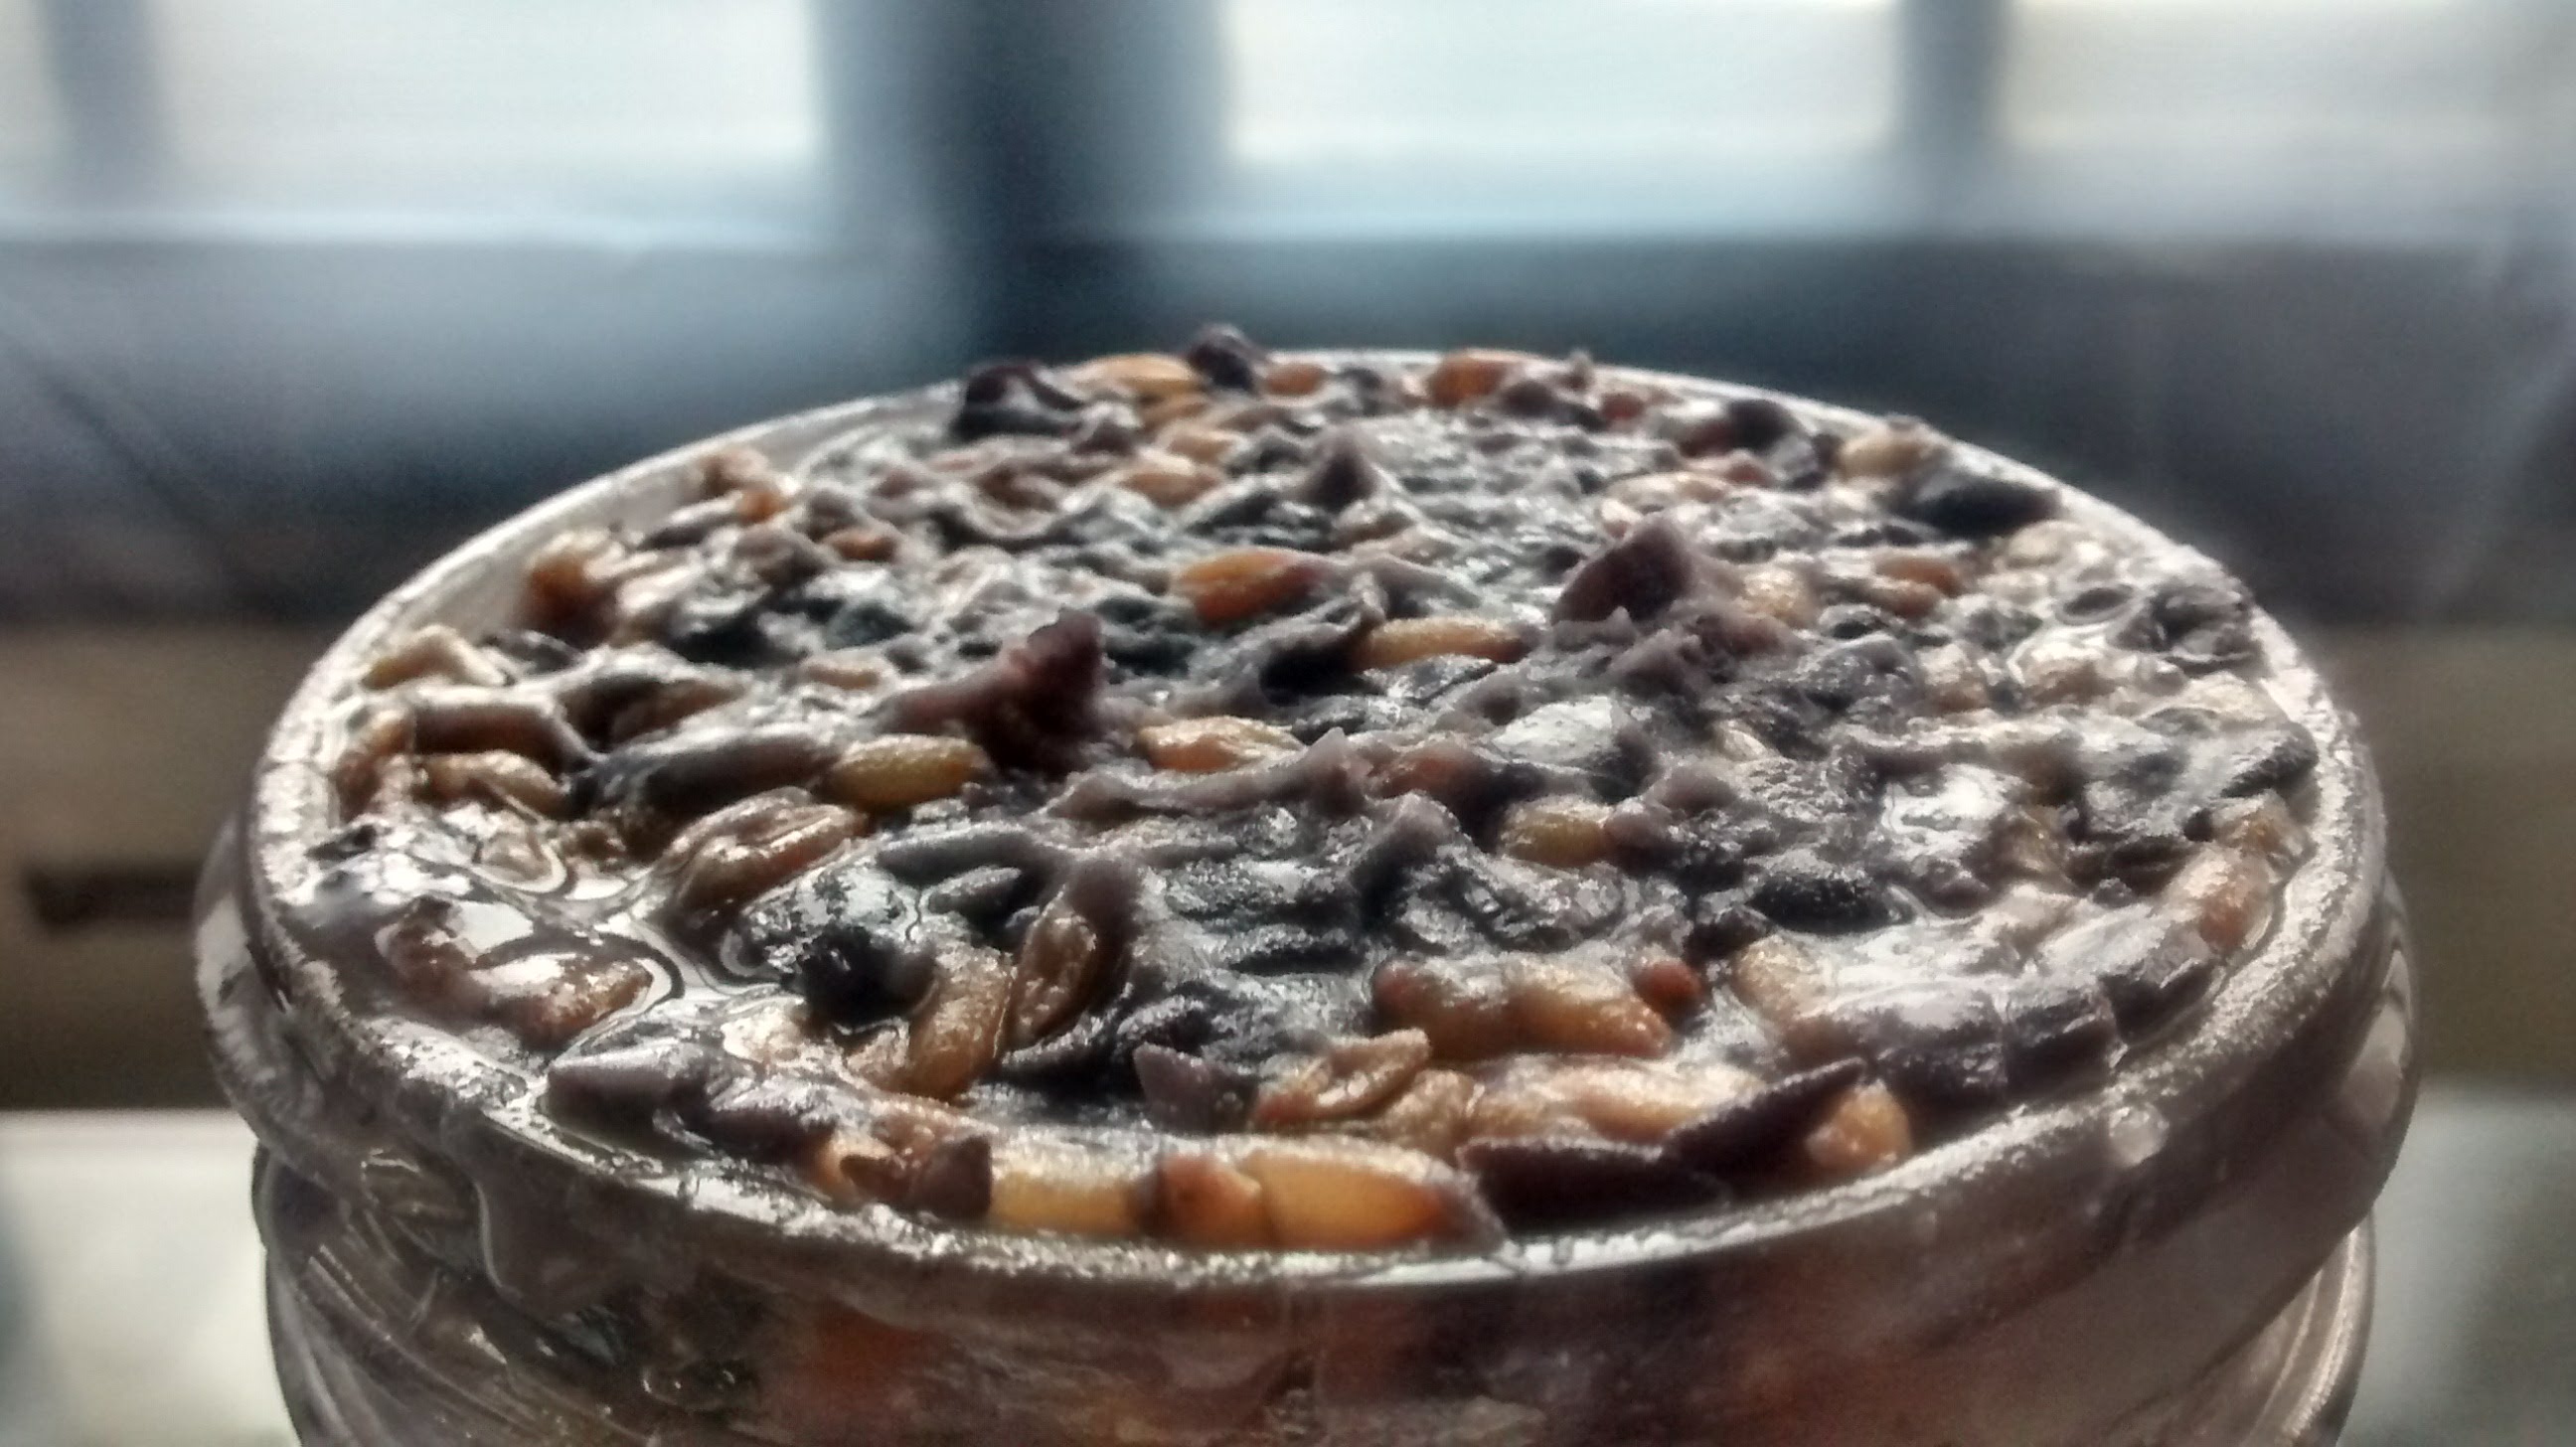
Pack the miso in a jar or container pushing down to minimize air pockets. Leave ample head space for the big initial fermentation event on the horizon (the photo below shows too little headspace and the consequential overflowing). Many folks like to put a fresh sprinkling layer of salt over the final miso surface. It’s possible to pop a screw lid on top but the miso will commence fermentation and need some gas release. I like a loose-fitting lid but a cloth with rubber band or similar is good too. When the vigorous fermentation eventually ceases it’s a good idea to throw on some kind of lid. Depending on your conditions the miso could dry out. I’ll let the fermentation boil to a dripple in a bigger vessel, then transfer the miso to mason/ peanut butter jars and lid them to be taken to the basement for long term storage. I like breaking them down into many smaller jars so when one is being actively scooped from, the oxygen exposure is limited to just that jar as with all the microbial activity in there, things will begin to grow.
Consume when you’re ready to- in a few months, a year, or many years.
Growing grains has become a bit of an obsession, however with the more fashionable challenges of chasing high gluten in wheat, rye fell to the backburner for a while. Reestablishing a connection with the simplicity of making super delicious 100% rye loaves has reignited a fervor for the grain. This bread is super low maintenance with excellent results.
Growing rye is very similar to growing wheat and this primer can be used. Rye tends to be the first of our winter grains to be ready for harvest.
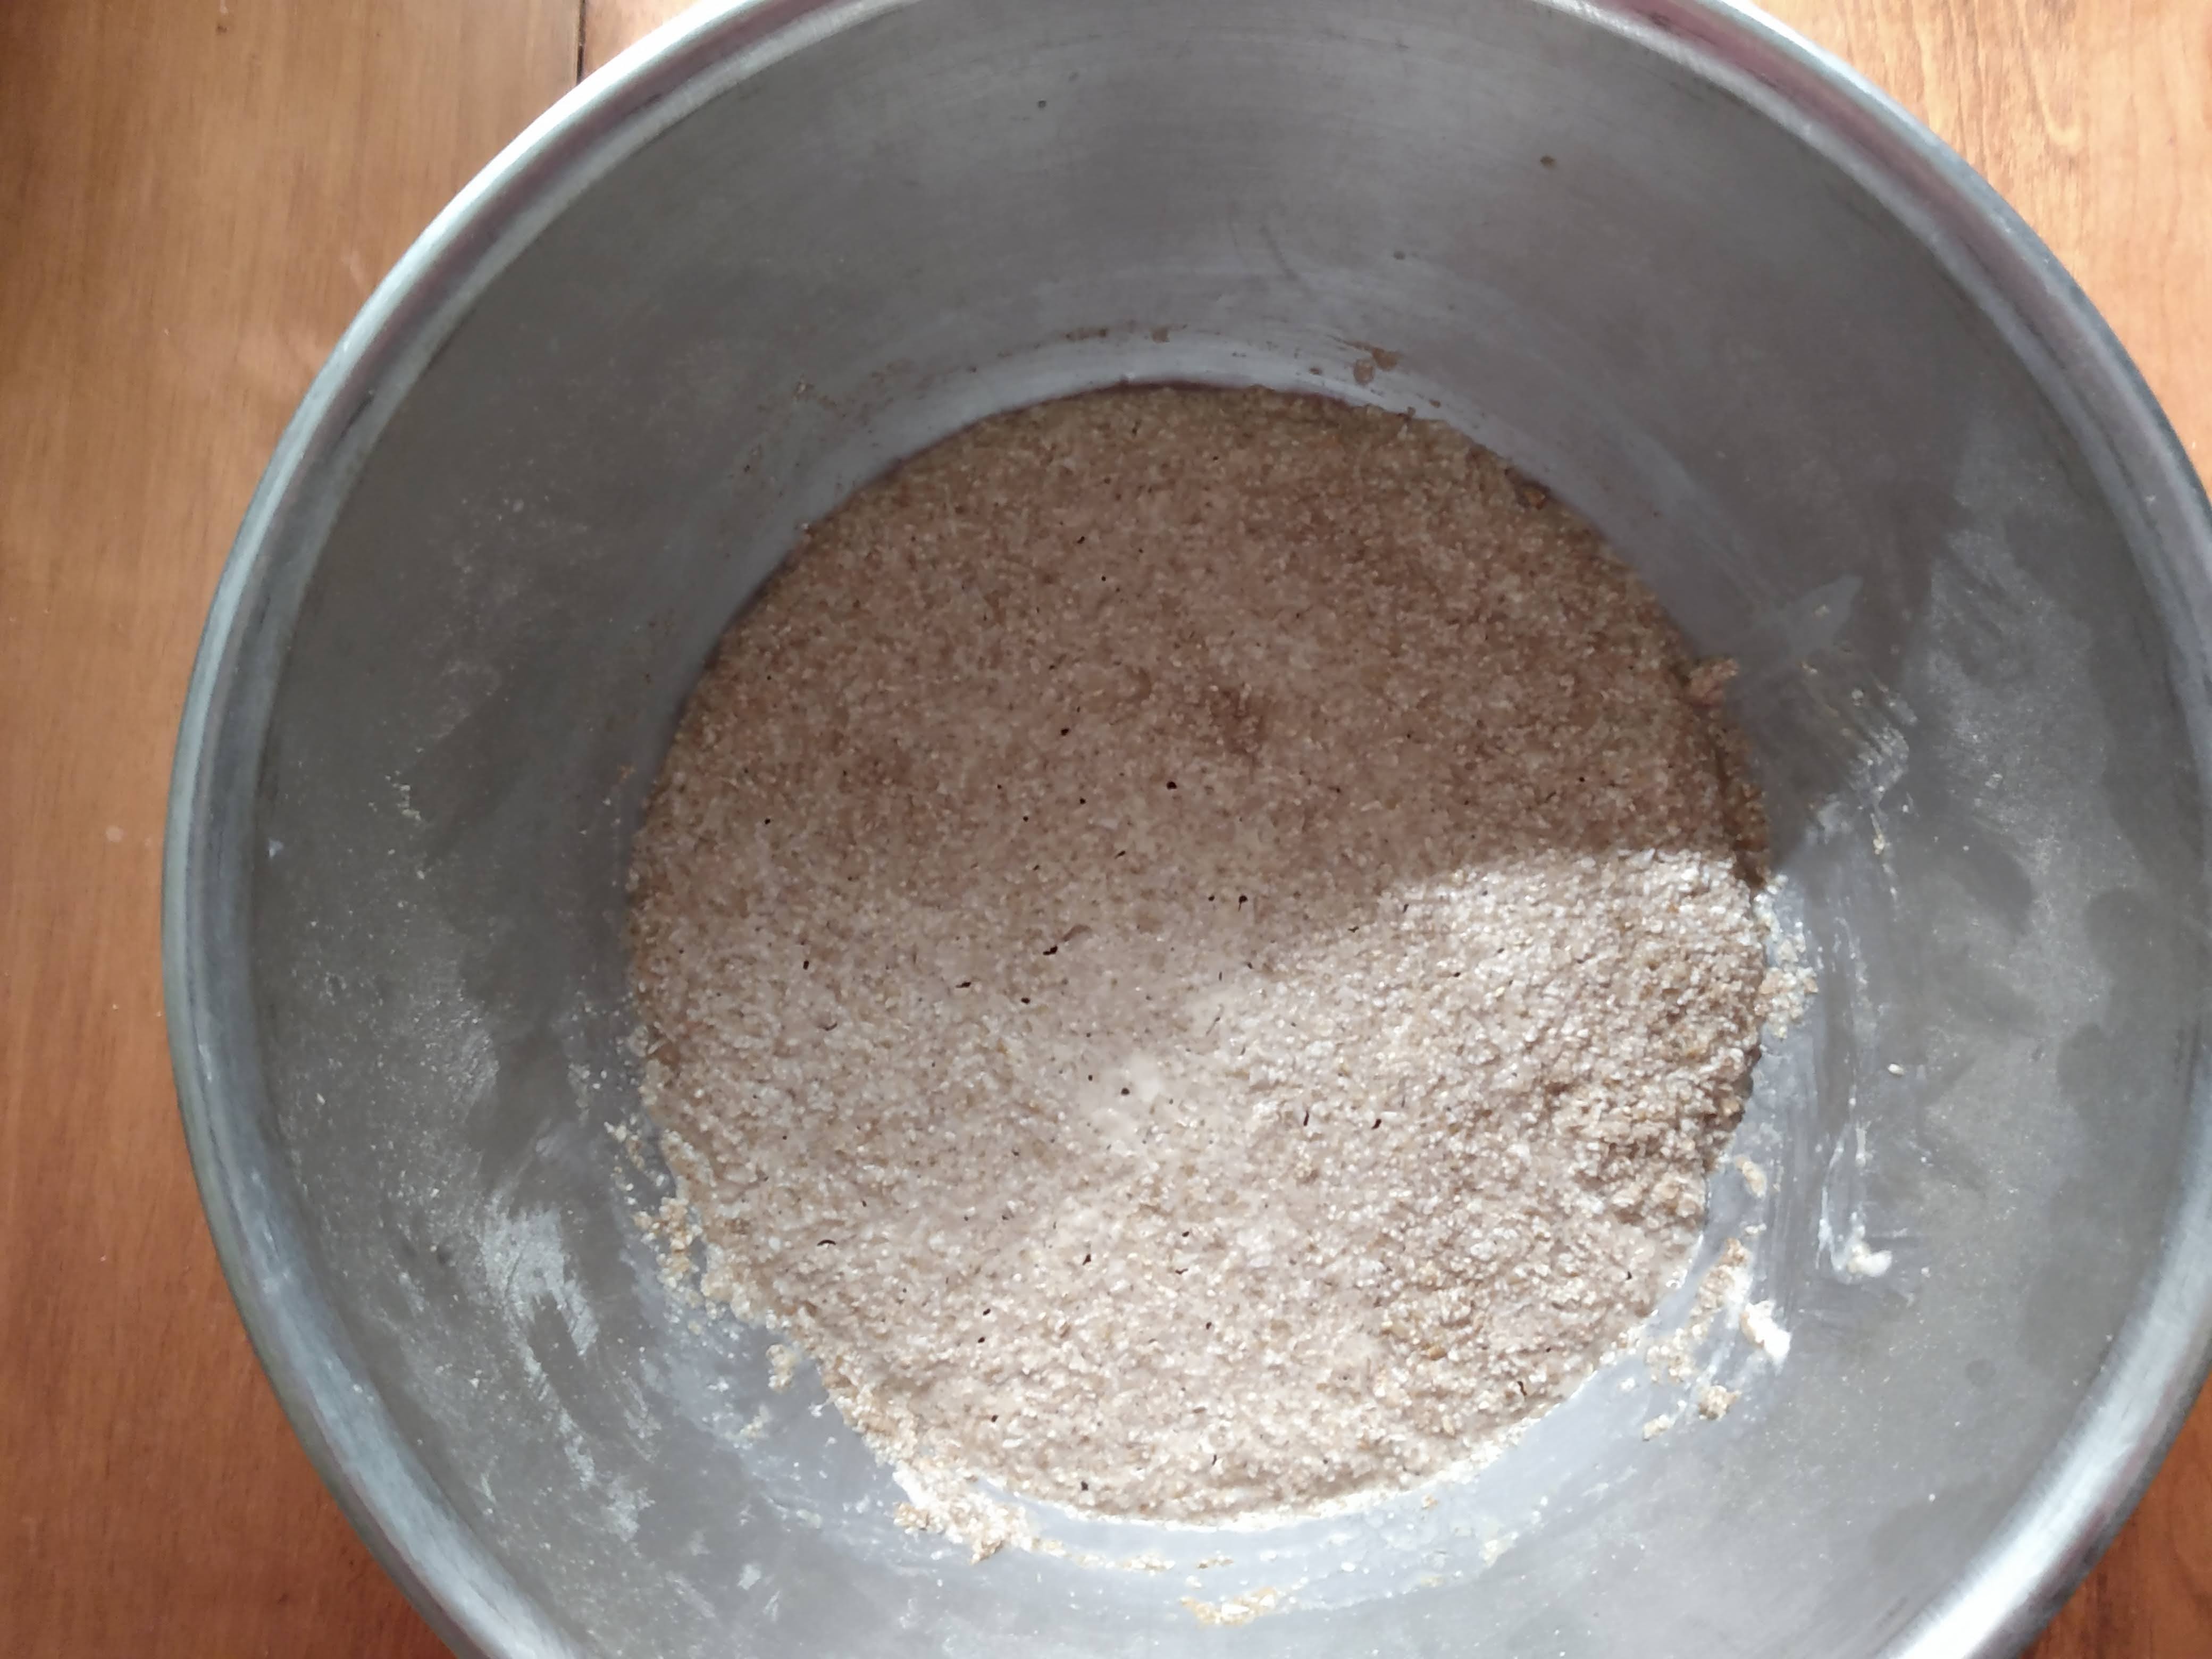
50g coarse rye (if possible, otherwise make up for it in rye flour)
230 rye flour
280 water
15 salt
Mix the sponge ingredients the night before, we’re aiming for it to rest 12 or so hours. The reason being that rye bread is unique in that it contains high amounts of amylase enzymes, and left to their own device these enzymes will consume too much starches in the dough and cause the end product to be gummy. The way to avoid this is to create an environment unsuitable to their activity, thus we make an extended fermented sponge to boost the overall acidity.
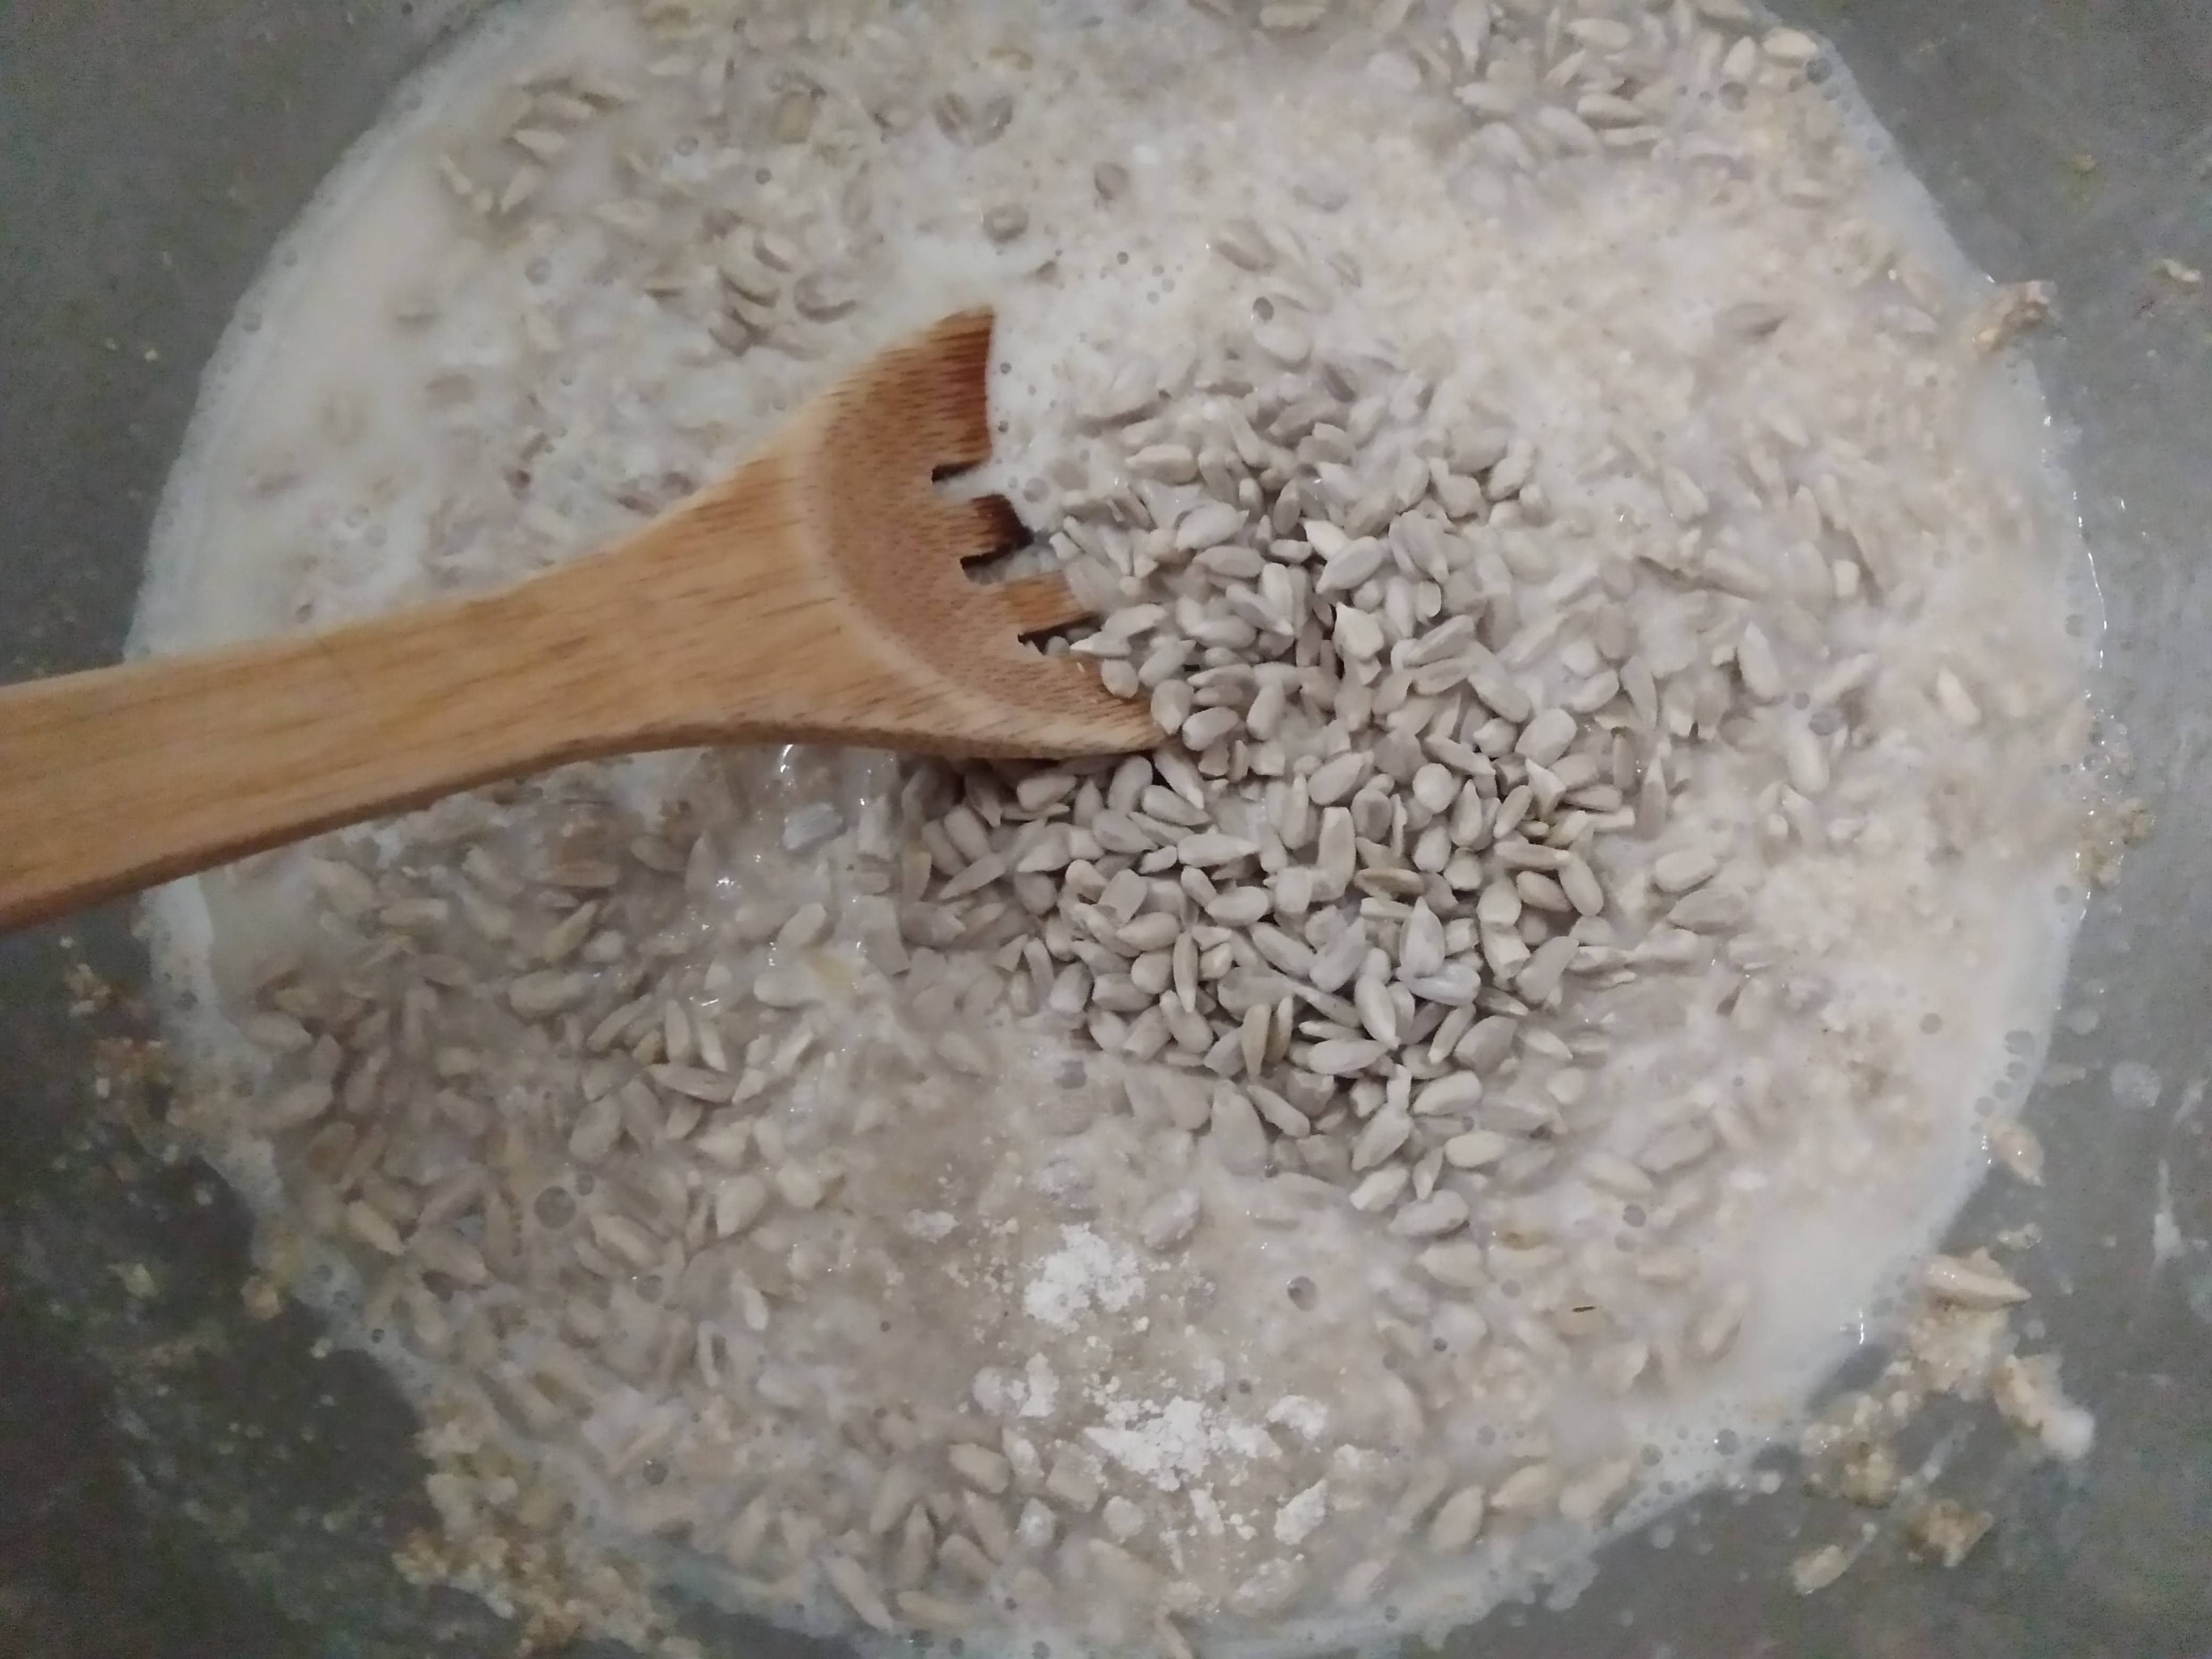
When the sponge has done its thing, mix all the remaining ingredients together. Note that the seed situation is entirely based on preference. I find that 100g of sunflower seeds suits my desires. We have our own grown pepitas, flax, and sesame but usually save them for other occasions.
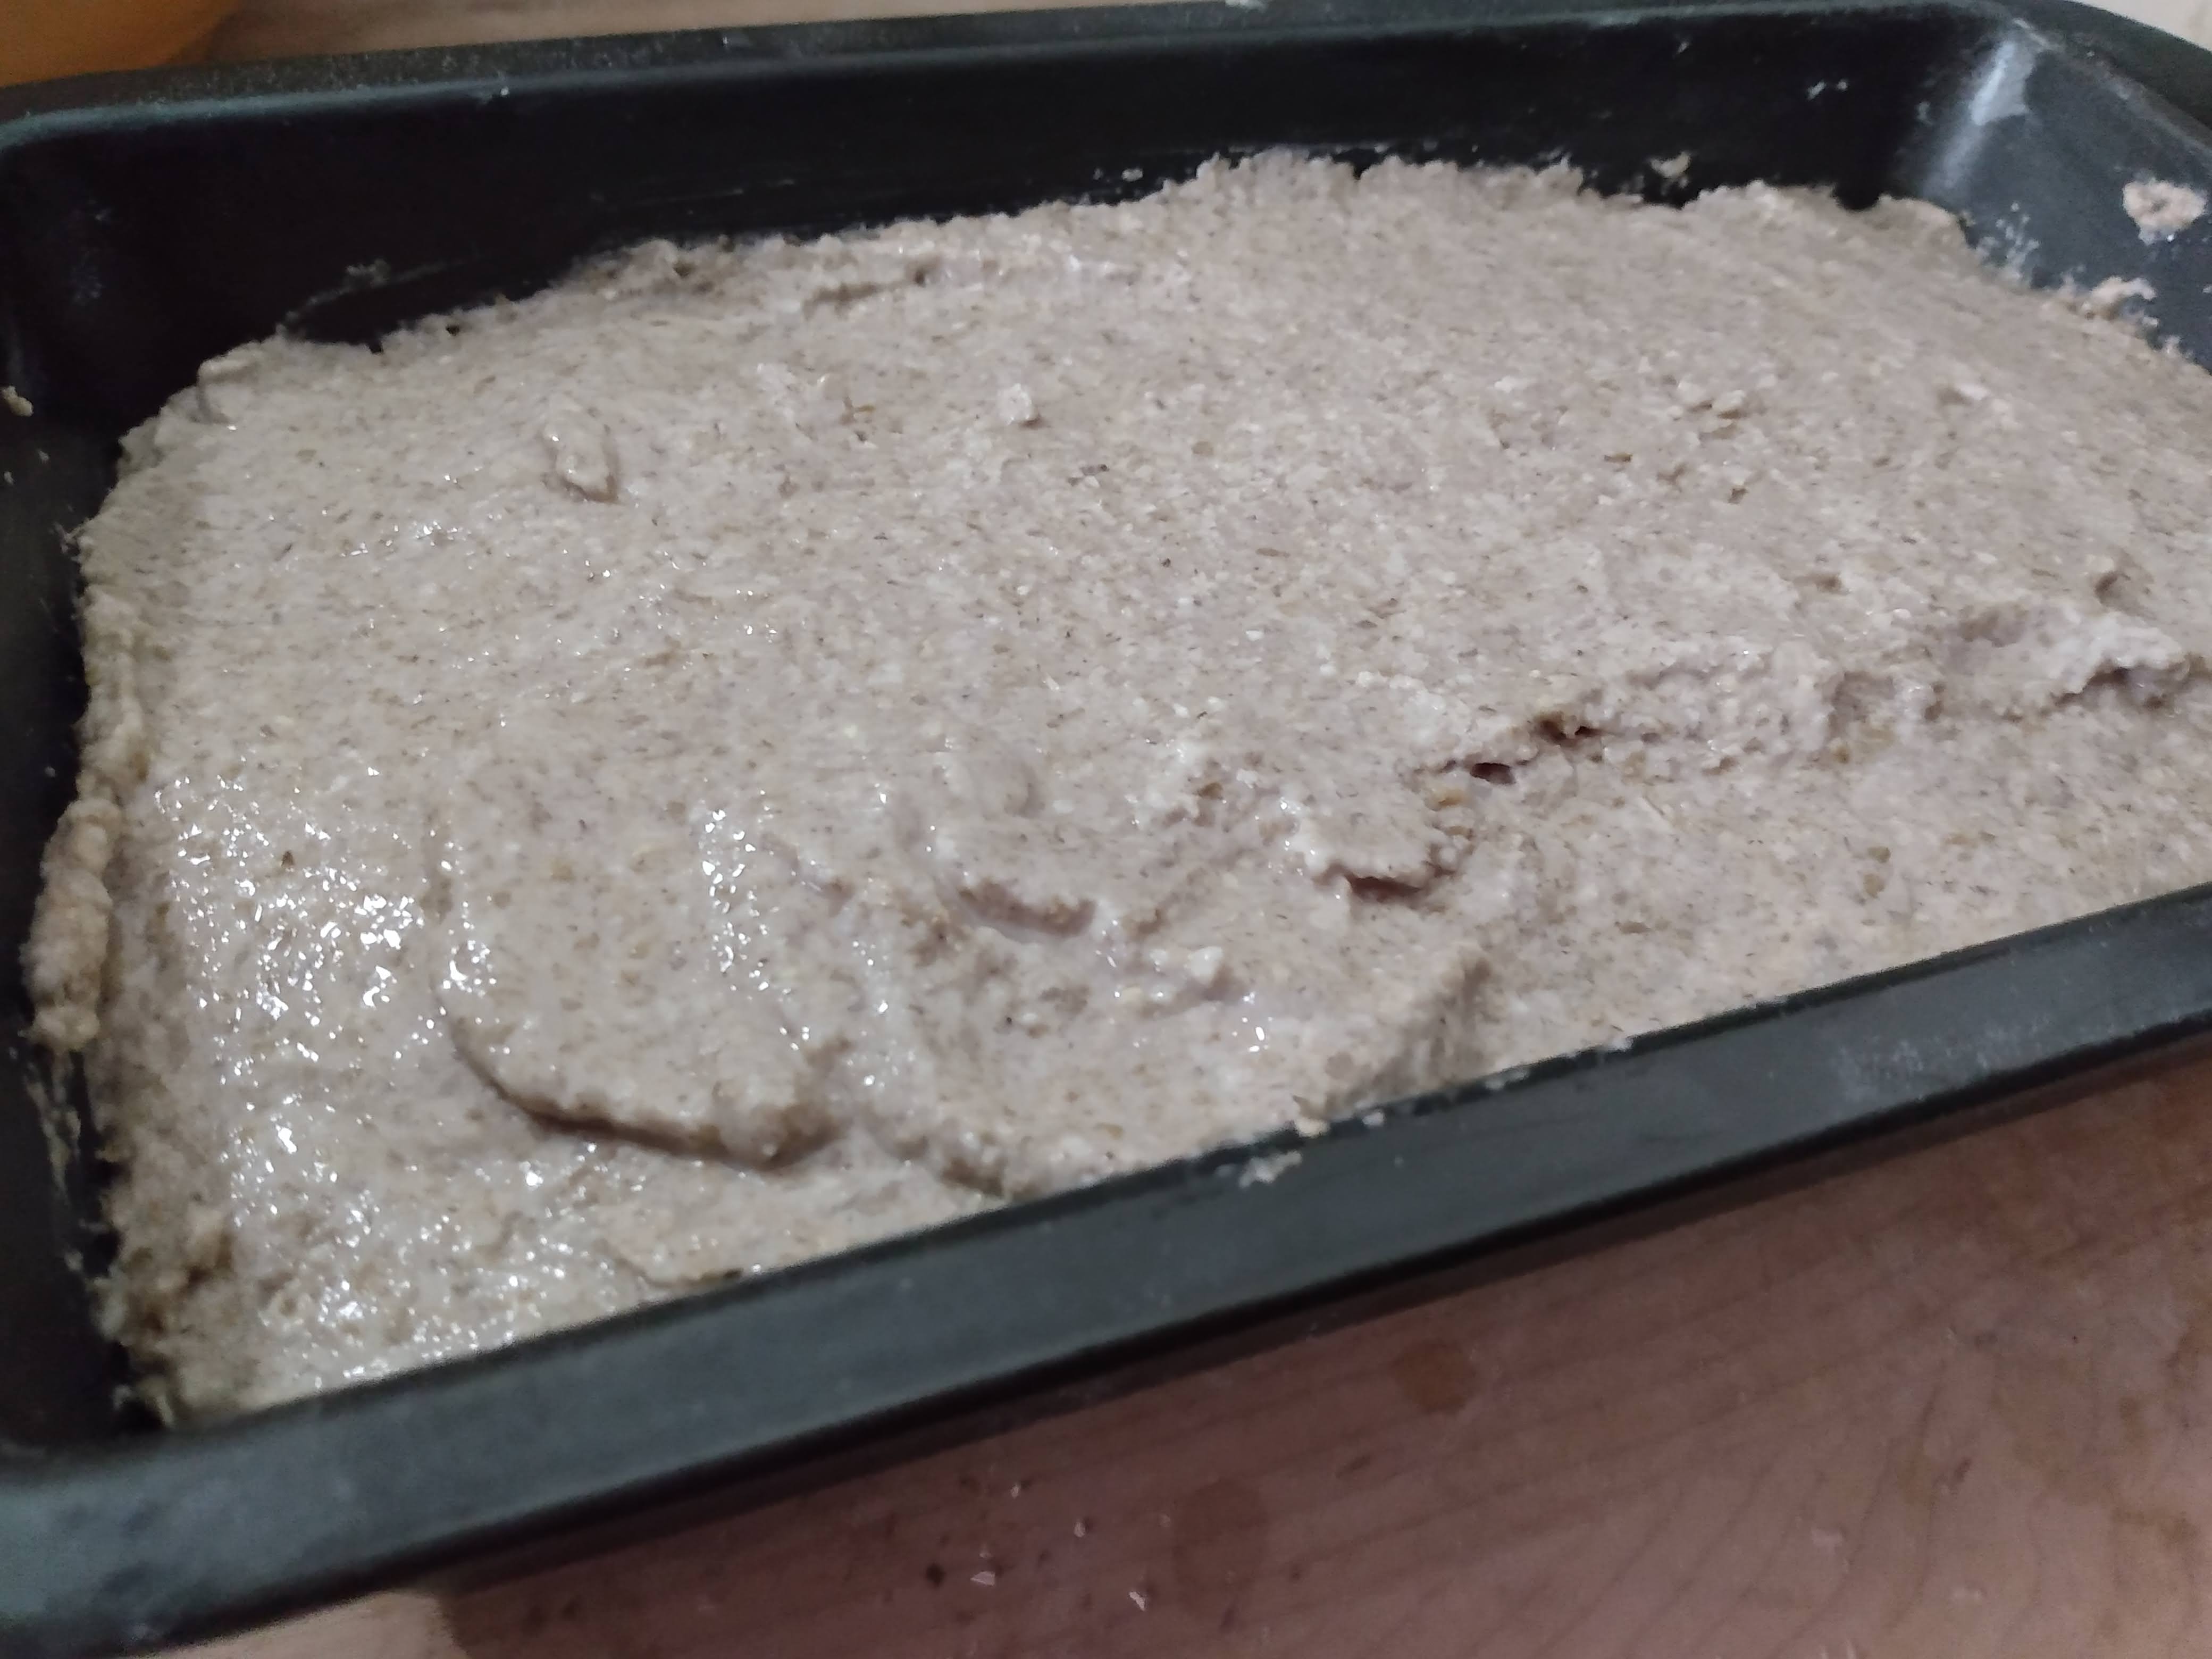
The dough should be sticky but won’t quite hold together, it’ll be more like a batter because of rye is naturally low gluten. Grease a common 8″x4″x3″ loaf pan with oil or butter and transfer the batter to the pan using a spatula to push out any air pockets and making it even. Dip the spoon in water to smooth out the top.
Using a second loaf pan of the same size, flip it upside down and lay on top to make a nice dome for final proofing. The dough is ready for the oven when cracks and holes appear on the surface. The time will be reflective of the temperature. It could be a hour or two, or over 12 hours. Depends.
When it looks ready, pop the loaf into an oven preheated to 450 degrees, including the loaf pan on top for humidity, and bake for 45 minutes. Remove the top pan for the final 10 minutes of baking time to get that final coloring on the top.
Remove the loaf from the baking pan and move to a cooling rack. Let it cool undisturbed for at least 12 hours. Then slice thinly and enjoy with anything!
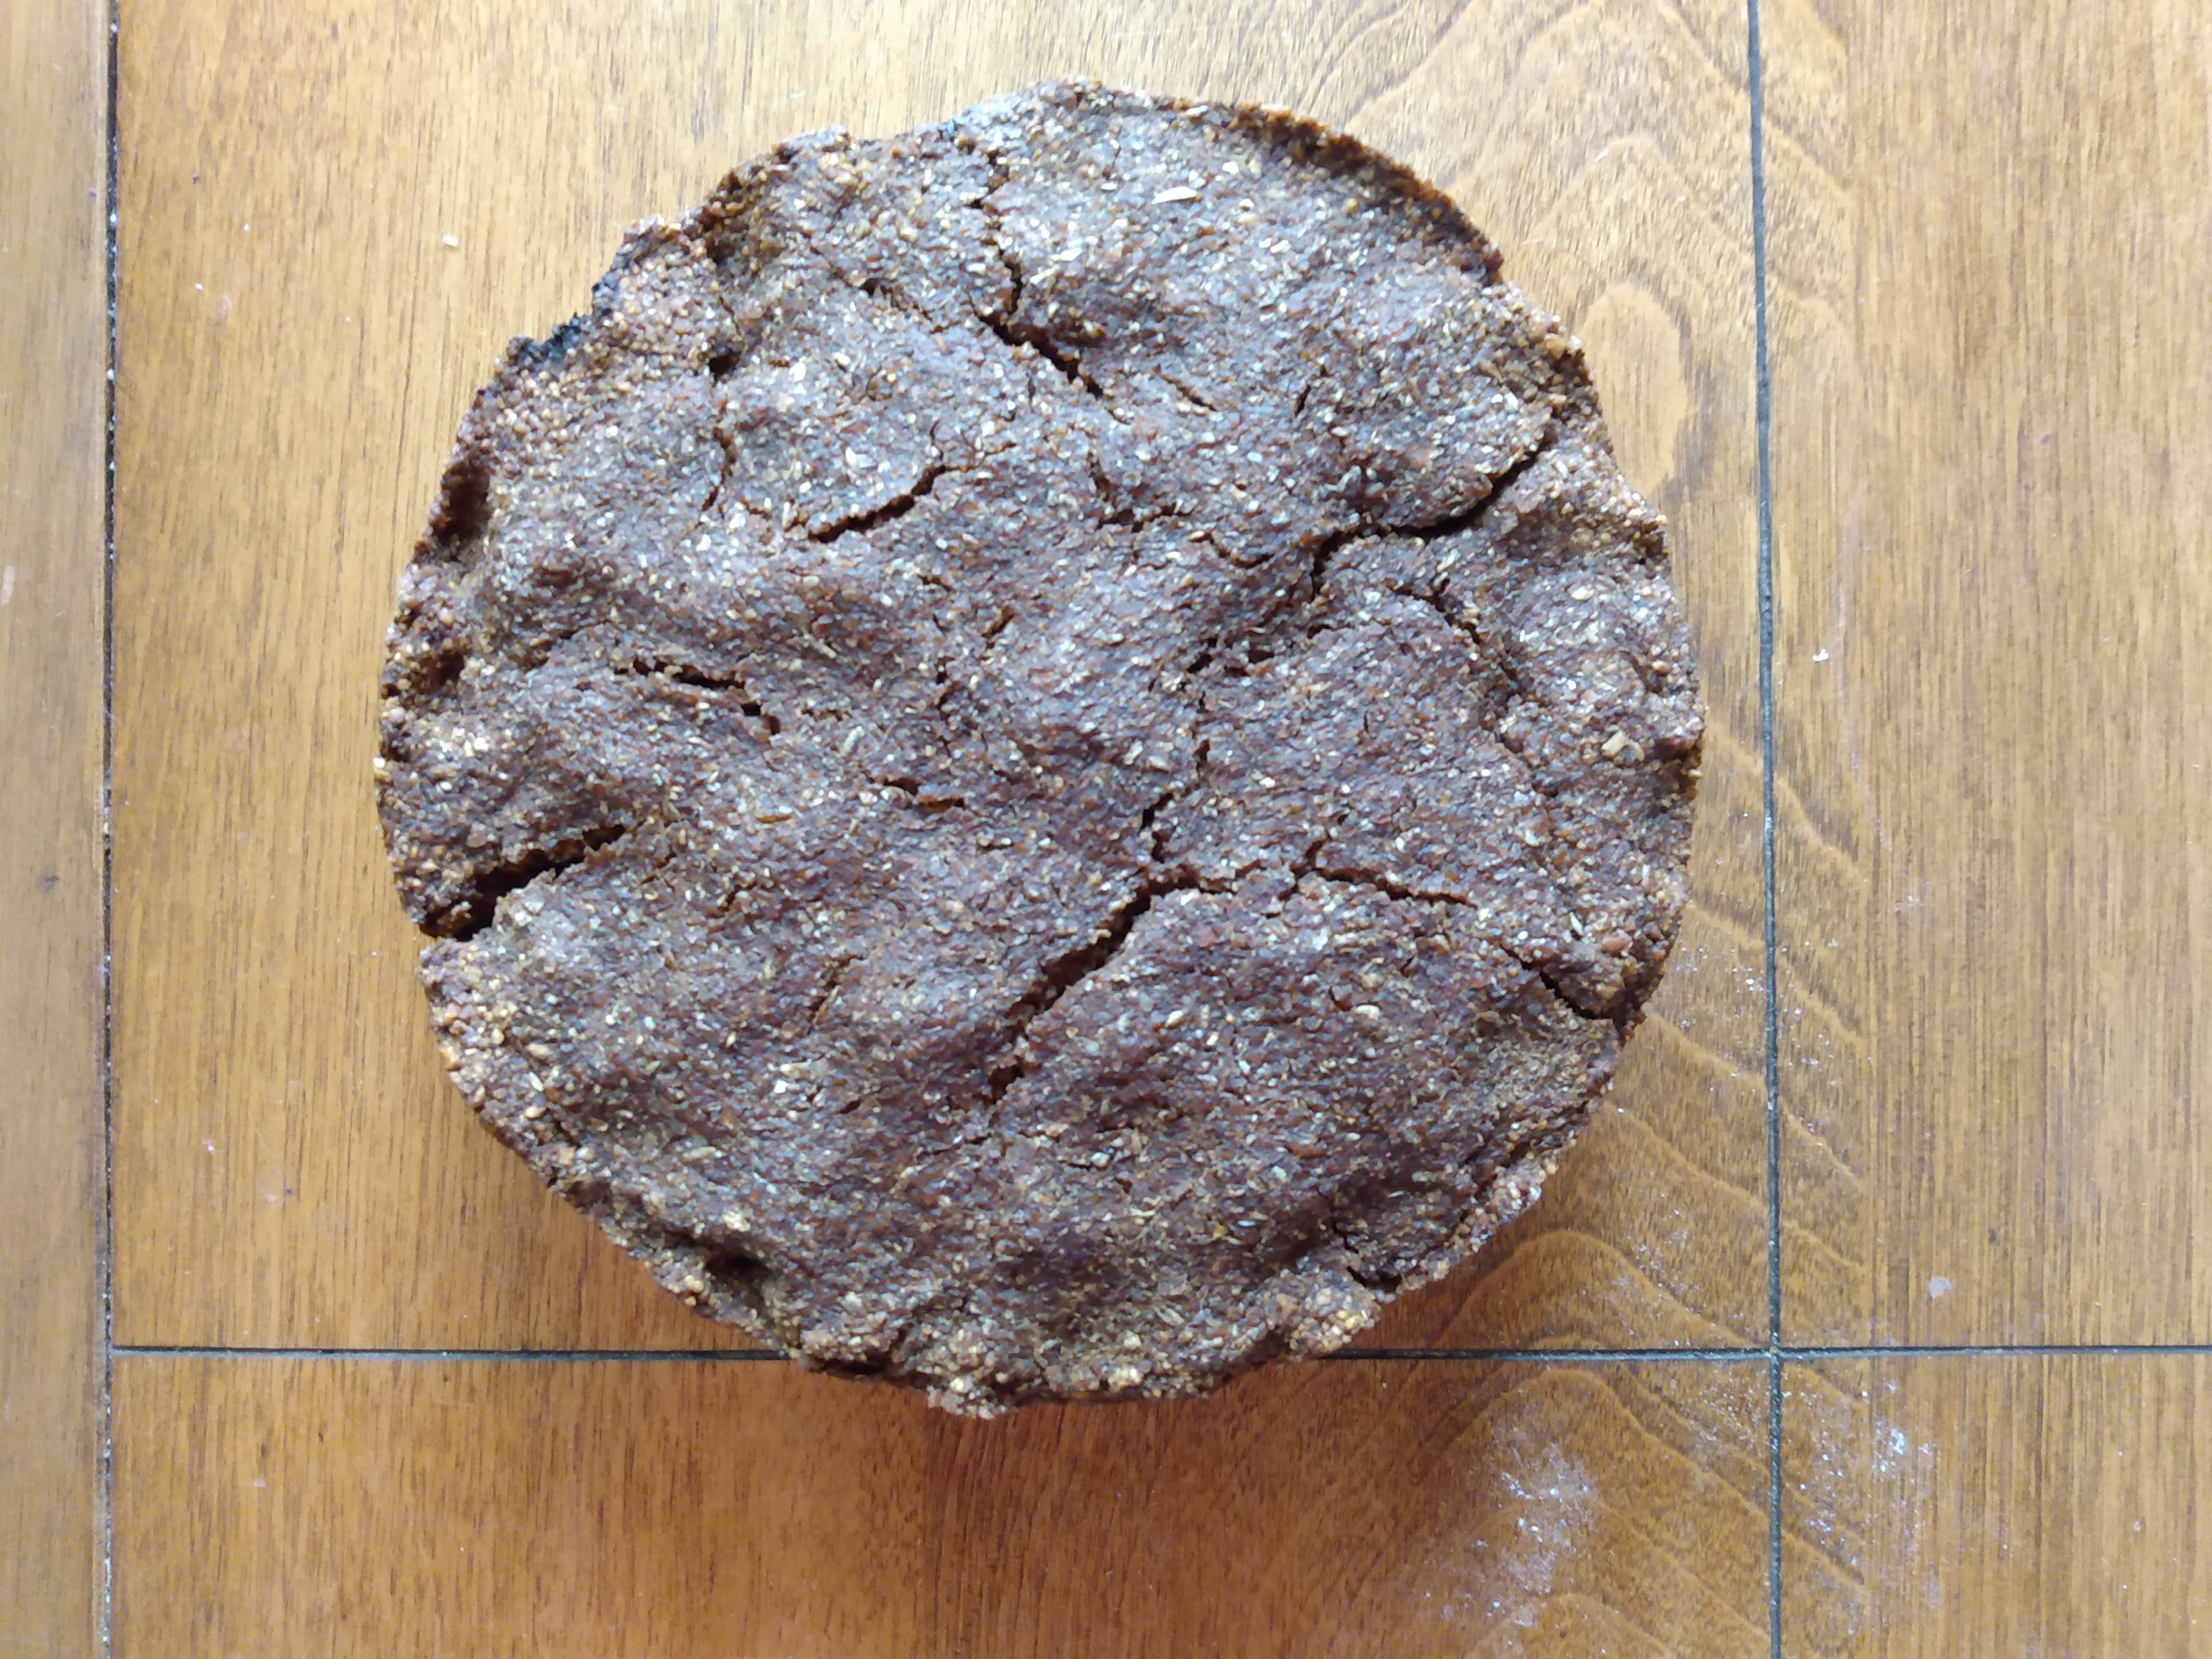
If you poke around you’re likely to find that most pumpernickel bread recipes ask for a dark sweet component, usually in the form of molasses or beer. However legends persist of a traditional pumpernickel bread that excludes all sweeteners while still sporting pumpernickel’s characteristic dark color and and malty sweet flavor. One version of this technique can still be found today as the Westphilian Pumpernickel from Germany, coming from a time long before shortcuts were the going-style. While some in that region lay claim to the creation of the traditional pumpernickel technique by way of a resident baker forgetting a loaf in the oven for a very long time, it’s certain that people have been forgetting about loaves as long as their have been ovens. And all of those pioneers of the baking world blessed with forgetfulness paved the way for a greater understanding of the process modern times refers to as the Maillard Reaction.
This recipe utilizes a method called scalding, which is basically cooking a percentage of the recipe’s flour and water until it gelatinizes. This method is often helpful in dealing with low gluten grains, like rye, in order to create structure and maintain moisture.
Scald
262g rye flour
262g water
Stir ingredients together in a small pot and warm over medium low heat, while constantly stirring. Continue until a thermometer reads 160 degrees F or seeing the grains appear gelatinous.
Dough
All of Scald
225g rye flour
19g salt
Mix all ingredients together and place in a small pan lightly greased with butter or oil. Either place another pan of the same size on top as a lid, fixed in place with foil crimped around the edges or with just a covering of securely fixed foil. There will be no rising with this loaf so head space isn’t a concern.
Place in a 220 degree F oven for 24 hours.
When out of the oven, remove from the loaf pan and cool on a cooling rack for at 24 hours before cutting into it.
Malt is a grain that has been sprouted for a short period and halted in order to optimize its enzymic potential to convert starches into fermentable sugars. It can be a useful ingredient to have around for making sweet malt syrup, for baking, and for fermenting into alcohol.
This works on any grain, whether it be corn, millet, einkorn, wheat or other. Each grain differs in respect to its diastatic power, which is a measure of its potential enzymic activity.
Process
Soak grains in enough water to cover for about 10 hours.
Strain and put in a warmish place. We’re shooting for around 70-75 degrees. Rinse by covering with water and straining every 8 or so hours, stopping once some germination begins to show.
For optimal diastatic power we’re letting the sprouts develop until the acrospire is about the same length as the seed kernel. The acrospire is the little shoot that is the new plant as opposed to the rootlets. It grows in the opposite direction of the rootlets. If the kernel is allowed to continue growing it will eventually use the nutrients itself to assist its own growing and our diastatic power will be compromised.
Some “mixing” or turning with your hands may be helpful as the rootlets leg out in order to encourage uniform growth. In big malting operations they will rake them.
When the kernels are ready to halt their growing process dry them for 8-10 hours at 120 degrees. This produces a “green” malt. At this point the rootlets should flake off easily. It’s thought by some that they contribute bitter notes and are separated and removed before proceeding. If additional flavor is desired move the malts to an oven at 170- 180 degrees and roast until the color and aroma suits you. Raising temperatures above 165 degrees destroys the enzymes however, not allowing the malts to contribute to any adjunct starches. This non-diastatic malt can be used to contribute sweetness, flavor, and possibly color to your bread, beer, or whatever recipes.
Diastatic malt (not dried or roasted above 165 degrees) can be combined with additional starches to make sugar through a mashing process that involves holding the crushed grain and adjunct at 150 degrees for 1-2 hours. Learn more about this and how to make a malt syrup here.
If milling and using for bread baking it is recommended to use nondiastatic malt, or use diastatic malt in small quantities (0.5 – 2% total flour weight) and only for breads with short fermentation times. Diastatic malt is a great energy source for yeasts however it can break down too many starches resulting in a gummy crumb.
*Most of these posts are resources for Ferment Pittsburgh’s monthly newsletter that features seasonal ideas, techniques, and musings. Consider jumping aboard?
Processing…
Success! You're on the list.
Whoops! There was an error and we couldn't process your subscription. Please reload the page and try again.
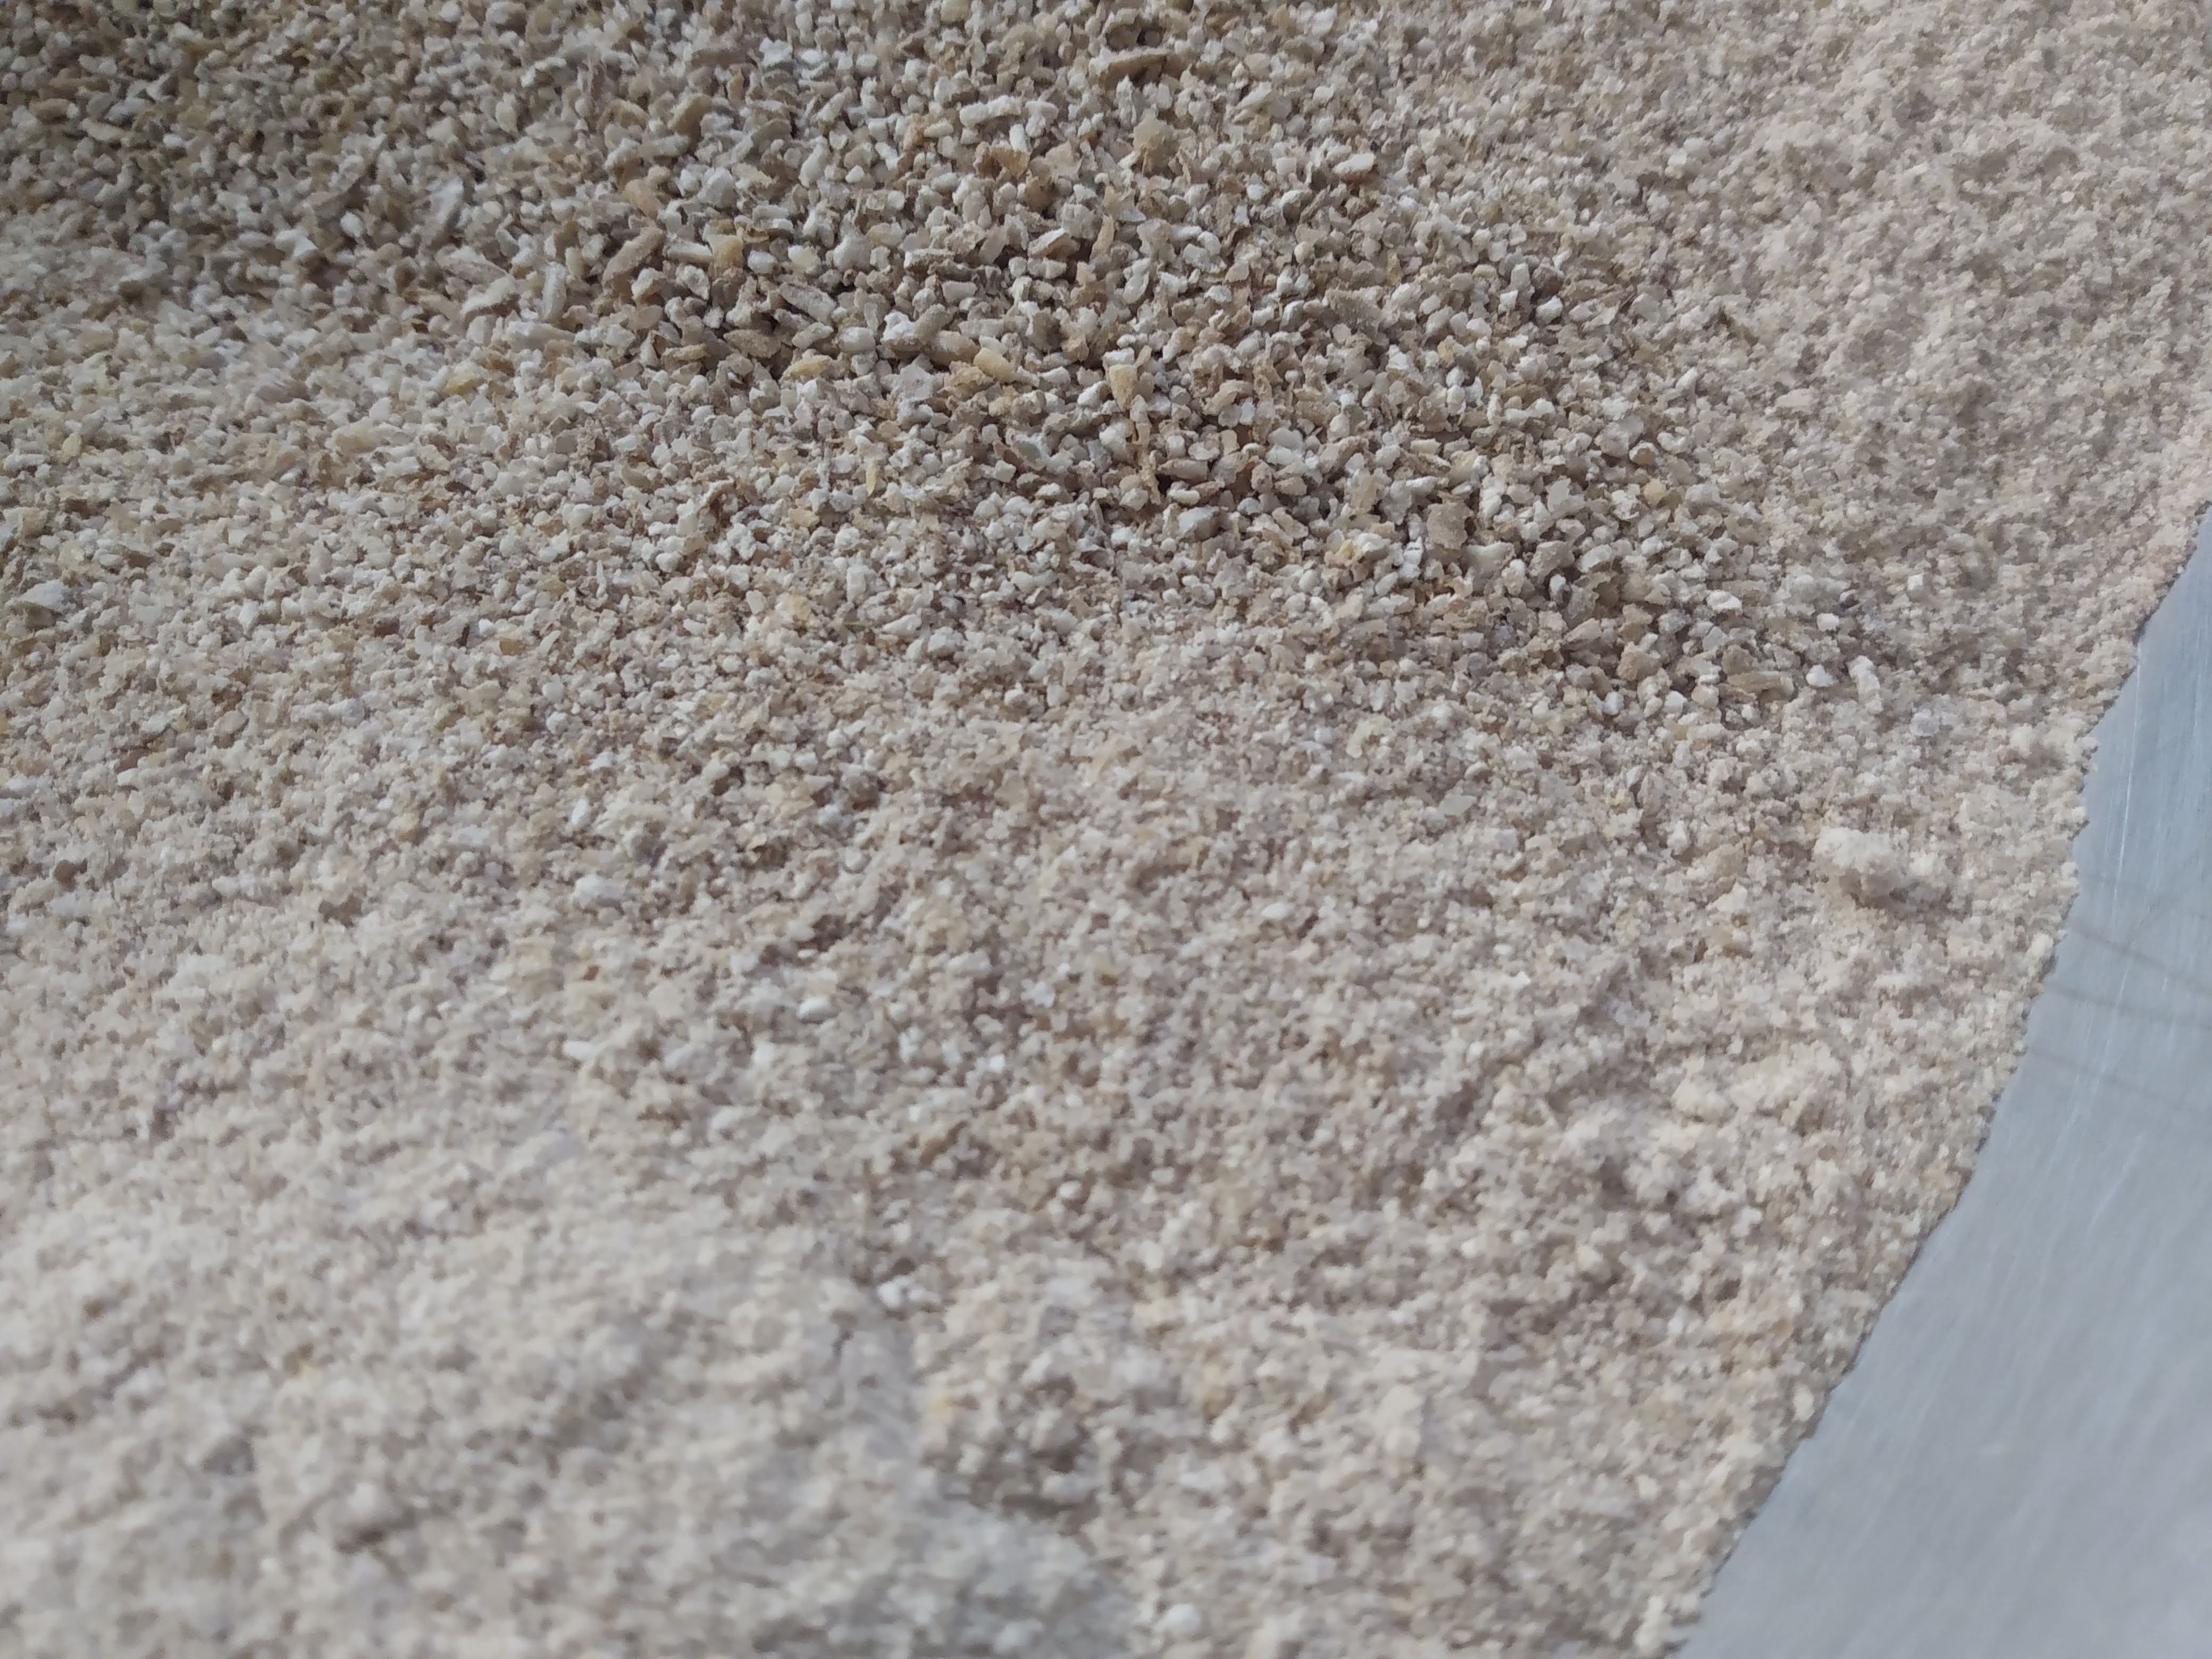
If I had to choose only one grain to grow it would be corn. Of the great variety of products corn can become, hominy is essential. Whether dent or flint, these corns are perfectly edible and are eaten as polenta and grits, but their kernel’s hull bind up niacin which causes deficiencies that lead to health conditions like Pellegra. In comes the innovative technique called nixtamalization. It was eventually discovered that corn soaked in an alkaline brine dissolved the hemicellulose walls of the corn and freed the niacin for human to ingest. Additionally the process softened the kernels and in some cases dramatically increased the minerals available and greatly reduced mycotoxins.
So how’s it done? Two ways of creating a proper alkaline brine is through the addition of lime (from stone) and lye (wood ash). Lime, also known as Cal, is limestone baked at a really high temperature (converting the calcium carbonate to calcium oxide), then when treated with water (where it becomes calcium hydroxide), and dehydrated to a fine white powder as lime or Cal. It naturally increases the kernel’s minerals when used in processing as well as influencing the familiar aromas we associate with tortillas. Lye on the other hand, being more widely accessible, was used by people who might not have had access to limestone deposits, as it is produced by soaking wood ash in soft water. There is food grade lye you can buy which works the same as a wood ash solution but lacks the mineral contribution provided by natural wood ash.
How its done
Get yourself some field corn, whether flint or dent, either will do. Your best bet is to grow it yourself if you can. But if you can’t, research the Open-pollinated varieties grown in your area. Popular out our way is Wapsi Valley, which is a dent corn pictured above (note the dents on the tops of the kernels). We found it by researching OP corn for feed for sale locally and learned more about the varieties, such as how they are actually delicious heirlooms. If you tell the farmer you buy the seed from that your eating it they may think your crazy as lots of people think it’s just for livestock anymore.
Either way, when you have some corn, weigh the threshed kernels and put them in a pot and cover with water to about 2-3 extra inches above the kernels. Add Cal at about 1 gram per every 100 grams of corn. If you’re looking for Cal, check out a grocery store from Central and South America. For the lye method see below.
Bring the pot to a simmer and let it go until the kernels are a little tender. It could take around 45 minutes, or more or less. Caution that boiling with Cal can create bitter flavors.
Remove pot from heat and let it sit for 24 hours.
Strain the kernels and give them a rinse while also massaging them. You now should be seeing the hulls wash off like whispy, soggy paper. The job is done. Wash off as many hulls as you have the patience for. Less is better for making thin products like tortillas.
The hominy can now be stored a couple different ways. They can be frozen as they are, or dehydrated and stored dry, in which you would soak them like any other grain before cooking or grinding them into hominy grits. You can also grind them fresh to make tortillas for dinner tonight!
Lye Method
If you’re using food grade lye use roughly the same ratio as above 1 gram lye for 100 grams of kernels. For information on food grade lye and/ or using wood ash itself you can refer to this post regarding lye and bagels. Sodium hydroxide, which is what pure lye is, in the right quantities can burn you so use care in avoiding skin contact with the lye brine if you’re using this method.
Cover threshed corn with water, add lye granules or lye brine, and bring to a boil.
Simmer for 30 minutes, turn off heat and steep for another 30 minutes.
Drain the lye water and soak in clean water for 30 minutes.
Change the water once again and bring to a boil one more time, and simmer until kernels are tender. Wash hulls as you wish.
*Most of these posts are resources for Ferment Pittsburgh’s monthly newsletter that features seasonal ideas, techniques, and musings. Consider jumping aboard?
Processing…
Success! You're on the list.
Whoops! There was an error and we couldn't process your subscription. Please reload the page and try again.
It’s always exciting to add a new personality to your garden and many of us love to bake and eat bread. Growing wheat is one of those things that could seem daunting from afar, but the truth is it’s almost as easy as growing grass. Regardless of if you lack enough extra space, the value of the experience unravels the mystery of how bread and other flour products come to be. It’s an exciting crop with loads to teach so worth giving a shot.
Not too much space is necessary to get started. Similar to if you have a modest garden plot and only get some of this and that, you’ll probably need something like 20’x 20′ to grow enough for a loaf of bread. But much of the reward is gained through shining a hands-on light onto how grains live and grow, which I believe is worth experiencing no matter the space restrictions. And every year you grow it you’re adapting and building up your seedbank to boot.
Growing wheat is the simpler part while processing it is where it gets more tricky. There’s a bit of rhythm and experience that goes into it transitioning from plant to muffin, or cookie, or bread, but first let’s get into growing it.
Selecting seed
There are many different types of seed to choose from. Consider your ultimate purpose when choosing. And do make sure get your seeds from a good source so they may be free of odd diseases.
Hard Red Winter – High-protein used from bread and other baked goods, commonly used for all-purpose flour.
Hard Red Spring – Highest protein and thus best grain for bread and other leavened products.
Soft Red – Low-protein and often used for pastry flour to make cakes, pies, and other baked goods.
Soft White – Very low-protein used for pastry flours and unleavened baked goods.
Do some research on the seed before you buy it. Many winter varieties require a vernalization period, meaning they need to experience temperatures below ~40 degrees for up to 45 or so days in order to produce a seedhead that same year. Winter varieties tend to be planted in the fall to grow up a bit before winter halts them into dormancy until spring. Some winter varieties can be facultative, meaning they can be planted in either the fall or spring.
Generally speaking fall grains produce more tillers (seed-bearing stalks) and thus have a higher yield, while spring planted grain is higher in protein and thus higher in gluten and better bread bakeability.
When to plant
Winter wheat is planted in the northeast sometime between late September and early October. The goal is to give the grain enough time to sprout up and establish itself before winter settles in, however not so much time that it begins it’s upward growth stages. Then it will hang out in the field ready to take off at the first sign of warm weather.
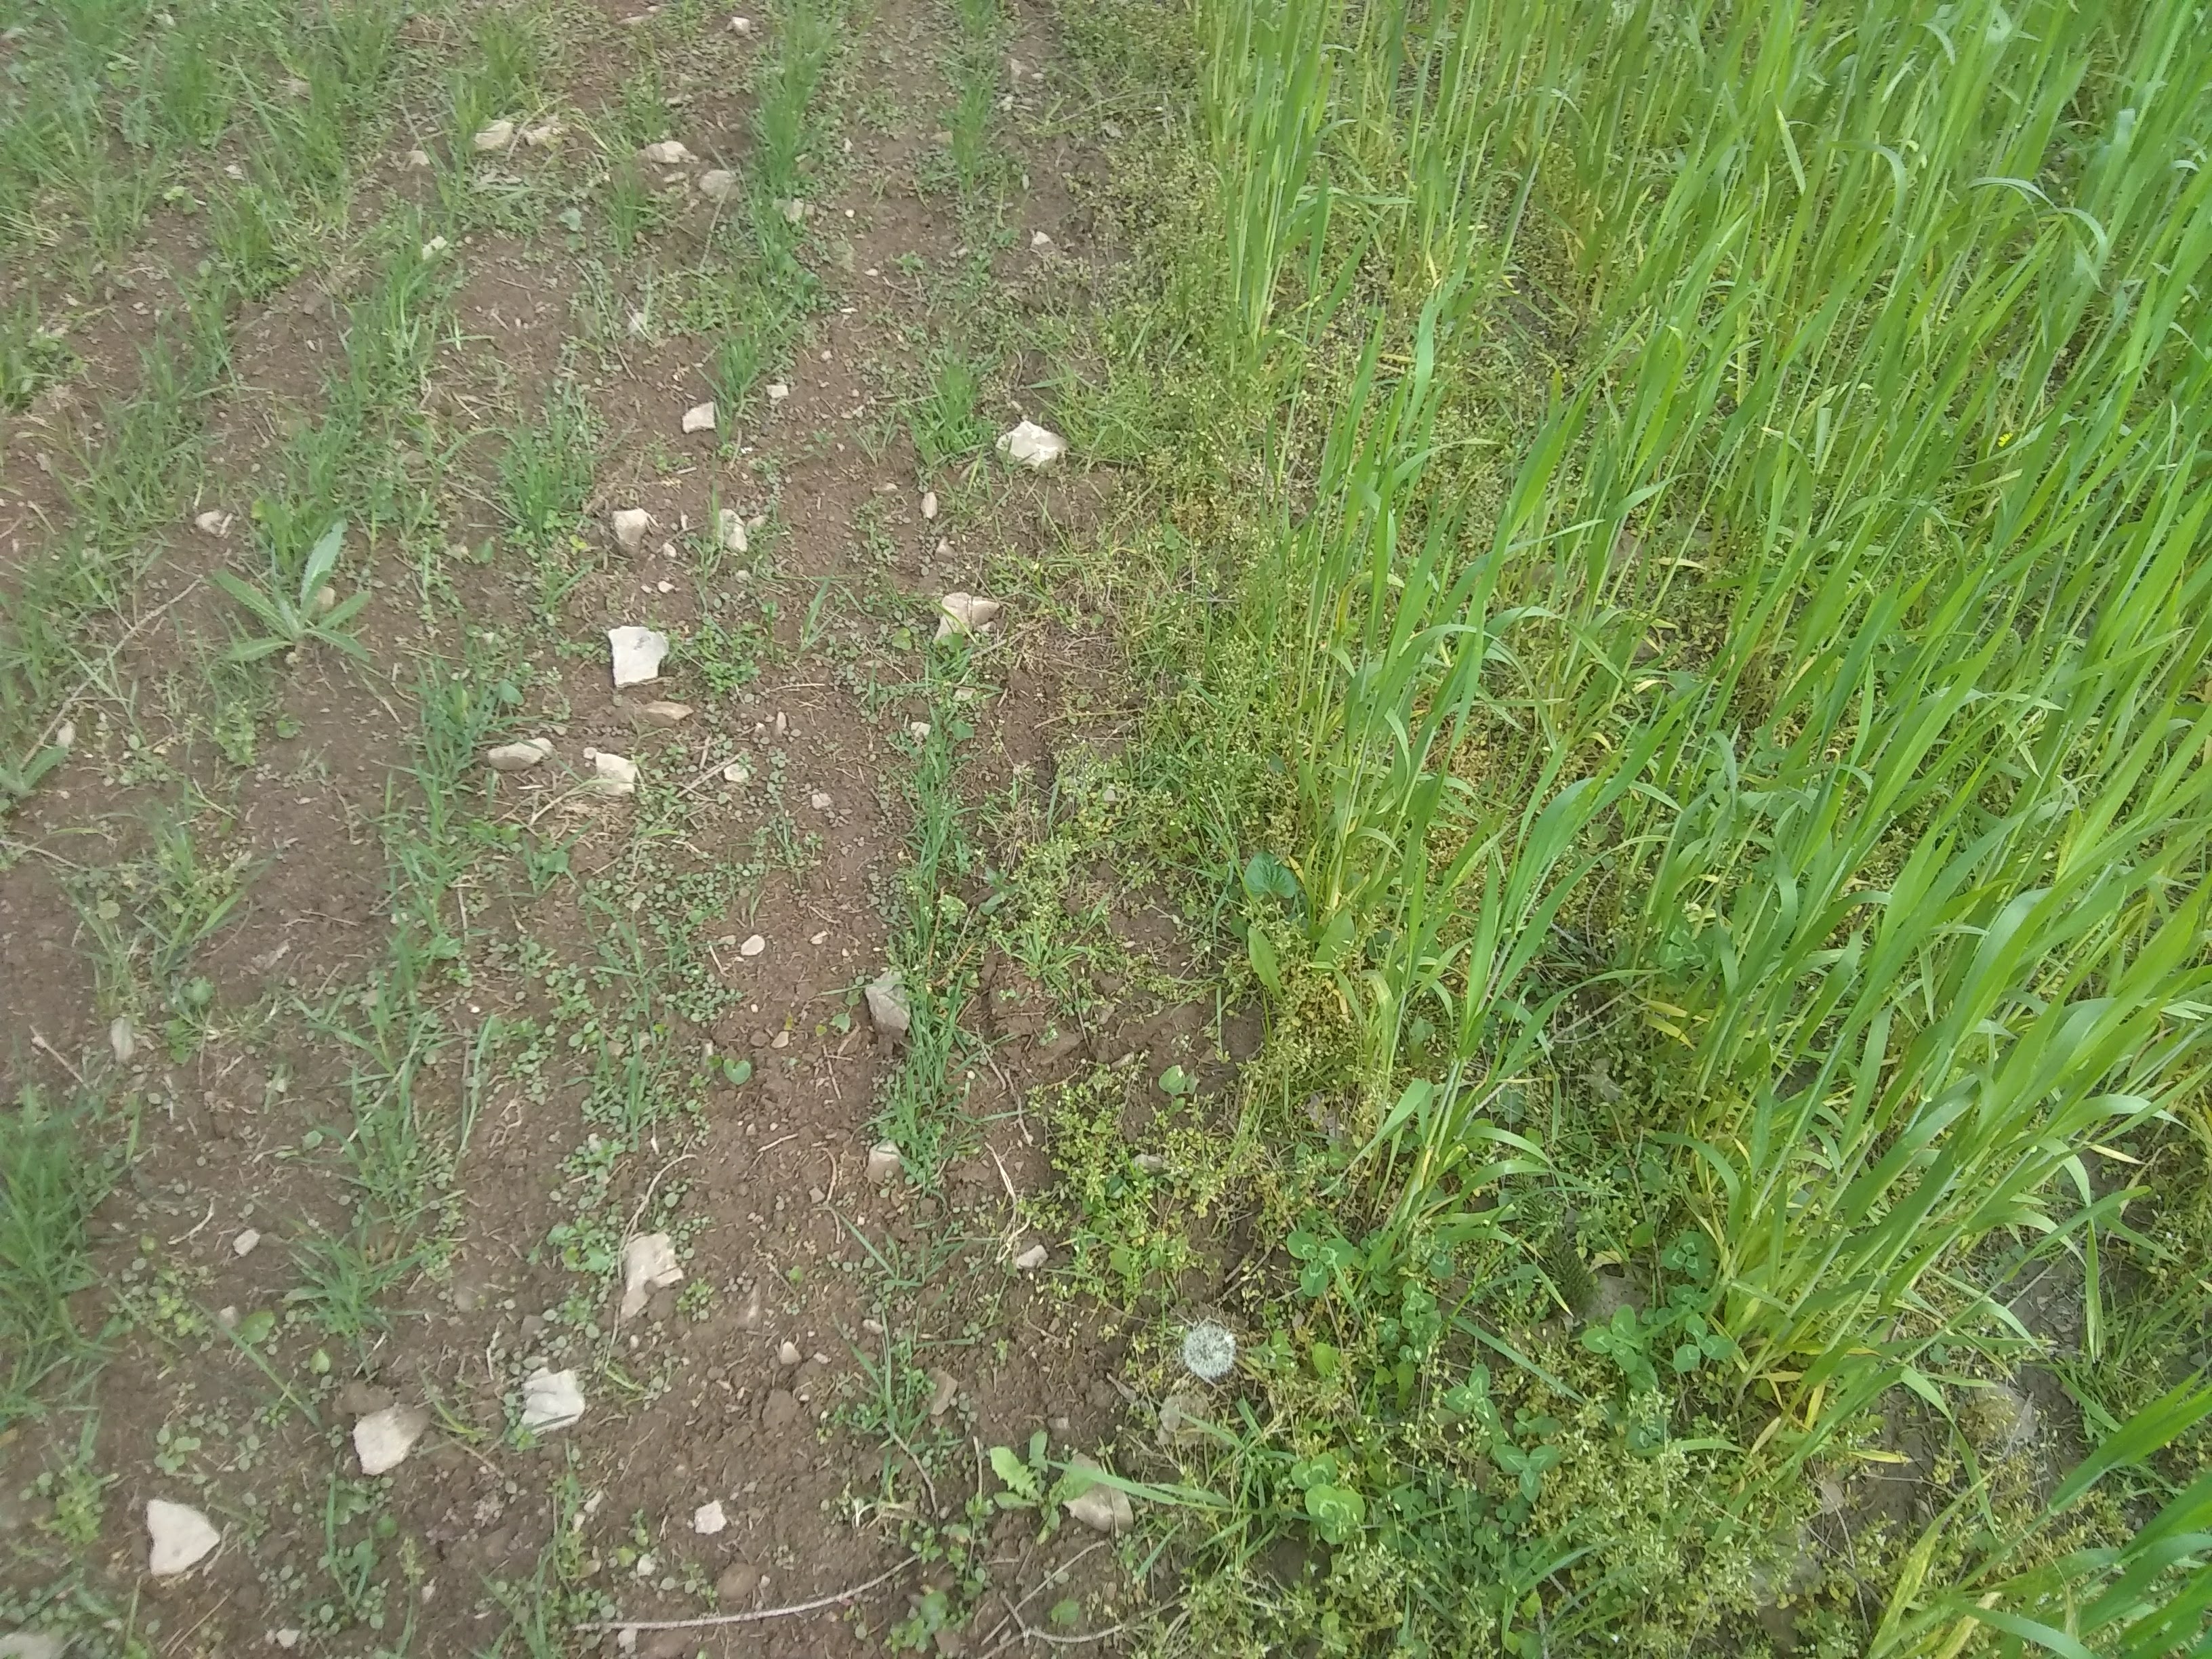
Spring wheat can be planted in early spring from March to April. In the picture below you’ll see them side-by-side. A benefit to planting in the fall is the jump the wheat gets on out-competing the weeds.
Side by side with Spring planted wheat on the left, and fall planted wheat on the right.
Wheat is a heavy feeder so you’ll want adequate fertility in your soil. Nitrogen is directly related to the protein in the kernel so if you’re trying to make a quality bread you’ll want to feed it well. We always grow a field of beans the season before wheat for their nitrogen fixing characteristics. A spring sown dry bean goes through its growth cycle just in time for winter wheat to be planted. We also broadcast red clover in late winter over our winter planted wheat. The goal is for after harvesting the wheat we’ll be left with a field of nitrogen-fixing clover.
We’ve learned that some ancient grains like einkorn and emmer thrive on lower fertility and in fact too high could cause them to grow up so big they just fall over, which is referred to as lodging, and isn’t ideal. Lodging can make for too much moisture on the seedheads inviting mold and disease, or it positions the grains low enough for critters to enjoy.
Seeding
Seed spacing really depends on your specific seed. We’ve grown a winter emmer that reaches 6′ tall and amasses a wide girth and can handle generous spacing of 10″ or so and still form a tight canopy. Conversely, our red fife wheat stays super compact. Finding a sweet spot that doesn’t overcrowd your grain but encourages a full cover when mature helps keep the competing weeds at bay and your yield at its best. Perhaps a good place to start is 6″ spacing in rows with 8″ between rows, or enough space to work your hoe between rows.
Broadcasting is fun to do but doesn’t provide you with an opportunity to control weeds. Perhaps in that case broadcasting is better suited for fall planting and with a plot that is free of any aggressive weed personalities.
Cultivation
Stay on top of those weeds as best you can. It’ll be competitive for spring grains which can easily get gobbled up by all the other eager seeds. Hoe persistently before the grain grows out and you’re no longer able to pass through the rows. Winter grain will help keeps weeds away due to its early jump in the spring. However a broadcasting of red clover in late winter may halt any future cultivation plans. Running through a round of cultivation before throwing clover is a nice thing to do. Either way when it comes to harvest time it’s nice to cut down handfuls of wheat rather than handfuls of, say, thistle.
Some varieties such as einkorn are allelopathic, which means they produce chemicals that repress other plants trying to grow around them.
Growth stages
After the grain sprouts it will go into tillering phase. This is when the plant starts producing young future seed-bearing stalks and look just like grass. It’s a great time to show off your super spotty “lawn” to your friends for a good laugh.
Soon the energy becomes focused upward as the stalks start climbing led by the leading flagleaf. When it reaches a sort of terminus, from beneath the lead leaf a bulge begins in the stalk. A little seedhead head then pokes out and gets lifted higher yet upward.
Then emerges what looks like little white dust dangling from the seedhead which is the grain’s flowering. Wheat is pollinated romantically enough by the summer breezes. When the flowers fall away, now begins the ripening of the grain.
At this point the grain chamber seems empty but with a little time it fills in and starts taking shape. The seed starts with what’s called the milky stage. This is when if you squeeze the seed it will ooze a milky substance. It will firm up in time into the soft dough stage. It’s basically as it sounds, when the kernel is chewed between the teeth it will feel like just that- a soft dough. Then with continued ripening the kernel hardens into a hard dough stage. The grain is rapidly loosing moisture and preparing for its future germination as a seed having gathered all the nutrients it could from the plant.
flowering wheat
When to harvest
Once the transition node between the seedhead and the stalk has browned the seed is no longer receiving nutrients from the plant. Additionally, the longer the seed remains on the plant the higher the percentage of germ will be in each kernel. The germ assists in the germination of the seed into a new plant. However if you want to for instance to make bread then you’ll want to maximize the starch and minimize the germ. In that case you will harvest about two weeks early, when the kernel is in soft dough. If you’re harvesting for seed, simply allow the plant to fully ripen, just making sure to get it before the birds do.
Harvest
Harvest by either clipping the grain heads off or by cutting the somewhere along the stalk with a sickle or machete. You’ll want to store them somewhere they can finish drying- so a well-ventilated space safe from the weather, but also somewhere away from where birds, rodents, and other rascals might be able to reach them. Tying them off into sheaves is beautiful and helpful for transporting them if you grew enough, though not fully necessary.
Once your grain is dried enough that it doesn’t dent beneath your thumbnail, it is storable and ready for the threshing floor.
What follows is the threshing, winnowing and storing, plus milling, etc. For threshing and winnowing information head on over here.