All of us are born dyer right? We’re born with the ability to fumble our mug of tea onto our shirt in an uncontrolled moment. Any of us can make browns, as lots of plant materials oxidize into other shades like yellow too. However blue is a much more difficult one and rarer in nature to achieve.
The substance in plants that makes blue exists in many botanically unrelated plants. Examples from across the globe include: “True Indigo” – India (Legume), Anil- subtropics (Legume), Indigofera bracteolata (maybe Dugwa lala)- West Africa (Legume) , Woad- Middle East/ Britain (Brassica), and Japanese Indigo- (polygonaceae). Japanese Indigo is what the following information will specifically pertain to. Even as these plants grow geographically and culturally separated, the process for obtaining pigment is generally universal despite the techniques being discovered independently.

Growing
Japanese Indigo is sensitive to frost. The damage to the leaves from frost and insects are interesting ways of speculating how the pigment was discovered, as the damaged leaves show a curious blue hue. Start seeds indoors around the same time as tomatoes or direct sow after the frost date. They can be a little slow to germinate but will grow quickly thereafter.
Japanese Indigo requires no special growing conditions, good fertility gives more leafy growth, which is what we are after as the pigment is in the leaves. A rich soil and ample water will increase your yield.
Harvest the indigo before flowering by cutting the plant down to a couple inches above ground. Japanese Indigo will easily regrow after being cut and it is possible to get multiple cuts in a season depending on your situation. Do consider not cutting the best performing plants in order to let them go to seed. Harvest these just before the frost so they have a chance to mature. Also make sure to get a final harvest in right before the frost arrives.
Pigment Extraction
There are many different ways to process the harvested indigo from drying to composting, to using right away for fresh dyeing. The following process explains how to extract the pigment from the fresh leaves that can then be stored for later use. It is the preferred method for our farm as the first cutting usually comes in late July when time is more scarce and the harvest is the greatest.
Leaf cells contain indican and an enzyme that are kept separate until the cells are ruptured. Combined they make indoxyl. Indoxyl when exposed to oxygen becomes indigotin- blue. So first the cells must be destroyed to begin extraction of the pigment.
If you happen to have a protein based fiber you can pick the fresh leaves off the stems into a bowl, sprinkle a little salt, and massage the leaves into your cloth which will rupture the plant cells in a process that feels very much like making sauerkraut. The result is a teal color.

Fermentation Extraction
Immediately after harvest, plunge the whole cut plants into water weighted down. We use 44 gallon Brute garbage cans. Warm temps are ideal like 70° with a lid. Placing the container outside in the summer under some shade is great.
Let it ferment for 3-4 days or until the pigment is noticeably spent from the leaves. You should be able to notice the water having a greenish-blue hue. Discard the plant materials into the compost. Fermenting too long can decrease the amount of pigment.
Bring the remaining liquid to a pH between 11-12 with lye, hardwood ash, or Cal/lime. A pH measuring tool can be used or you can incrementally add your alkalizing agent, stirring vigorously, until the water reaches a hue of blue you want. Raising the pH will darken the blue color.
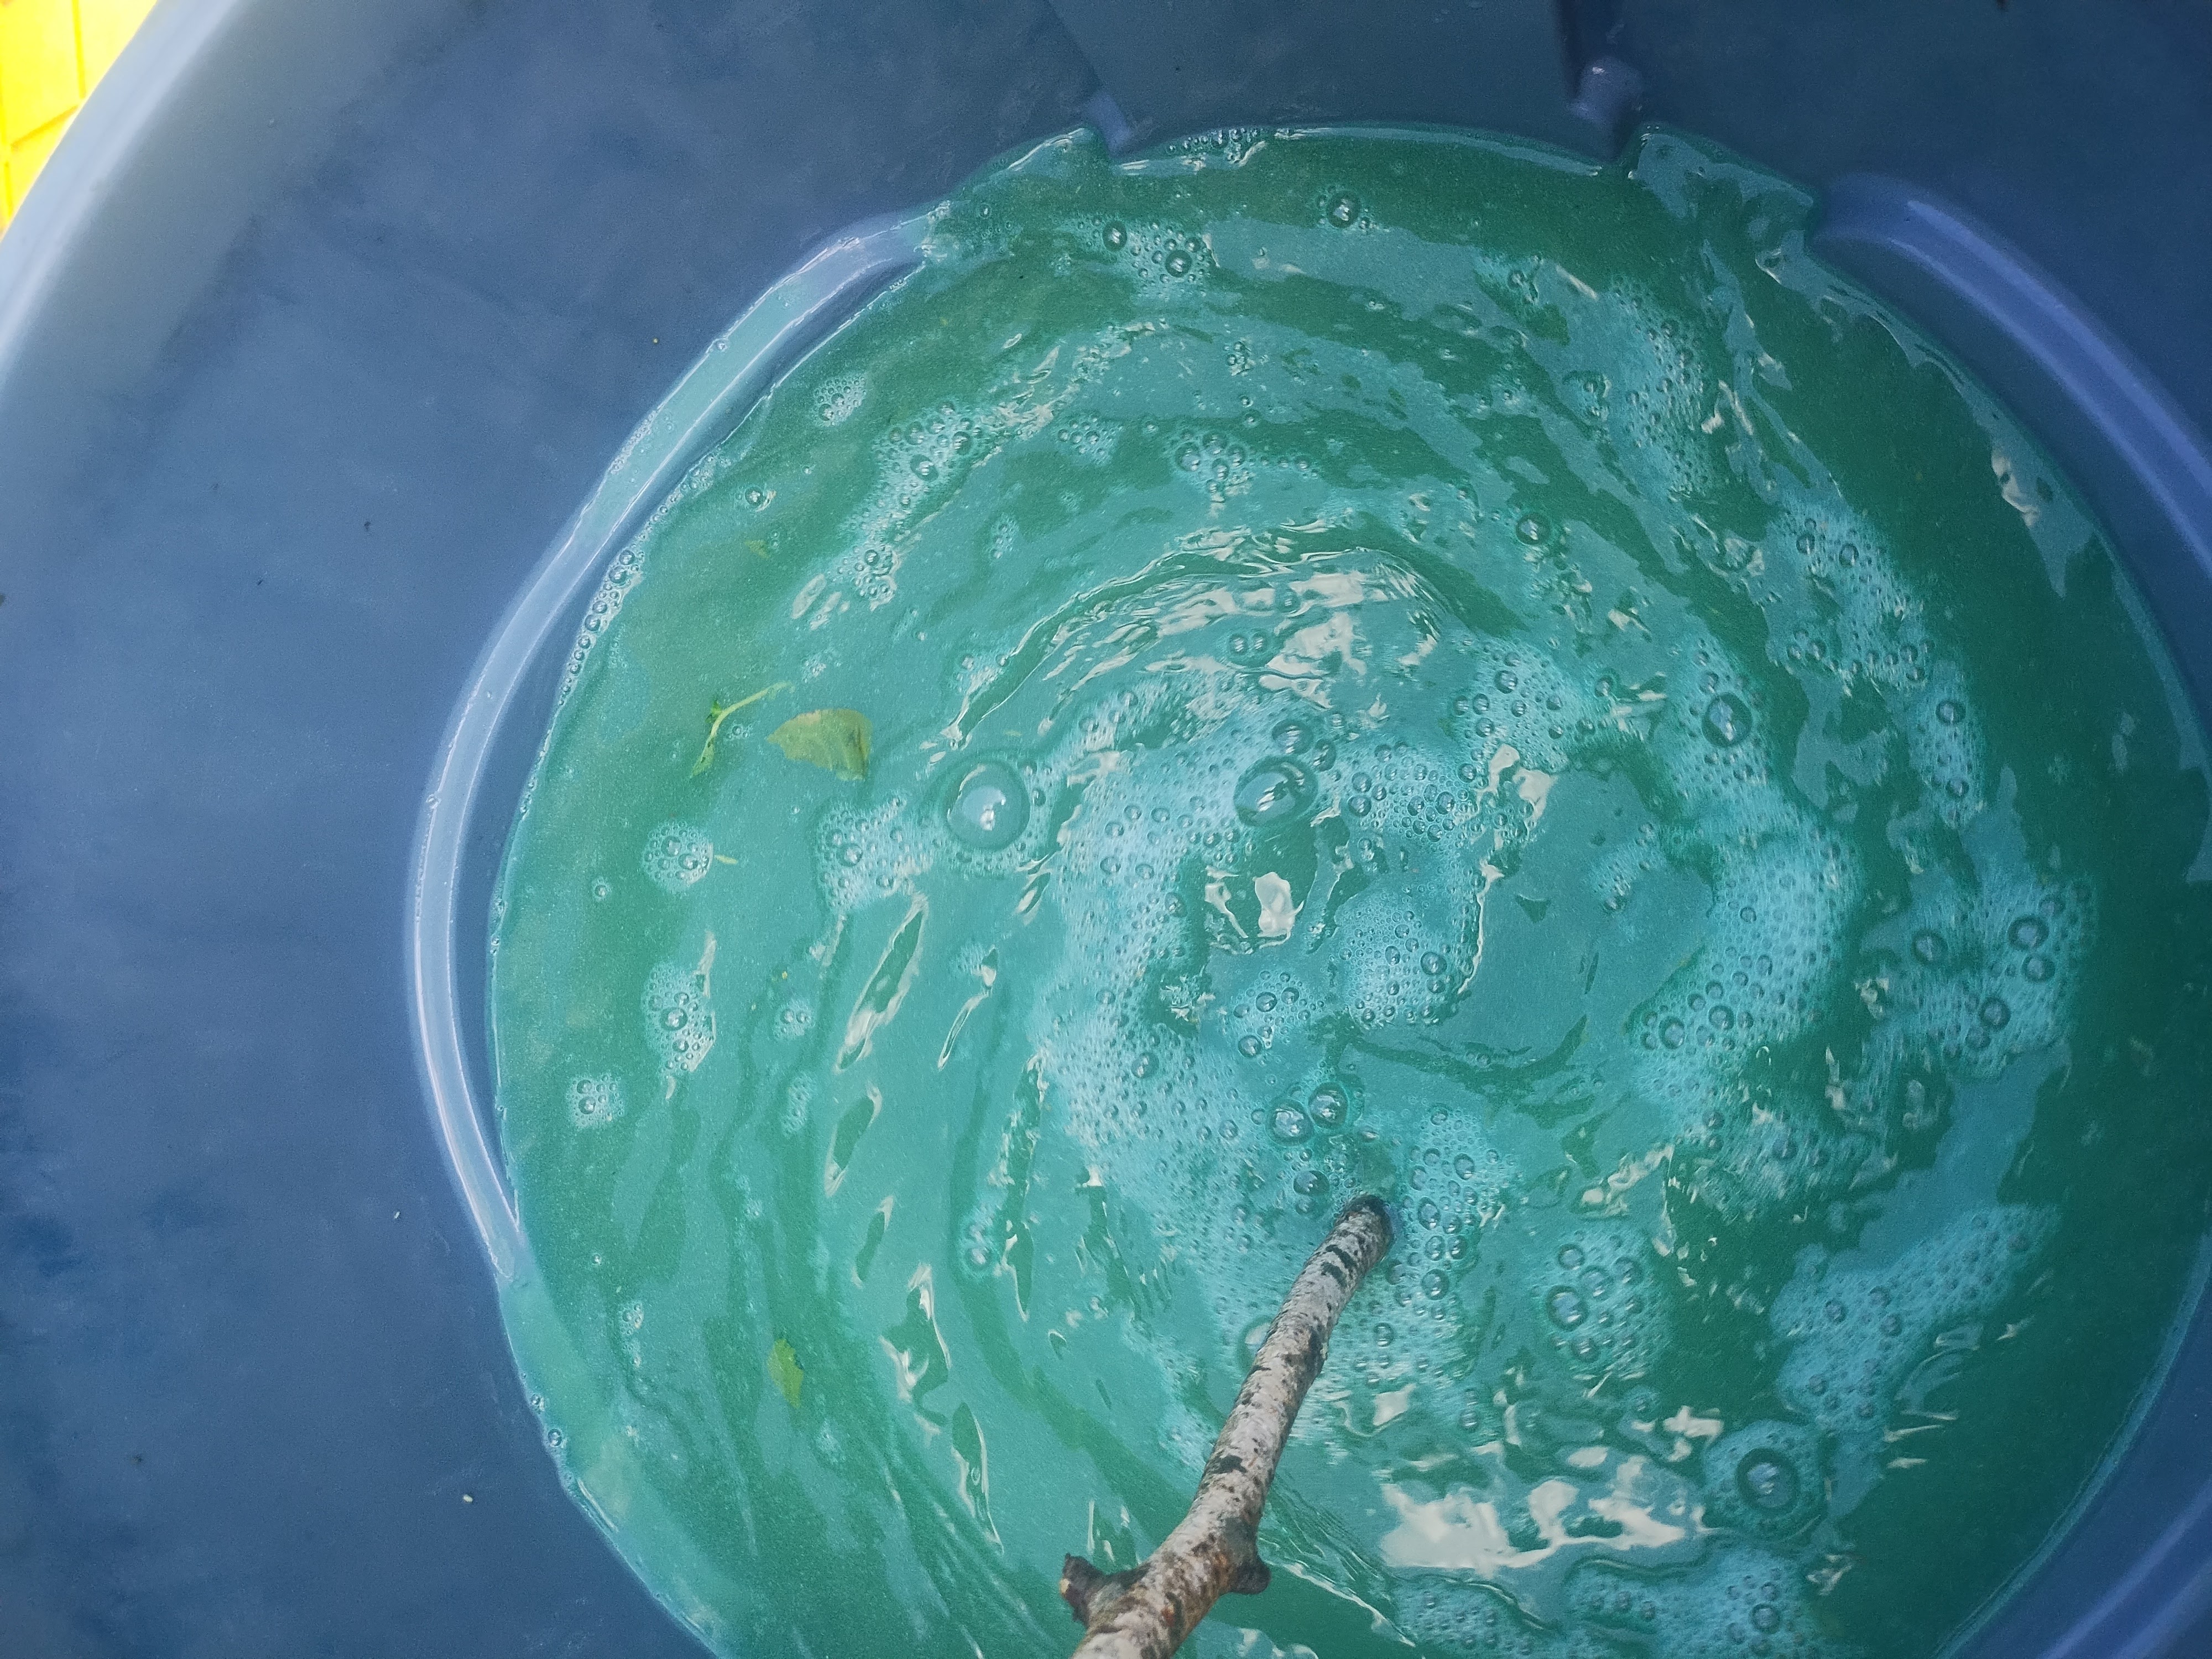
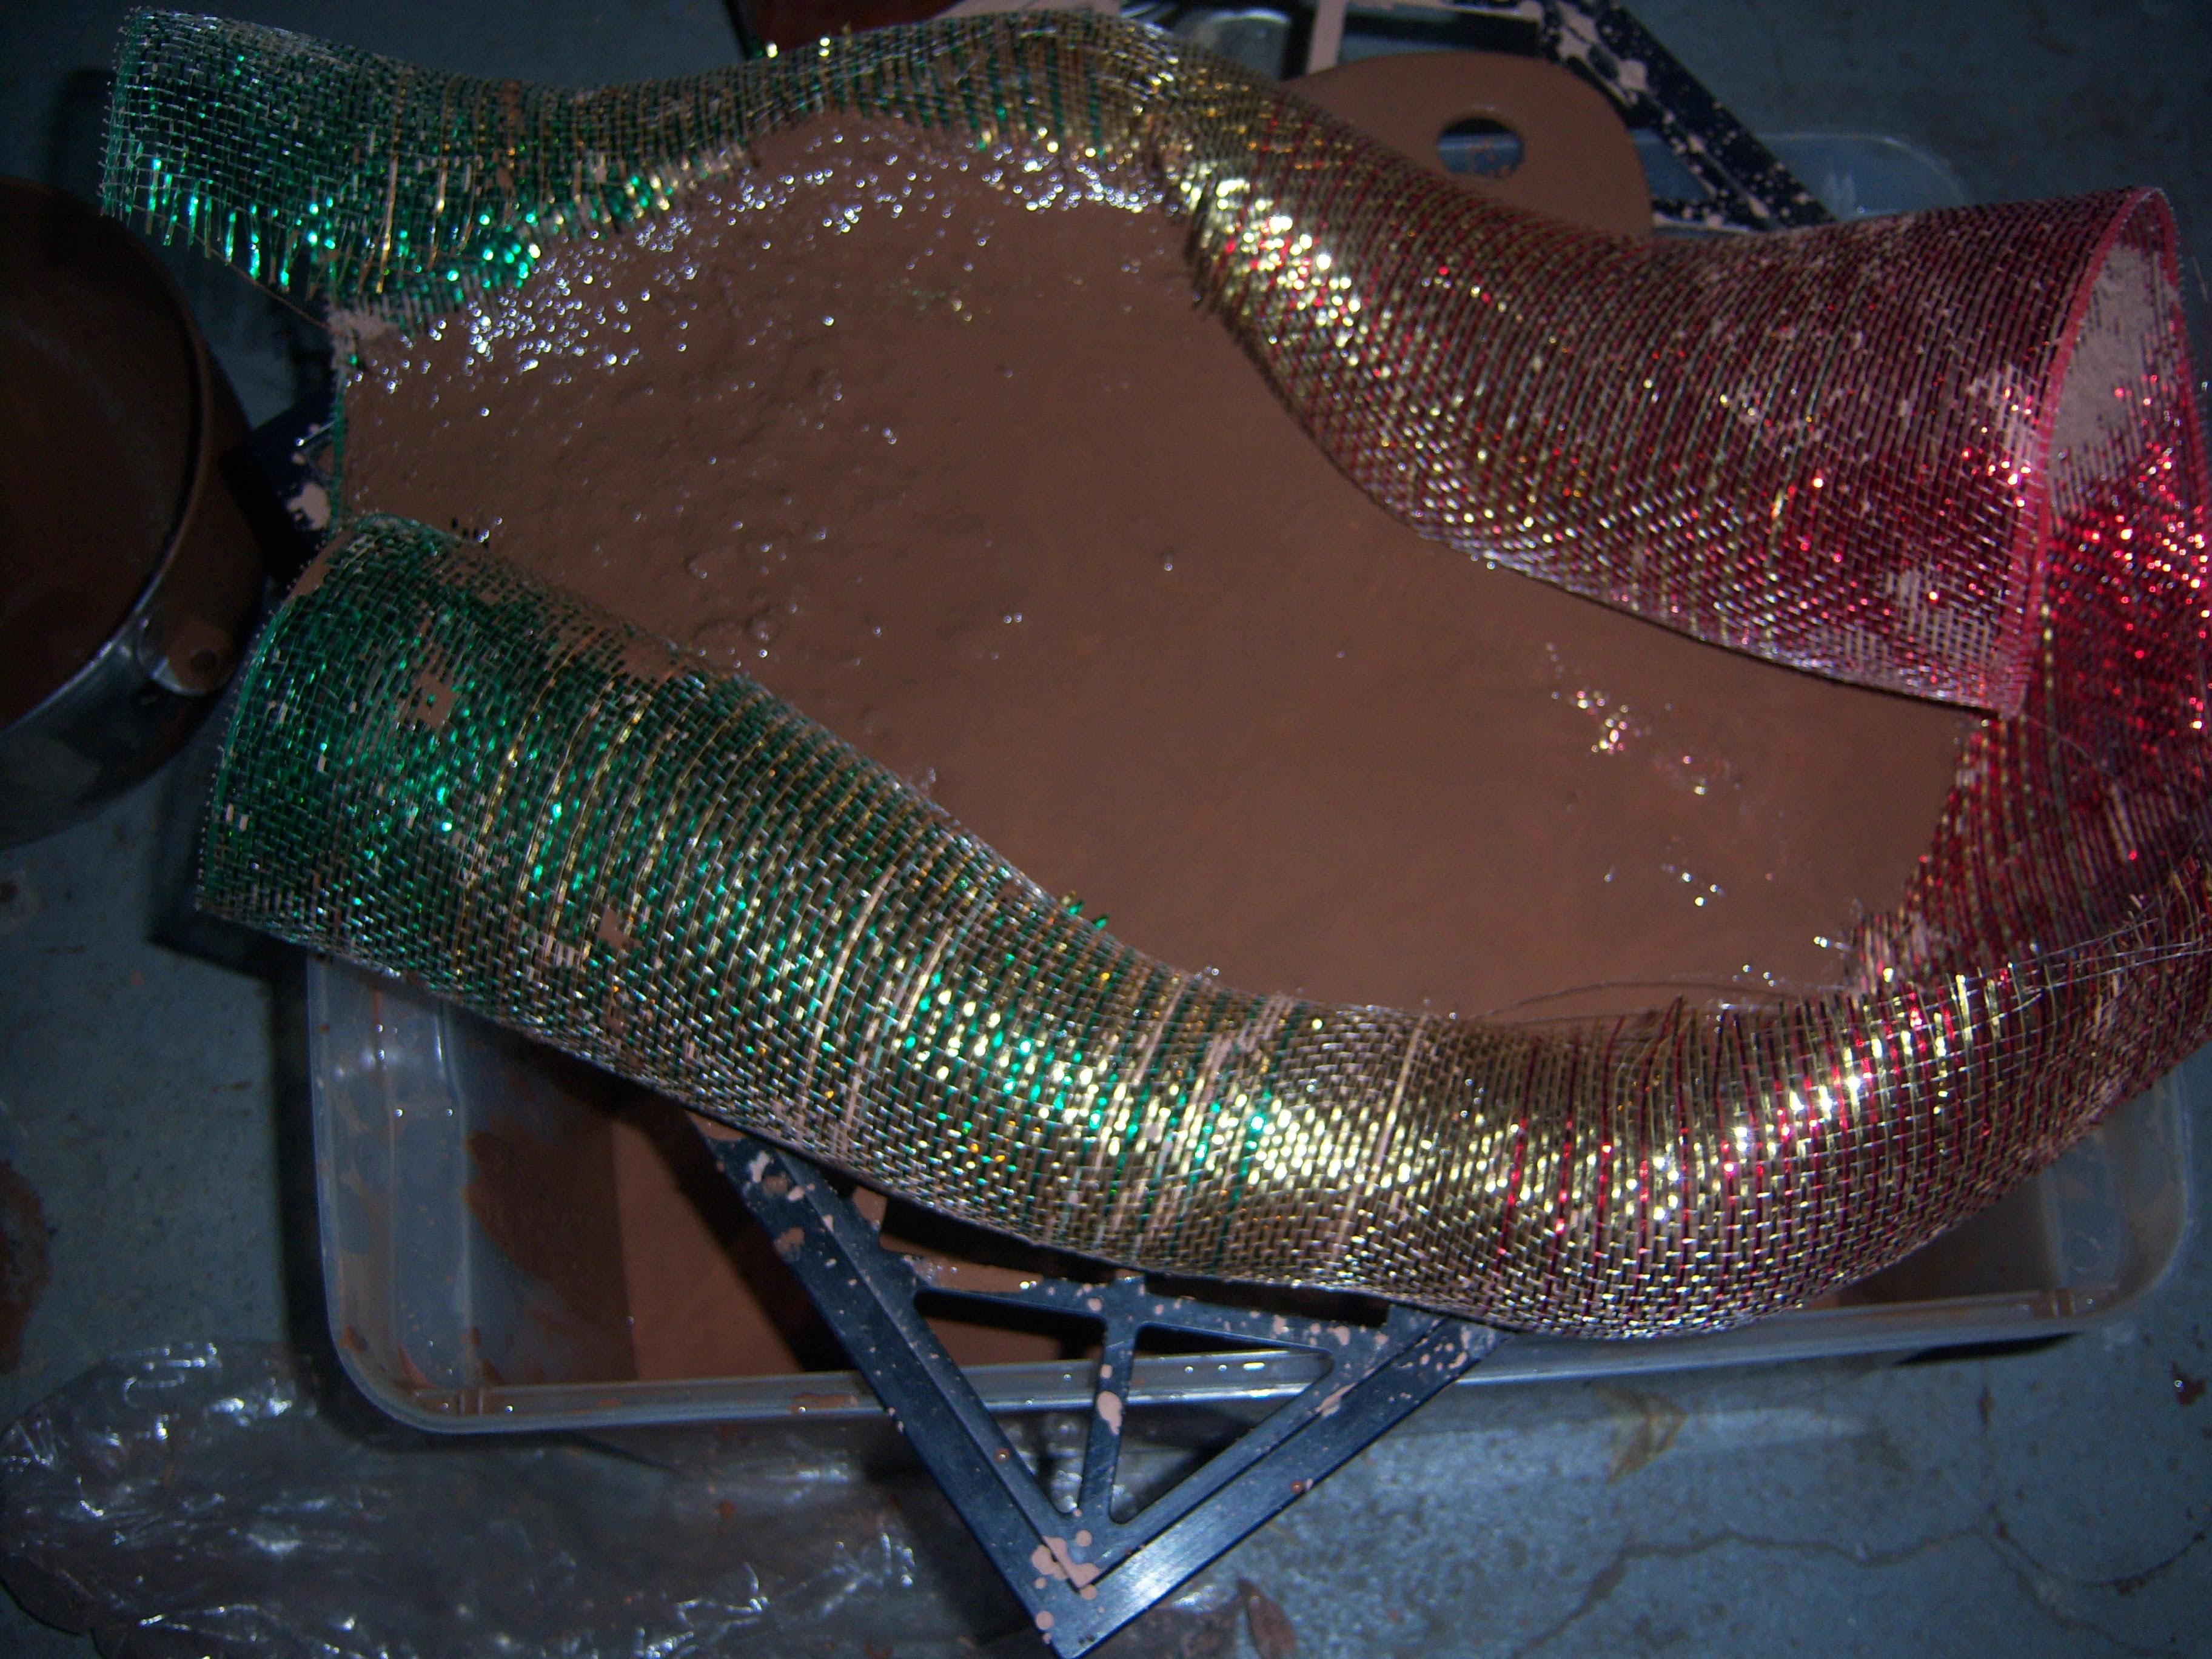
Stir and splash vigorously for as long as you can to introduce oxygen. Then let the mixture settle a couple hours or overnight. The top liquid should be clear of any blue with the pigment settled on the bottom. If there is still blue suspended in the water then go back to vigorous agitation and try again. If it still doesn’t separate try dropping a couple bags of ice in- this has worked for me in the past. When the pigment has precipitated, the top liquid, which will be yellow-hued should be poured off until all that remains is a blue sludge. The settled pigment goo can be dried down into a pigment powder or left as a paste. In this state it is usable to make paint or ink but needs an additional process to be able to adhere to fibers, specifically plant fibers.

The Dyeing Vat
The indigotin produced through the extraction process is insoluble in water. However when oxygen is removed and the pH elevated (+11) it converts into leucoindigo/ white indigo (it’s technically colorless now) and dissolves in liquid and can now adhere to cellulose fibers like cotton and linen. Fibers introduced to leucoindigo collect the pigment, then when removed from the liquid and reintroduced to oxygen returns the leucoindigo back to indigotin thus dyeing blue.
Two ways to remove oxygen is through an active fermentation or by chemicals such as Iron (II) Sulfate Heptahydrate.
In a bucket of clean water add lye/ hardwood ash/ or cal to reach a pH of between 11-12, then add processed indigo pigment.
For a chemical reduction add Iron (II) Sulfate Heptahydrate, something like 60g per 5 gallons. It can be helpful to dissolve it in hot water first. Stir everything then let it rest before using the vat.
For a fermentation reduction add a sugar, preferably from a fruit source, but it can also be as unassuming as bran. Add a starter like unpasteurized vinegar/ wine/ sourdough starter. Leave the vat in a warm place to ferment until it is vigorously bubbling. At it’s peak activity the vat is ready for dyeing. This vat can be reactivated much like keeping sourdough starter, though all of the vats can be used indefinitely as long as the pigment gets replenished, the pH stays within range, and the reduction is reinstituted.
Dyeing
Presoak clean cellulose fabric in clean water and wring out. Dip carefully to not disturb the vat and introduce any oxygen. Leave the fabric in the vat for 30-60 seconds and carefully pull it out, gently wrigging out the fabric, then rinse and squeeze out in cold water.
Repeat the dipping steps to get the blue color you want. The more dips will create darker colors as opposed to longer dips. Keep in mind how the blue color will lighten as when it dries.
When you’re finished, rinse your fabric in cold water with a splash of vinegar to reset pH.

There are so many different techniques for dyeing with resists, folds, and ties that will be a final layer of excitement to your home grown and processed indigo.