

Blueberry vinegar first began as a failed attempt at blueberry wine, but is now an annual tradition and the primary vinegar we use for everything. Making vinegar is a perfect use for old, blemished, and forgotten fruit.
This recipe is for a sweet blueberry vinegar that is excellent as a finishing vinegar or to dress up salads. No fancy task here, though a hydrometer gets used to measure the sugar content along the way. It’s an essential tool for alcohol ferments that costs ~$20, though if you’re not obessed with percision you can do without one too.
For every gallon of fresh blueberries you’ll need:
- 1# Sugar
- 7/8 gallon of water (or just a tad less than a full gallon)
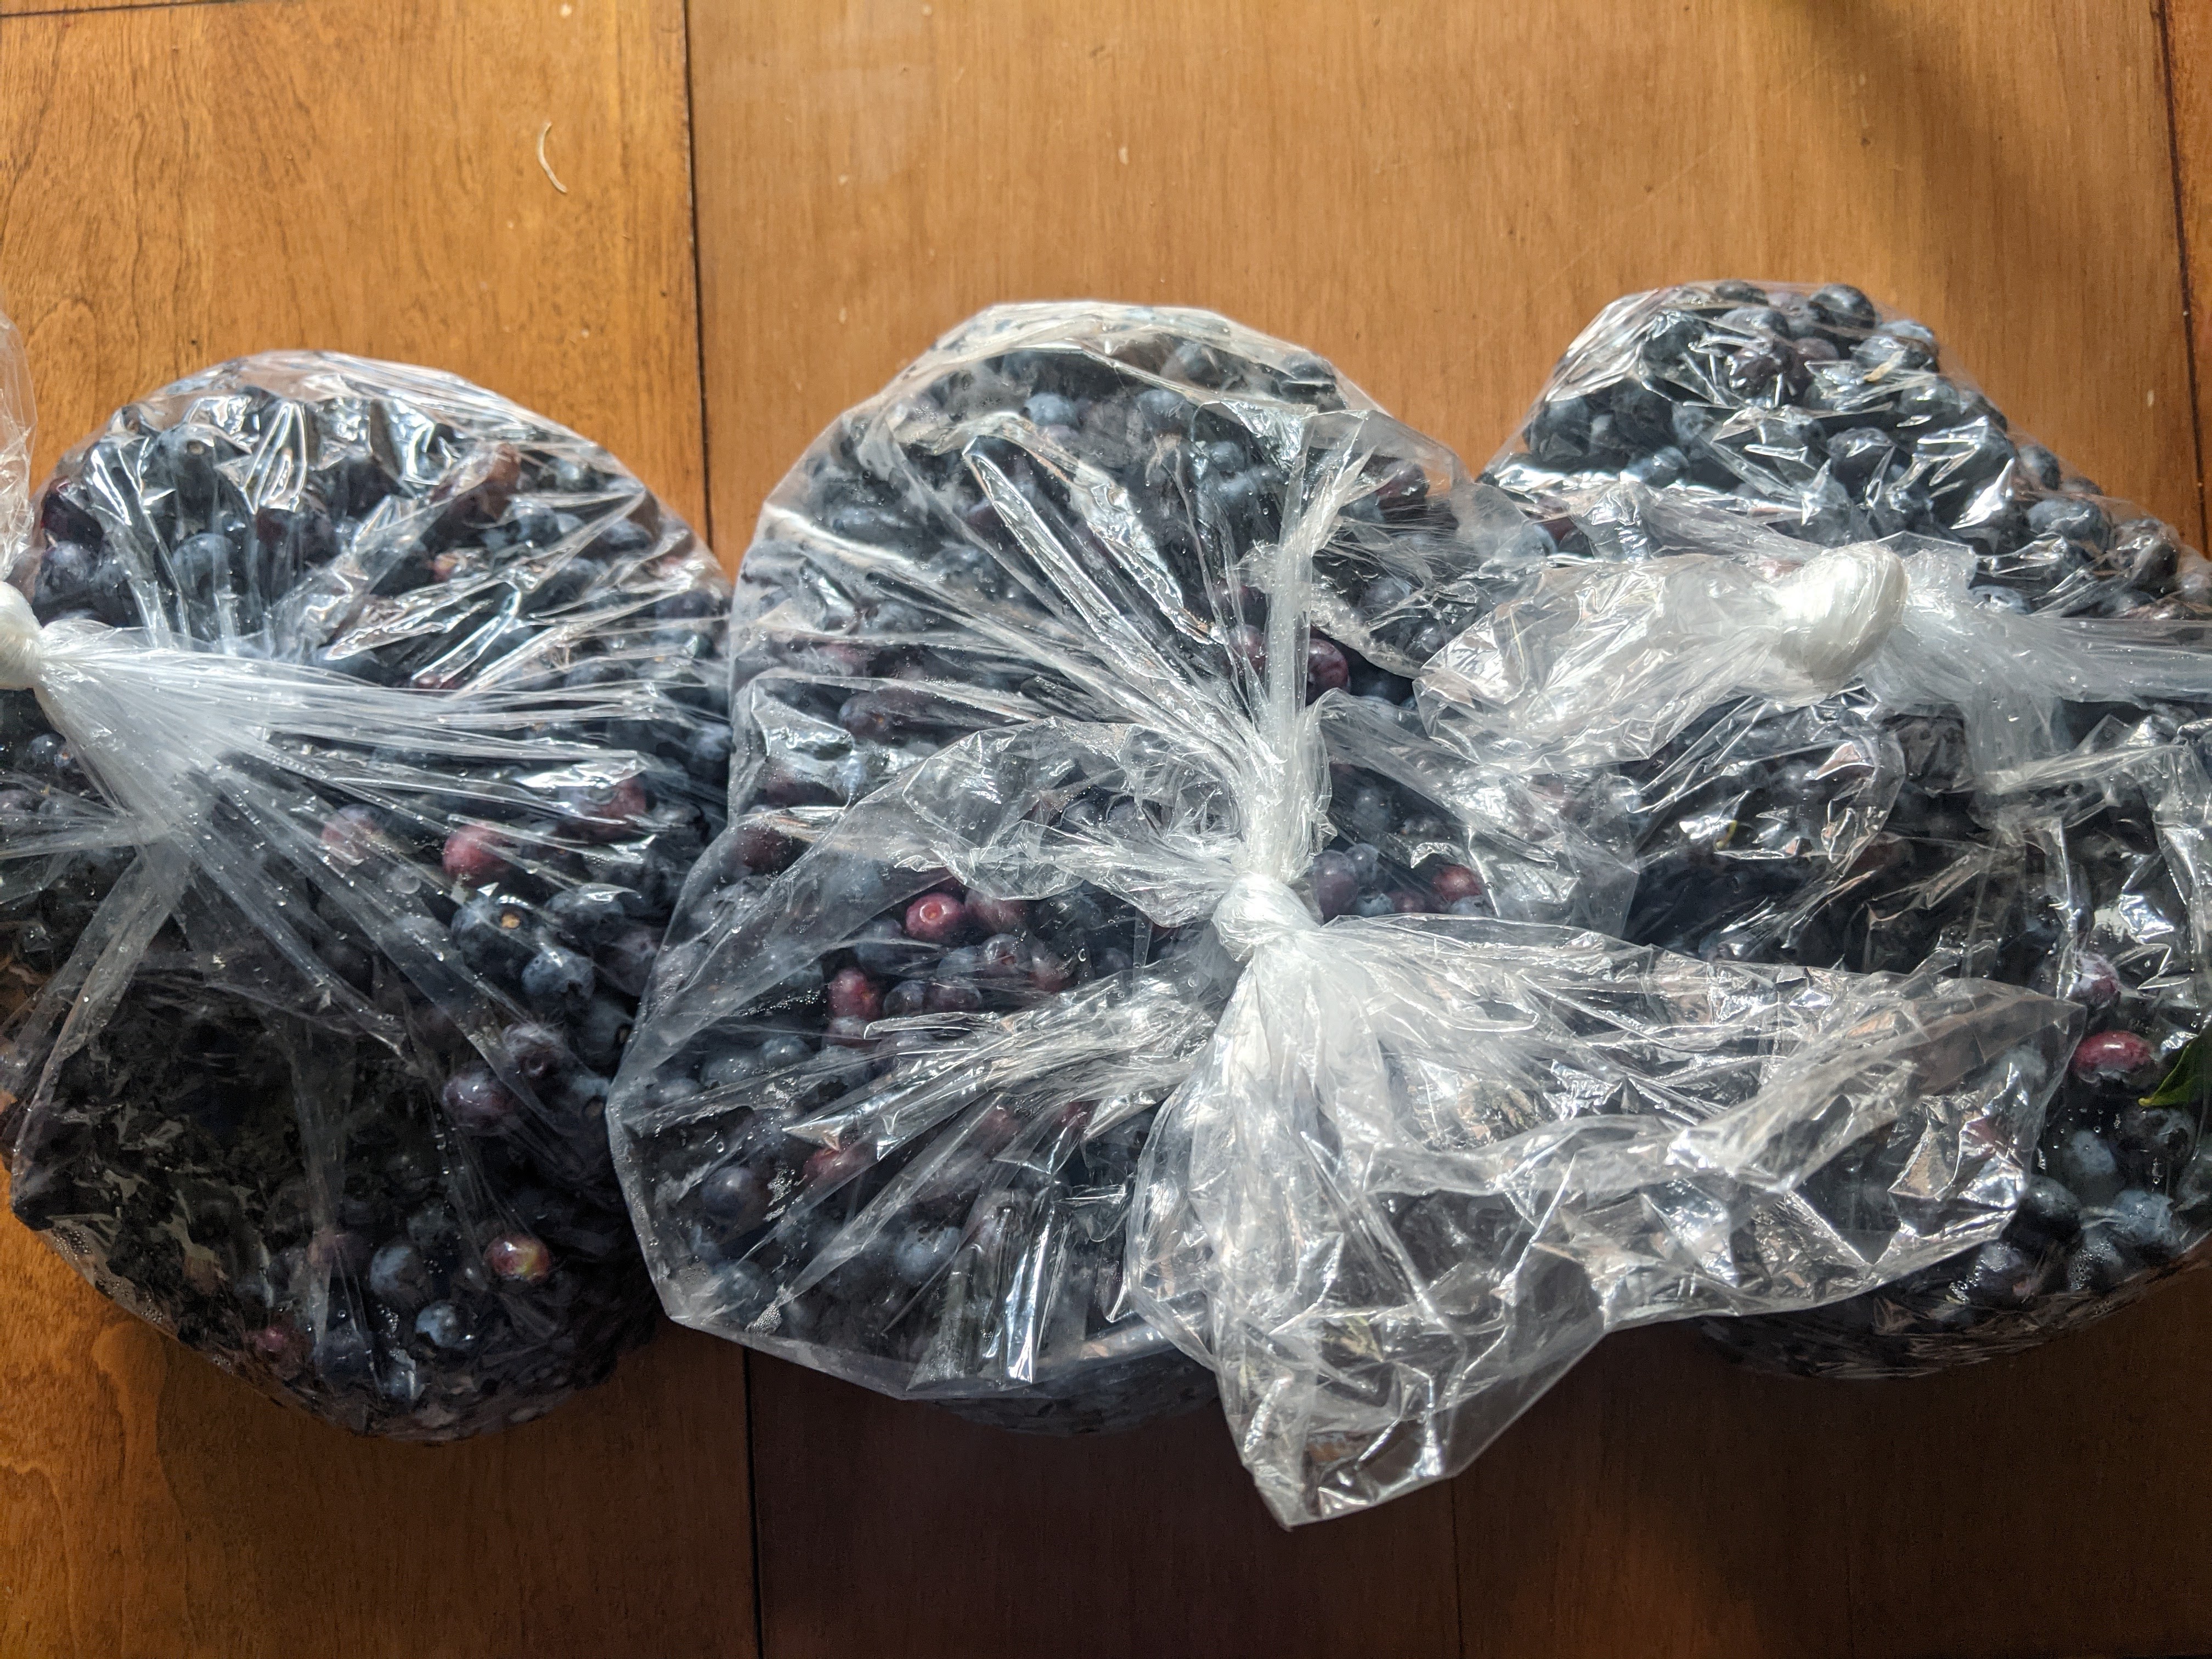
To start, load up your bloobs into your fermentation vessel and give ’em a preliminary mash.

Add water and sugar and give a good stir to dissolve. You could certainly dissolve the sugar before adding but the lazy method is always refreshing. The sugar will dissolve eventually. Cover your container with a breathable cover, like a t-shirt affixed with a rubber band to keep insects out.

After about 48 hours I’ll measure the sugar with a hydrometer. I like to shoot for 22-24 Brix, which is the equivalent of wine’s starting brix. Measuring this isn’t necessary, as the recipe water and sugar amounts will get you close enough.

Soon enough your blueberries will start to ferment from wild yeast. It’s a helpful thing to come by and stir the top once or twice a day, or as you remember. The fermentation will push the blueberry solids to the top so we need to break up that cap every so often. Don’t worry about using a clean tool to do it, we’re making vinegar after all.

A hydrometer can help chart the processes of your fermentation, though the old way is just observing the bubbling activity and intuition. If the mixture can ferment down to around 10 or below Brix then we will be looking at a 5-6% acidity vinegar, which is our goal. Without a hydrometer you can let it go until the bubbling has calmed down to just occasional pricks. There’s no wrong way here. We like a sweet blueberry vin so like to catch it before the fermentation has completed. However you could very well just let it ferment to dry all the same. Regardless, when the time is right, add a little acidic acid inoculation via a splash of live vinegar, over-the-hill kombucha, vinegar mother, or a backslop of last year’s bloob vin. You can also just let the mixture sit untouched with its breathable lid until it eventually sours. Whichever way, it’s time to just let it sit.
Taste it ocassionally until that one magical day when your bloobs taste unmistakably like vinegar. Now is a good time to press which can be done by emptying the contents through a pillow case, then twisting and squeezing it until enough of the juice has run out.
After a couple days rack off the solids accumulated at the bottom by carefully pouring the liquid out until it reaches the sludge. Discard the sludge and store your delicious vin away in a lidded containers or a carboy.
*Most of these posts are resources for Ferment Pittsburgh’s monthly newsletter that features seasonal ideas, techniques, and musings. Consider jumping aboard?


