Bringing in the Harvest: Root Cellaring, to “Forcing”, to New Seed

homesteading

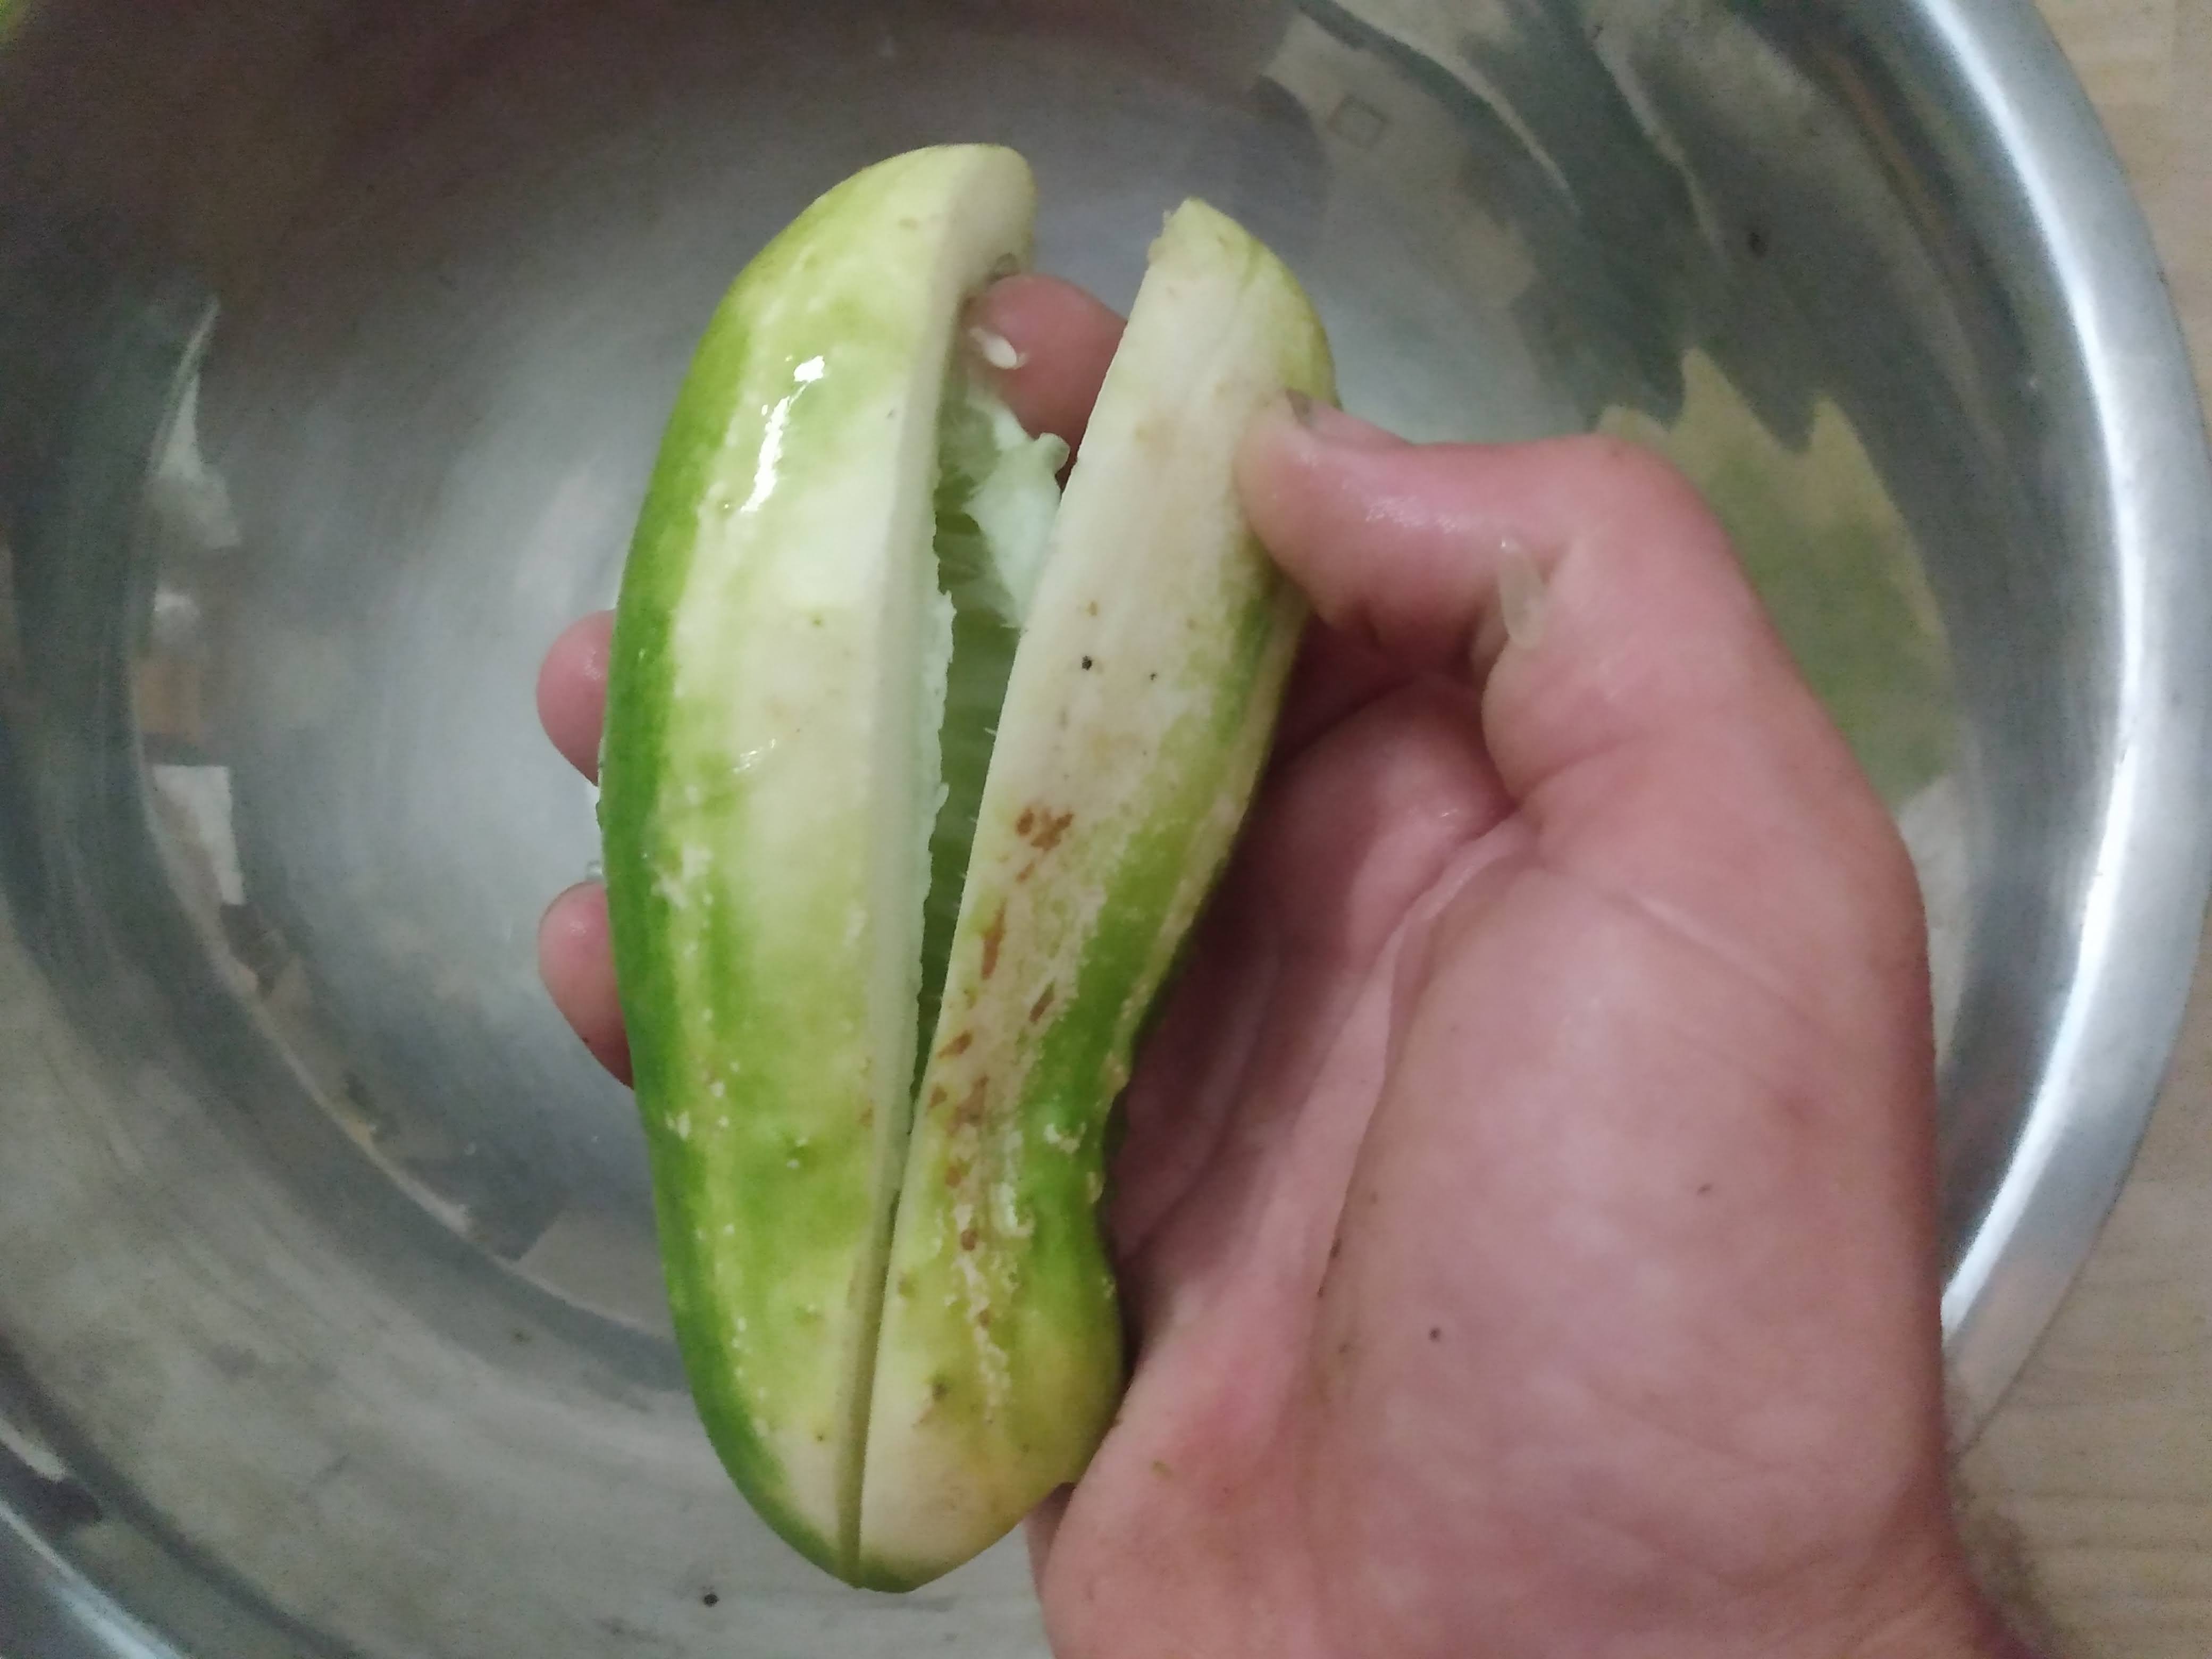
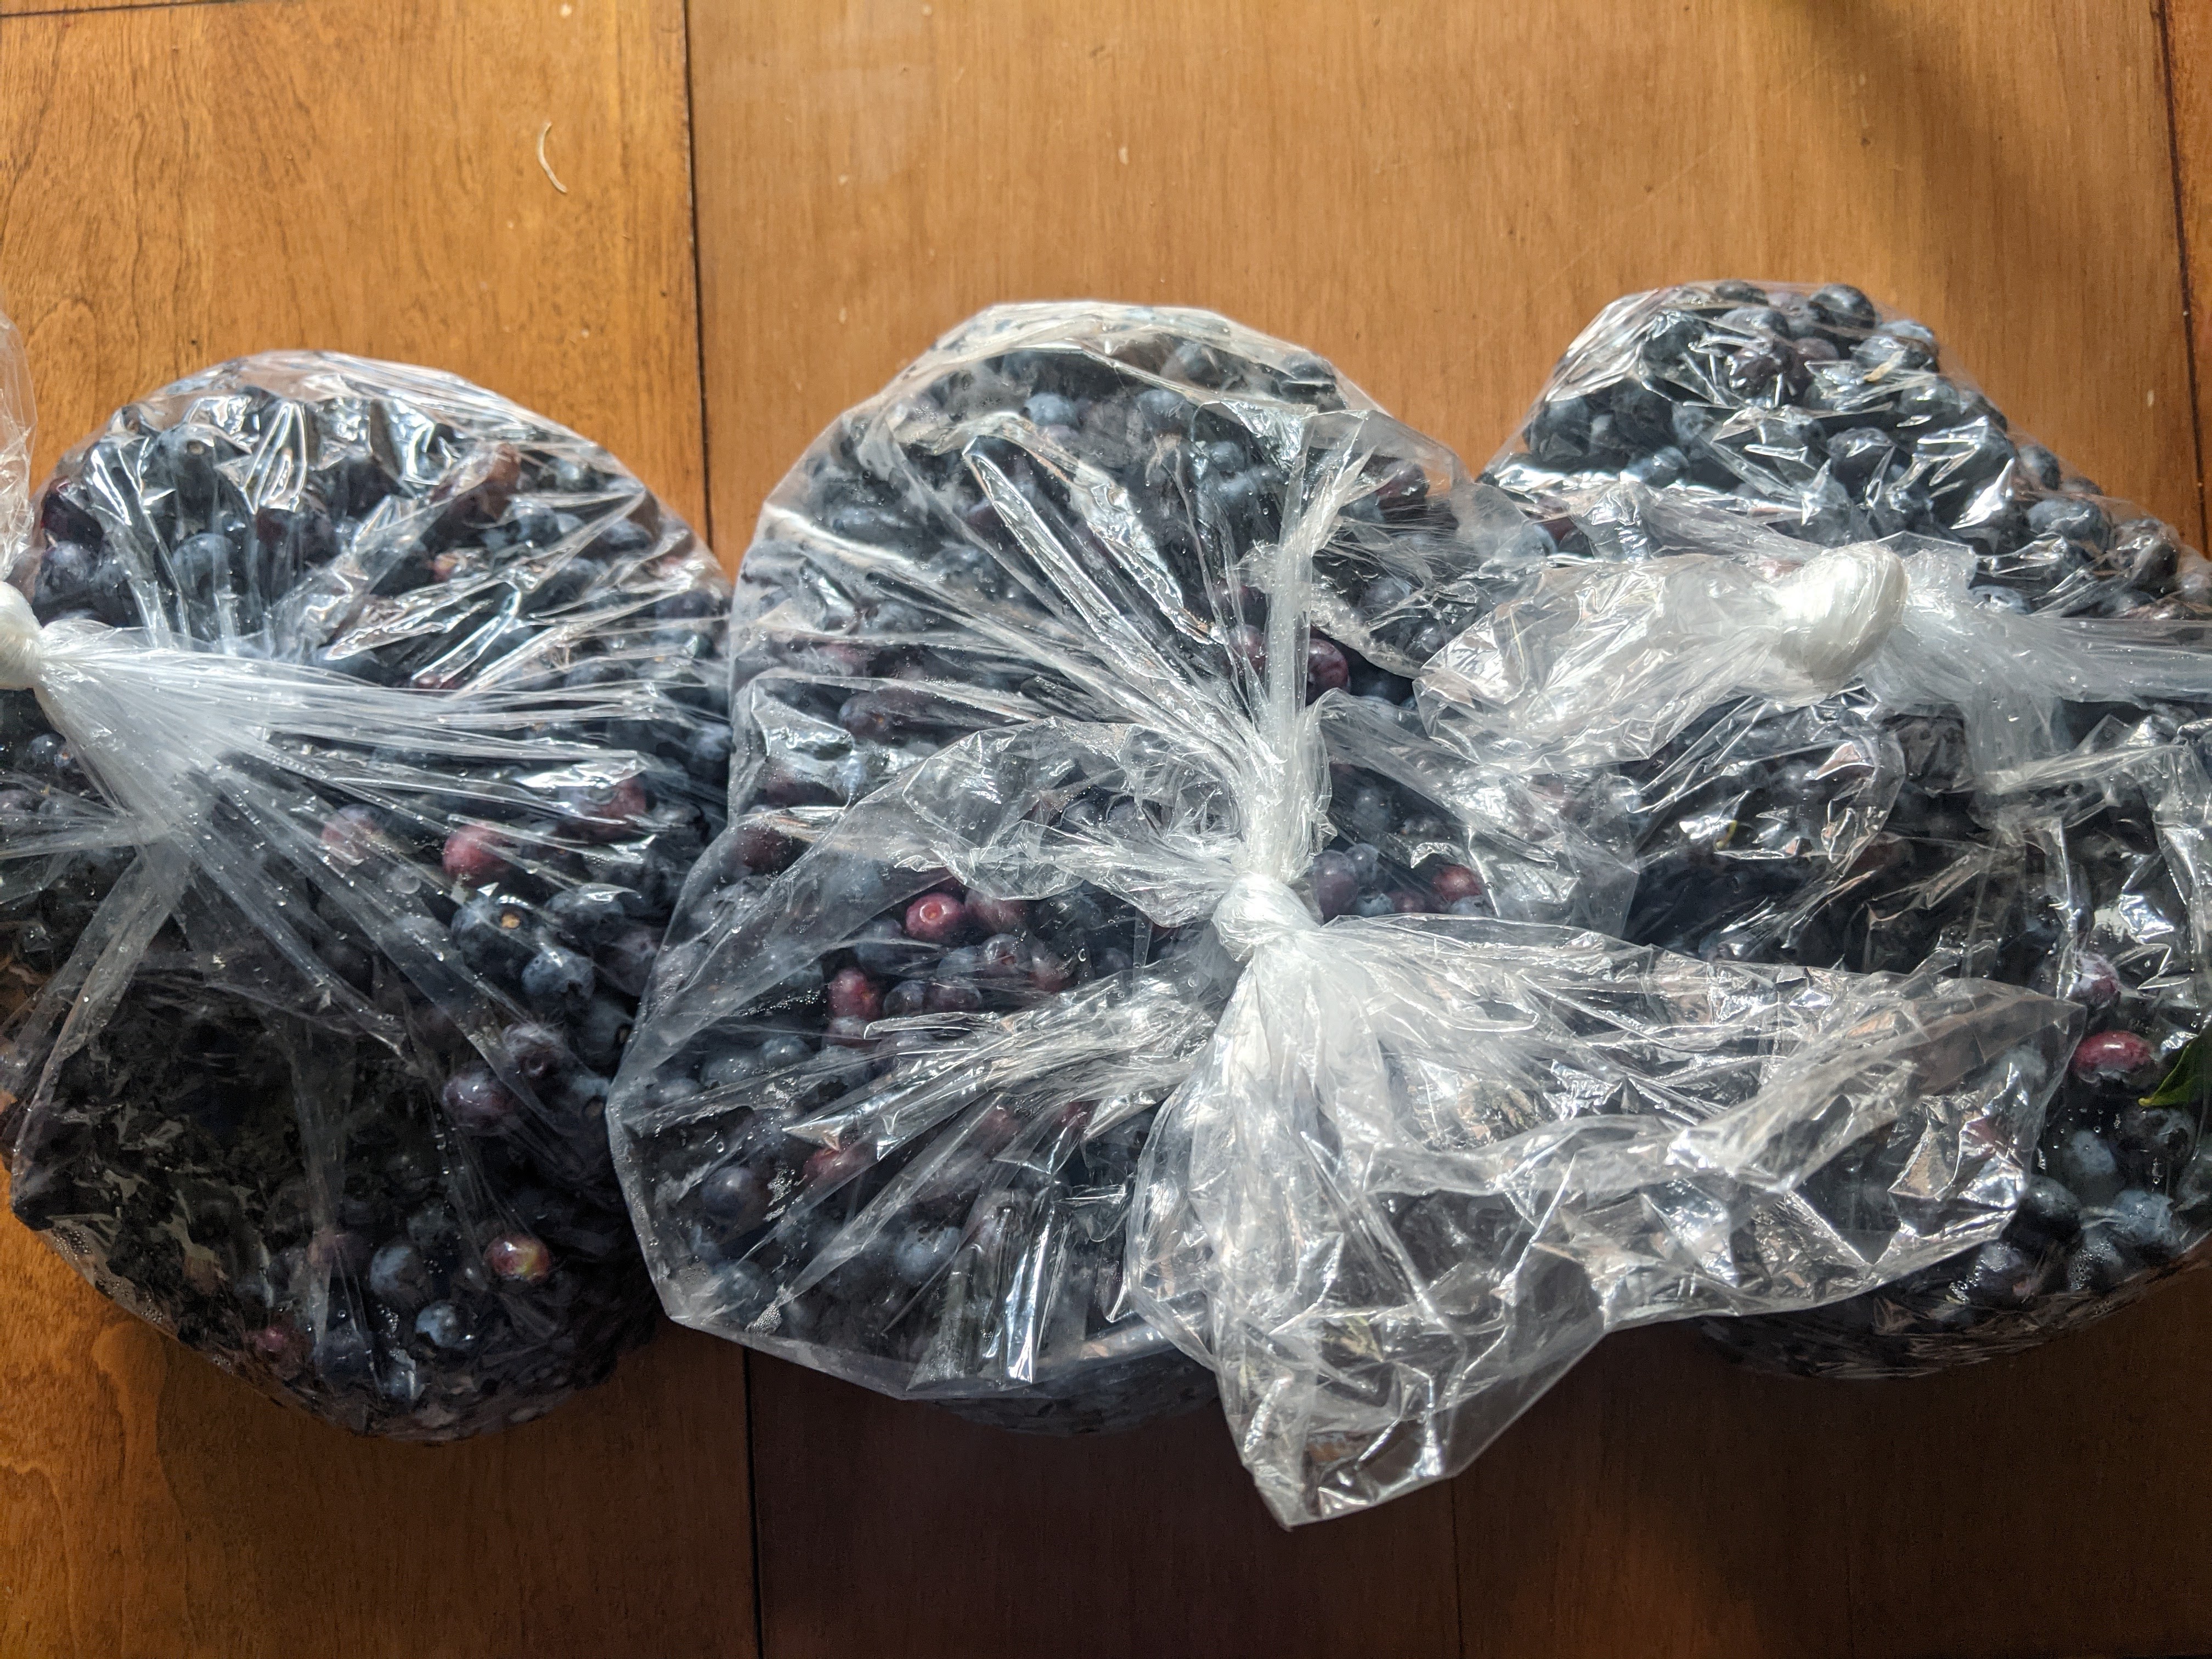
The first frost that cuts down the most vulnerable plants pulls like pulsing tides the unabating freezes who crash on to the ground until most growth is finally silenced. Carrots and parsnips generally survive and so long as the ground isn’t too frozen can be dug up as needed. But the moment- just before the ground freezes- many of the other root characters are gathered up, the leaves cut off about an inch from their growing point, and brought inside to join us- and the mice- to be saved from these conditions too extreme.

Different vegetables have different temperatures ideal for keeping them in dormant long-haul storage. In looking for a place in your abode or other to act as a “root cellar”, you can keep an eye out for cold protected spaces- an unheated closet, an attic, an odd nook under the staircase, or beneath your porch. The best option I have is under the cellar door which gets some insulation laid on top and is not perfect but tends to be good enough. For a good root cellar cool temperatures (~45 degrees is great, but you can get by with warmer for a while, just not as long), moderately high humidity (which can be assisted by storing veg in a moist medium like sand or sawdust or leaves in bags, boxes, and crates), and a certain degree of air flow in the room to clear out any off gassing from the vegetables and spoilage organisms. All of that mostly pertains to most root veg, potats, etc. Some others such as onions, and garlic store best with dryer conditions closer to 50 degrees, while squash and sweet potatoes can do lukewarm temps so second as a living room decoration well, and that only gets better if let’s say in late winter a squash starts to rot and then you can put it on the tv stand and watch it decompose together with your family and friends until the flies come home.

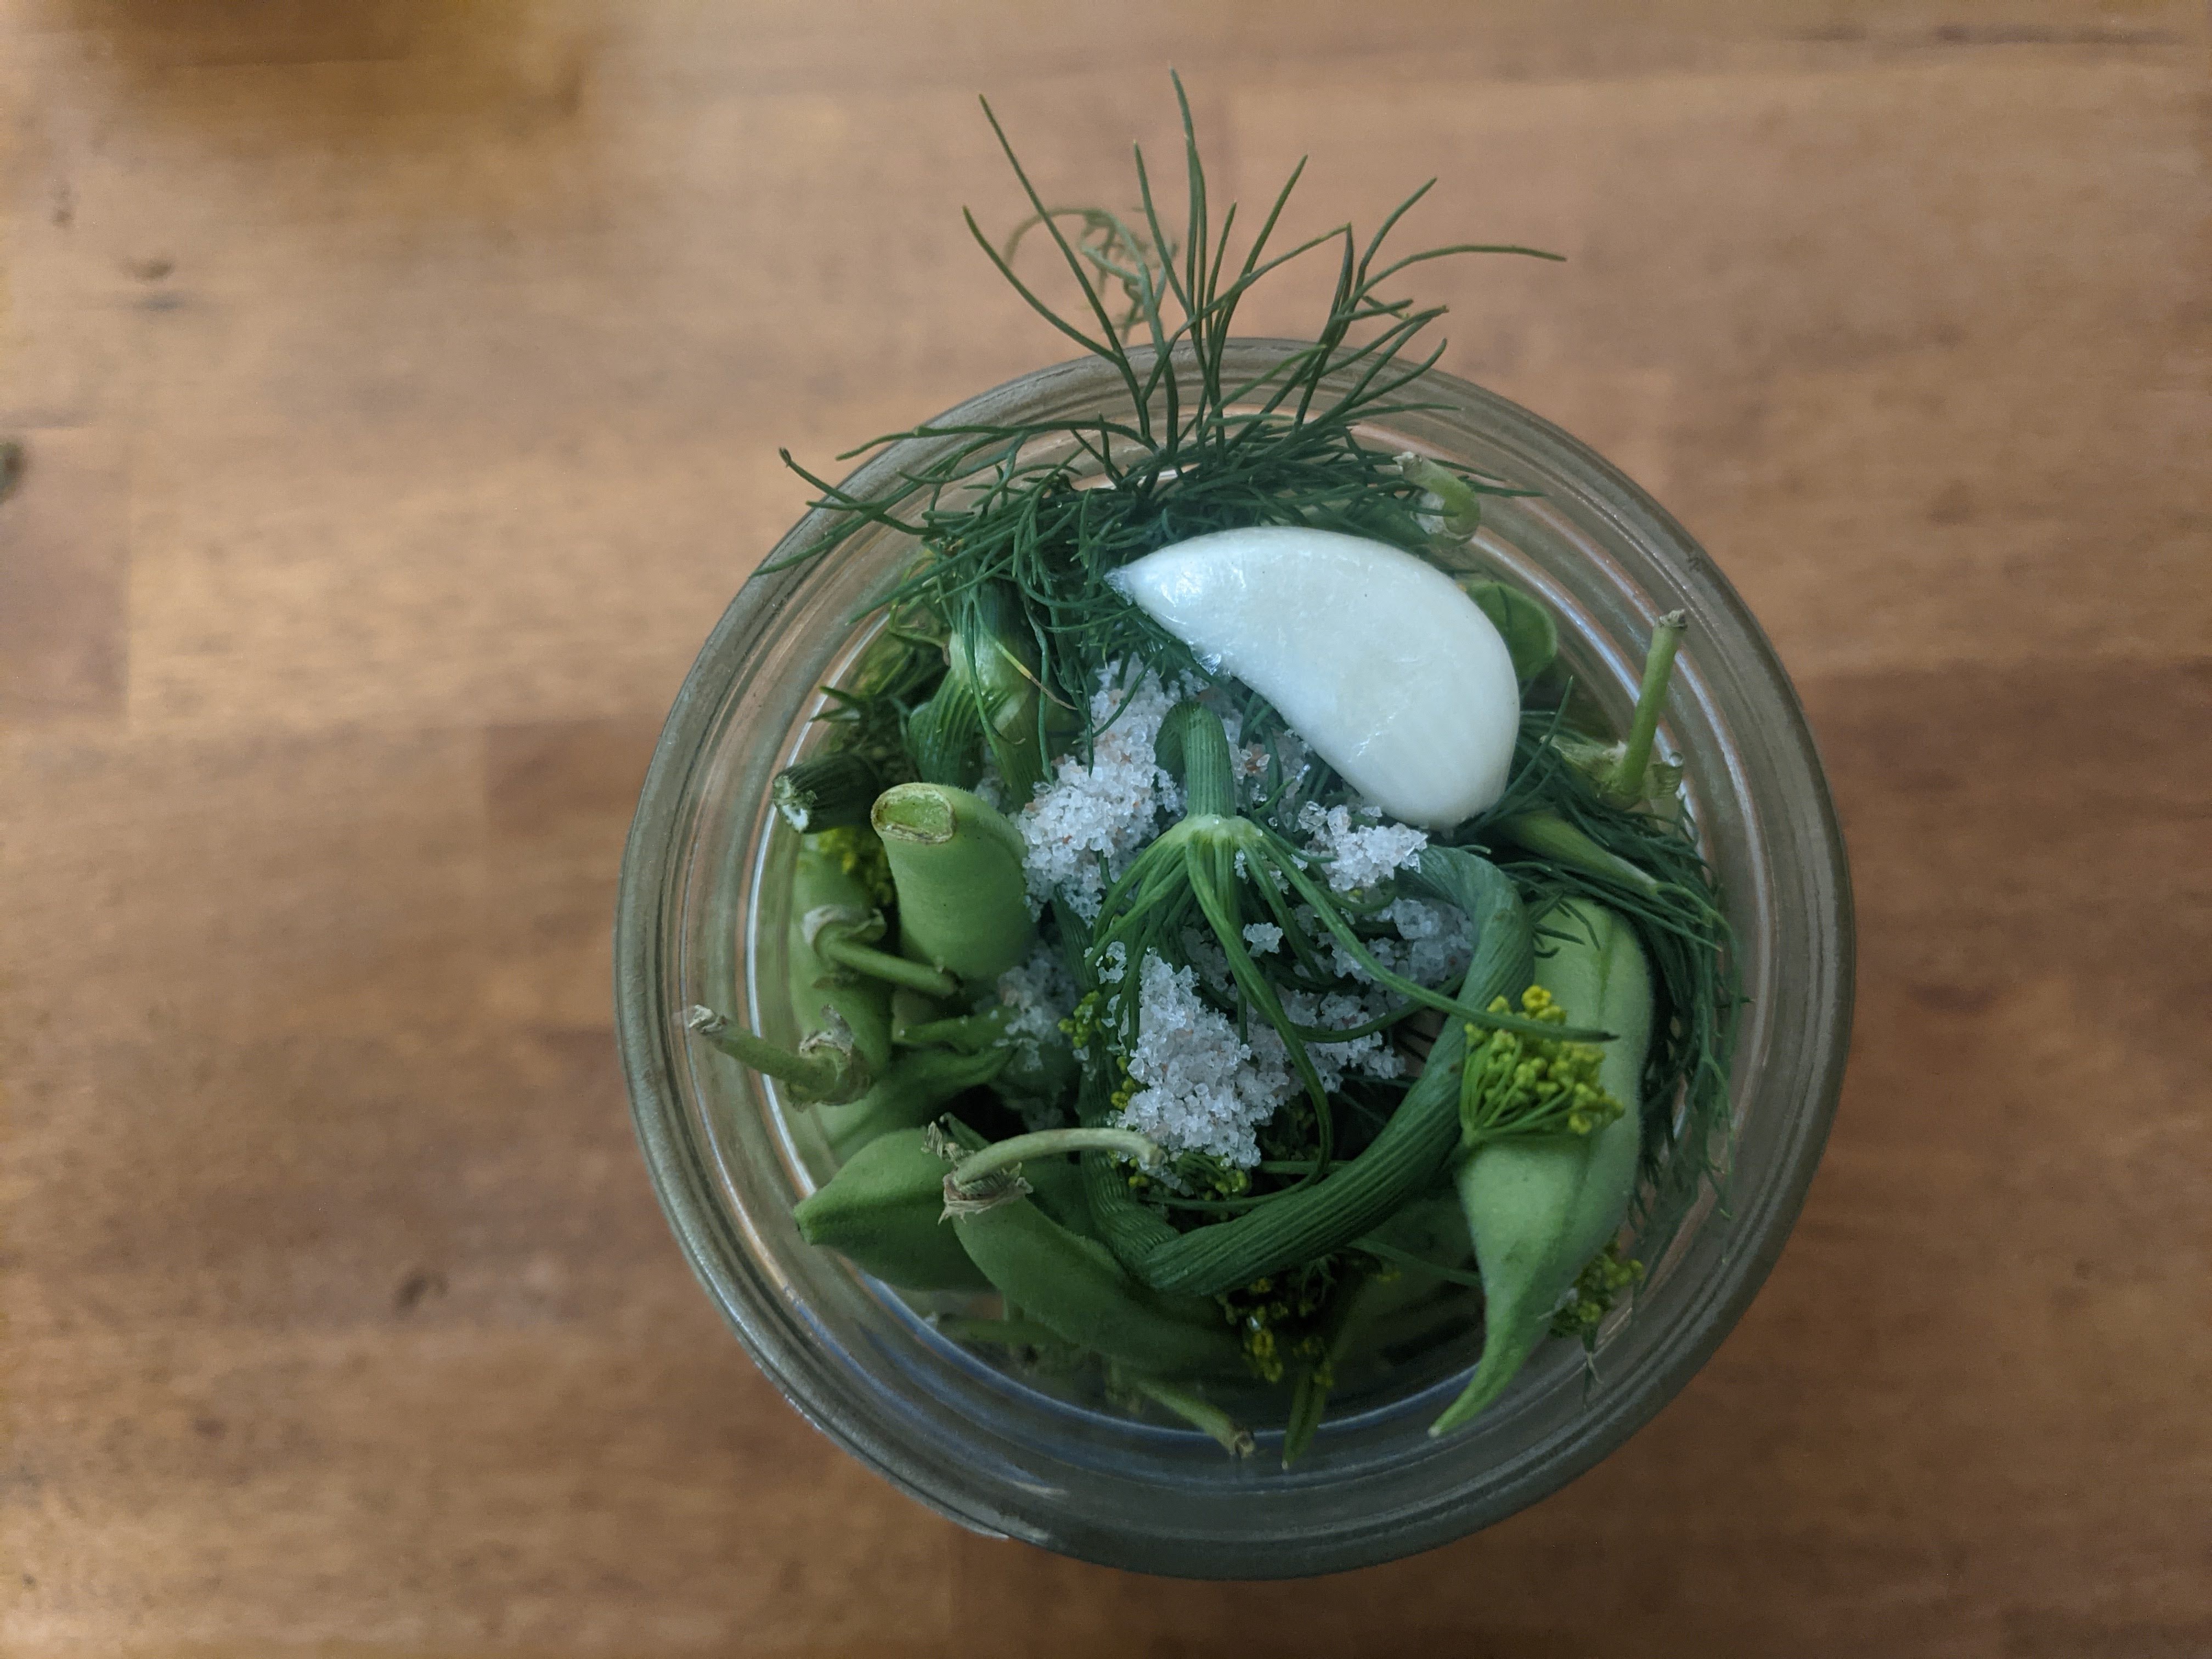
If those stored roots are given too much moisture or heat they can sprout, which is likely to happen because a good system is an imperfect system. A tradition likely discovered through that thinking is the “forcing” of plants. Chicories with strong taproots like radicchio, endive, and dandelion, are favorite candidates, but other well-rooted folks like rhubarb, beets, and asparagus also can be intentionally tricked into sprouting new growth indoors. There are lots of different ways to do it but generally the roots are dug up in the fall, topped, and stored in the cellar just as if you were keeping them. When you choose it’s time for forcing, the roots are transplanted into containers of soil, this time watered well enough with around 50-60 degree temps ideally. Often times these second sprouts can be tough or bitter so forcing is done in the absence of light for sweet, delicate leaves. The forcing can be staggered for a continuous supply of fresh greens in the winter, and in some cases getting multiple cuttings is possible, after which the roots, at least of the chicories, can be roasted and ground into coffee. Keep an eye out for the possibilities, like if you store onions you’ll probably notice a few sprout uninvitedly. Why not place these in a shallow dish of water by a window for fresh winter scallions?

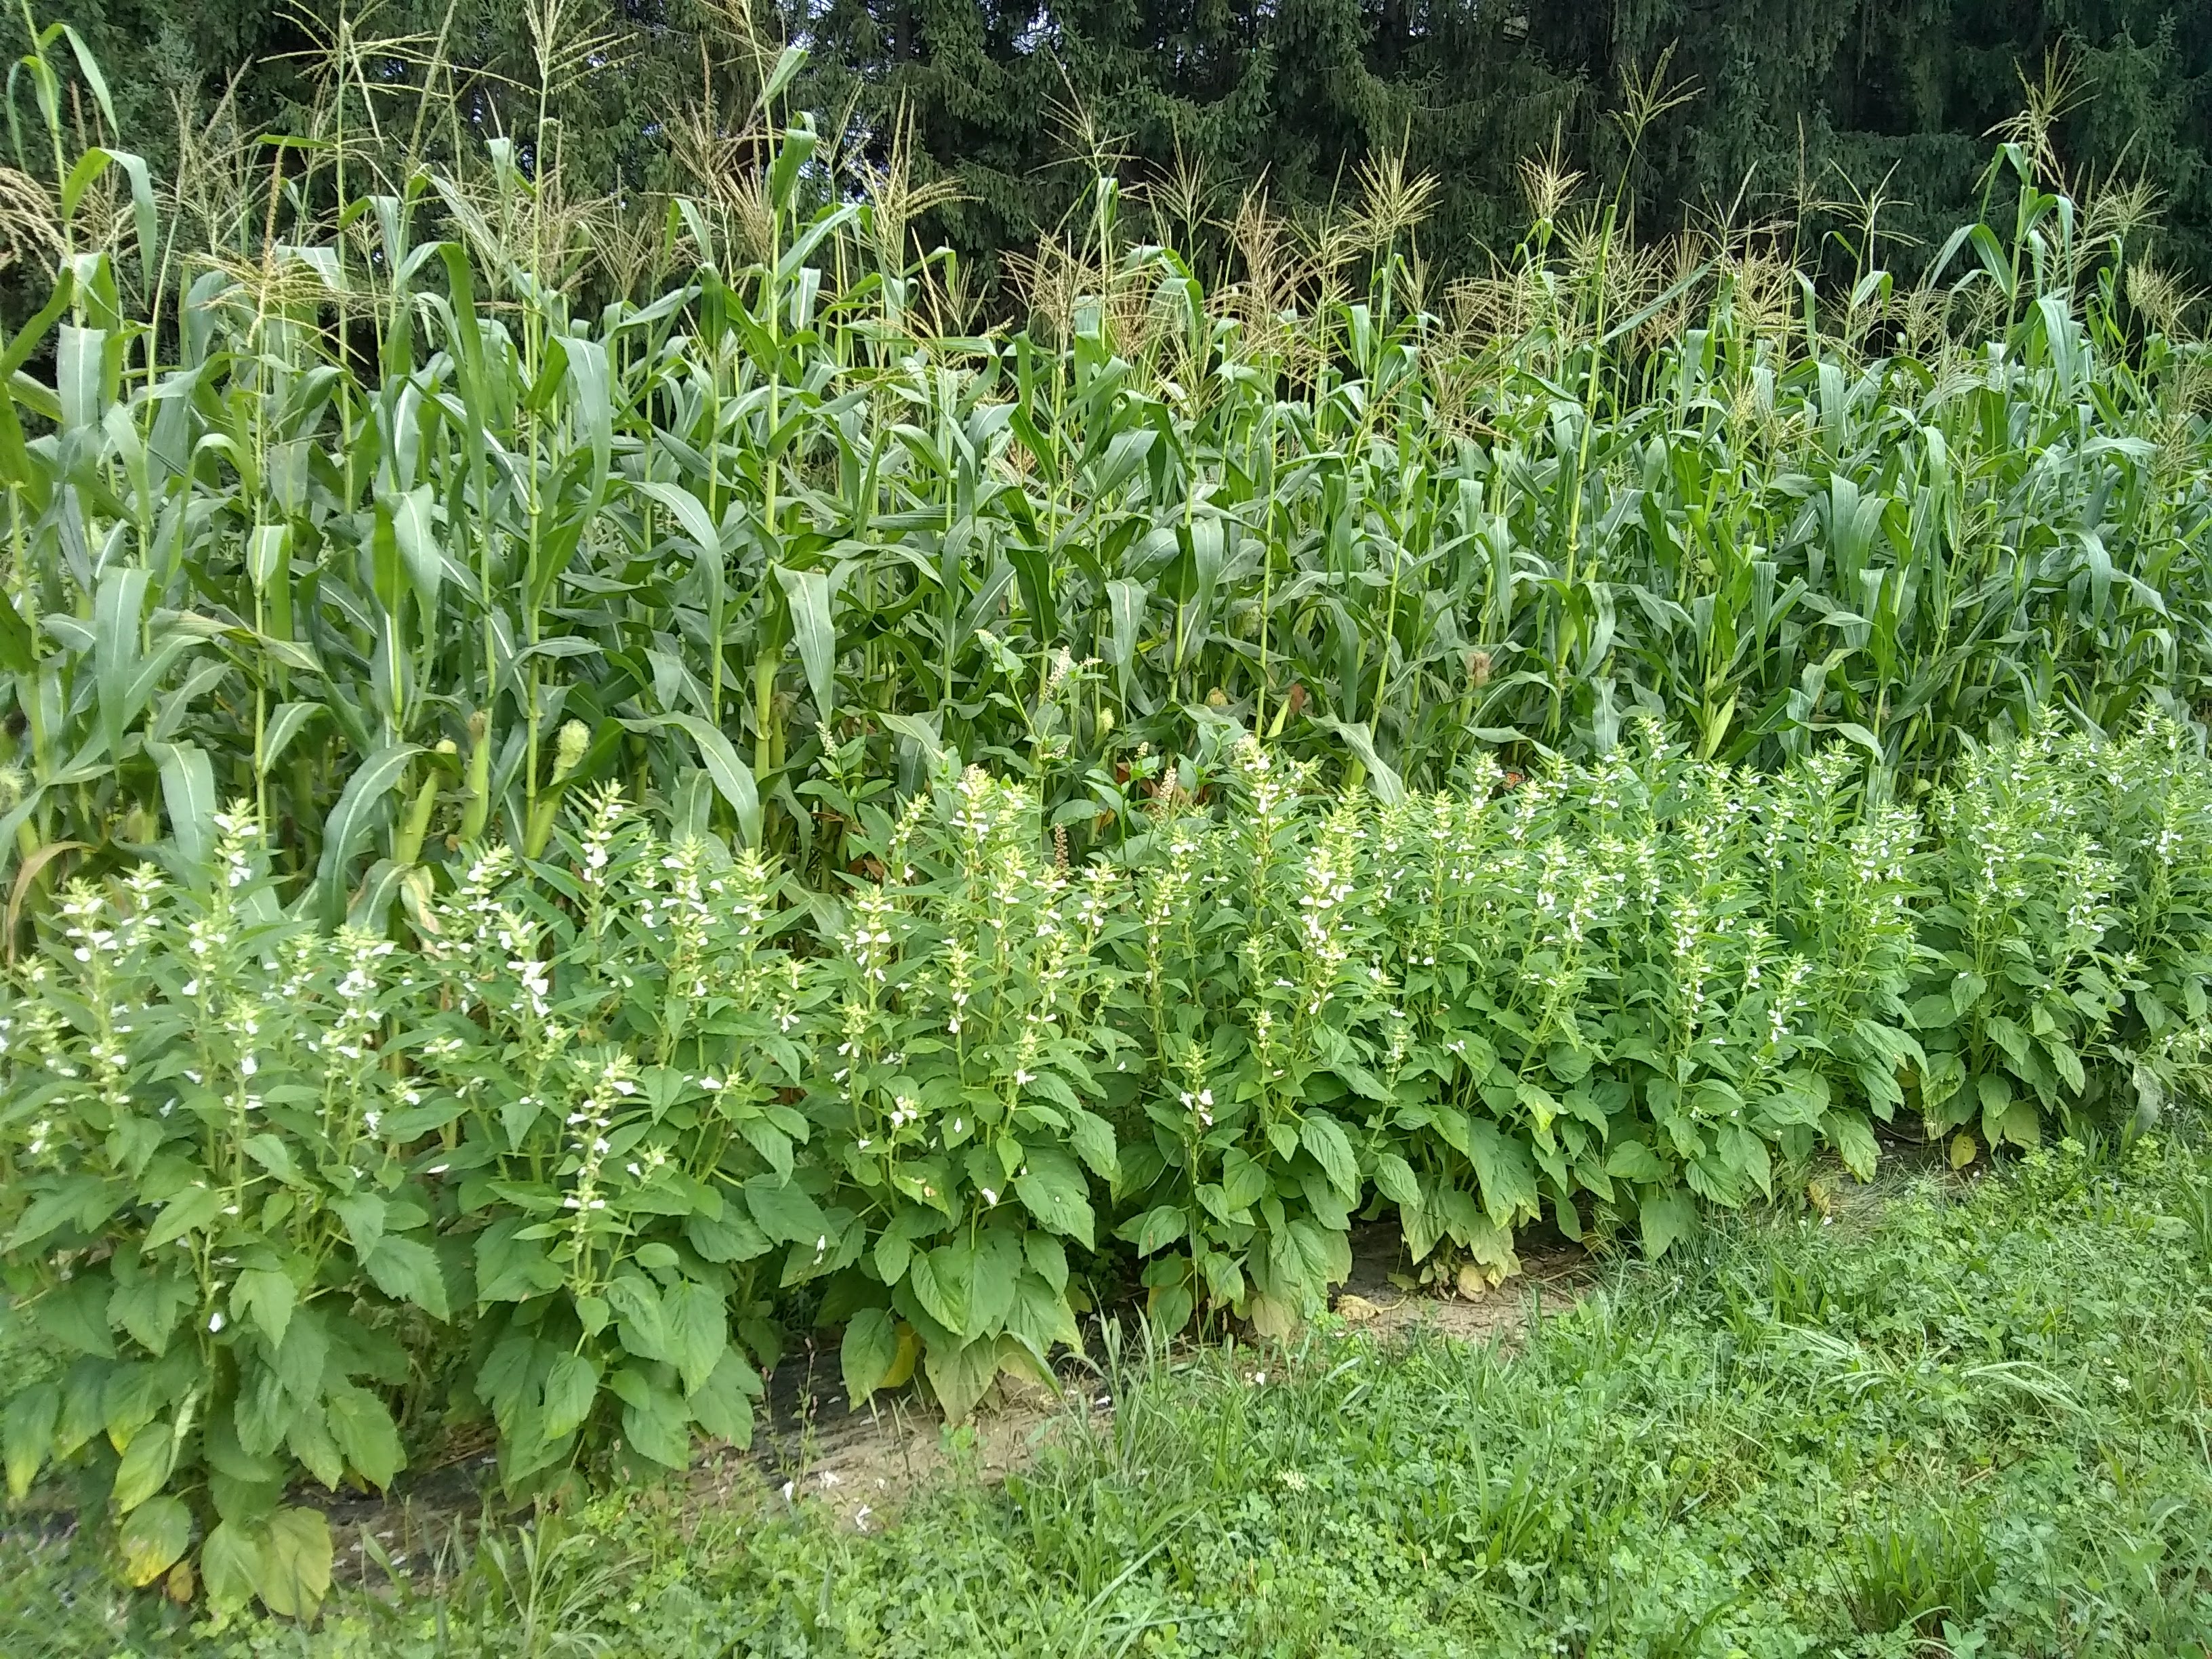
Now let’s not stop there. Let’s say we continued allowing those sprouted roots to grow, well they will eventually shoot flowers right? Many of the aforementioned veg are biennial which means they flower in their second year. Where we live in Western Pennsylvania our winter temperatures can kill some biennial plants begging the question: how do we collect seeds from them? By bringing those plants inside like beets and radishes and storing them our cool nook or root cellar, we are inadvertently also enroute to saving them for seed. When the weather breaks in the spring they can be planted back into the earth outside to complete their reproduction cycle. This transplanting also provides enough placement control if someone were trying to avoid cross-pollination to boot. Other non-root-centric biennials, like let’s say you were afraid of your cauliflower dying overwinter for instance, are entirely dug up, cleaned of leaves for a naked stem, and stored in a bucket of lightly moist soil at a spot in the cellar to protect them from killing freezes and devoid of sunlight to keep their dormancy until it’s safe again to transplant outside.

Homemade Salsa Negra

homesteading

Aside from loving the wonderful condiment salsa negra, a recipe like this is extra special for putting a lot of the pieces of preserving throughout the year together. Homegrown garlic, transformed into black garlic– a post-growing season fall tradition of ours, a collection of dried peppers and smoked peppers saved from the garden, and homemade vinegar from your local fruit- all come together to make the best sauce that goes with everything from roasted chicken to ramen broth.

From a home-preserver perspective it feels disingenuous to recommend quantities of anything (You can read meander thoughts on that here if you want). It really should be based part on your taste preference and part on what amounts you have around to use. But the process is as follows:

In a skillet warm a couple glugs of oil. Add a handful of black garlic and a couple handfuls of your various dried peppers- as many hot ones as you want your salsa to be hot. If you want to include some tomato paste to add some sweetness, by all means. Some folks here will simply add a pinch of sugar, or nothing at all. Carefully warm until everything is soft and fragrant.

Transfer all the contents to a food processor or whatever your preferred mashing technique is. Add salt to taste and a dollop of vinegar to liven everything up, and puree. Store in a jar for however long it lasts.

While I wanted to get this recipe out in the monthly newsletter now in September to get folks planning for winter, as I scavenge my cupboards it seems I finished last winter’s salsa negra before I got to take a picture of the final product! But let’s be honest, “blogging” is blah, it’s the sharing of useful meaningful information that keeps our hands busy doing non-internet things that’s important- not ruining the moments of our lives by taking too many pictures! Damn last year’s salsa negra was good!

Saving Zucchini & Cucumber Seed

fermentation, homesteading, Vegetable Fermentation

Zucchini and cucumber seeds are vegetables that both use a little fermentation to help in saving the seeds. When saving them you’ll want as mature of a fruit as you can get. Even after you harvest them it can help to let them cure for a couple days before cutting them open. It’s still a strange feeling to stop eating the favorite plants of a crop and let them grow out for seed. Maybe the pleasure is in the hope it gives to next year.

For zucchini start by cutting off any “neck” that is only flesh and doesn’t contain any seeds. Then carefully with a good knife cut the first half inch or so or around the perimeter of the vegetable so it can be pulled apart into two halves. The reason for this procedure is to prevent throwing a knife straight through the seed cavity and slicing a handful of them.

Next, scoop out the seeds.

Or thumb out the seeds.

The seeds will have a thin coating around them. To remove that place the seeds and anything stuck to them into a container and cover it with water. Add a cover to keep the flies out and ferment for 1-2 days. Caution not to forget about the ferment for too long as it can eventually begin to deteriorate the seeds germinating potential.

After the light fermentation the seed should be free from their covering. Check to make sure then you can stir up the seeds in the water, the good seeds should sink to the bottom and you can pour the rest off the top. This can be repeated by adding more water, stirring, and pouring until the seeds are generally clean. Then drain, rinse, and dry the seeds in a warm, dry place, and mix them up periodically to keep it going evenly.

Our Three Favorite Subsistence Crops

farm, homesteading

Making lists is silly but we did it anyway here because we think there’s some real value in turning people’s attention to the foundations of feeding yourself in our geography where growing tomatoes in your garden is far more popular. Even if you don’t have the space to produce that much food you can still save the seed and pick up the rhythm.

All three of these crops provide a certain degree of simplicity and reliability. They also are generally low maintenance all the way from sowing to harvest, at a home scale require no special equipment to process, while also being straight-forward to store for the winter and having endless uses in the kitchen. Though if I had to pick a favorite crop it would be onions, which brings up another curious point for another day- should your favorite food take priority as your top subsistence food?

Beans

Beans are very easy to grow. Direct sow after the frost up until early June for most varieties. Seed in rows 8″ apart and cultivate once or twice until the bean canopy fills in. Watch out for groundhogs. Leave out until plants dry in the field, but not too long or the pods may mold or shatter. They produce a reliable seed. Bush are easiest to harvest, there is a node at their base you can use snips and clip them at, hauling out the whole plant. For larger plots I’ve taken to coming in with the scythe when the bean pods are about halfway to dry. It’s an efficient way to harvest big patches without shattering too many pods. Climbing beans are more work to harvest.

I’ve learned to finish drying out the beans under a cover in the open like an open barn, porch, or shed, in a pile turning it occasionally to prevent molding. I’ve noticed that the longer you wait to thresh them the easier it is. Most of my beans I’ll wait to thresh until a hot dry day in the spring. And when that time comes they are easy to break with your feet alone, and winnowing is a breeze. At that point they are ready for storage in buckets or other containers that seal out the moths.

Potatoes

Potatoes are wonderful because they can be grown lazily. Put a potato in the ground and get more potatoes. It can be as simple as kicking a little soil over them. Dig trenches if you’re a go-getter and drop them in every foot or so. Look for storage varieties to get through the winter. I use a poor storage type that I think is delicious, maybe the seeds are slowly adapting. When I plant those varieties I just say I’m planting pre-sprouted potatoes. Cultivating can be as easy as hilling them a couple times with a rake, or as many times as you can manage. Voles may gnaw on them but otherwise hopefully they’re left alone. It’s possible to get an abundant harvest in smaller space, around a pound per a potato seed. When the green arial parts die back it’s time for harvest. If the soil is loose enough it could even be done with hands, though a shovel works so long as you don’t slice into them. After harvesting make sure your potatoes are exposed to the least amount of sunlight as possible so they don’t turn green. Let them cure for a week at ambient room temperature, then move them to a cool, dark space.

Corn

I set out to grow wheat as my primary grain initially but ultimately fell in love with field corn which could be either flint or dent. I think the big difference is in harvesting and processing the grains. Corn requires much less labor to get to your plate, and no special equipment. Comparatively to wheat I love the ease of threshing corn. I like to nixtamalize my corn in huge batches and have it on hand as dried hominy. While wet in the nixtamalizing process it can be mashed up for easy masa without a mill. Field corn does require a minimum amount of plants to achieve pollination as its wind pollinated. Four rows at least 4′ long are recommended as a minimum. It also need a lot of nitrogen in the soil to be happy. Depending on your variety sow corn in rows 2- 4′ apart, around 8-12″ apart. Hill and feed with nitrogen as the plants reach your shins. Cultivate a round or two until the canopy fills in, then wait for the plants to die back. The corn is ready when the kernels can’t be dented with a fingernail. Then just pull them off the plants, husk them and give them a good ventilated place to dry. I’ll hang mine, tying them up by the husks, either indoors or outside under a pop tent. After a few weeks of drying they get either bagged up or threshed and stored in a bucket away from mice and moths.

Growing a Sorghum Syrup Tradition

homesteading, Uncategorized

Growing and pressing sorghum is a fun crop to have in your garden rotation for homegrown sugar. Sorghum stalks are filled with a sugar-rich sap that once pressed out takes just a short bit of boiling to get syrup.

Growing sorghum

Growing sorghum is similar to growing corn. Look for cultivars that specialize in being pressed for sugar over ones that favor its grain production. Direct sow after the last frost in a bed prepared with high fertility with 1/4″ depth. Space similarly to corn with rows 3-4′ and 8″ in row. Overseeding is fine as you can thin as they grow up.

Harvesting

Harvest sorghum when the grains on its seedhead reach soft dough stage. This means that the grain has filled in and no longer exudes a milky ooze when bitten. They should be red colored. This happens usually towards the end of September and early October here in Western Pennsylvania.

To harvest pull all the leaves off in the field, which can be done by hand. Using a pair of snips cut off the seedhead. These can be saved and used as grain and/or seeds for next year. Then cut down the stalk using a machete, sickle, or other method and stack the stalks.

Sorghum stalks are firm but can snap easily. If it happens its not a big deal but it helps to keep in mind where you’re planning to press to minimize moving them around.

Pressing

We’ve tried pressing sorghum a couple of different ways. The first time we tried we used a wooden hand-cranked apple crusher. It was immediately obvious that we were missing out on a lot of juice. A proper pressing mechanism is handy.

A tabletop sugarcane press does a great job. They seem to cost around $100- $250, but can do a lot of sorghum every year.

Get a friend and start cranking. Do a handful of stalks at a time according to how much your machine and cranker can handle. Usually we’ll have one person feed the stalks and the other turn the crank as the juice flows out to a pot below.

Boiling

Sorghum syrup boils down at a 10:1 ratio rather than 60:1 like maple sap. It’s a much quicker process and one I don’t mind doing on my home stove, as it’ll be just a few short hours.

Boiling will make a lot of crud on the top so skim the surface throughout the process. Boiling is done when a the sorghum reaches you desired syrup consistency. If you have a hydrometer, 74 Brix is the level of store-sold syrup. We fill them in mason jars hot and flip upside down for a seal.

*Most of these posts are resources for Ferment Pittsburgh’s monthly newsletter that features seasonal ideas, techniques, and musings. Consider jumping aboard?

Processing…
Success! You're on the list.

Saving Vegetable Seeds

farm, homesteading

With fall just starting to show, now is the perfect time to think about putting some seeds away for next year. While growing your own food invokes essential traditions with family and community each year, seed saving is a worthwhile practice that can carry those important traditions across generations. Here are a couple straight-forward veggies that are a good place to start saving.

When choosing a fruit to collect seeds from consider carefully as seed saving is akin to adopting a new family member. Once you’ve chosen the plants you want to work with, look for the general attributes of the fruit and the plant as they would be the parent of the future generations in your garden. Choose for characteristics you like, perhaps the plant’s performance, fruit size, disease resistance, etc.

Tomatoes

Some genetic crossing with other closeby tomato varieties are possible, so maybe consider spacing different varieties apart in your garden. Collect ripe fruits. Crush them in a container and stir twice daily. There is a pulp that surrounds the seeds that will be reduced by a light fermentation. The seeds should eventually sink to the bottom after about 2-4 days. Caution that over-fermentation can reduce germination.

When the seeds are ready add water, stir, and pour off the water with the tomato solids. Keep repeating until the seeds are left with some pretty clean water. Strain the seeds and lay out on a cloth to dry.

Peppers

Use ripe fruit. Remove the seeds from the flesh. No washing necessary. Allow to air dry. Varieties should be grown with some separation if genetic purity is desired, around 50′.

Eggplant

Use mature fruit whose flesh leaves an indent when pressed. Remove seeds by cutting and crushing the fruits. A knife will likely slice through some seeds so maybe just cut in half then tear the rest with your hands. Place in a bowl and add water and continue to crush, squeeze, or rub free the seeds. Wash out in a way similar to tomatoes but there’s no fermentation required. Lay out to dry. Varieties should be separated by around 50′ if you want genetic purity.

Beans, Grains, & Potatoes

Plants like beans, potatoes, and grains are quite simple as the harvest is the seed itself. Just let the plant reach full maturity, harvest, and store away as you would as if it were food. Beans and grains tend to be left on the plant until it fully dies back, they are further dried indoors for a few weeks just to be sure, then packed away. Potatoes are stored in the root cellar or a cool basement.

Note on Drying Seeds

Let the seeds dry on their own if your ambient temperatures allow them to do so without molding. Try not to use anything to speed up drying however a light fan for air-flow can be okay.

*Most of these posts are resources for Ferment Pittsburgh’s monthly newsletter that features seasonal ideas, techniques, and musings. Consider jumping aboard?

Processing…
Success! You're on the list.

Homemade Blueberry Vinegar

fermentation, homesteading

Blueberry vinegar first began as a failed attempt at blueberry wine, but is now an annual tradition and the primary vinegar we use for everything. Making vinegar is a perfect use for old, blemished, and forgotten fruit.

This recipe is for a sweet blueberry vinegar that is excellent as a finishing vinegar or to dress up salads. No fancy task here, though a hydrometer is laxidazically used to measure the sugar content along the way. It’s an essential tool for alcohol ferments that costs ~$20, though is not required for here.

For every gallon of fresh blueberries you’ll need:

  • 1# Sugar
  • 7/8 gallon of water (or just a tad less than a full gallon)

To start, load up your bloobs into your fermentation vessel and give ’em a preliminary mash.

Add water and sugar and give a good stir to dissolve. You could certainly dissolve the sugar before adding but the lazy method is always refreshing. The sugar will dissolve eventually. Cover your container with a breathable cover, like a t-shirt affixed with a rubber band to keep insects out.

After about 48 hours I’ll measure the sugar with a hydrometer. I like to shoot for 22-24 Brix, which is the equivalent of wine’s starting brix. Measuring this isn’t necessary, as the recipe water and sugar amounts will get you close enough.

Soon enough your blueberries will start to ferment from wild yeast. It’s a helpful thing to come by and stir the top once or twice a day, or as you remember. The fermentation will push the blueberry solids to the top so we need to break up that cap every so often. Don’t worry about using a clean tool to do it, we’re making vinegar after all.

A hydrometer can help chart the processes of your fermentation, though the old way is just observing the bubbling activity and intuition. If the mixture can ferment down to around 10 or below Brix then we will be looking at a 5-6% acidity vinegar, which is our goal. Without a hydrometer you can let it go until the bubbling has calmed down to just occasional pricks. There’s no wrong way here. We like a sweet blueberry vin so like to catch it before the fermentation has completed. However you could very well just let it ferment to dry all the same. Regardless, when the time is right, add a little acidic acid inoculation via a splash of live vinegar, over-the-hill kombucha, vinegar mother, or a backslop of last year’s bloob vin. You can also just let the mixture sit untouched with its breathable lid until it eventually sours. Whichever way, it’s time to just let it sit.

Taste it ocassionally until that one magical day when your bloobs taste unmistakably like vinegar. Now is a good time to press which can be done by emptying the contents through a pillow case, then twisting and squeezing it until enough of the juice has run out.

After a couple days rack off the solids accumulated at the bottom by carefully pouring the liquid out until it reaches the sludge. Discard the sludge and store your delicious vin away in a lidded containers or a carboy.

*Most of these posts are resources for Ferment Pittsburgh’s monthly newsletter that features seasonal ideas, techniques, and musings. Consider jumping aboard?

Processing…
Success! You're on the list.

Lacto-Fermented Pickles of Any Kind

fermentation, homesteading, Uncategorized, Vegetable Fermentation

The chase is in full swing. Fleeting moments that contain green beans, cucumbers, peppers, eggplant, and all the rest are here to either catch or miss. Each jar and crock filled is a thriving moment of anticipation for that winter day when you unlock the memories of summer and you proudly present them to your fellow diners- these are my pickles! In addition to the fantastic name, dilly beans were likely my very first homemade pickle. However, like all recipes, are open to your play and creativity.

For the modest backyard garden that gathers maybe a handful of something every other day or so, setting up a continuous pickling regiment is great. Line up your either mason jars, old peanut butter jars, etc and make them as you go- one little jar at time perhaps. Either way the laid-back nature of lacto-fermented pickles assures you can have the time to make delicious pickles this summer.


Pack as much fresh or dried herb as you can while leaving some room still for the veg. Dill blossoms, green coriander, fresh garlic or scapes, fennel blossom, hot peppers etc. It’s nice to shuve the whole thing, stalks and all, when using fresh herbs.

With whatever remaining leftover room squish in as many cucumbers, beans or whatever veg or veg combo into your jar as you can manage.

I like to eyeball my salt (and maybe return later to taste and adjust) but for the rest a nice middle ground place is 2-3 TBS of salt per a quart. That will hit about the 3.6- 5.2% salinity which is delicious.

Add water to cover everything as best as possible and fasten the lid securely.

Leave it out on counter for 3 days, or until you notice some vigorous bubbling activity. The tell-tale sign will be a bulge in the lid. When that occurs, move to the back of the fridge until you forget and remember again that it’s there some time later in the winter. This quick counter to fridge process ensures the crispest pickle for anyone pickling in some hot weather. The fermentation will crawl along slower but to me sure beats having mush.

Forget about the pickles in the back of fridge for at least a month or two but even better the longer you wait. Also, consider not removing the lid once you get a bulge in it. The reason is, that accumulated Co2 is pushing any oxygen up and away from any plant parts not submerged by the brine thus keeping mold away as if it were submerged. There is also an added bonus of getting some effervescent pickles when you open them!

*Most of these posts are resources for Ferment Pittsburgh’s monthly newsletter that features seasonal ideas, techniques, and musings. Consider jumping aboard?

Processing…
Success! You're on the list.

Pickled & Marinated Preserved Summer Veg

homesteading, Uncategorized

This is quickly becoming a favorite process of ours for preserving summer veg. It’s especially exciting for those who spend their winters pizza-ing through their larder. It works with almost any firm veg and involves a flash boil in pickling brine to pick up on a wonderful pickled bite, then submerging in oil to marinate and preserve until you’re ready to use it. This veg is absolutely delicious and are a wonder to dig out of a jar, already coated in fat to enhance any future meals.


Make a simple pickle brine of 1:1 ratio water to vinegar, and add a teaspoon of salt for every 4 cups of liquid. (The brine amounts depend on how much veg your preserving.) Bring it to a boil.

After cutting your veg to the shape and size of your desires, plop them into the boiling brine for roughly 2-5 minutes. However this time is more dependant on the vegetable you’re using. The goal is to soften it to al dente- softened but still retaining some bite. No worries if it’s not perfect.

In the meantime drop any decorative seasonings into a jar- a clove of garlic, herbs like thyme, oregano, perhaps a sliver of hot pepper.

When the veg is ready, strain it and immediately pack it into the prepared jar. Also immediately, cover it completely to the top with oil, pop on the lid and let it be.

This marinated pickle lasts a couple months in the pantry but can also last quite a lot longer in the fridge.

*Most of these posts are resources for Ferment Pittsburgh’s monthly newsletter that features seasonal ideas, techniques, and musings. Consider jumping aboard?

Processing…
Success! You're on the list.