It’s said that the first automated spinning machine helped kick start the industrial revolution. The practice of spinning fibers itself came from a rudimentary toolset such as a stick and maybe a small weighty rock that was invented independently in different forms all over the world as separate cultures birthed their own thread spinning traditions. And this simple act of spinning, spinning, and spinning fibers, over and over made clothes, bags, and eventually sails for ships to launch out to sea which led to our now global world and using a non-automated spinning wheel would take around 4 and a half years just to spin. Flax is believed to be one of the first cultivated plants and used for its fiber. But in order for the world to hop on the back of flax to fully spin out of control it needed fermentation to carry it from plant to fiber, from flax to linen.
Growing
Flax is a cool weather loving plant so is often sown in the spring in Western Pennsylvania. It has thin strong stalks that reach maybe around 3’ or so. They can be broadcast but doesn’t compete well with weeds like thistle and bindweed. Flax grown for fibers are sown close together to discourage the plant from branching, and the closer they’re grown, the finer the fiber that can be made from them. Conversely if it’s the oil-rich seeds good for eating, paint, and finishing wood that are desired, give em a little more space to multiply with buds. After around 100 days the plant begins to yellow (round mid-July) and the plants are pulled, by hand, with root and all to maximize the fiber length.
Processing
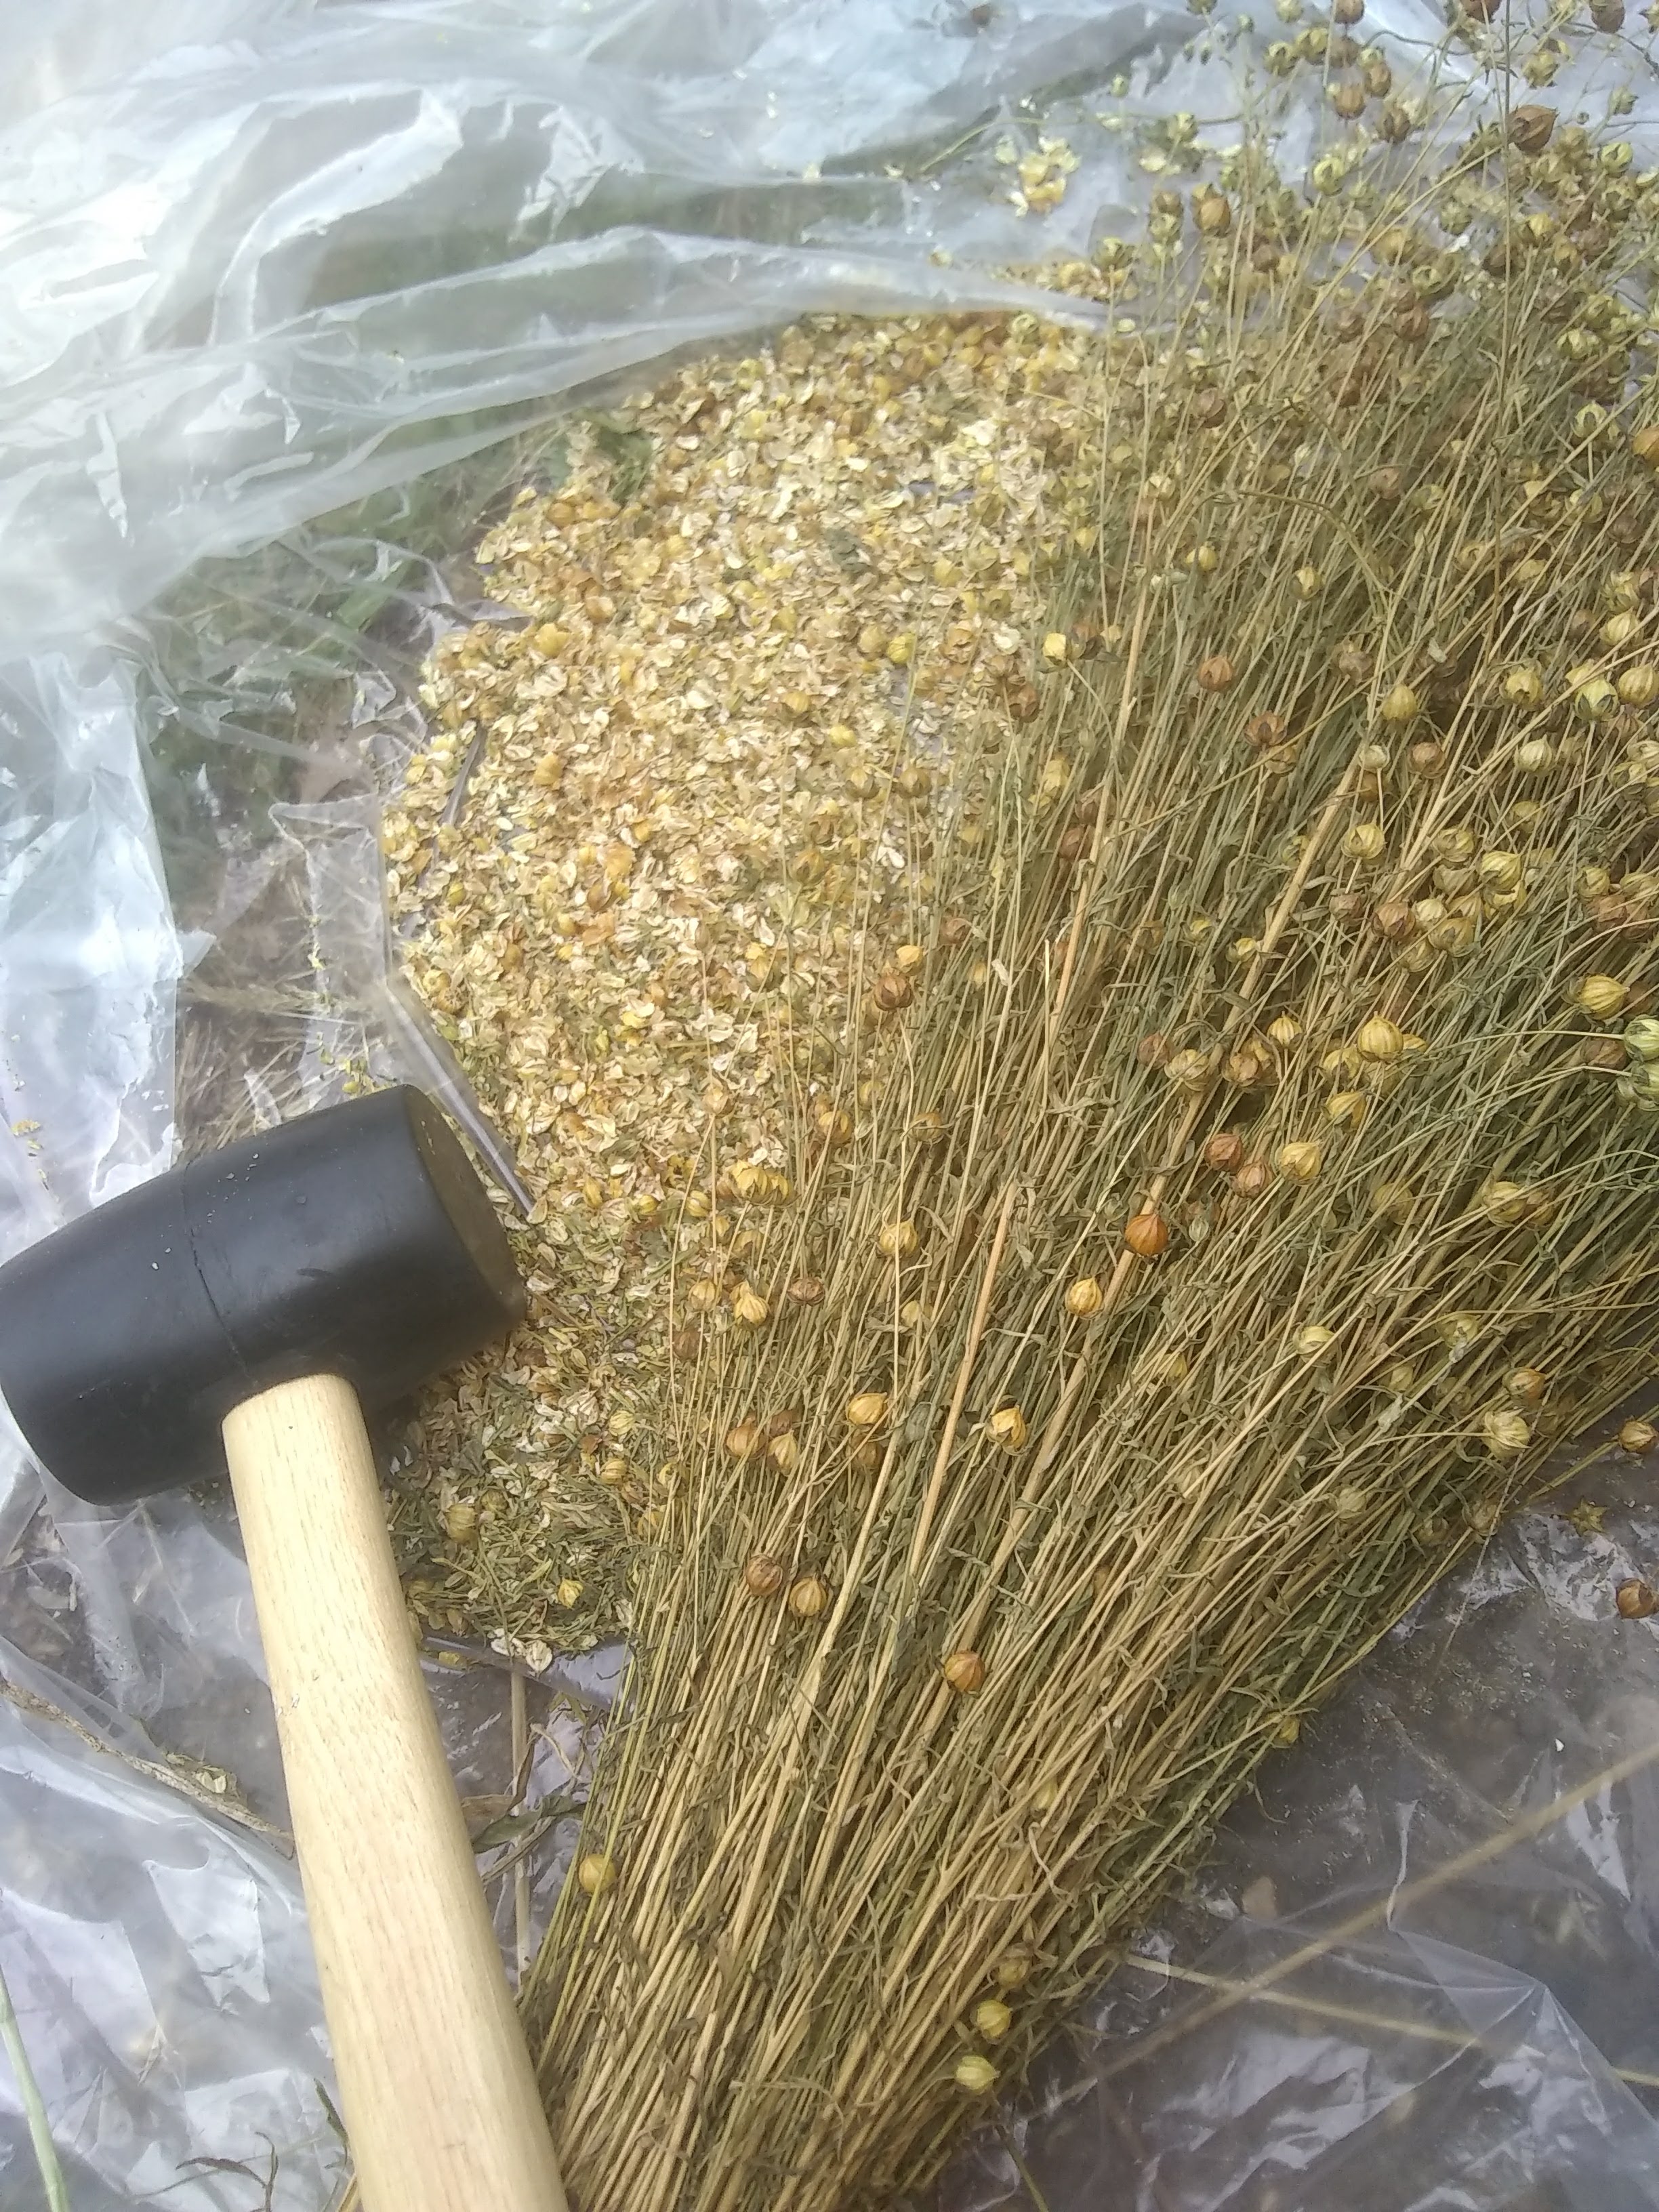
The stalks are laid out to dry for a few weeks (after which threshing can occur to save or obtain the little flax seeds by carefully whacking the stalks). And now things start getting good and rotten, next comes the retting stage.
Linen is a bast fiber meaning that the fibers are collected at the phloem, or inner bark, part of the stem. Incidentally the xylem (outer woody part) and phloem are bundled together by pectin which need broken down to separate out the desired fibers.
The word retting is thought to originate from rot, our dear friend to fermentation. A prolonged saturation of the plant causes the cells around the phloem to burst which in turn invites microbes to come and work on the carbohydrate-based pectin, and this action frees the cellulose fibers from its woody stalk.
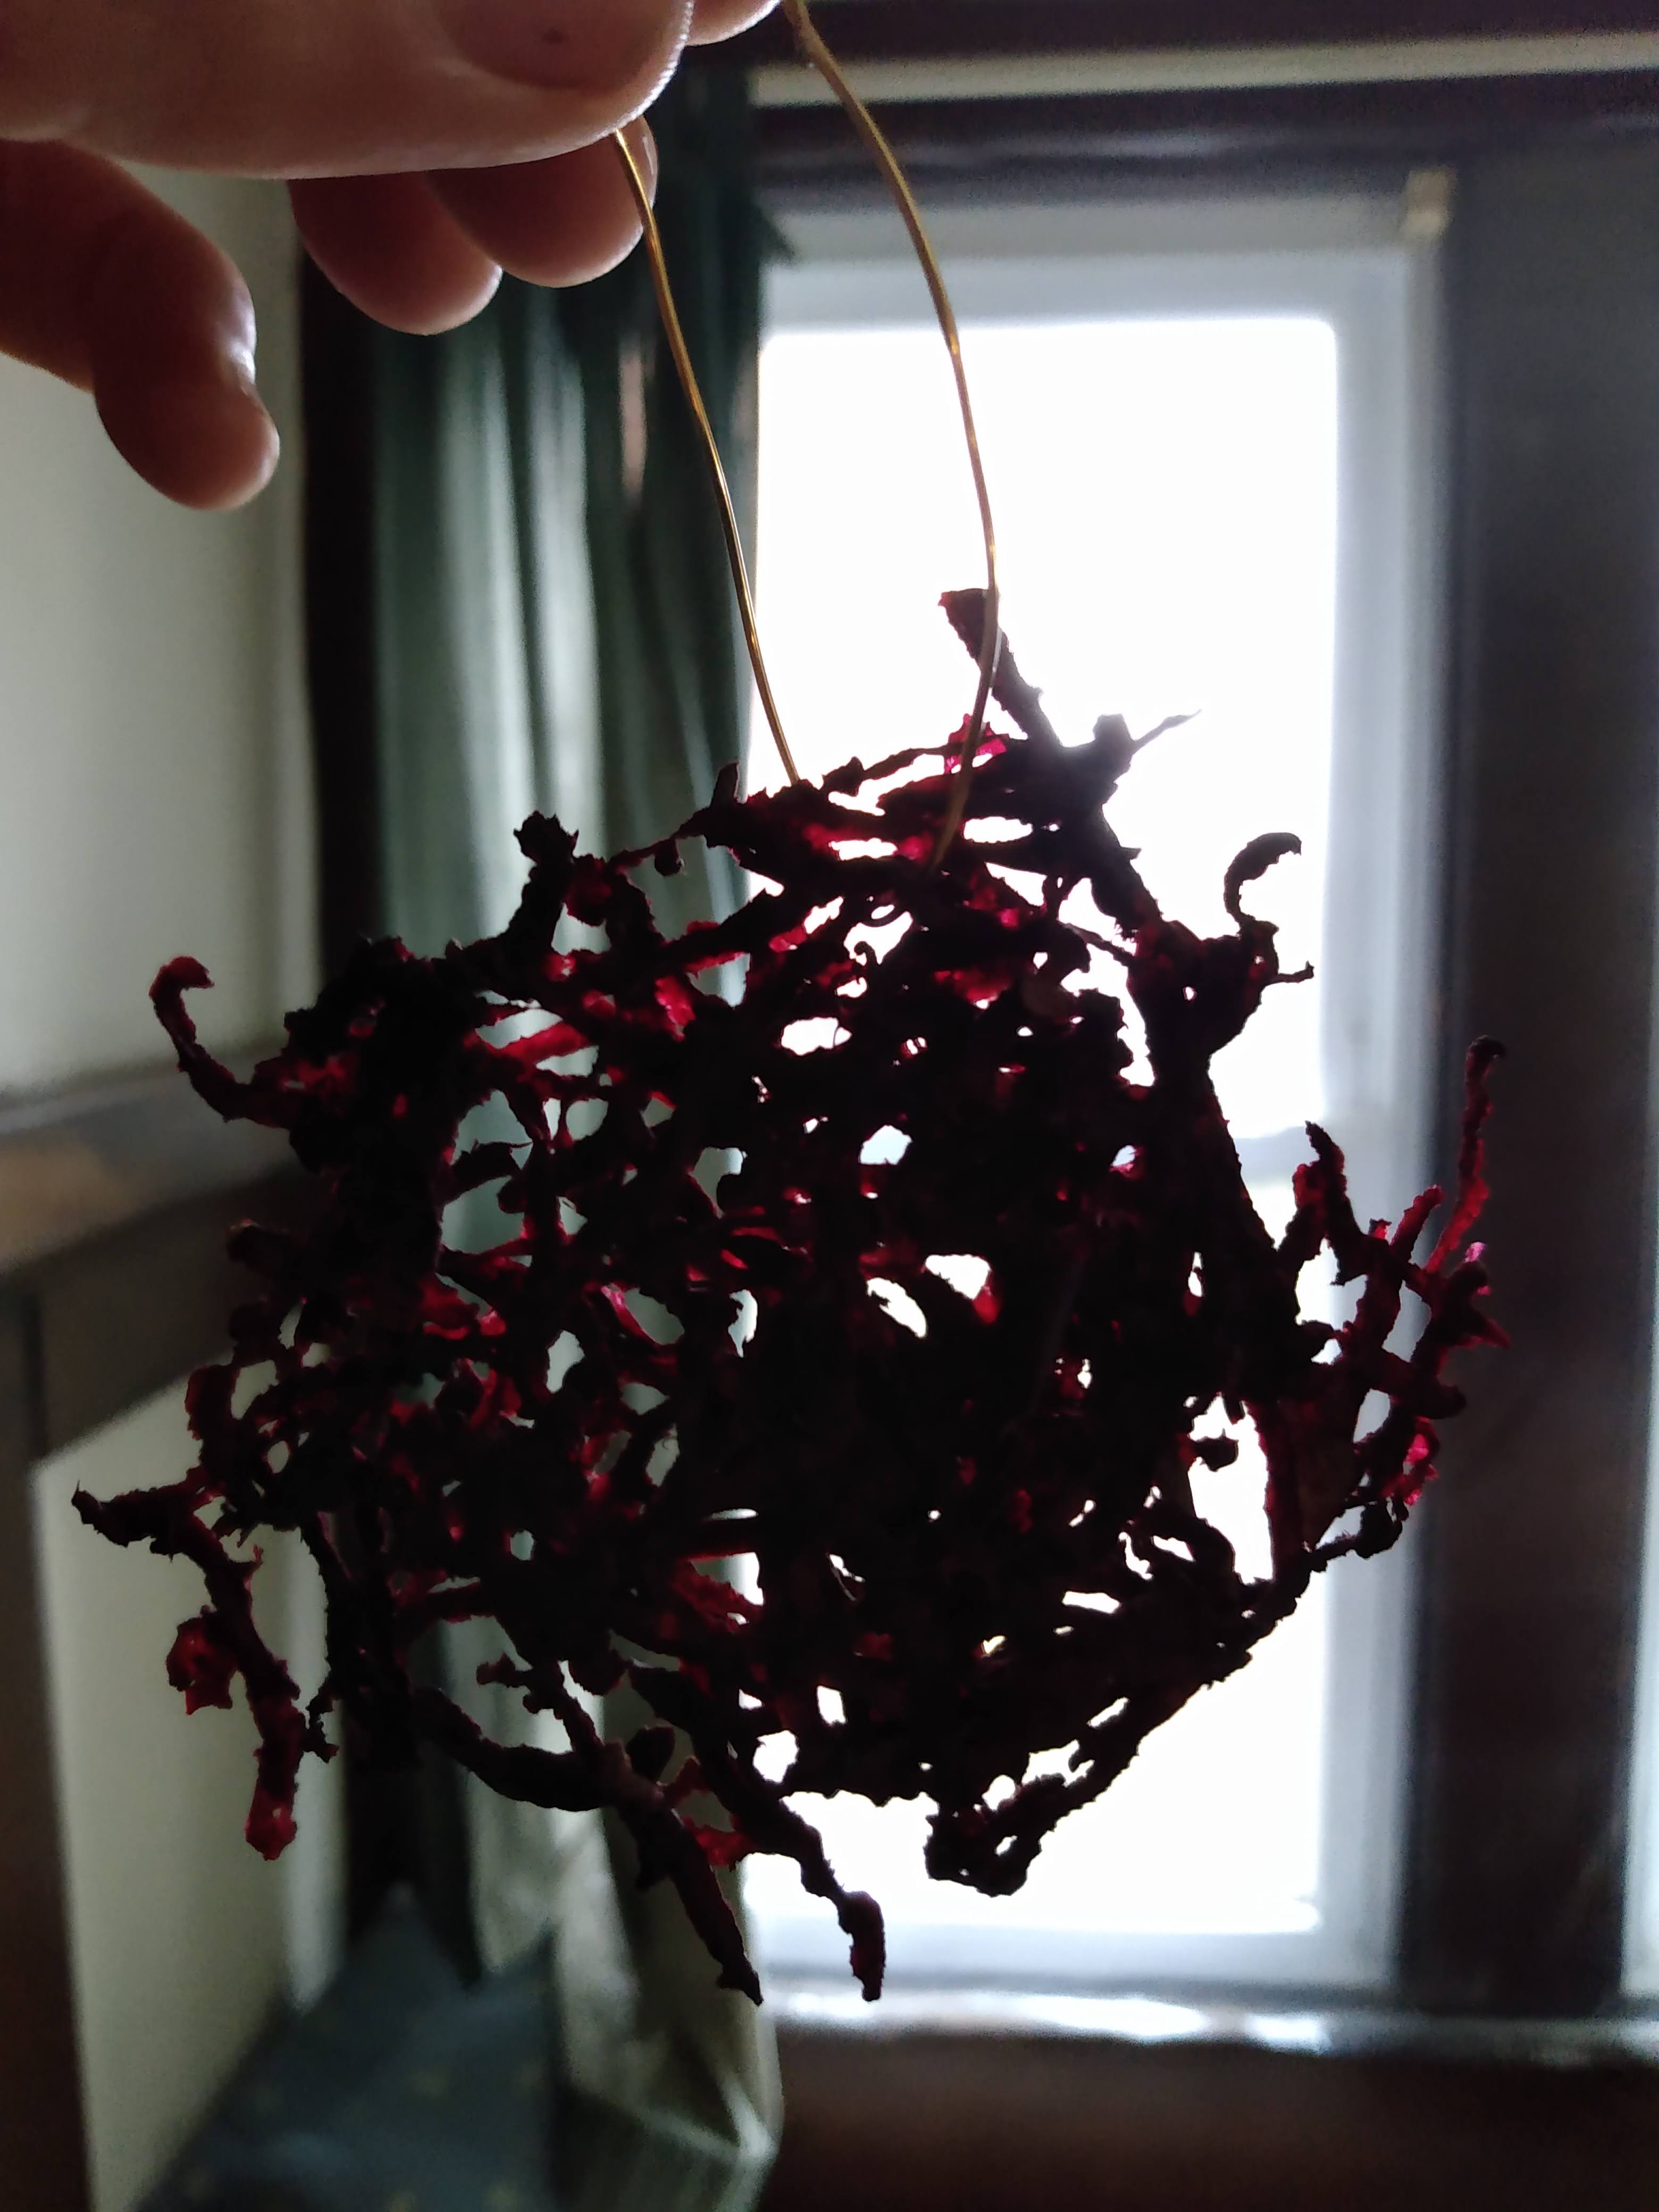
Attention must be taken at this stage as under-retting won’t cause proper separation, and over-retting can disintegrate the fibers. Verifying success comes through testing to see if when you break the stalk you can see the fibers separated.
Retting
There are several methods to ret. The first is dew retting where the flax is simply laid in thin layers on the grass to rot with the accumulated morning dew, then dried out during the day (or not), and repeat. Depending on weather this can take a few days to a few weeks and produces a greyer-brown fiber.
Another way is to submerge the dried flax plants in a pond or stream weighed down possibly by rocks. On a large enough scale this method has been trouble for fish and has led to various bans of it overtime. It’s much quicker and produces a more blonde color.
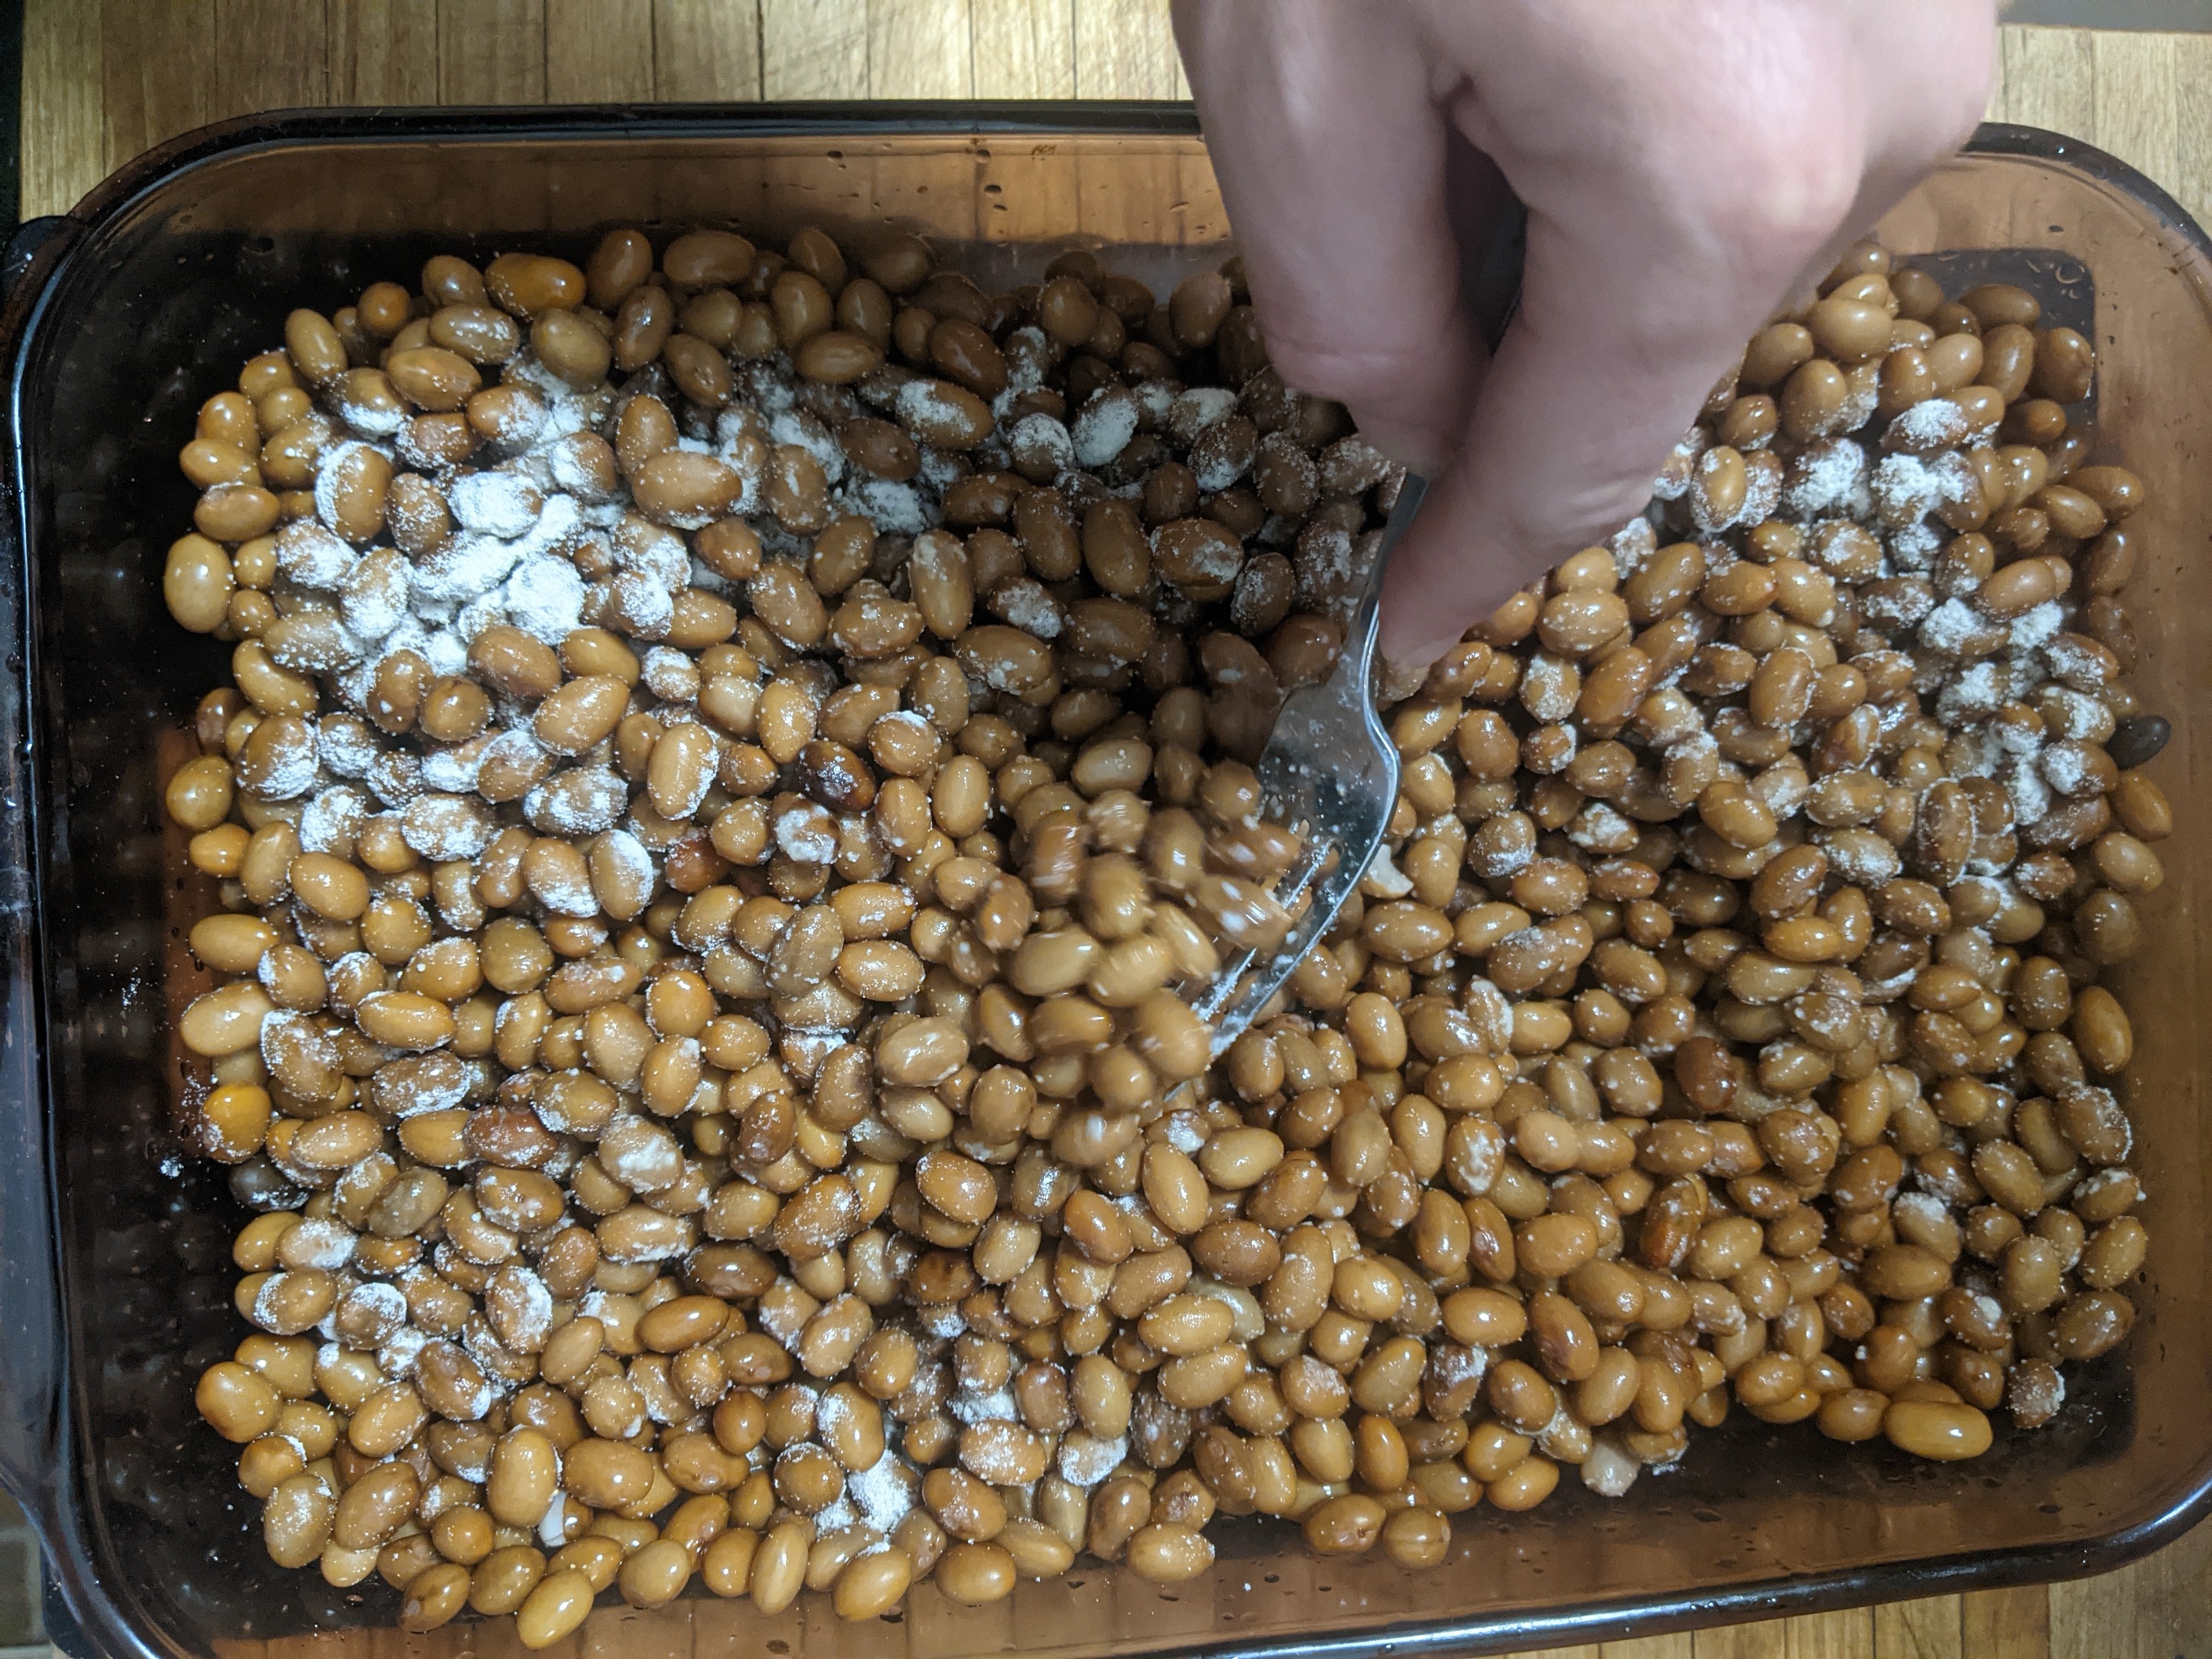
By far the stinkiest is by submerging the fibers into a stagnant pool. This is done in a tub large enough to submerge the stalks. Hose water could work, but like a good starter culture, a cupful of pond water is great to get the microbial activity going. Place a lid on top to keep the water from evaporating in the summer sun, as well as the smell down and it takes about a week.
Once the stalks are tested and a good break of stalk and fiber is easily seen then they are moved to a dry place out of the weather.
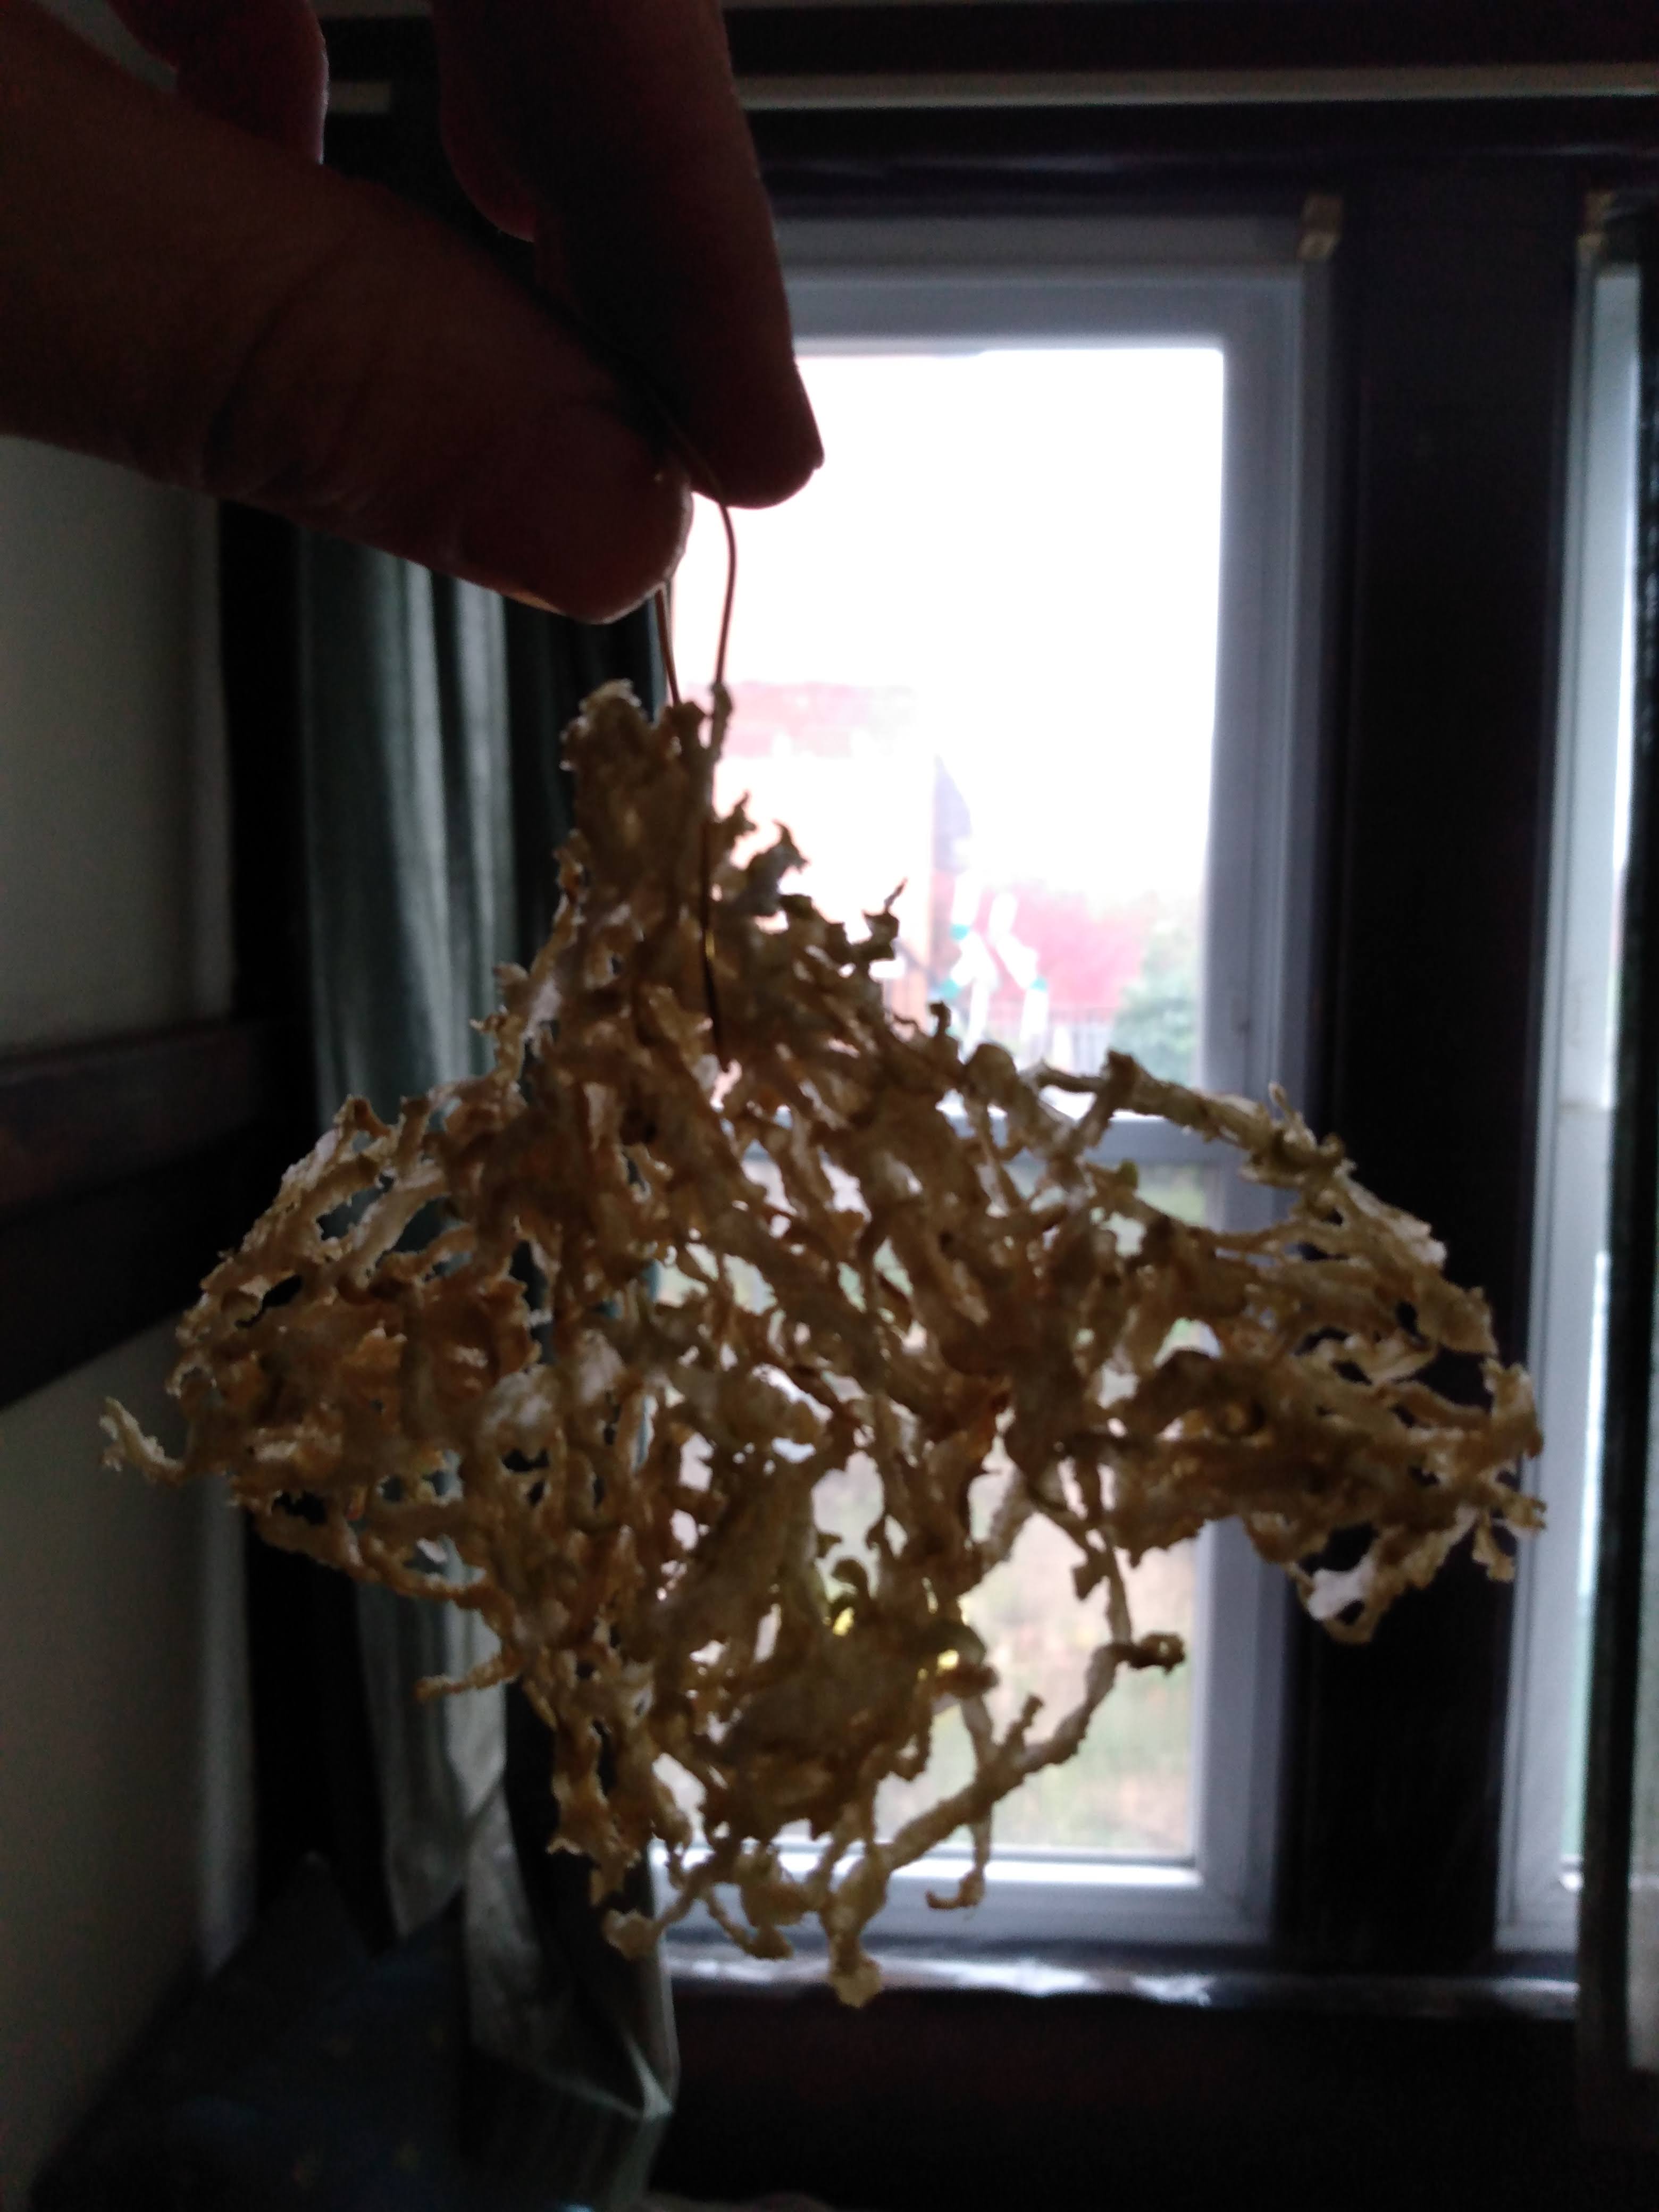
Fibers Emerge
At this point the dried stalks are ready to be broken and shattered which should free the long thin fibers from the woody parts of the plant. It’s quite magical to watch the beautiful blonde fibers released from the confinement of their wooden cell. This is also a step we might save for another time, and instead shove the prepared stalks into the basement to await a winter day when there’s more free time to complete the process.
All the steps to processing hereafter involve cleaning the fibers from the stalks which include breaking (which can be done in a sugarcane press or simple cracking), a whacking to then shed the remaining pieces, and a combing to leave clean, straight, and untangled fibers ready to be spun and then woven.