

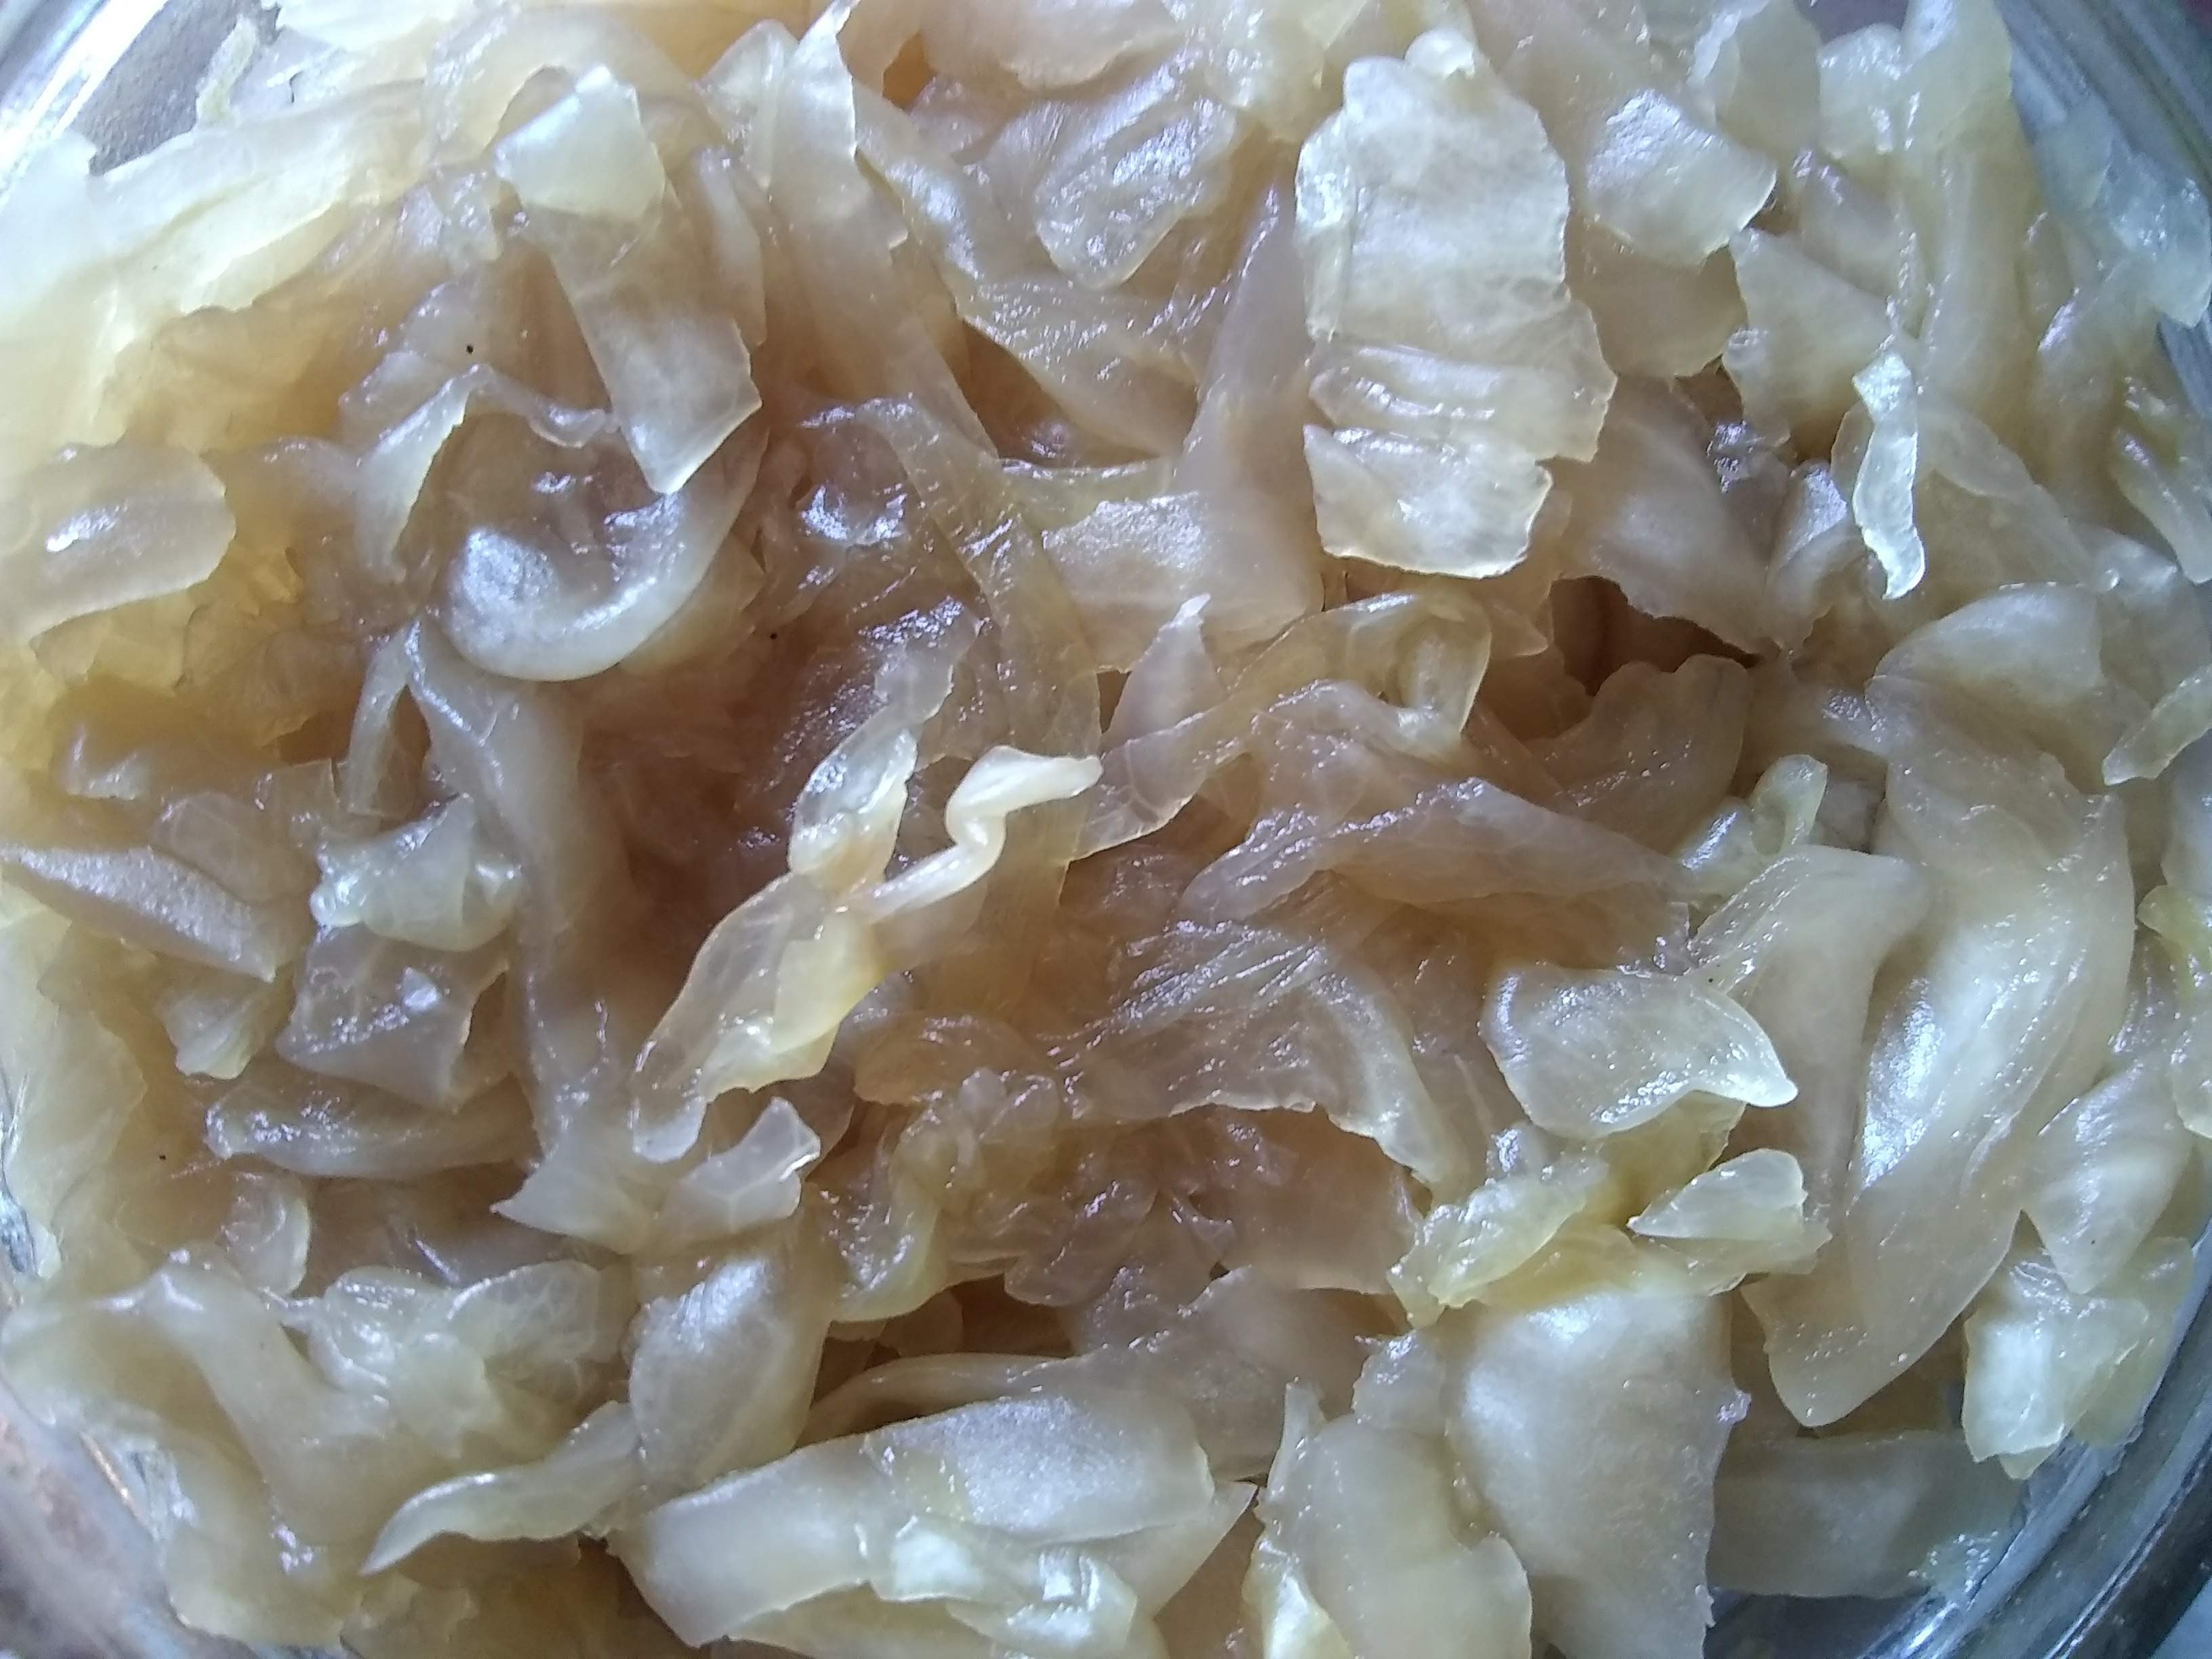
Sauerkraut is easily the number one food we eat in the winter. With fall rolling through we make a huge batch annually to use with almost every meal. A long slow simmered sauerkraut is the perfect canvass to marry with anything in the cellar- roots, potatoes, sausages for comfort all winter long- with a big dollop of yogurt.
We make ours in quantities that fit into 5 gallon buckets and if you were interested in doing the same, Home Depot and Lowes sell a white food grade 5 gallon bucket and lid in their paint section. I know food grade plastic is less than ideal but our house in an urban row stays pretty mild. The buckets with snap lids wonderfully safeguard the kraut from getting too gnarly, being a fly residence, and keeping the smell from filling the house. The 5 gallon size also accommodates 50# of fresh green cabbage perfectly. Having an abundant amount makes using it often as easy as remembering it’s there.
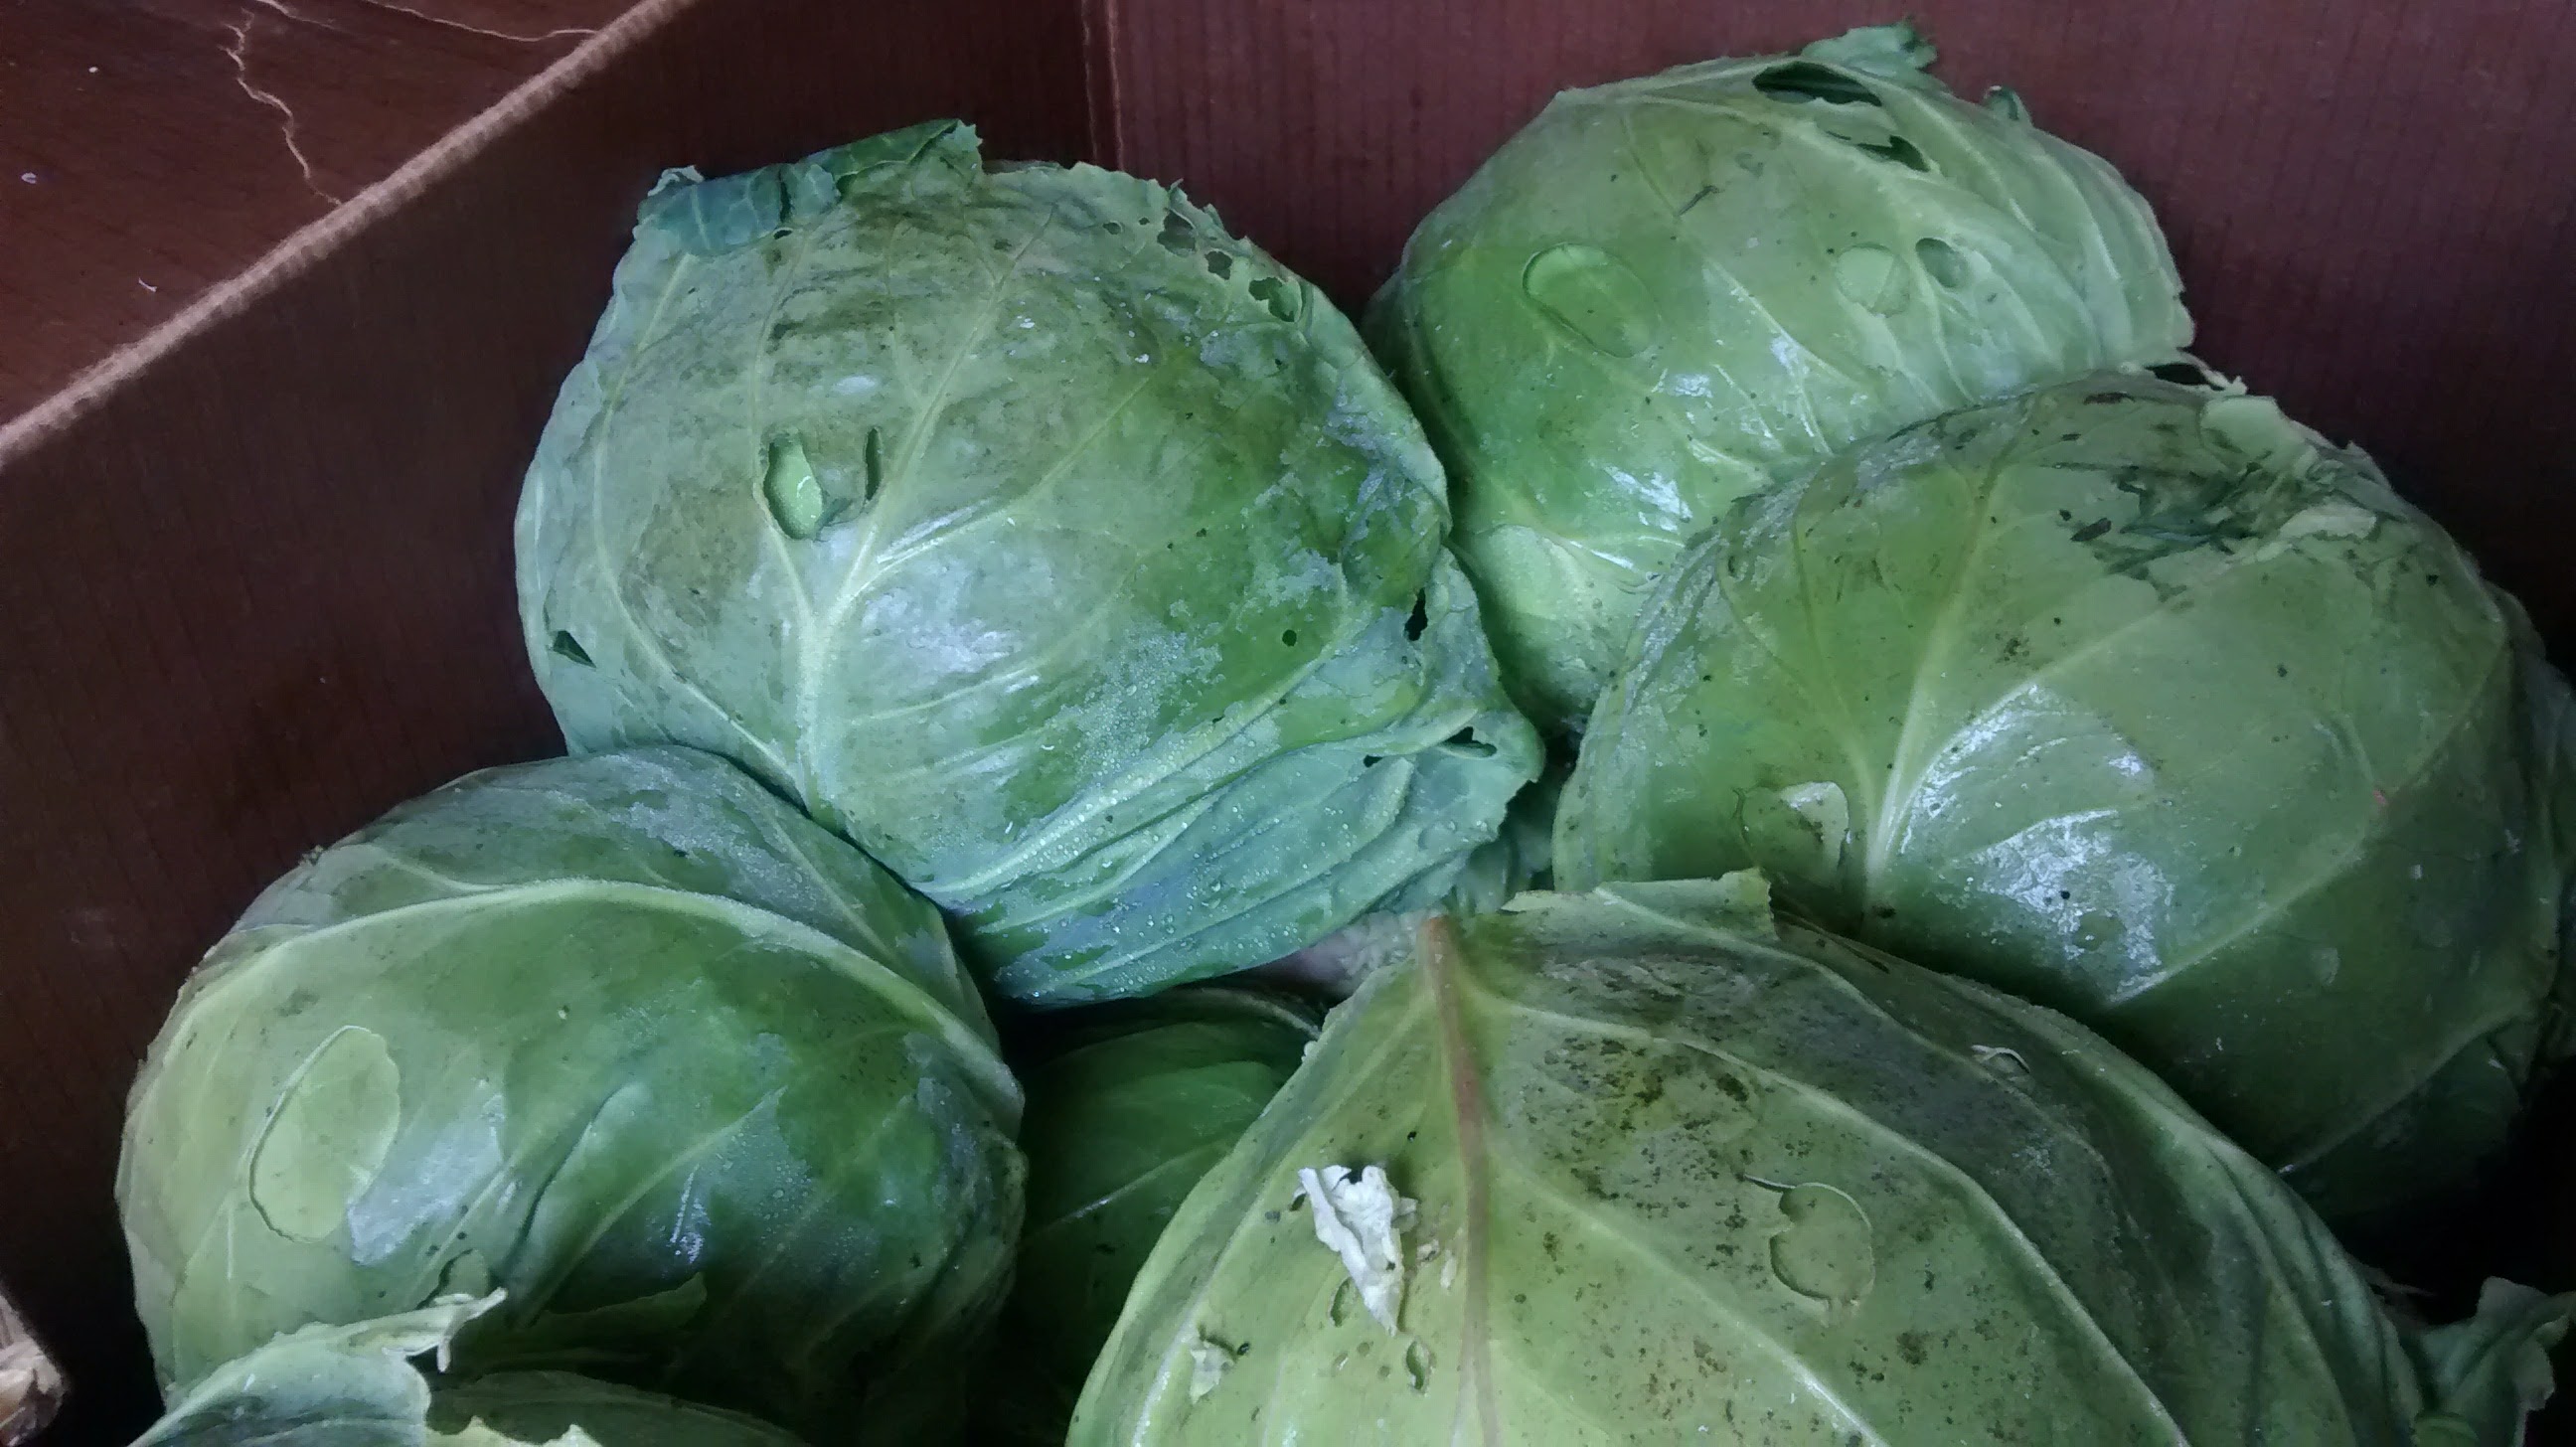
For sourcing your cabbage and other assorted veggies, if you’re making a large enough batch you might sell out the farm stand. Give the farm a call ahead of time and ask for a bulk order. If they have it they’ll be happy to accommodate. And then you’ll have no need to buy any of that out of season cabbage from the grocery store this winter.
The creative whim that can go into a sauerkraut from spices, herbs, fruit, and different vegetables is really special. I hope your creativity can be your guide whether you are making a pint, a quart, or more. We tend to make a bulk “traditional” batch, and portion smaller amounts off for making something more eccentric.
Here’s The Sauerkraut Process
Peel off any weird outer leaves from your green cabbage. Cut the cabbage in half to remove the core, then proceed to slice the cabbage into ribbons or whatever shape you’d like.

Mix with salt, let’s say 1 & 1/2- 2tsp per a pound of cabbage, but salt to whatever is your taste preference, there’s no wrong answer. Then massage, pound, stomp, or club your cabbage until its giving up its water.

Now pack the cabbage and its brine into your fermenting vessel of choice, pushing it down so that all the cabbage is in brine. Be careful not to overfill as it will rise and possibly spill over, so give a couple inches of headspace.

Either affix a lid or place a weighted cover and then a cloth draped over to keep the cabbage under the brine and the bugs out. I really like fixing a lid on top. It takes most of the work out it things. The Co2 that results in fermentation will protect the kraut from oxygen. Contact with oxygen carries the risk of mold growth and mushiness. Without a lid the Co2 doesn’t get trapped and maintenance to keep the cabbage submerged in the brine will be necessary. With the right amount of headspace in a bucket with a lid, we’ll just move it to a cool area and not touch it until we start tapping into the larder around Thanksgiving.
In the fall it’s really nice to take advantage of the mild days and cool nights by leaving the kraut outside in a shady area to ferment. We only bring it in once it starts getting too cold, then it move into the cellar or a cool corner of the house where it slowly disappears every day, one scoop at a time.
*Most of these posts are resources for Ferment Pittsburgh’s monthly newsletter that features seasonal ideas, techniques, and musings. Consider jumping aboard?
