

Making lists is silly but we did it anyway here because we think there’s some real value in turning people’s attention to the foundations of feeding yourself in our geography where growing tomatoes in your garden is far more popular. Even if you don’t have the space to produce that much food you can still save the seed and pick up the rhythm.
All three of these crops provide a certain degree of simplicity and reliability. They also are generally low maintenance all the way from sowing to harvest, at a home scale require no special equipment to process, while also being straight-forward to store for the winter and having endless uses in the kitchen. Though if I had to pick a favorite crop it would be onions, which brings up another curious point for another day- should your favorite food take priority as your top subsistence food?

Beans
Beans are very easy to grow. Direct sow after the frost up until early June for most varieties. Seed in rows 8″ apart and cultivate once or twice until the bean canopy fills in. Watch out for groundhogs. Leave out until plants dry in the field, but not too long or the pods may mold or shatter. They produce a reliable seed. Bush are easiest to harvest, there is a node at their base you can use snips and clip them at, hauling out the whole plant. For larger plots I’ve taken to coming in with the scythe when the bean pods are about halfway to dry. It’s an efficient way to harvest big patches without shattering too many pods. Climbing beans are more work to harvest.
I’ve learned to finish drying out the beans under a cover in the open like an open barn, porch, or shed, in a pile turning it occasionally to prevent molding. I’ve noticed that the longer you wait to thresh them the easier it is. Most of my beans I’ll wait to thresh until a hot dry day in the spring. And when that time comes they are easy to break with your feet alone, and winnowing is a breeze. At that point they are ready for storage in buckets or other containers that seal out the moths.

Potatoes
Potatoes are wonderful because they can be grown lazily. Put a potato in the ground and get more potatoes. It can be as simple as kicking a little soil over them. Dig trenches if you’re a go-getter and drop them in every foot or so. Look for storage varieties to get through the winter. I use a poor storage type that I think is delicious, maybe the seeds are slowly adapting. When I plant those varieties I just say I’m planting pre-sprouted potatoes. Cultivating can be as easy as hilling them a couple times with a rake, or as many times as you can manage. Voles may gnaw on them but otherwise hopefully they’re left alone. It’s possible to get an abundant harvest in smaller space, around a pound per a potato seed. When the green arial parts die back it’s time for harvest. If the soil is loose enough it could even be done with hands, though a shovel works so long as you don’t slice into them. After harvesting make sure your potatoes are exposed to the least amount of sunlight as possible so they don’t turn green. Let them cure for a week at ambient room temperature, then move them to a cool, dark space.
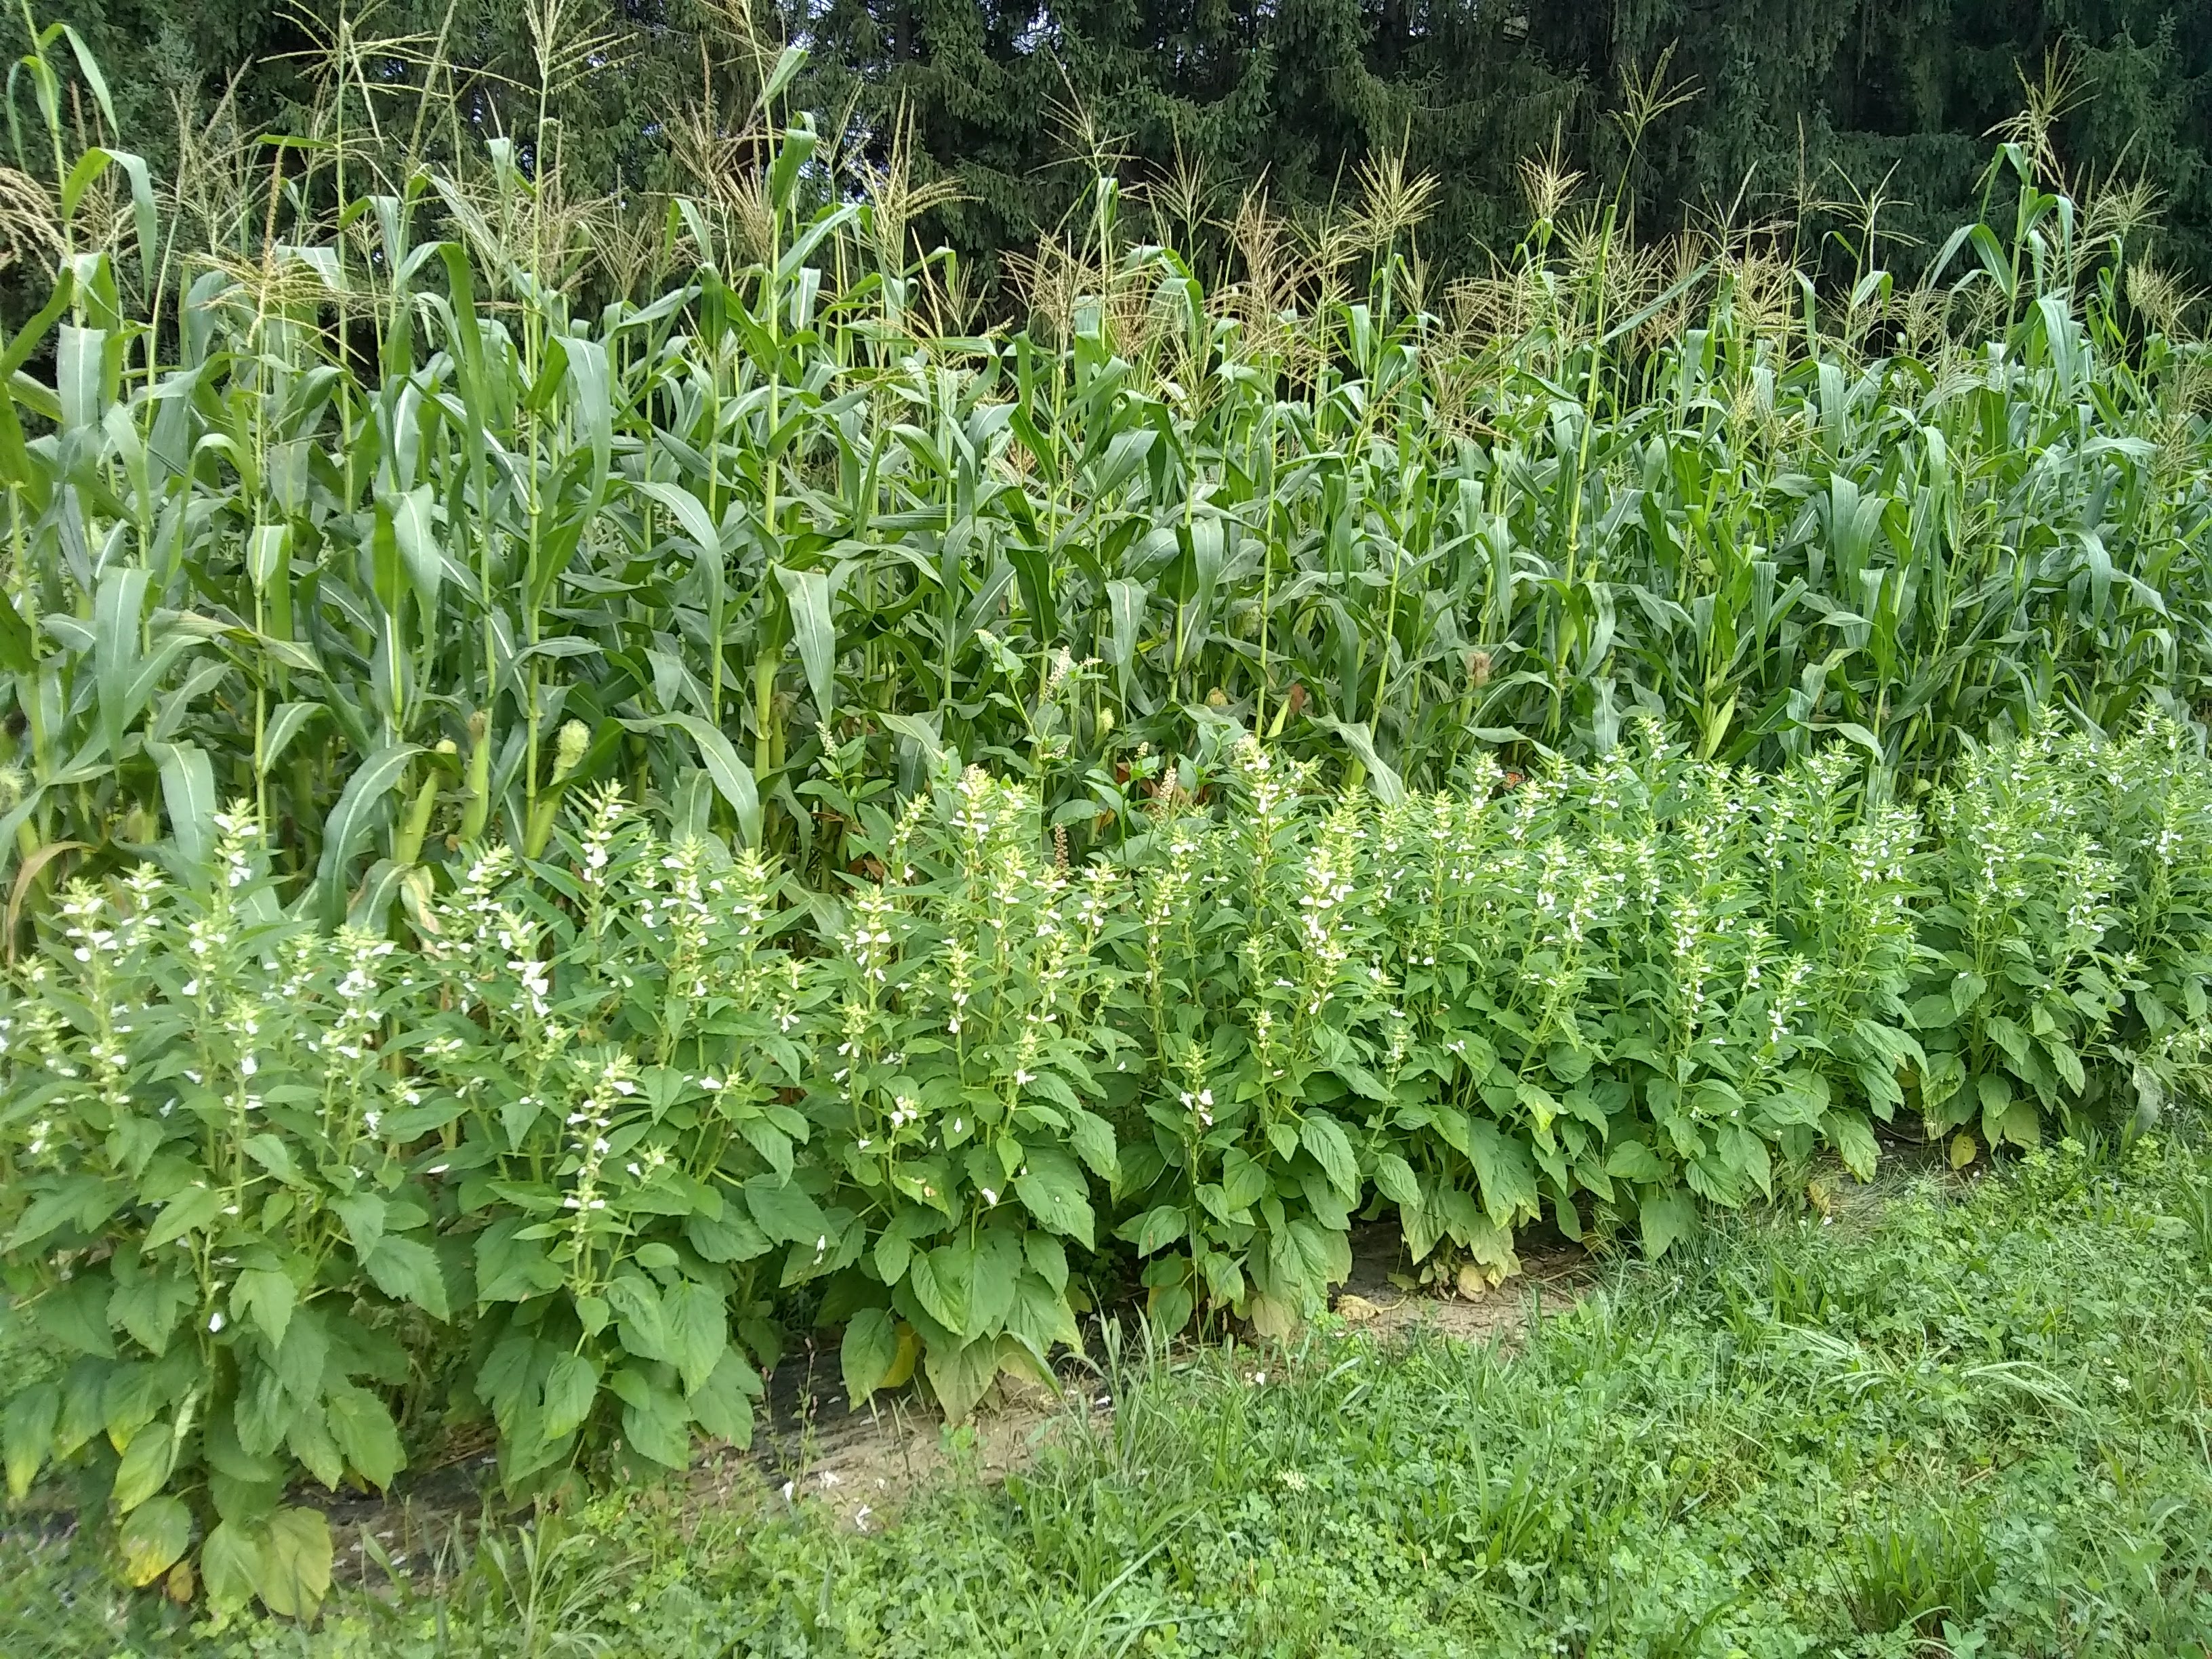
Corn
I set out to grow wheat as my primary grain initially but ultimately fell in love with field corn which could be either flint or dent. I think the big difference is in harvesting and processing the grains. Corn requires much less labor to get to your plate, and no special equipment. Comparatively to wheat I love the ease of threshing corn. I like to nixtamalize my corn in huge batches and have it on hand as dried hominy. While wet in the nixtamalizing process it can be mashed up for easy masa without a mill. Field corn does require a minimum amount of plants to achieve pollination as its wind pollinated. Four rows at least 4′ long are recommended as a minimum. It also need a lot of nitrogen in the soil to be happy. Depending on your variety sow corn in rows 2- 4′ apart, around 8-12″ apart. Hill and feed with nitrogen as the plants reach your shins. Cultivate a round or two until the canopy fills in, then wait for the plants to die back. The corn is ready when the kernels can’t be dented with a fingernail. Then just pull them off the plants, husk them and give them a good ventilated place to dry. I’ll hang mine, tying them up by the husks, either indoors or outside under a pop tent. After a few weeks of drying they get either bagged up or threshed and stored in a bucket away from mice and moths.
