Homemade Cream Cheese

dairy, fermentation

Cream cheese is another very simple cheese that is worth making if you’re able to get your hands on some really good local cream.

We culture via the David Asher method of using kefir. A simple plop of our kefir into the cream and we’ll let it sit out for a day at room temperature and then strain the grains out before heating. This culturing makes sure that our pasteurized cream has strong populations of the beneficial microbes we need. And perhaps according to your taste preference you can let the culturing go a little longer, or not.

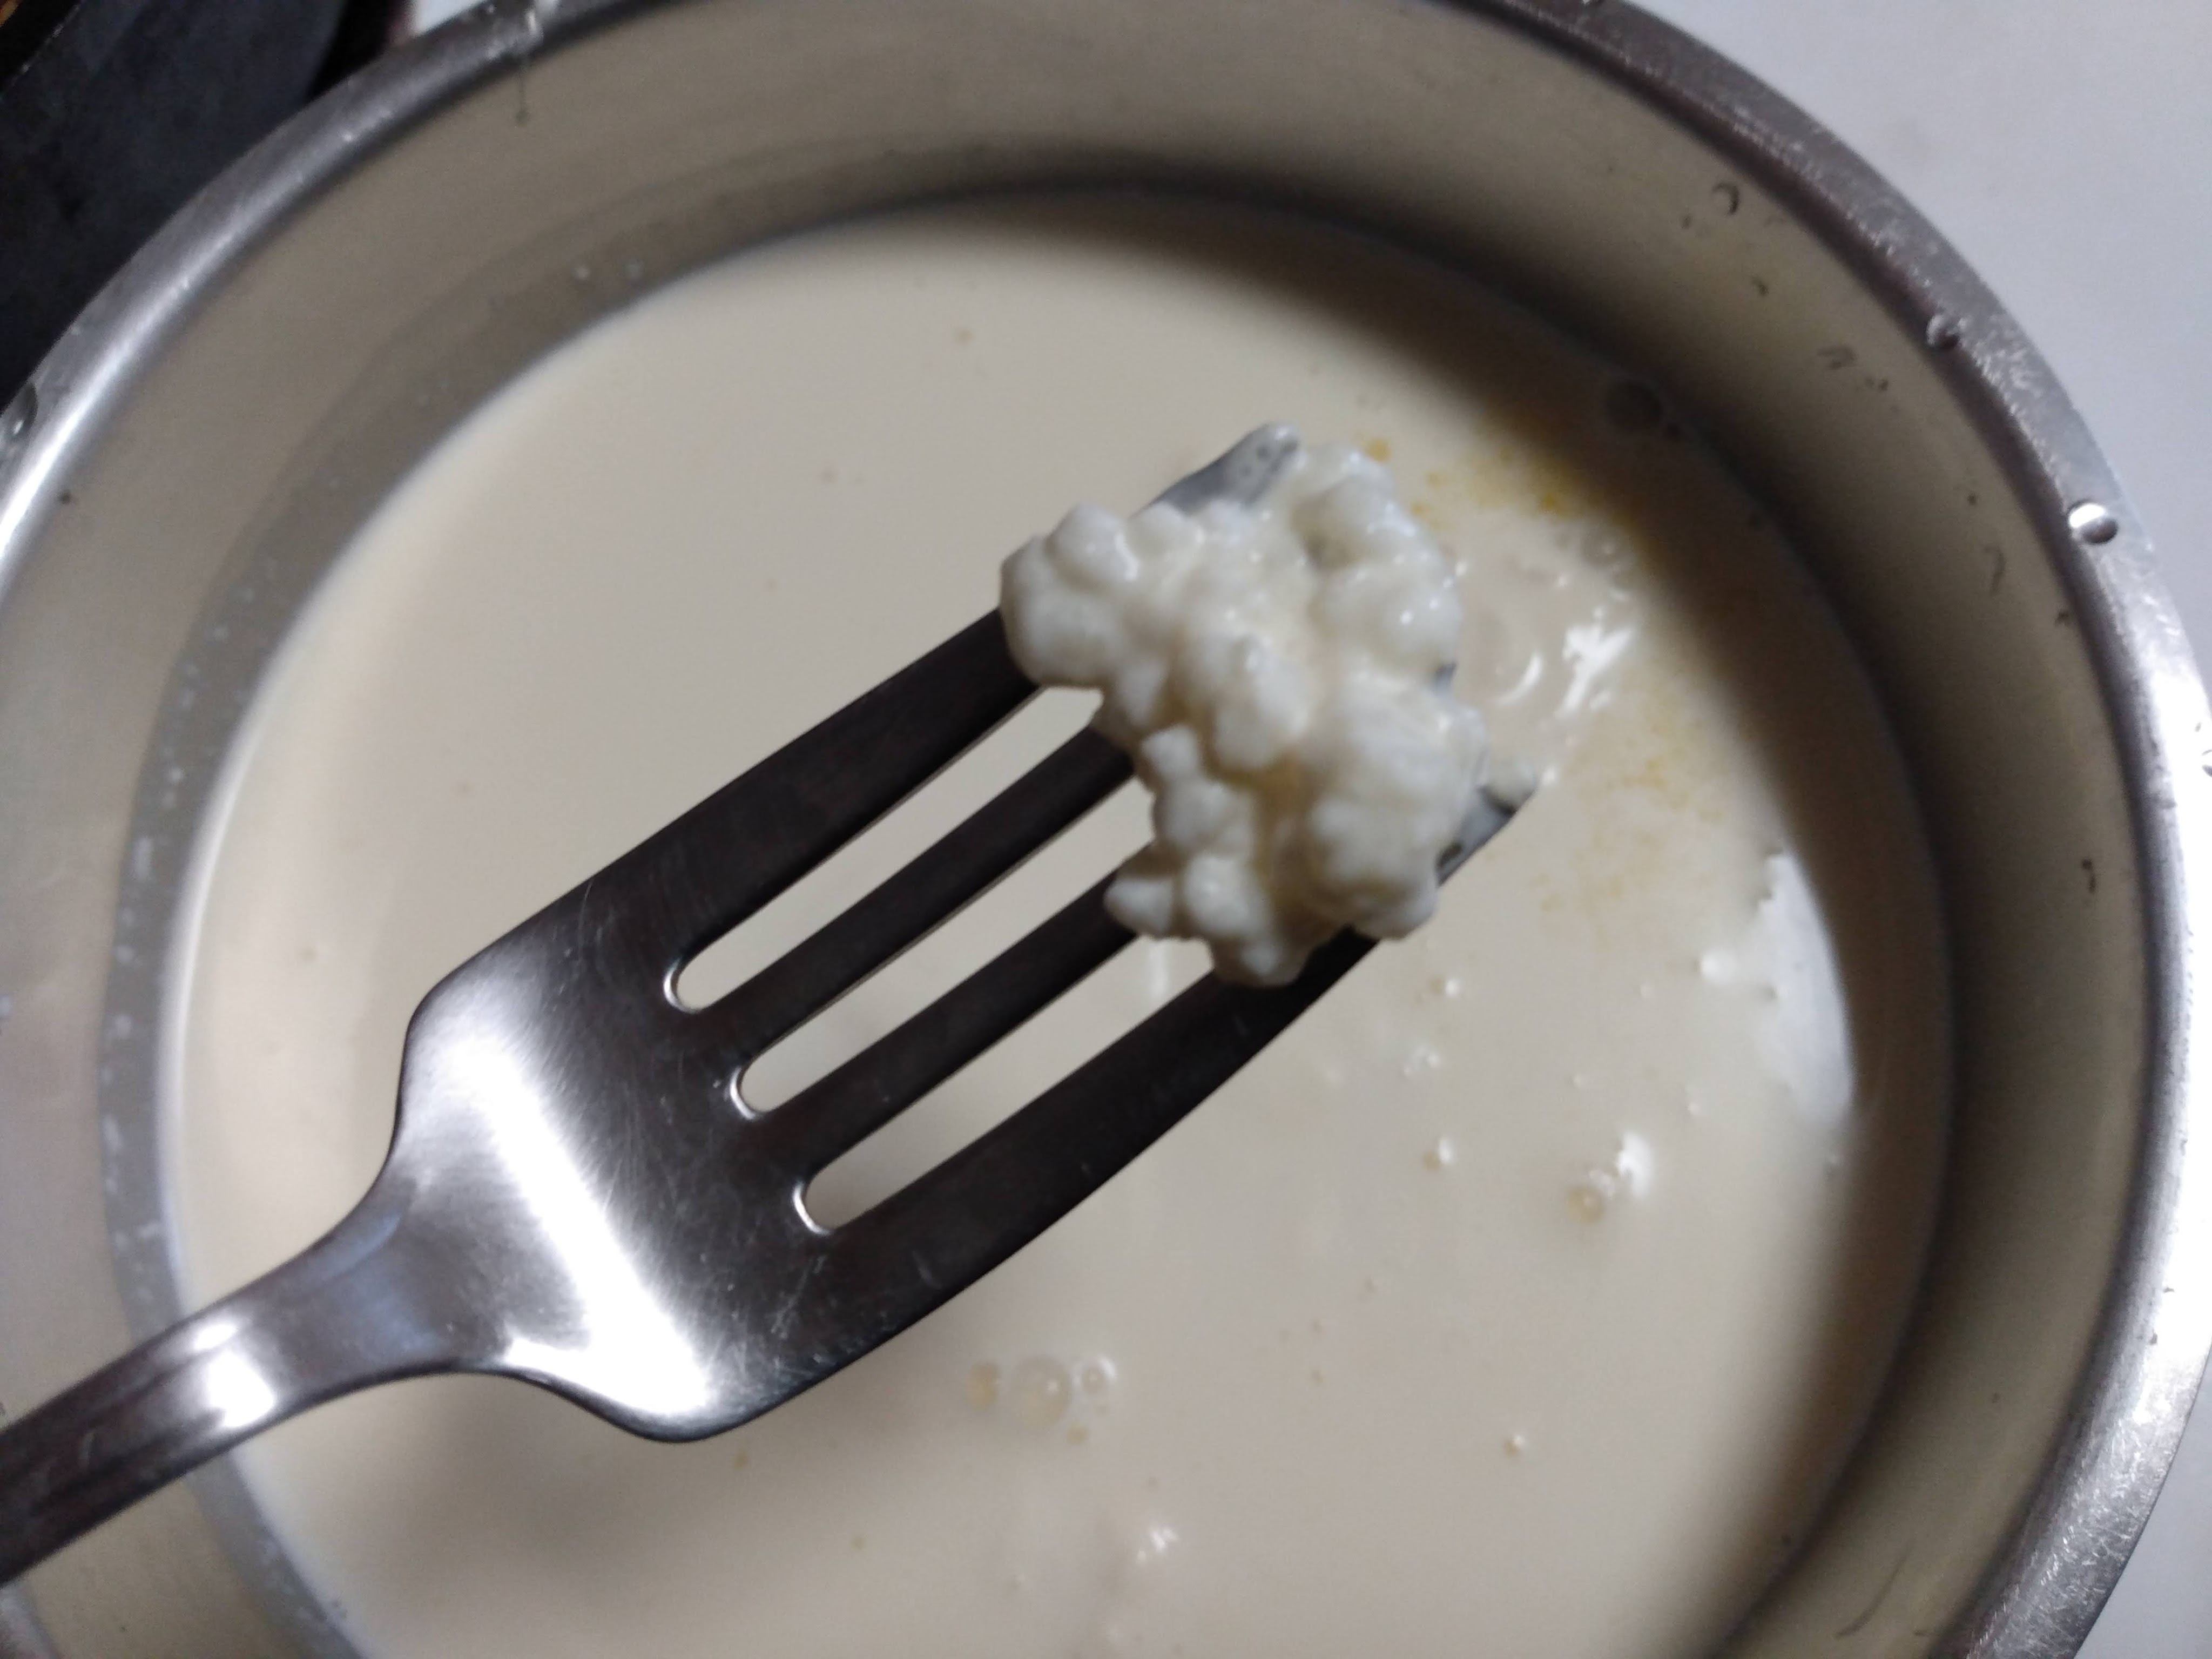
The next step is to warm up the cream gently to a temperature comfortably warm to your finger, or say around 80- 90 degrees. Heat slowly and carefully, then add a small dose of rennet. (Rennet is the curdling agent we need to make this cheese. Here’s a decent source for getting it either derived from animals or vegetables.) We use animal rennet, which is very effective and we use the smallest drop we can get for a pint of cream. The drop is mixed with a 1/4th cup of lukewarm water and then gently stir in and all around for 20 seconds or so. Let the cream settle for an hour or two and it should have a yogurt like consistency, after which we like to plop it in the fridge overnight as we feel it makes a very loose curd a tad firmer for when we get to straining. Is it true? Who knows but nonetheless has evolved into our cream cheese making process.

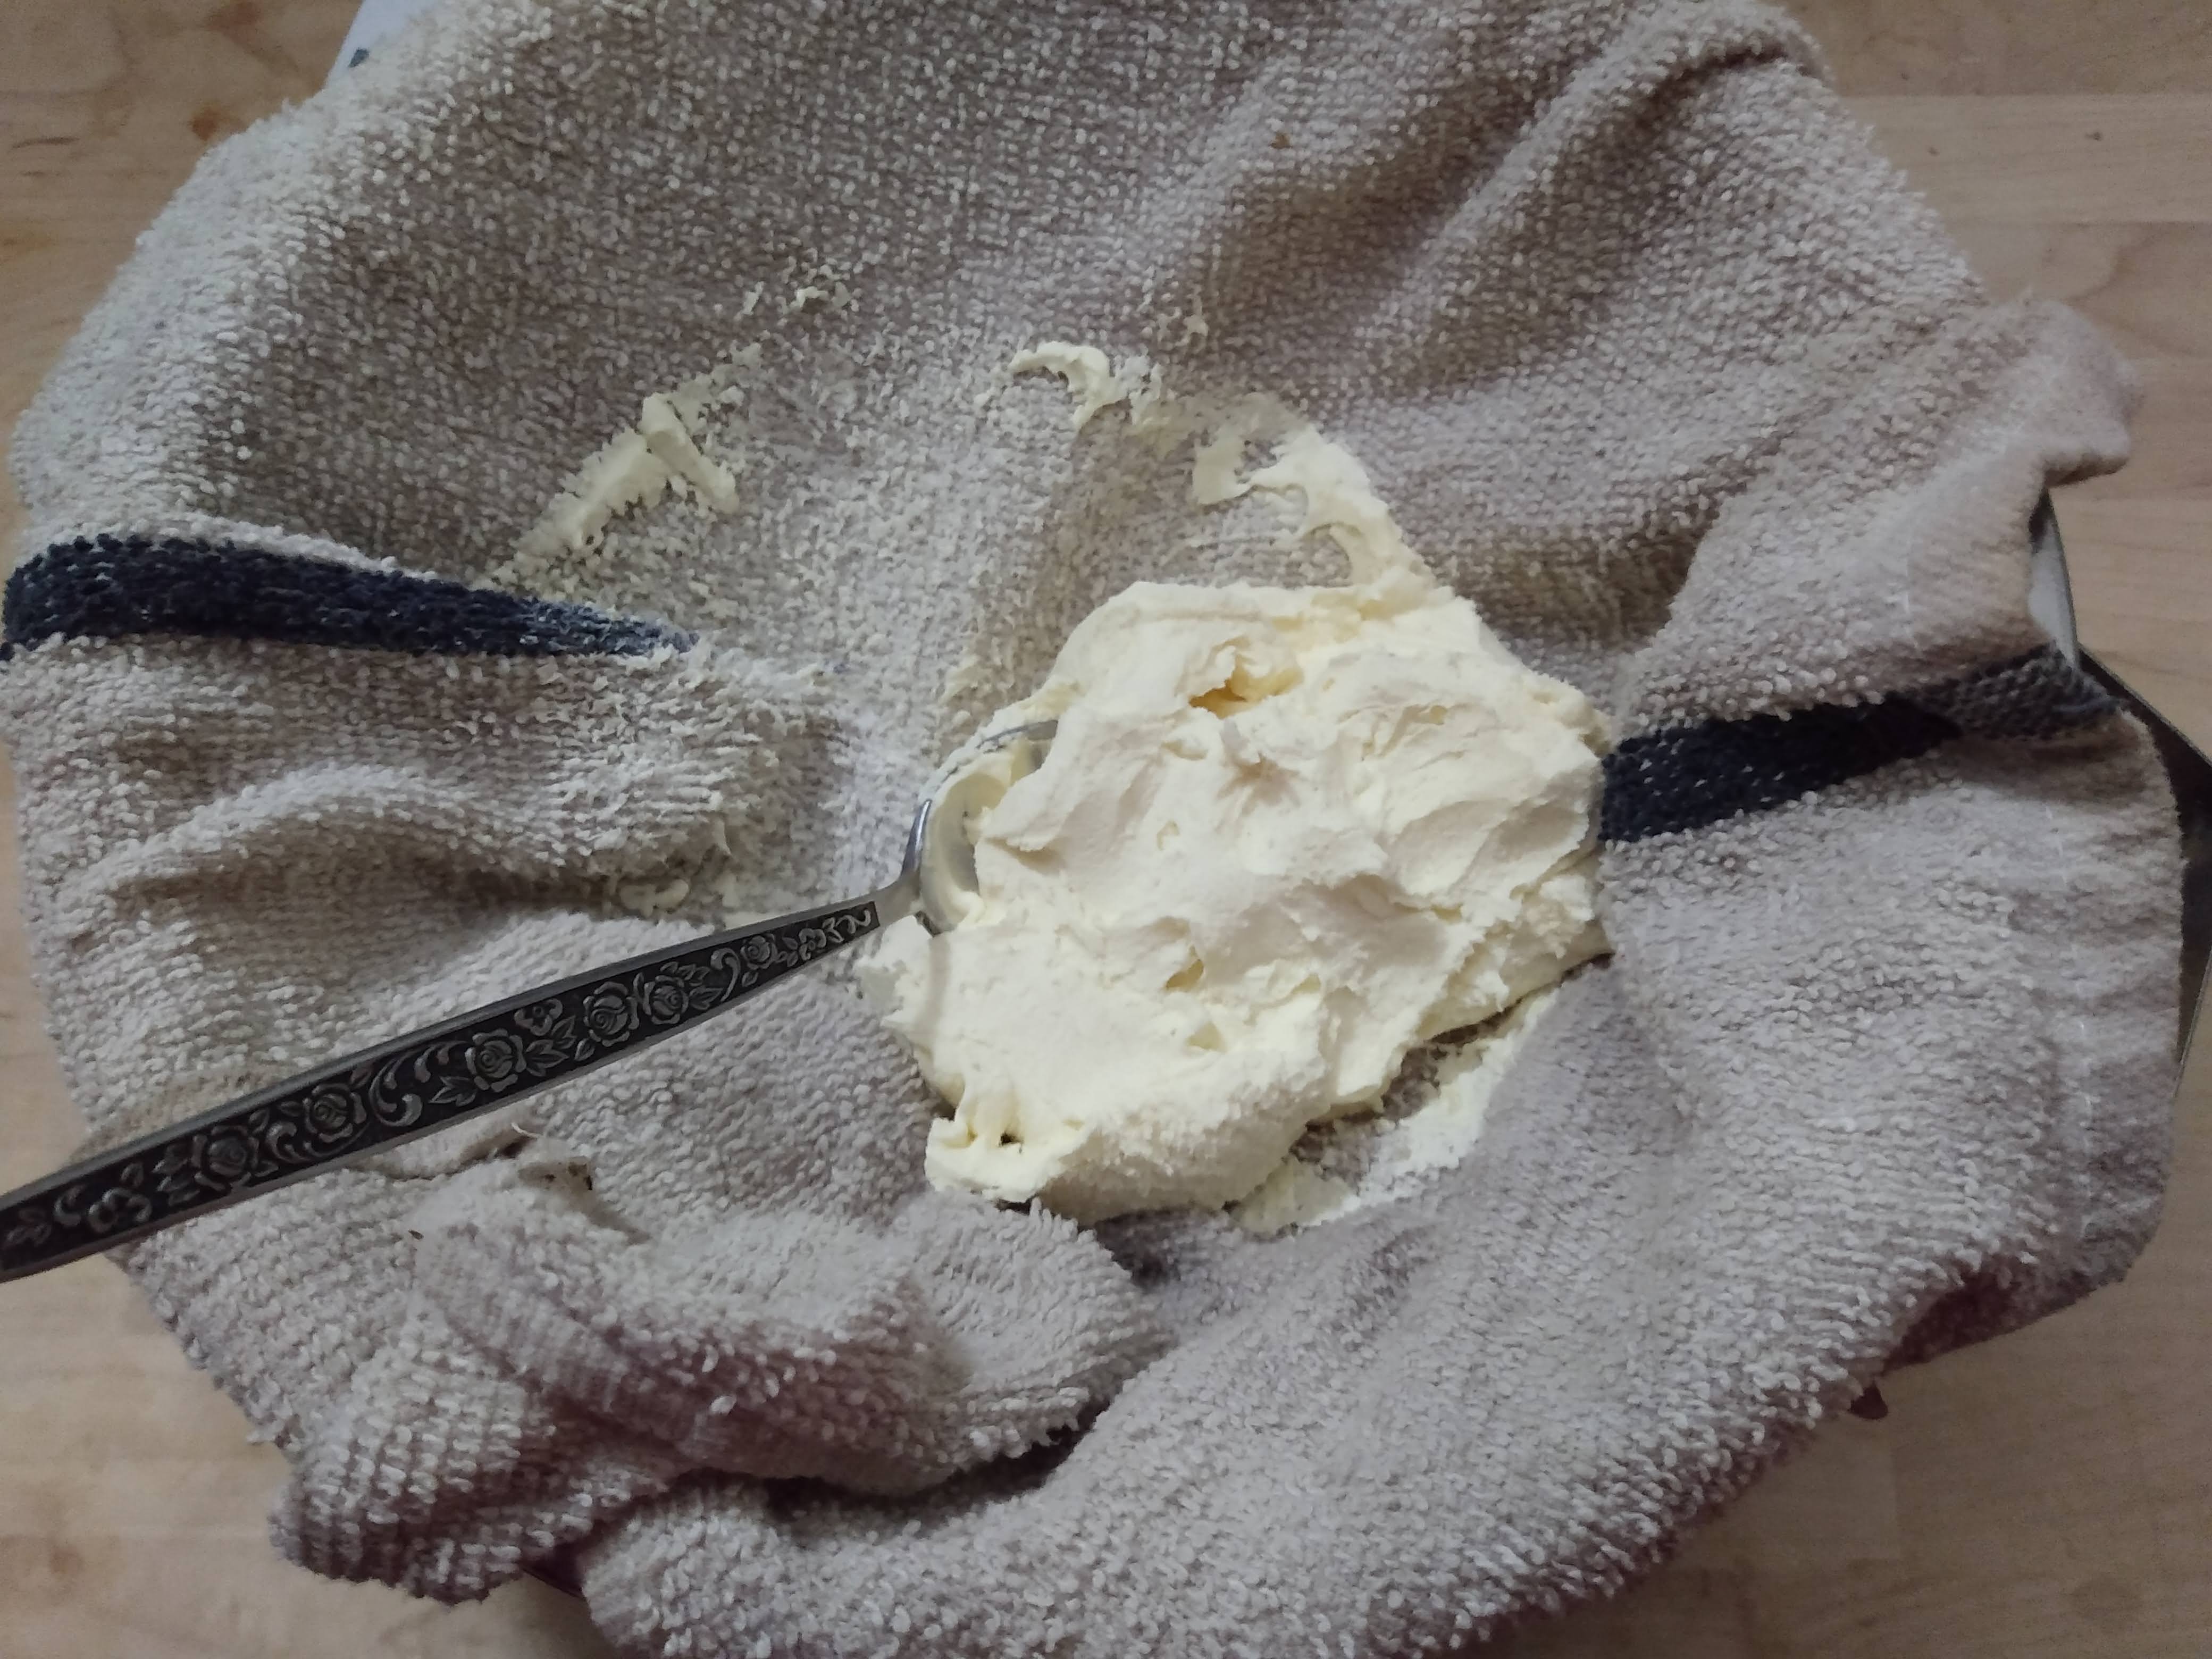
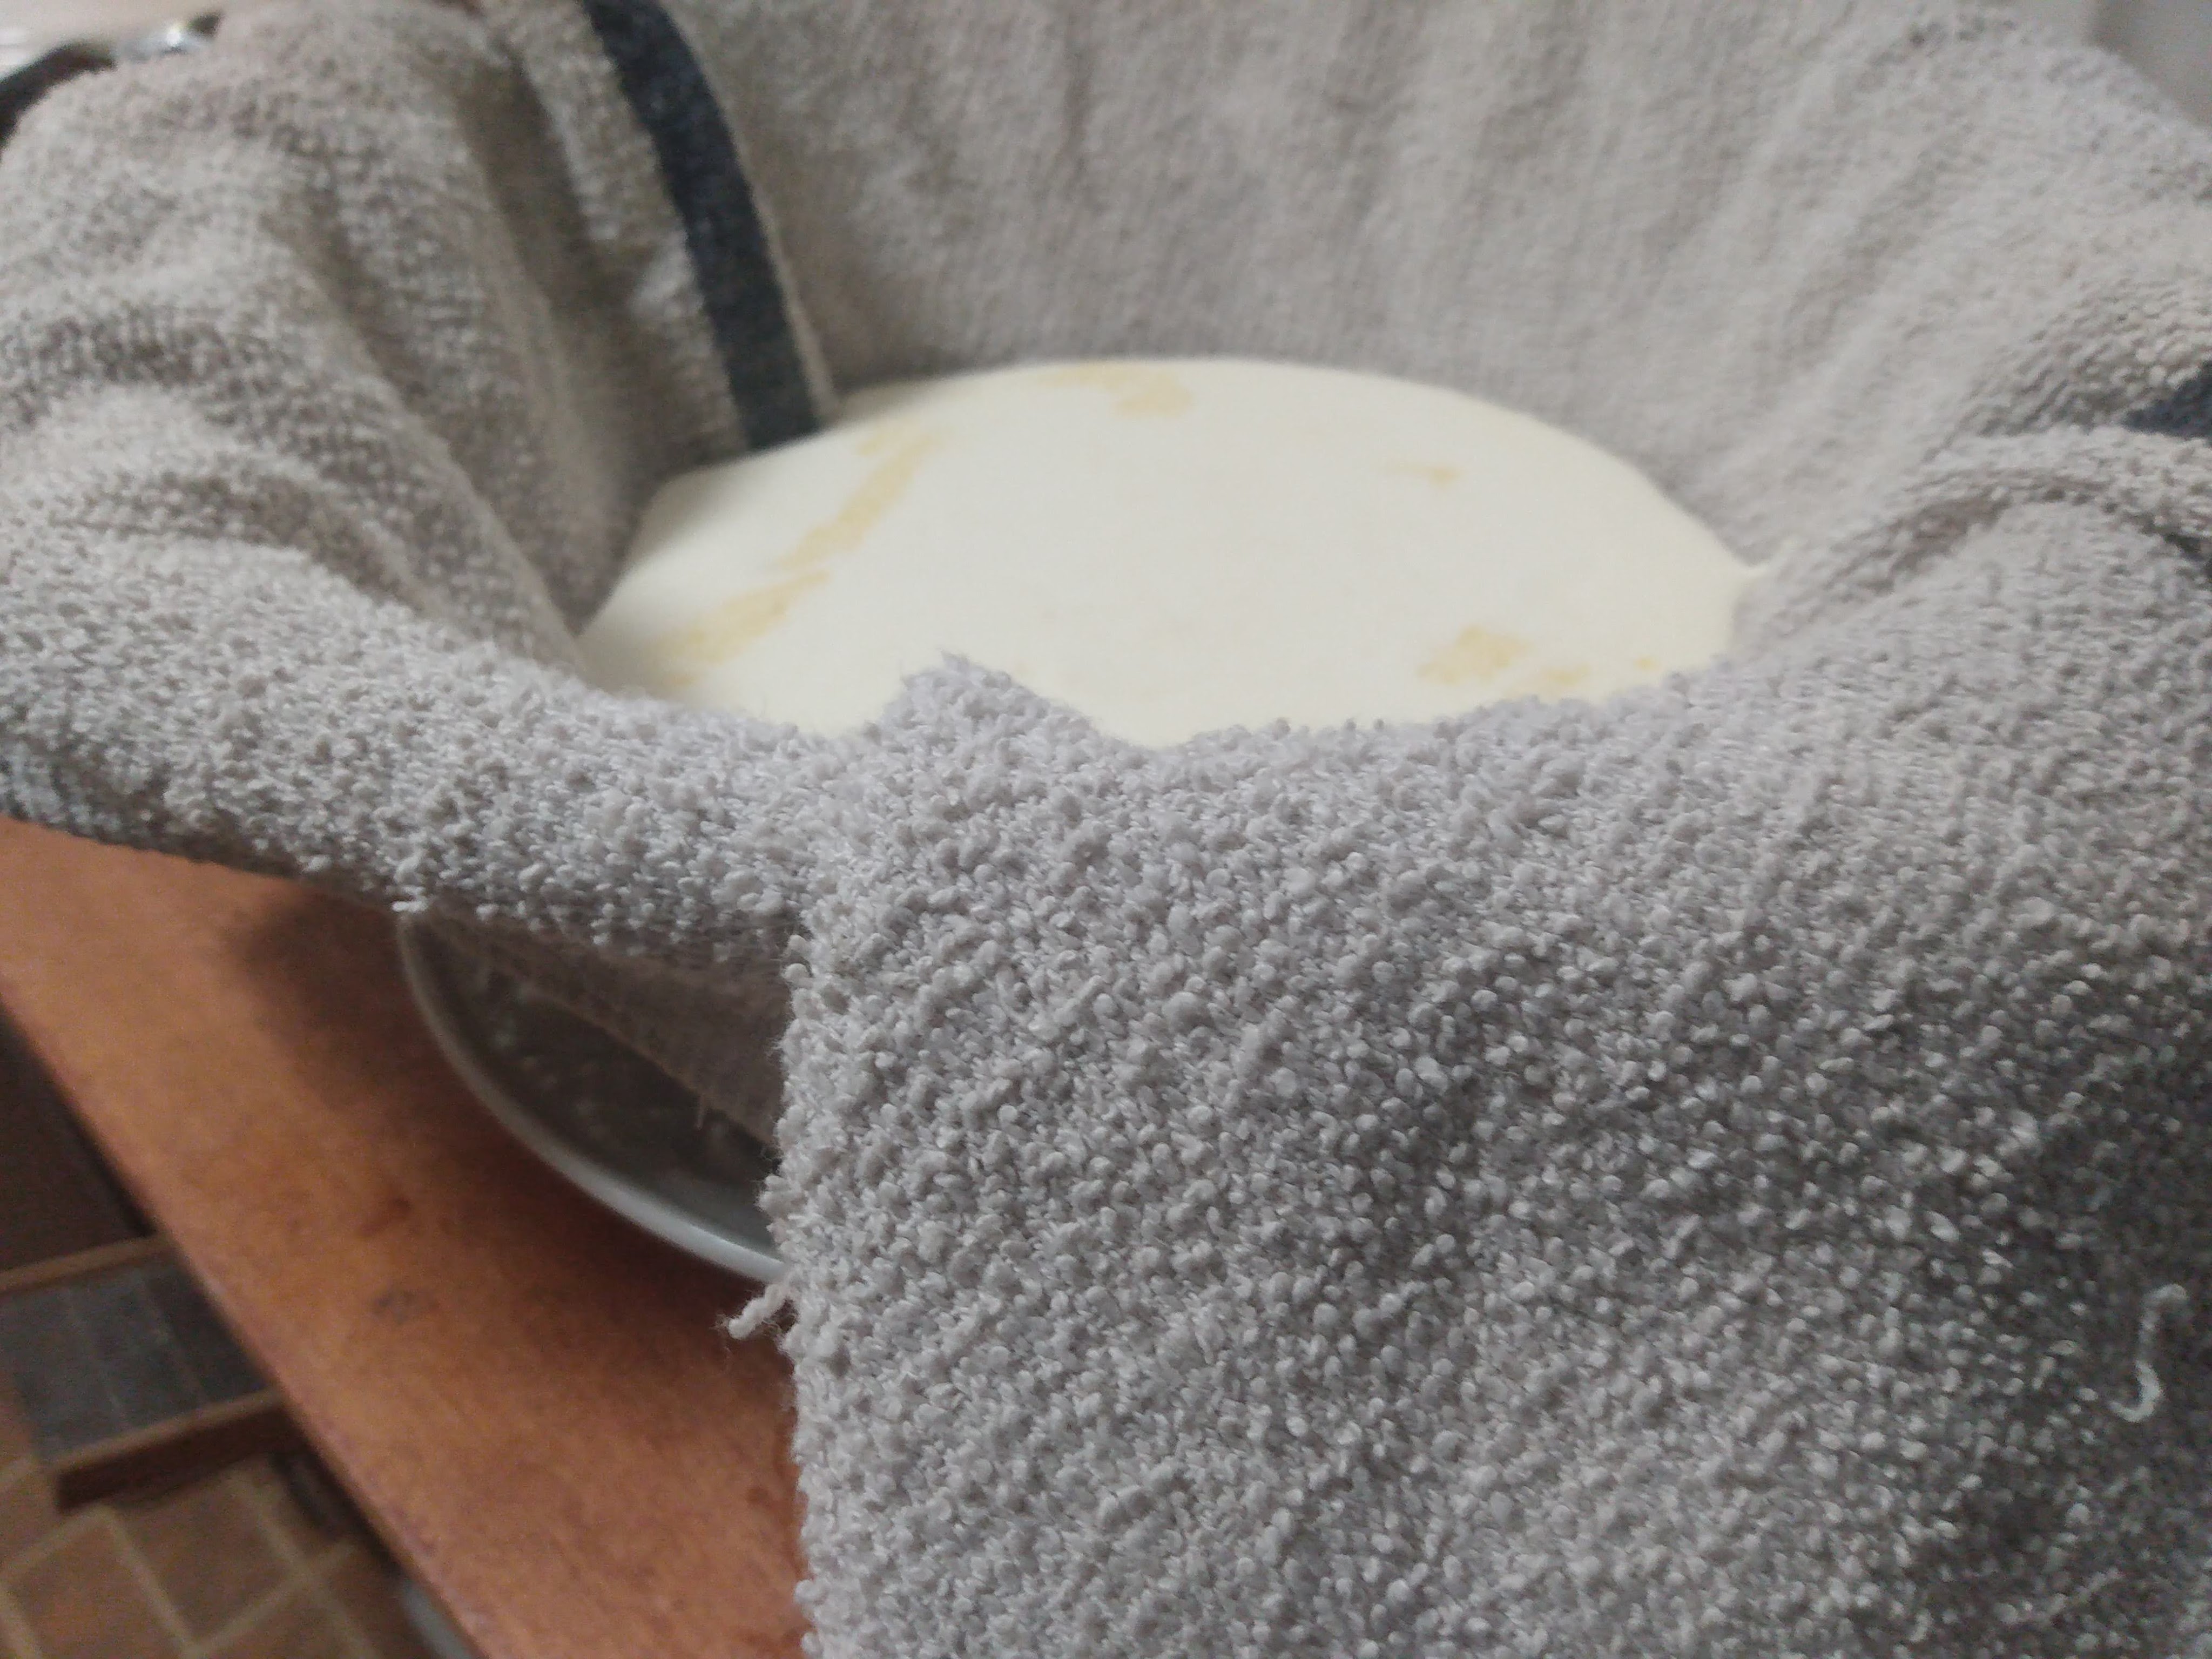
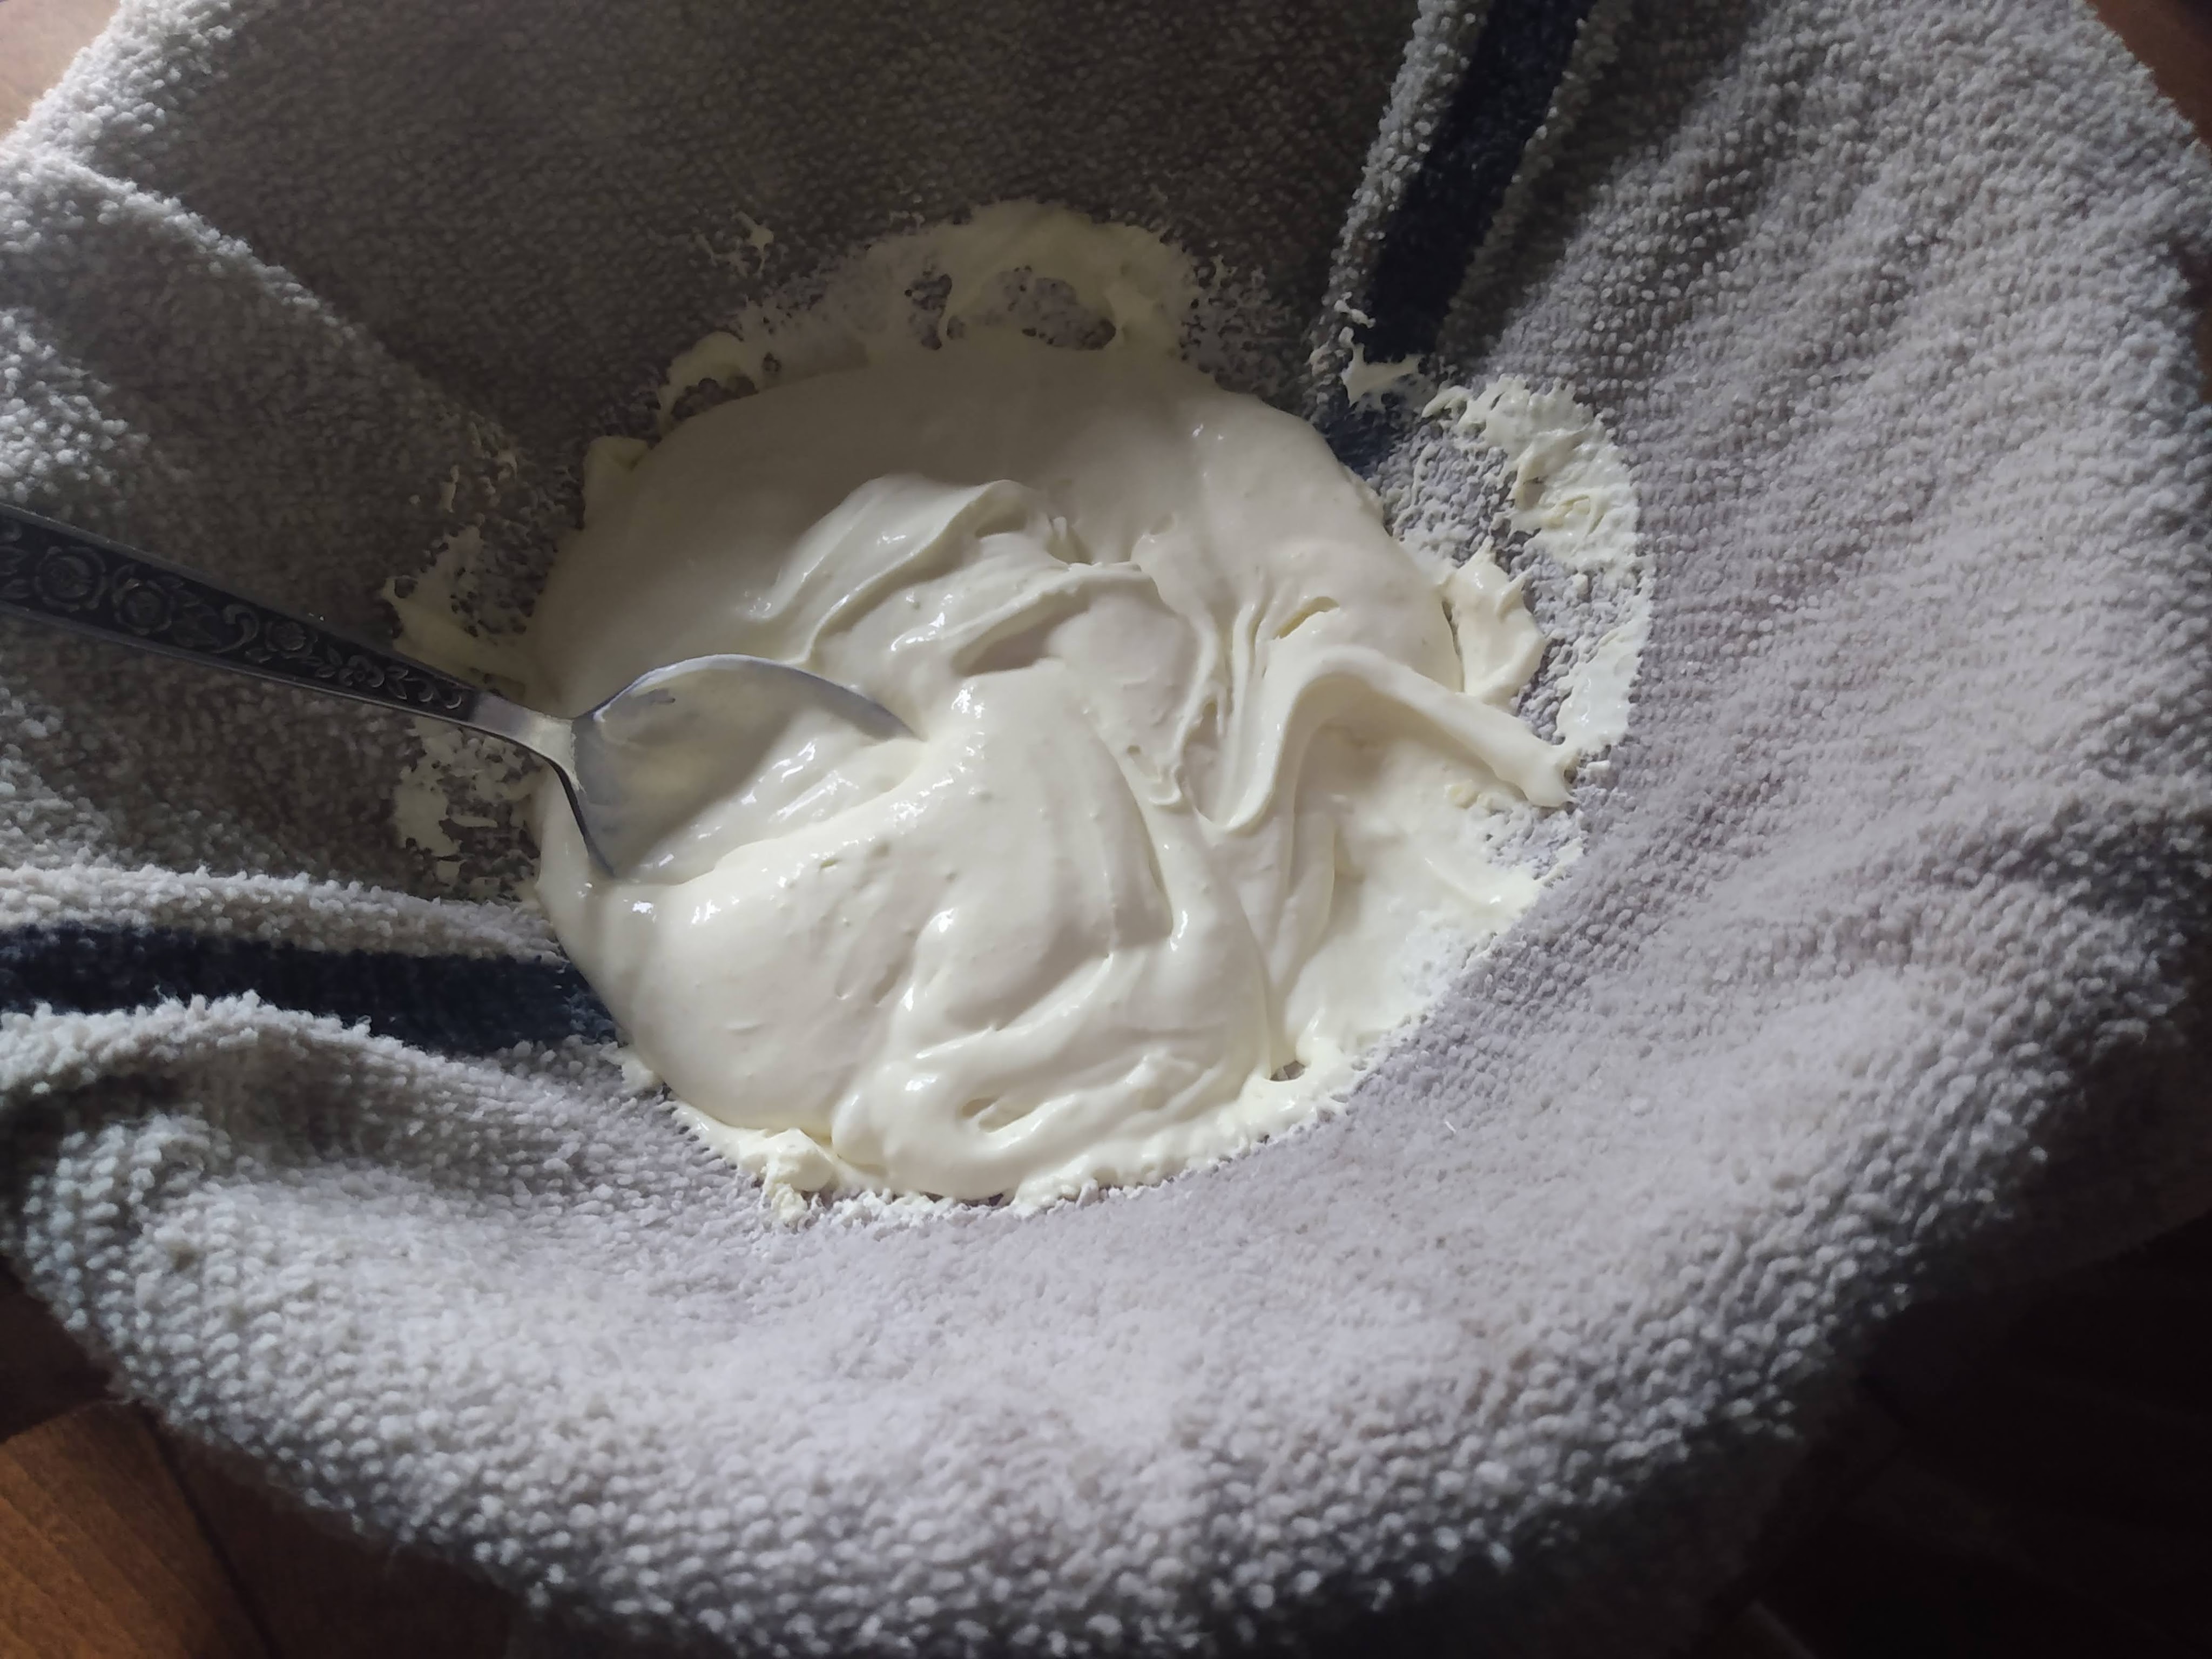
When you’re ready to start straining prepare your set-up such as laying a towel, or even just a ink-less t-shirt over a colander with a bowl underneath. After carefully ladling in the cream, pop it in the fridge to slowly strain to the thickness you desire while occasionally mixing to encourage an even strain. Often times we’ll let it strain for up to 3 days. As it thickens up you can ball up the cloth and hang it, up to you. Doing things as gently and gradually as possible feels good sometimes.

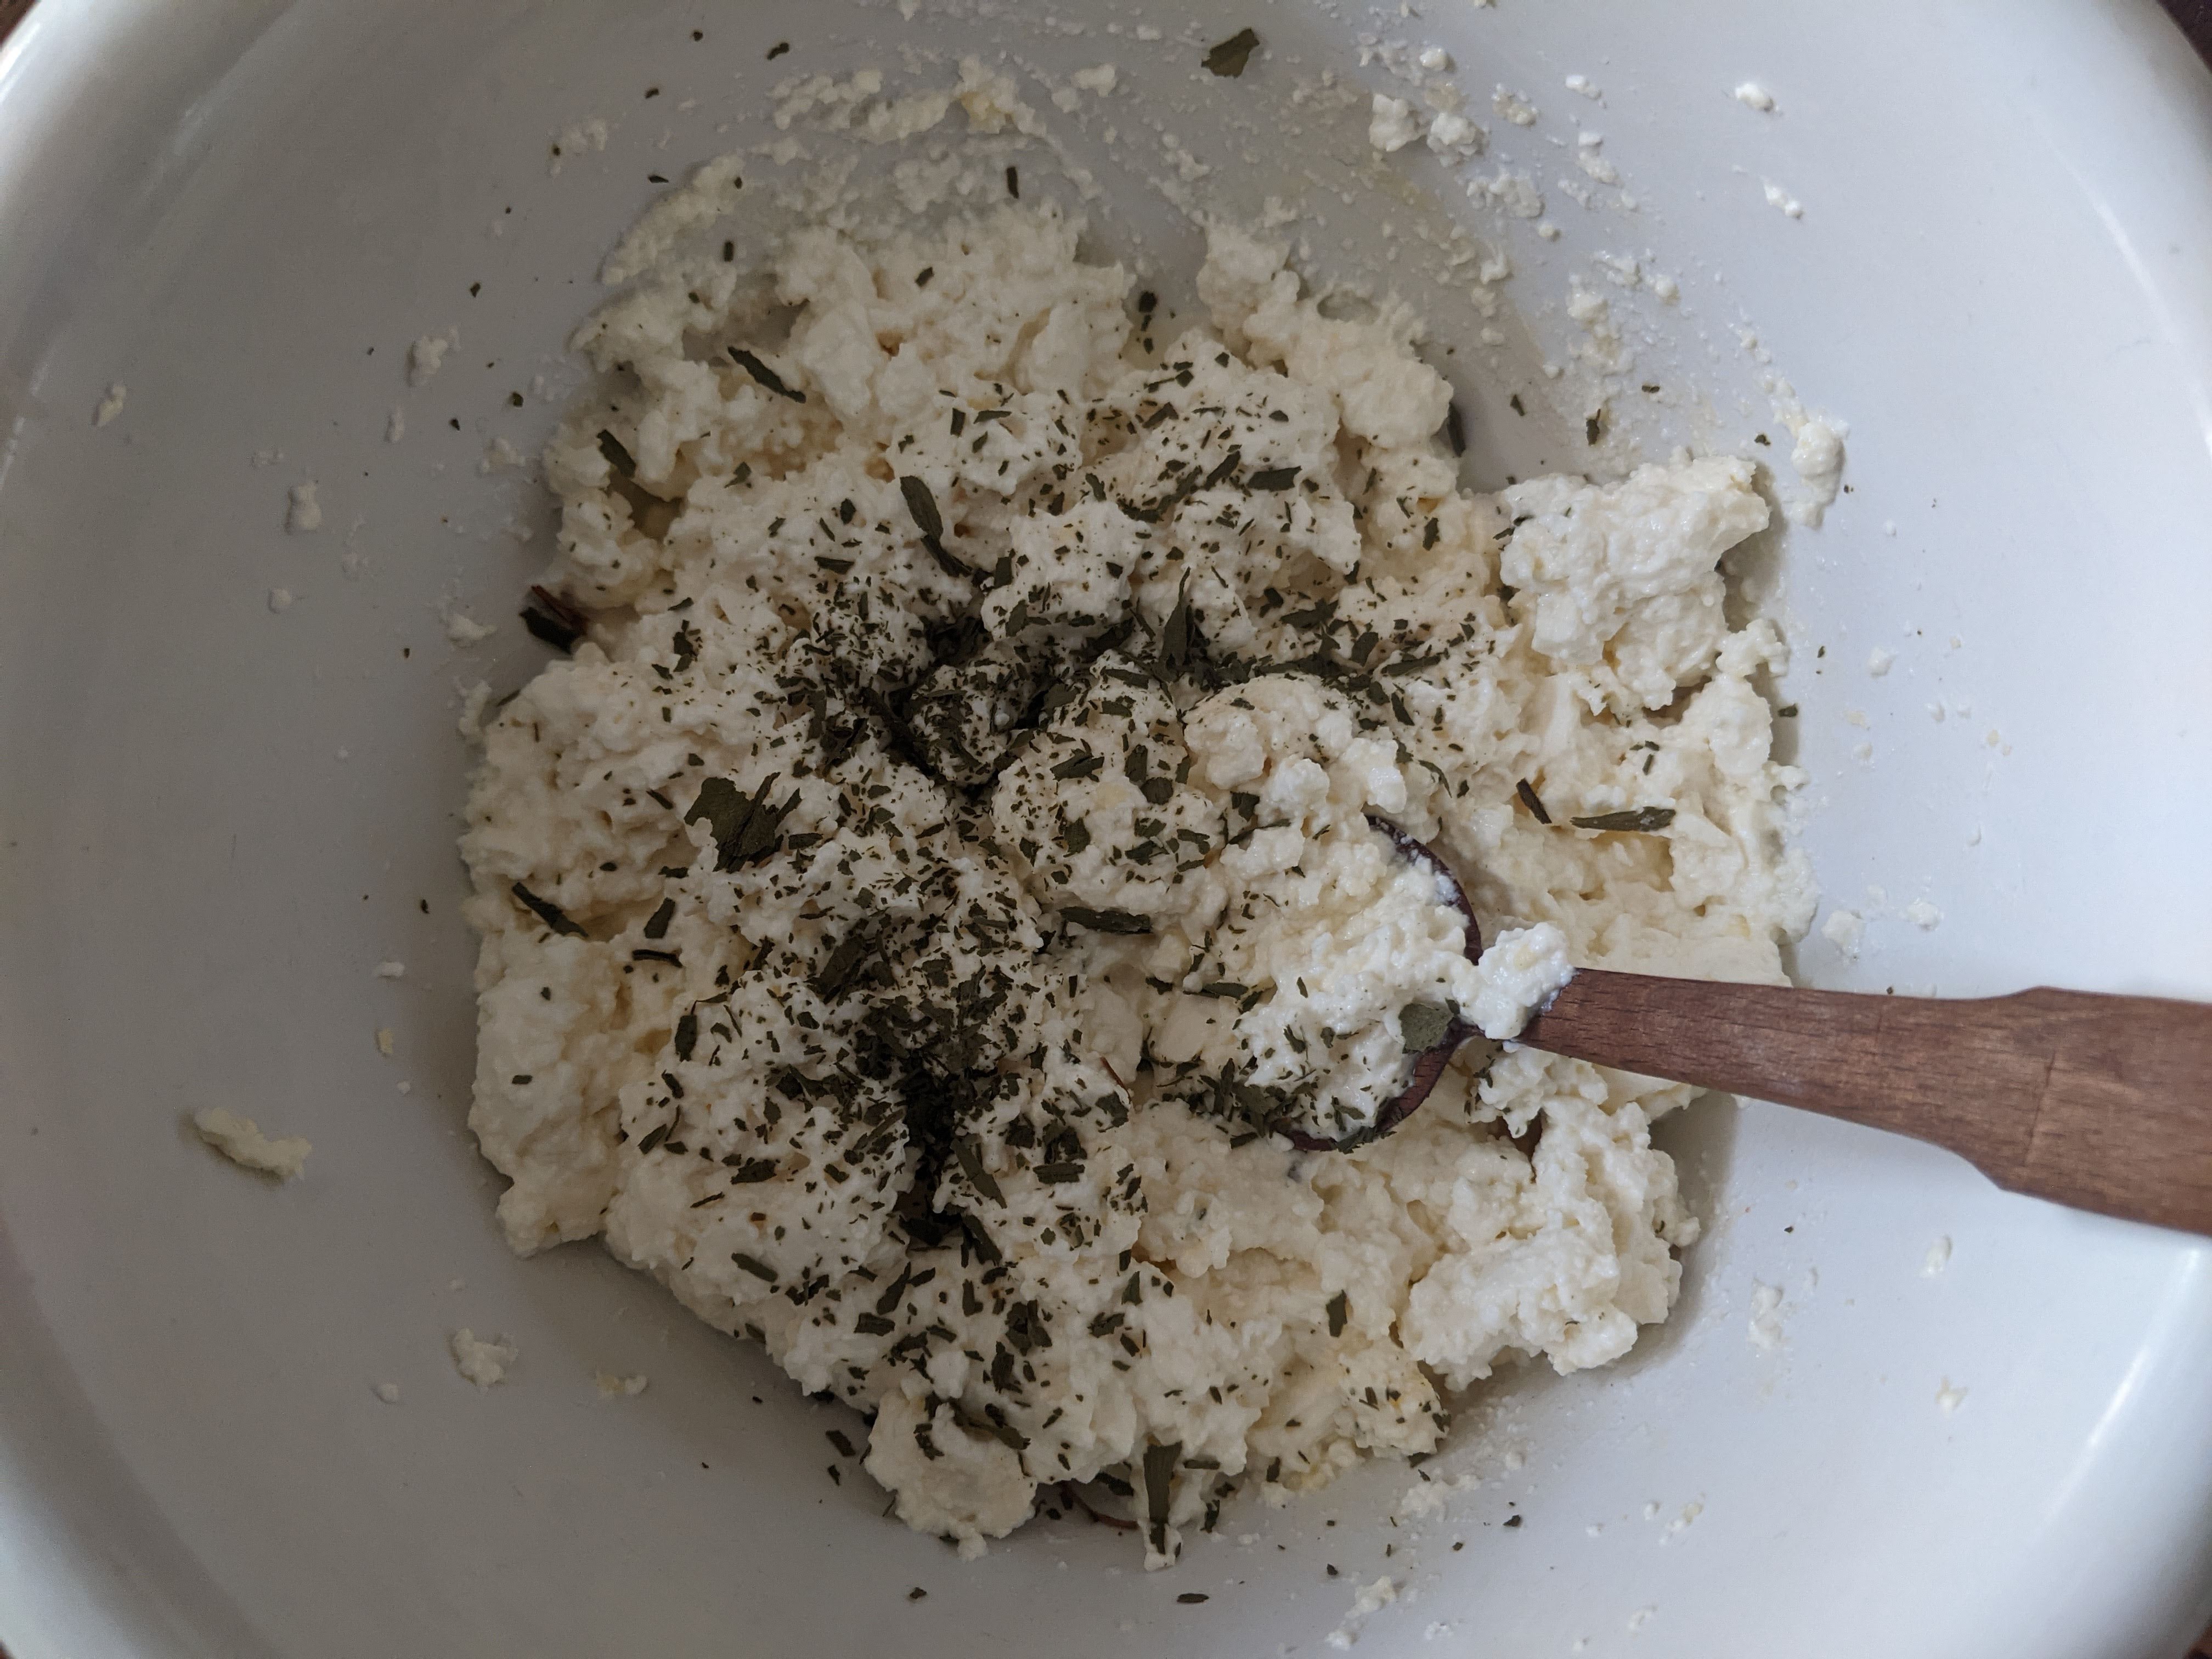
When the cream cheese is strained to your liking mix in salt to suit your tastes and pack away.

This is a great recipe to dollop on your bigos, or naturally, to pair with your bagels.

Homemade Spring Herb Chevre

dairy, fermentation, homesteading

In the spirit of welcoming spring, chevre is a perfect companion. It’s creamy, yet sour notes describe the thawing and waking of the world around us. It’s also a cheese I refer to as a lazy cheese. It’s the perfect gateway for anyone wanting to get into cheesemaking, with several steps that run the pattern of- “do one thing, then forget about it for a day or so.” To make it even more special it begs to compliment the first herbs that rise from the ground, or even if you’re in need of using them up, perhaps the last of last year’s dried herbs. It can be made from any mammal’s milk really, so why not pick some herbs on your walk to the milk store?

Start with good milk. It’s best to use the most minimally processed milk you can get your hands on, but definitely non-homogenized milk. Often this is called cream-top. The process of homogenization destroys the milk’s ability to turn into the cheese we want.

Next you’ll need rennet. Rennet is the coagulator that will give us our curd. Traditionally it originates from enzymes in the stomach of a calf, however there are now all sorts of options from plant-based rennet to weird laboratory synthetic ones. Check out Cultures for Health for a full line up that’s great for home use.

Lastly you’ll need some kind of inoculant if you’re not using raw milk, which provides it’s own cultures. Dairy kefir grains work great.

Process

If using a half gallon of milk, pour off a cup with your kefir grain to culture for 1-2 days at room temperature. A jar with a loose fitting lid works great. No need to be super precise if you don’t want to.

Once your kefir has generally ripened, take the reminder of your milk to the stove and heat to a pleasantly warm 90 degrees. Turn off heat and add your kefir (straining out the grain for future use). Stir and incubate the milk for at least an hour.

Next measure out your rennet according to the manufacturer’s instructions of the particular kind you have. We are using just 1/4th of a dose. I dilute mine in a small splash of water before pouring it in the milk. Stir the milk gently for 20 seconds making sure to touch every part- top, bottom, and every side. Put a lid on and let it rest.

In fact let it rest for 24 hours. I’m convinced this cheese was invented by someone who just flat forgot about it. Regardless, the curd will set within a half hour, and will then slowly ferment in the whey building up lactic acid bacteria. The results of this 24 hours time vary upon environment. Best to taste it if you’re particular. The warmer the room temperature/ the longer it goes, the more sour tasting it will become.

After 24 hours, or so, set up a cheesecloth straining system. Sometimes when I can’t find a cheesecloth I opt for a white teeshirt. Tie it up around a spoon and suspend it over a pot or bowl to drain out. Straining should take another 12-24 hours, or you can check periodically for your desired consistency.

Next open up your beautifully strained curd and place in a bowl for mashing and mixing. Add salt to taste, perhaps a teaspoon at a time until it is just right for you. Then the fun part- add whatever spring herbs you have around whether they be ramps, nettles, redbud flowers, dandelions, etc. Whatever flavors excite your imagination.

I think it’s essential to celebrate the new flavors that come up with every new stroke of the season’s wandering melody. Not everyone can stroll over to a ramp patch any time so consider dehydrating some to call upon for stoking some excitement for the flavors close at hand. Ramps and fresh chevre taste like spring to me.

Enjoy.