

Since we are in oven season here is a recipe that you can’t miss to help warm your house and your spirits. It seems likely that this technique was developed by making full use of woodheated ovens. After a day of baking, a crock of milk was tossed in the residual heat, with the oven cover sealed, and left to slowly caramelize. The milk changes to a bronze-ish hue with brown caramel-y flavors as the sugars in the milk does its Malliard reaction thing. The baked milk is then inoculated with a lactic-acid culture and fermented into a delicious beverage.
The possibilities of this technique are great. I love the flavor of the baked milk and can be inoculated with everything from kefir, to sour cream. In this example I use yogurt as it’s my preference. The cultured product can then be drunken as is, perhaps spruced up with some maple syrup and cinnamon, or strained into a thick Greek-style yogurt. The choice is up to the maker.
But stay keen on the hidden treat of the crispy surface that develops on the milk as it bakes. That crispy, fatty, creamy cap deserves to rest on a slice of freshly baked bread and get eaten immediately.
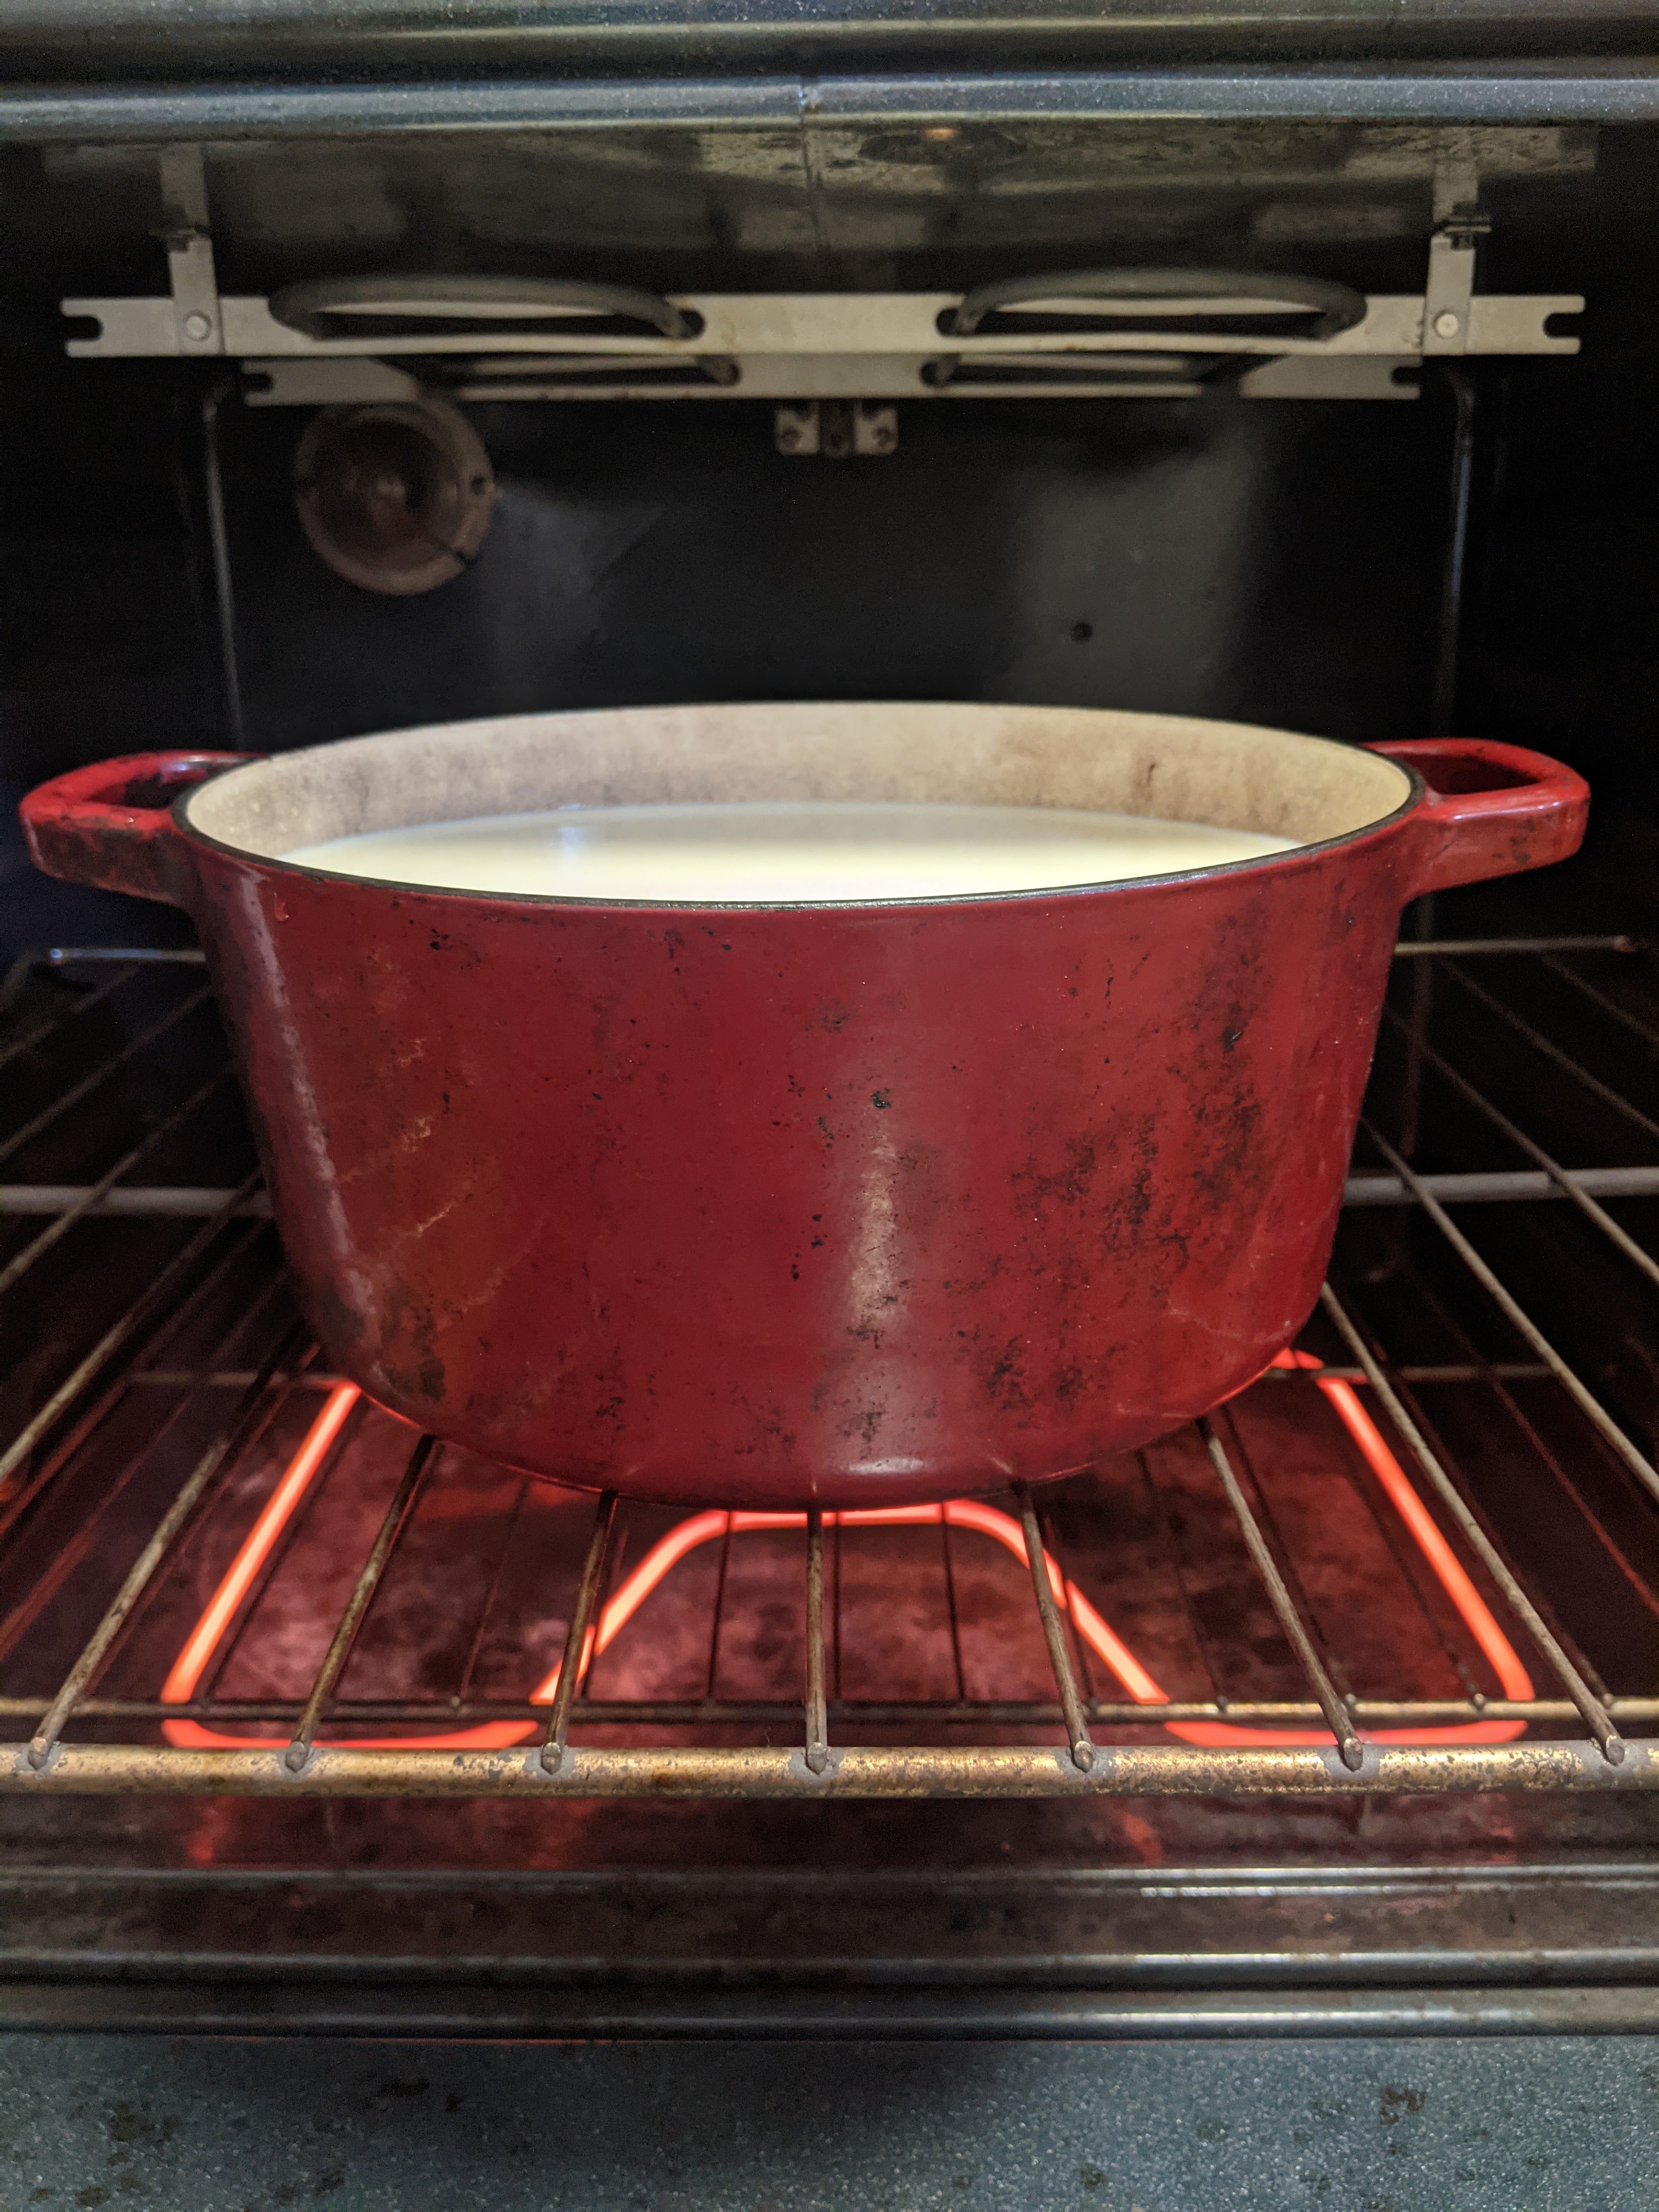
Start with delicious milk.
Then bake it uncovered in the oven at 225 degrees for 6-8 hours or until it has reached a nice carmelized-ish hue, with a superbly crispy layer on top. The color of the milk can vary but you can determine its done-ness by a dark, crispy surface layer.

Quick snack break
Grab a freshly baked bread slice, scoop off the hot crispy top layer, add a sprinkle of salt. Swoon.

Making the yogurt
Let the baked milk cool. If you have a thermometer cool it to 120 degrees, if you’re low tech, test it by dipping a finger. When the temperature on your finger is hot but still comfortable you’re good to go.
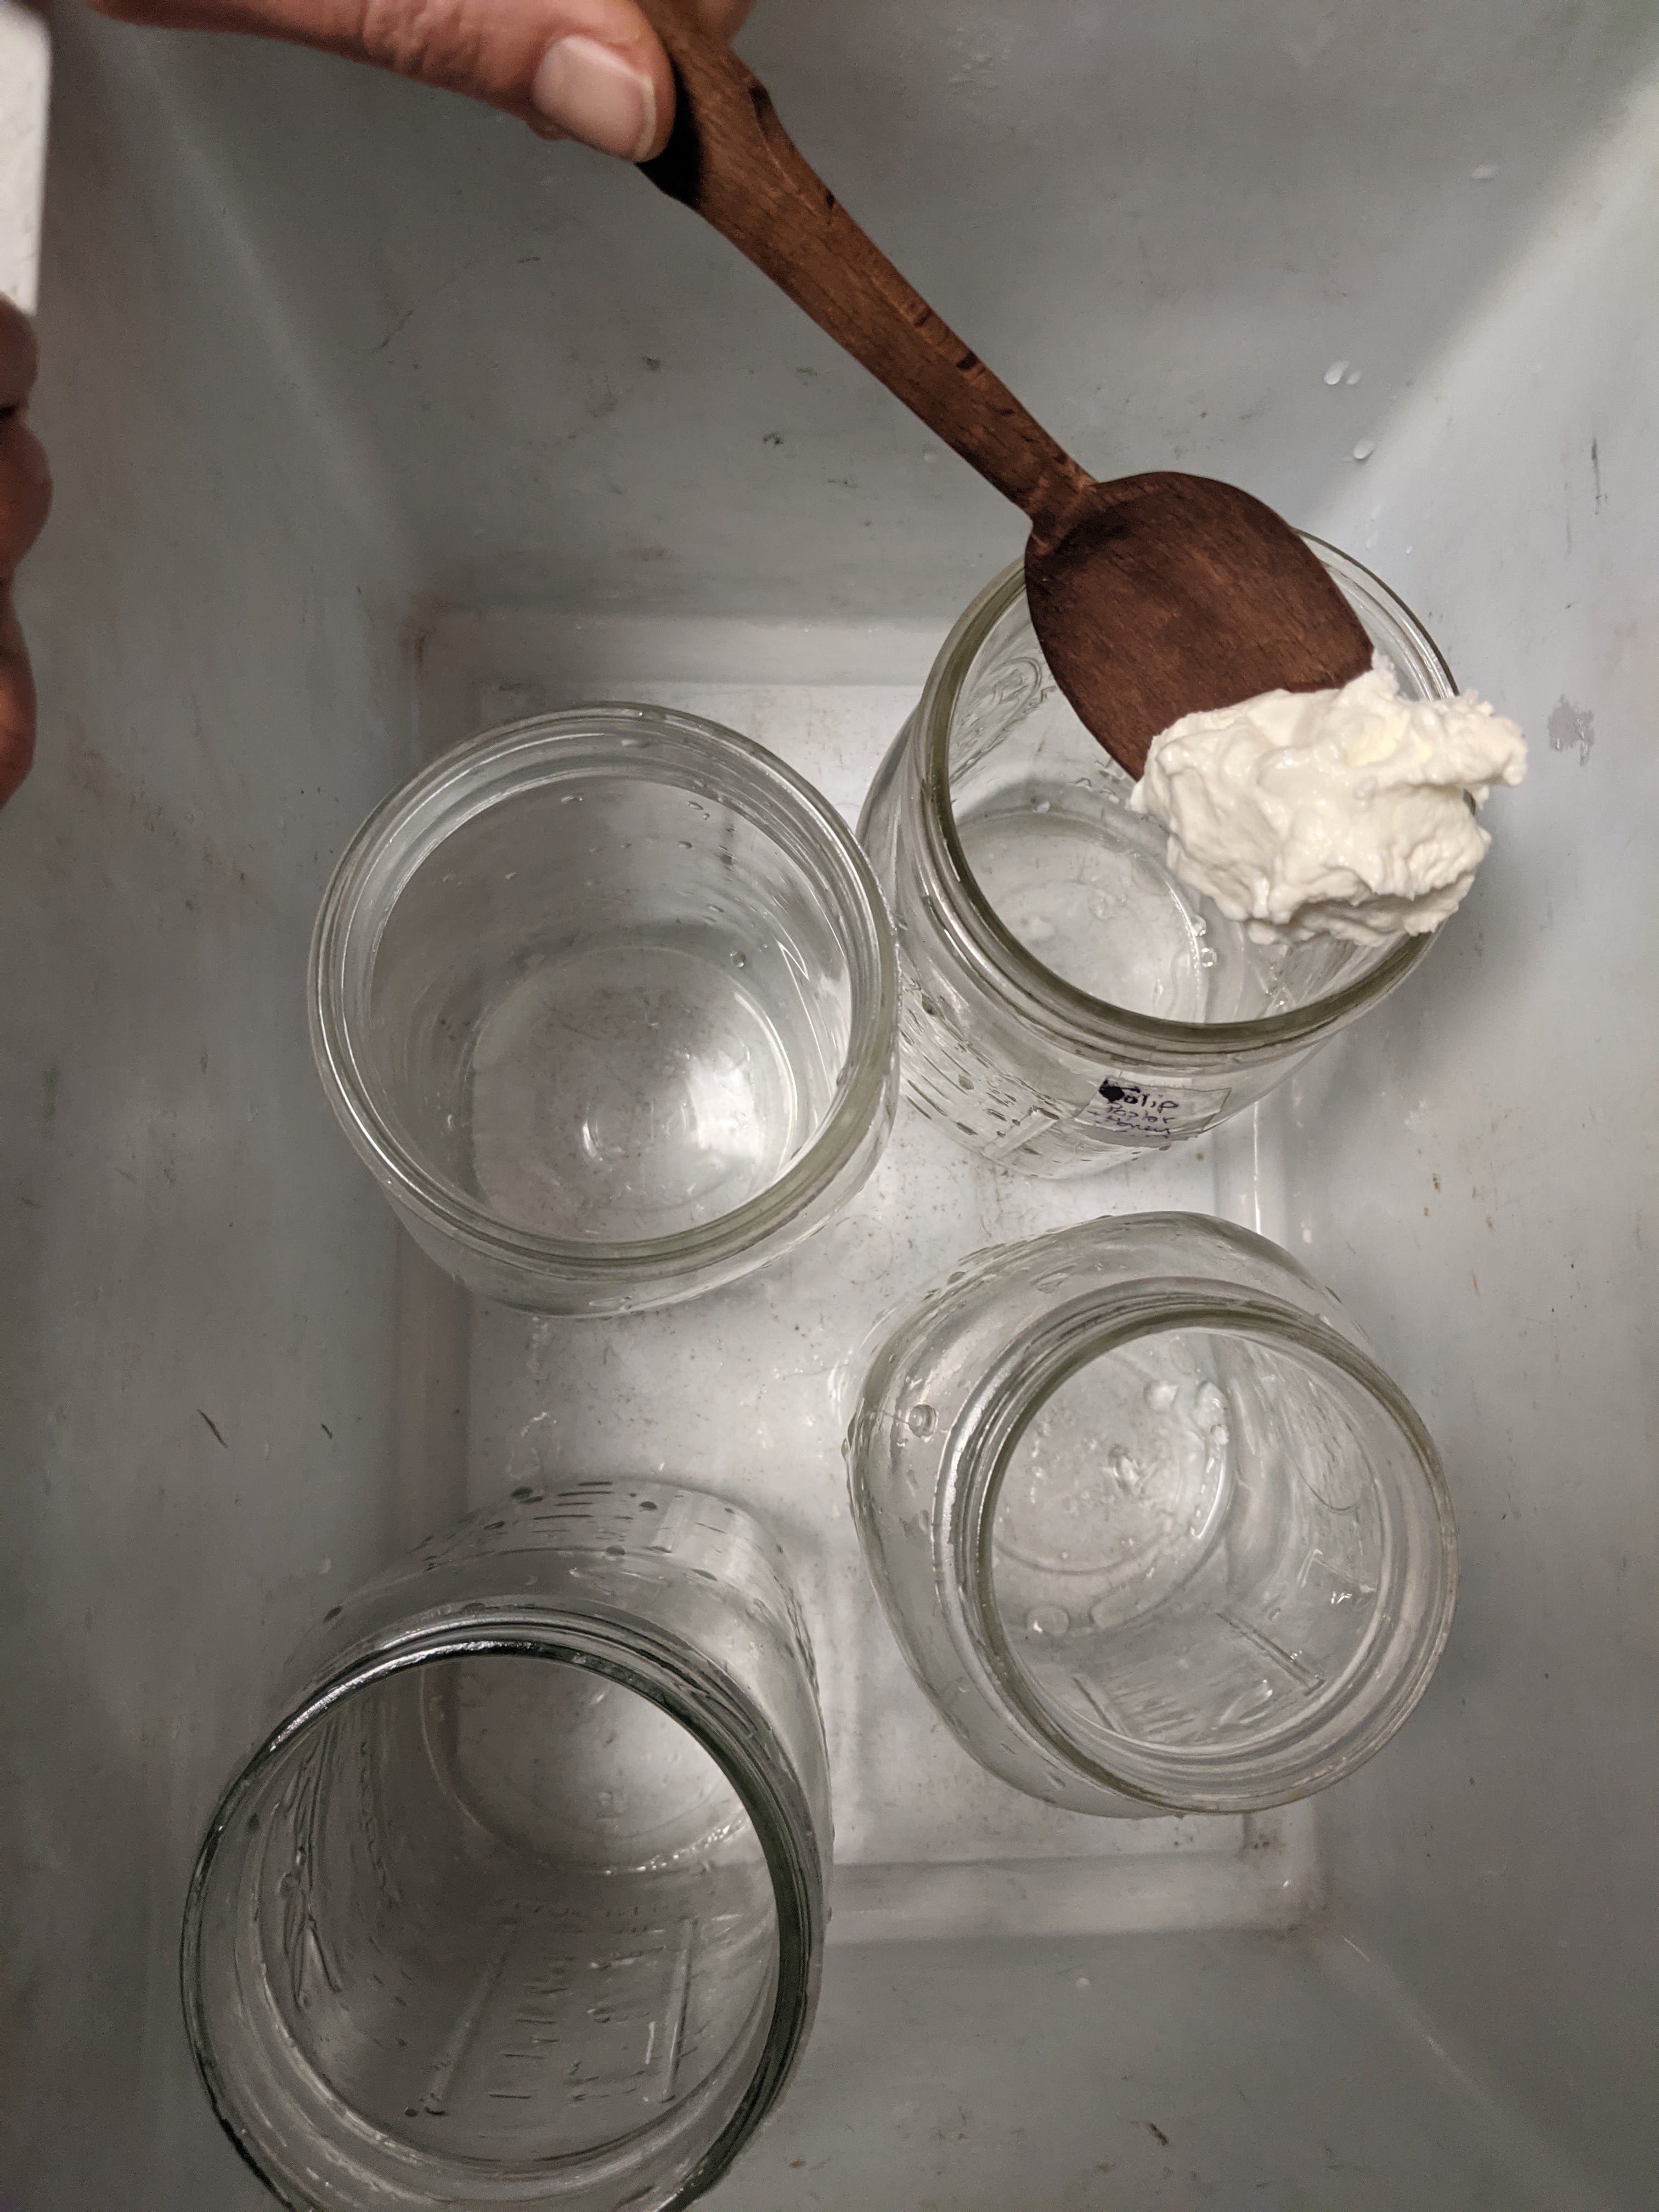
Set up your jars or containers to ferment in. Basically anything with a lid. You can inoculate with a dollop of your favorite store bought live-culture yogurt or follow the instructions on purchased cultures. For this montage, I just put a dollop of already made yogurt into my quart mason jars.
Pour in the warm, baked milk, and stir everything up to incorporate the starter culture.
Incubation
My preferred yogurt incubator is a small cooler and hot water. I incubate at 120 degrees for 4 hours, and the little Playmate cooler handles the job smashingly.
I take my inoculated milk jars and place them in the cooler. It’s a good idea to pre-warm my cooler by filling it with hot water while the milk was cooling. Next fill the cooler with a new refresh of 120 degree hot water and fill it up to the height of the milk in the jars. My taps run at 120 degrees at their hottest making this an easy task. Otherwise you can heat up water on the stove.
Close the cooler lid and give it 4 hours of solitude.
Then pop the yogurt into the fridge to cool and firm up.
Straining Yogurt
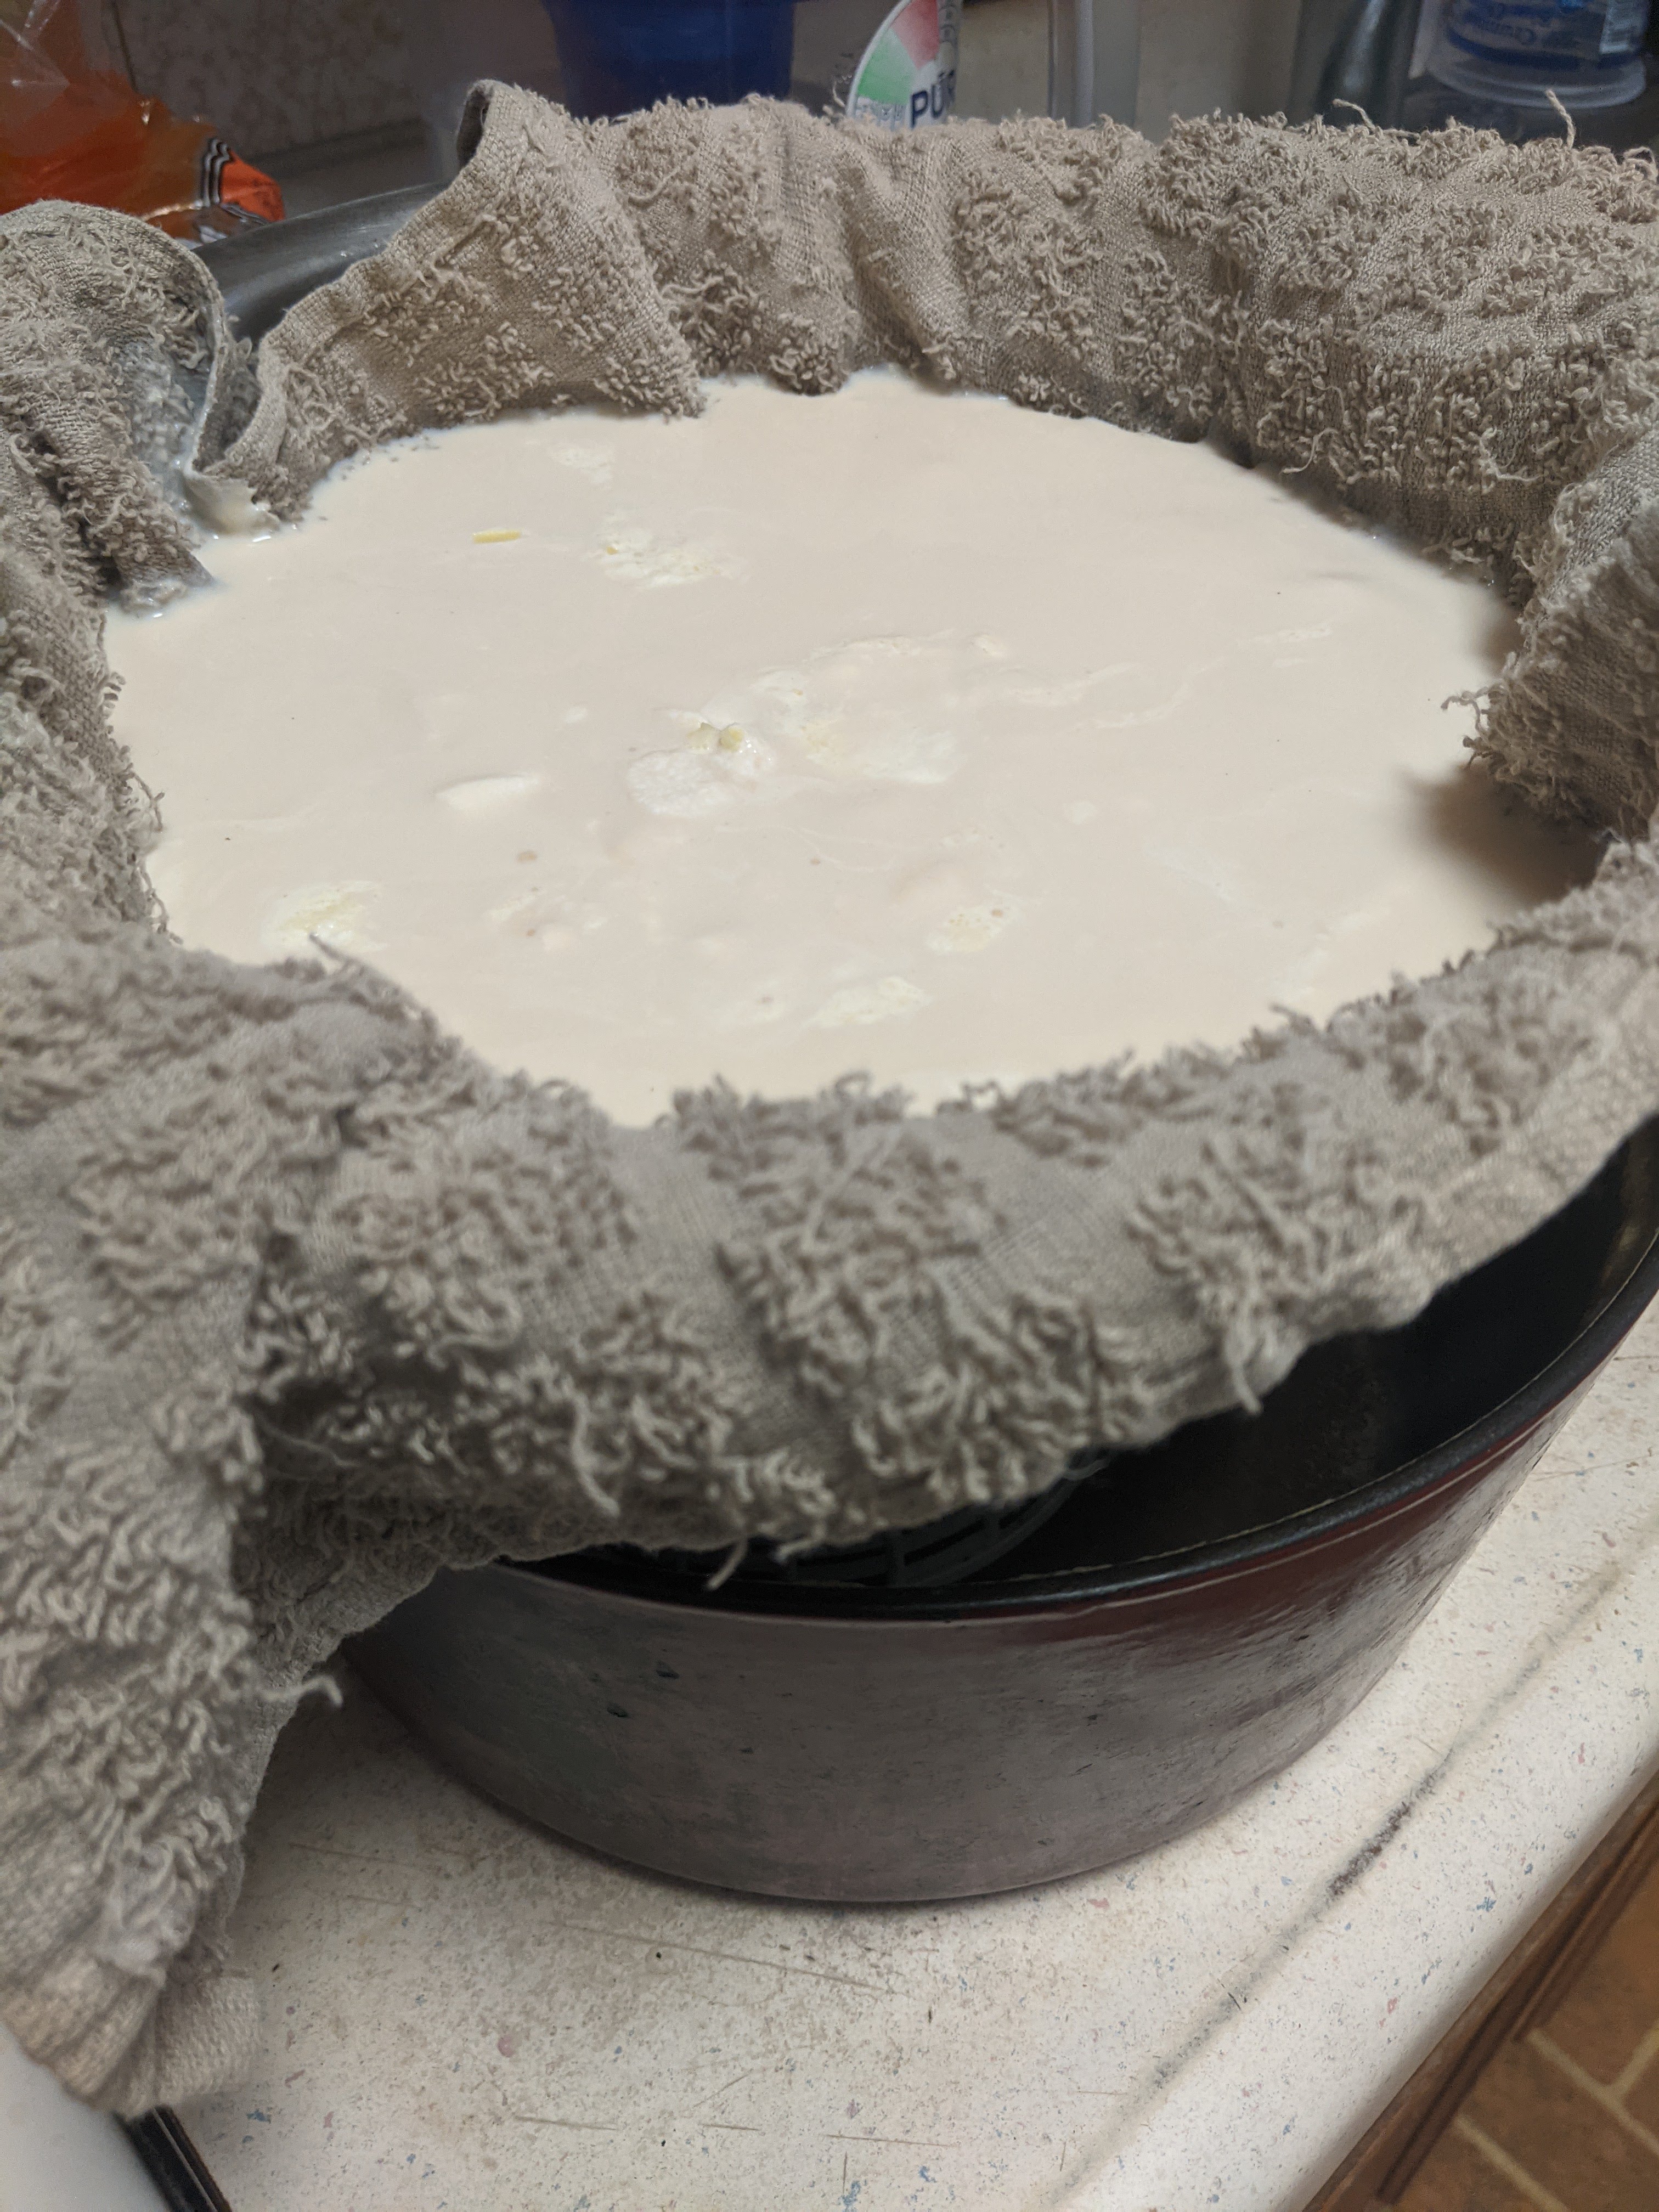
There are a couple directions to go here. You can leave it as is. Ryazhenka is a cultured beverage so you can drink your yogurt as is, use it as yogurt, or strain it into something thicker. I like thick yogurt so I opt for a strain.
Using a clean, wet, and wrung out cloth, line a colander with a catch basin beneath for the whey that runs off. Since it’s winter I just throw this outside to avoid taking up too much refrigerator space. When it reaches a thickness you like it’s done. Greek yogurt perhaps? A thick dollop for my bigos?
A Beverage?
It also makes a delicious beverage with nothing more than a generous shake to distribute the thickness. Sometimes I’d add a dash of maple syrup and a pinch of salt for a wonderful treat. Cinnamon and ginger also suit it well.

