

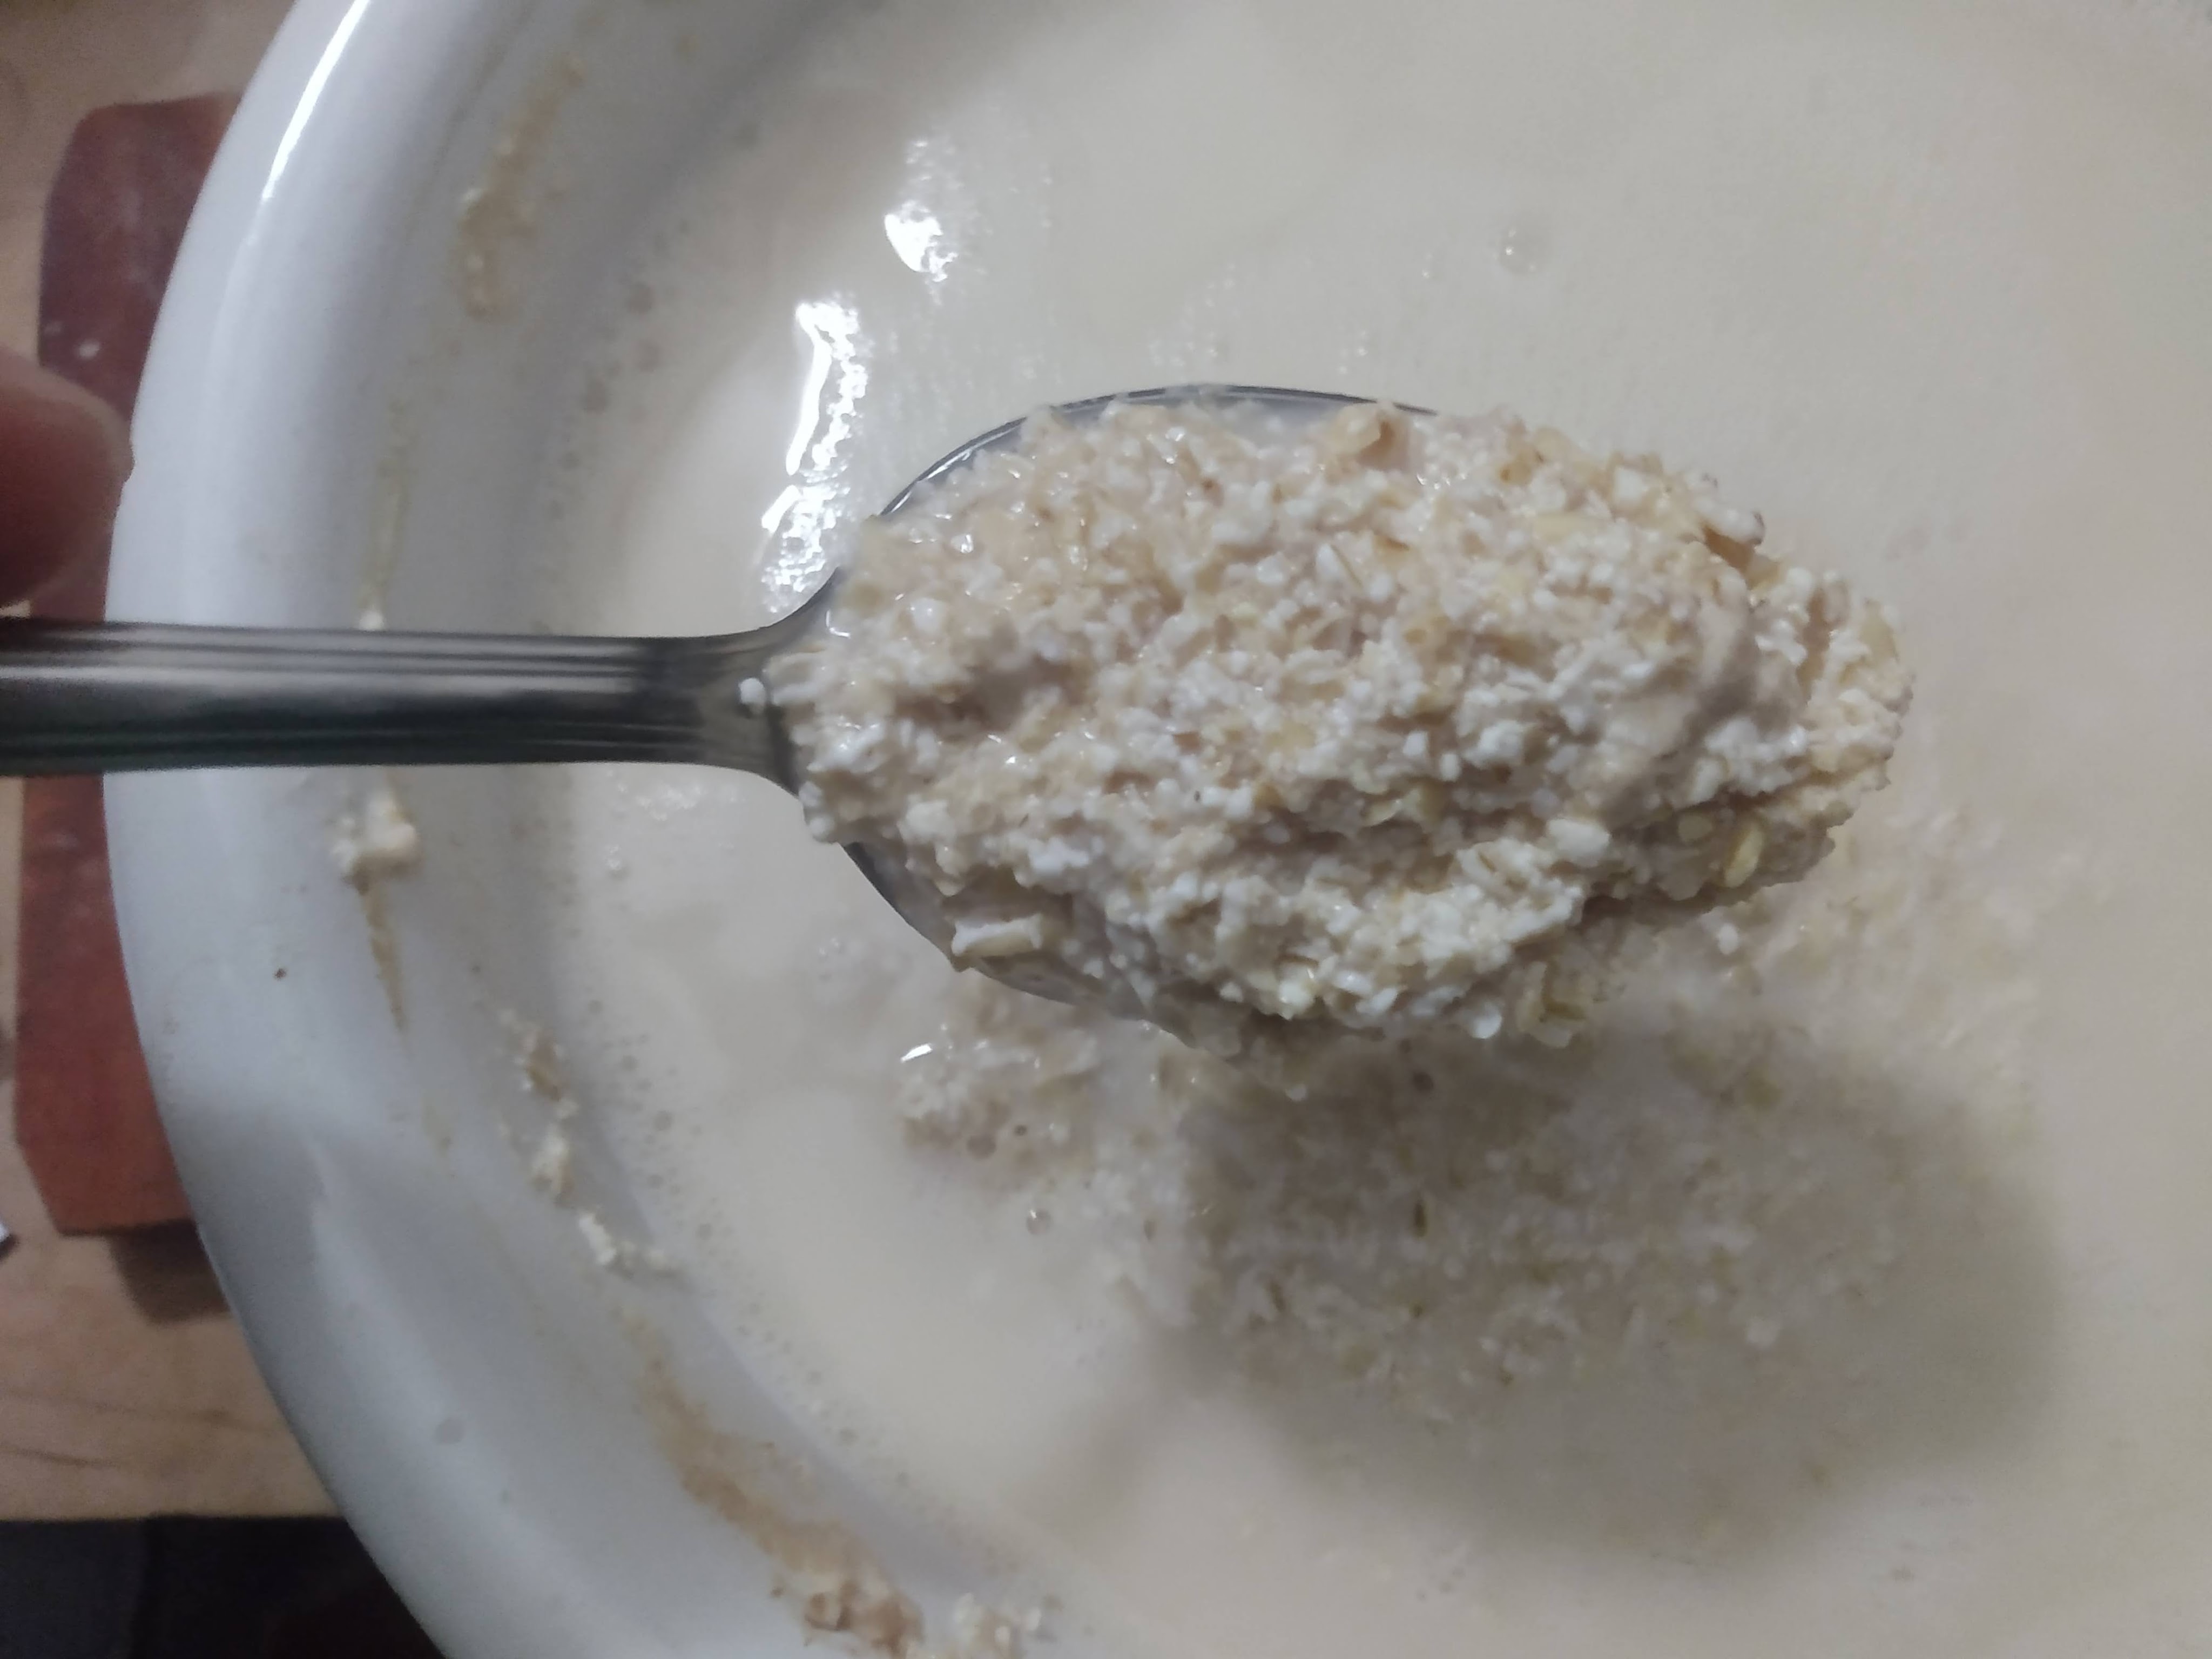
This recipe is a continuation of a ditty about the early days of grains and the gradual “rise” of bread. The first step to this process is making some fermented porridge, which is described in aforementioned ditty. I love the variability of a process where the same porridge can be cooked for your breakfast, and any leftover can become bread for scooping up your lunch and dinner. The more active the ferment obviously the better, so if your porridge has been sitting for a long time, scoop the scum off the top and make some flatbreads!
In modern days like we’re in where just about every aspect of a food and its production are able to be controlled for really specific outcomes, this recipe is a refreshing throwback to times when intuition and experience were more valuable than control, and “perfection” was likely defined in a less homogenous way.
Process
There are no precise measurements that make sense to give. However much fermented porridge you have to use is what you have, and obviously the water to grain ratio will be all over the place. Yet, none of that business should be much of a hurdle here.
Pour your porridge into a bowl. Add a sprinkle of salt. If you are doing this on a scale something like 16 grams of salt per 500 grams of final dough is good. If your breads are undersalted you can always sprinkle some finishing salt over them straight out of the oven. Always be careful to not over salt!

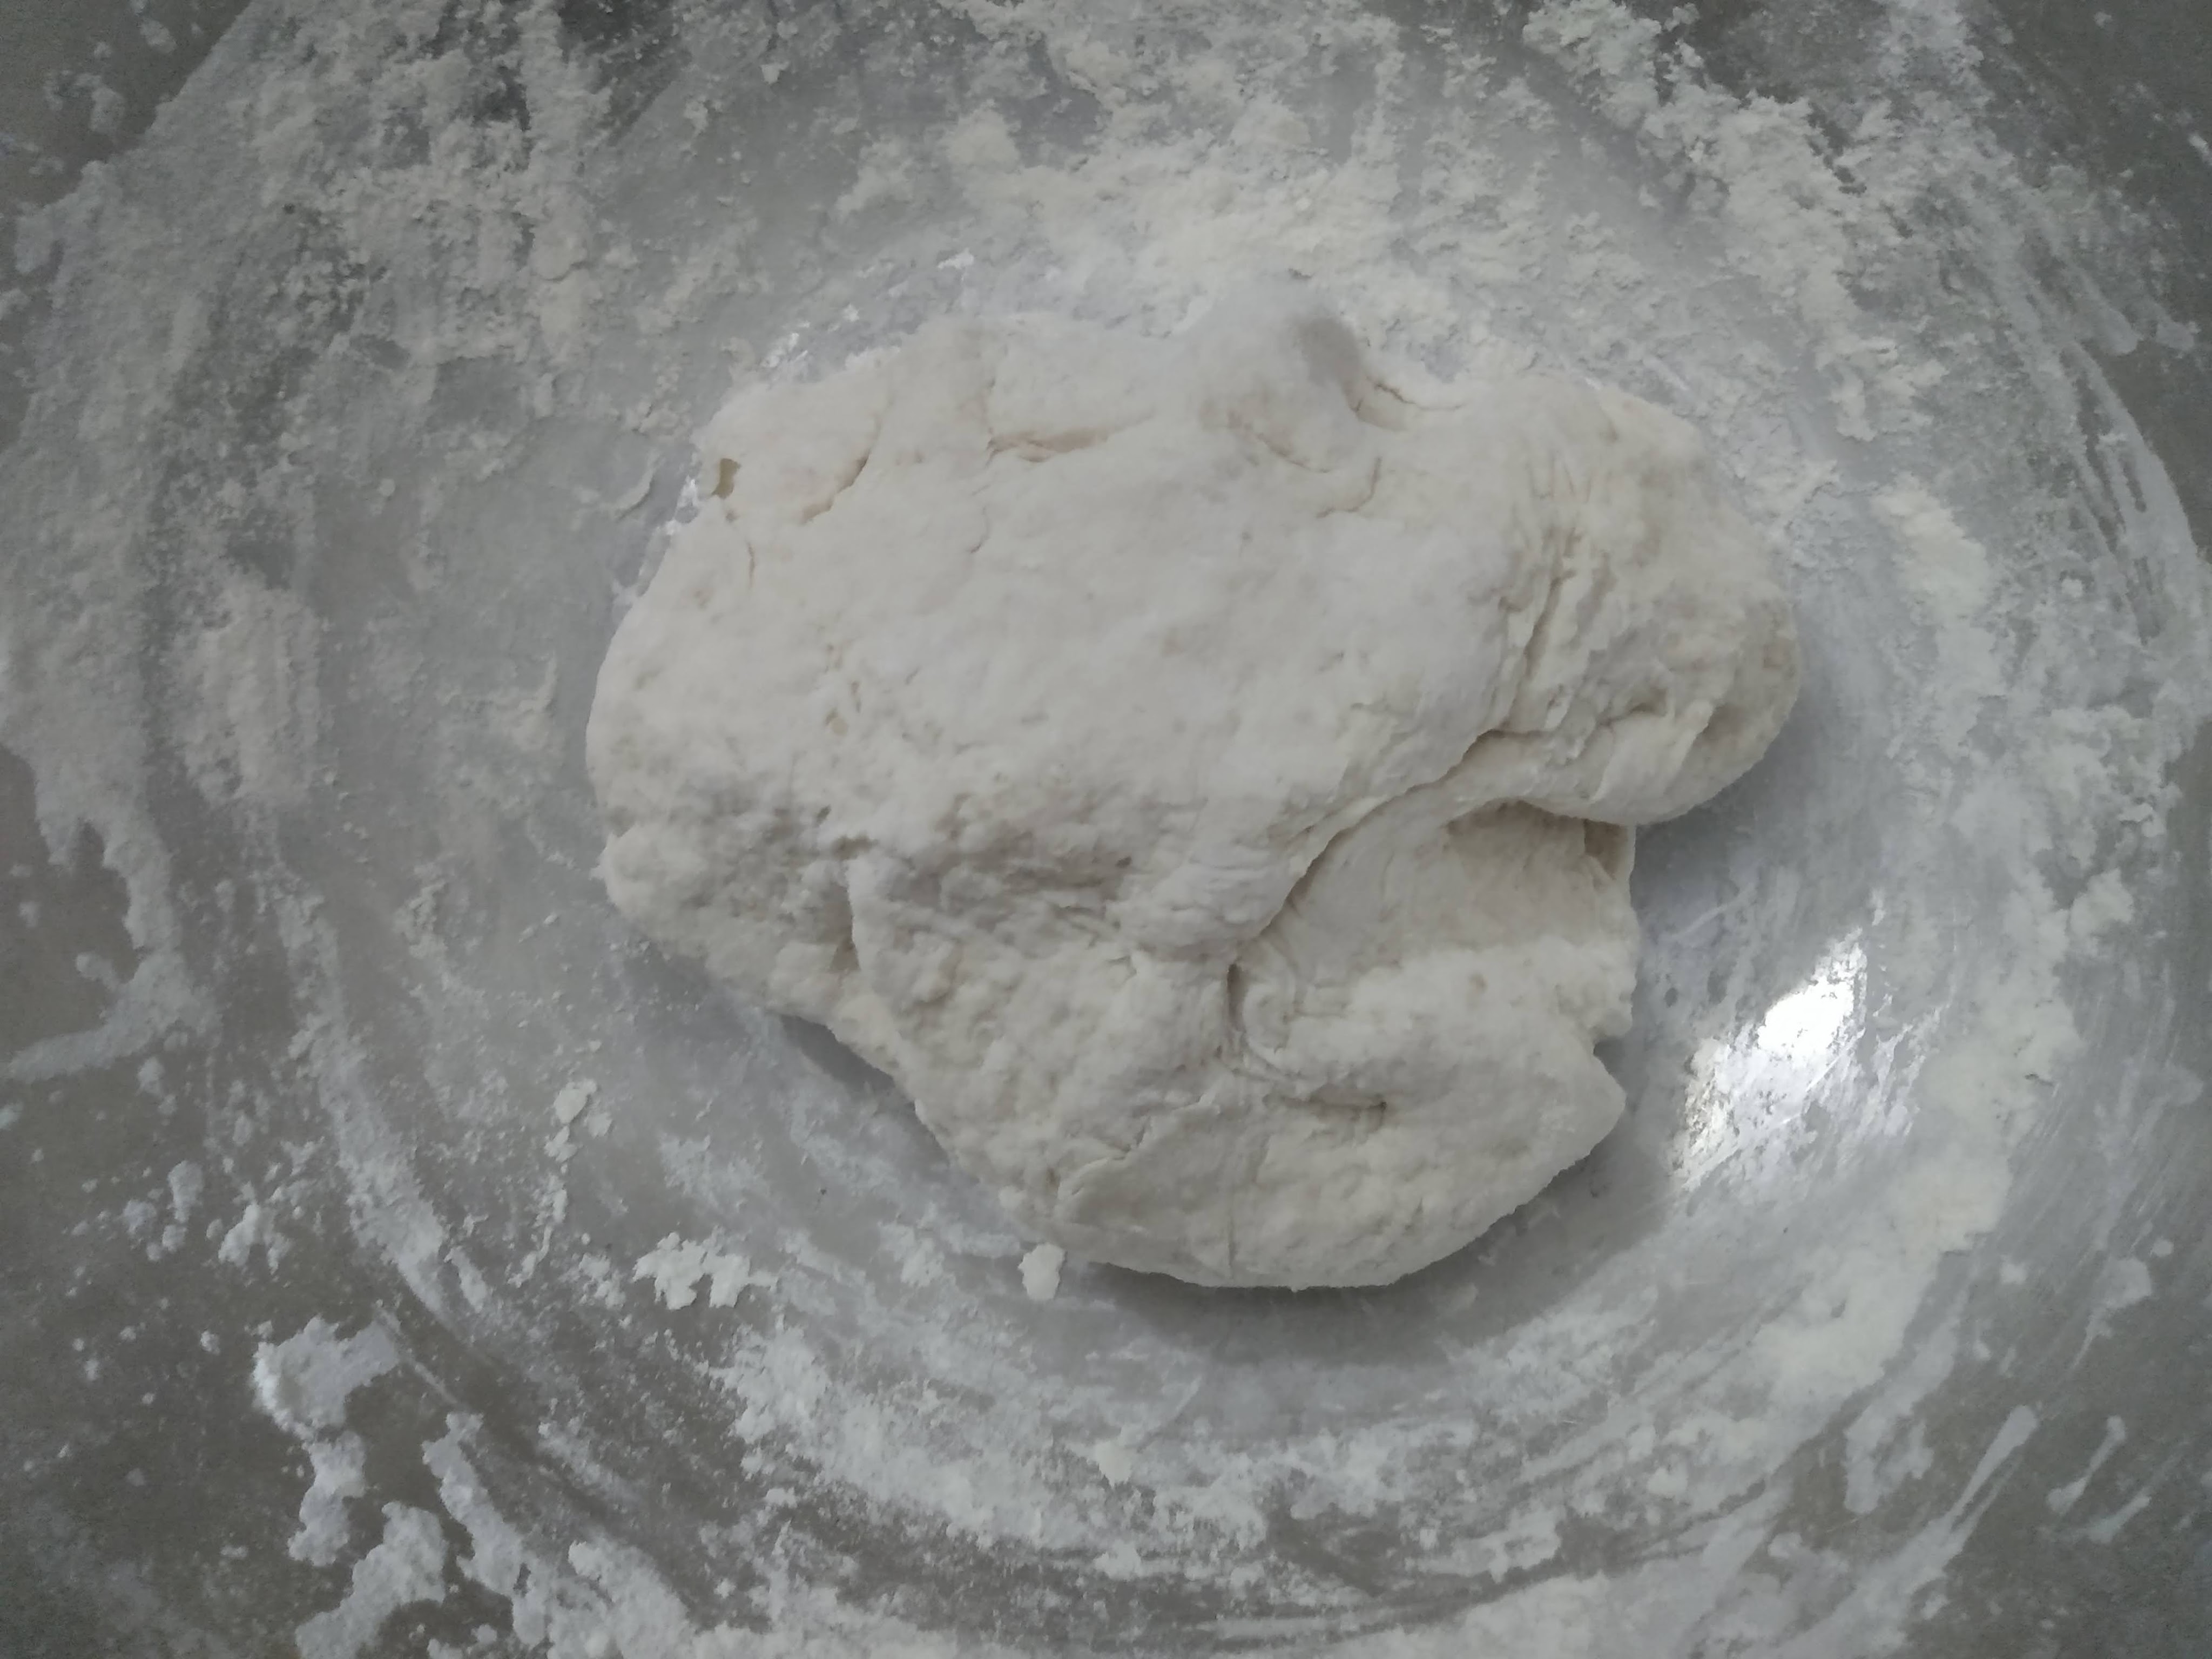
Start adding in flour that has good gluten building qualities. Store bought “Bread” flour is the ticket. Add gradually, mixing it into the porridge slurry until a dough gets formed. You’d want enough flour so it’s not a sticky dough but not so much that it’s super firm either. Intuition and experience right? Getting things right the first time is boring, you learn nothing. A recipe worth making is one that you earn a relationship with, right?
Give the dough a few kneads and let it rest. The goal is to have everything mixed and incorporated but being mindful to not overmix. Giving it a covered over night or long day rest is great. The dough can be stored in a container the fridge and used here and there if not needed right away.
When it’s time to make the bread, on a lightly floured surface cut the dough into whatever size your after, perhaps the size of a doubled golf ball? And then roll them into a ball. Let the balls rest for 20 or so min and in the meantime warm up a skillet on the stovetop to medium high.

After a little rest period, using as much flour as needed, roll out the balls into flat disks. You can press them first with your fingers, and toss them like a pizza or come in with your rolling pin. Play around with the thickness and size (which will also be factors in how hot your skillet should be) until you found what you like.

Cook the flatbread, flipping as needed until both sides are lightly browned and the bread is cooked all the way through. Breads can be dressed up with a drizzle of oil and a sprinkle of seasonings if that’s your bag. Then fill em up with delights!

