The winter solstice has for myself become the day for annual miso-making traditions. It’s after most of the hardy holdout plants are finally delt a frosty blow, and grains and beans from the year are (hopefully) dried and threshed and stored away. Miso was introduced to me with an aura of magic- one of the first ferments I interacted with and so carries the same wild mystic held by the woods on a full moon’ed night as when I met it then. It’s retained its magic over the years, and that seems like a feeling worth fostering in anyway possible.
Sticking to annual miso-making means there are countless jars who present like vintages of wine marking out the years. The differences between the young and old ones are tremendous. It’s something that if you make, I highly recommend then hiding it from yourself for a couple of years. Just the other day I unearthed a crock that has been living on my porch for two years. It’s made of our homegrown marfax beans and danko rye. The location was an accident, probably nowhere anyone would recommend. I never really covered it or protected it from weather. The ceramic weights were covered thickly in fly pupal cases. After pulling them out and scraping off the top layer it was gorgeous miso with a fruity alcoholic smell the rest of the way down. It was scooped into a series of peanut butter jars to continue aging in the basement somewhere I already can’t recall.
Here’s how we’ve made miso, generally this same way every time, and may you find a way that works for you and becomes your own:

Preparing the Koji
First you’ll need some koji spores. Most people love GEM Cultures. If you’re really impressive you can go outside and find some growing out there somewhere. Either way add your cultures to a cooked starchy grain, mix, and incubate in mid-80 degree temps until your mold spores have colonized the grain. Since we mostly make our misos from homegrown grains like wheat or rye, it takes some extra cooking soften the grain enough to receive the mold. In other cases like with rice, a kernel that is just-cooked through and holds its shape is best. When your grain is cooked spread it out to let dry some and cool to about a mid-80’s temp and inoculate right away by spreading and mixing your spores in. The finished koji grain can be dried and saved or used immediately.
Preparing the beans
Unlike when making tempeh– who does better with beans cooked juuuust right (not over cooked), miso has no such need. Cook your beans fully after a nice overnight soak by boiling them, but in this cook no salt is needed.
Strain and let the beans cool. Often times I’ll let them sit out until the next day because life is busy.
Mixing
Next it’s time to combine the beans and koji’d grain. The many styles of miso can vary according to the ratio of each, as well as the salt levels but my usual aim is eyeballing a 60% bean and 40% koji ratio when preparing the ingredients. Whatever I come out with in the end is what I mix together in the biggest bowl I have. Something like a potato masher can be used but I feel like this is a job for your hands to make the beginnings of your paste. The beans will mush but obviously the grain won’t yet. You can still get the general idea of the consistency already though. Add a little water here and there to get a consistency close to paste with the understanding that things will be breaking down more over time.
Then mix in salt. I hold true here to the salt to taste perspective. Salt, mix, taste, salt, mix, taste. You want something salty but pleasantly so. Not overwhelming, but not under salted.
Packing & Aging
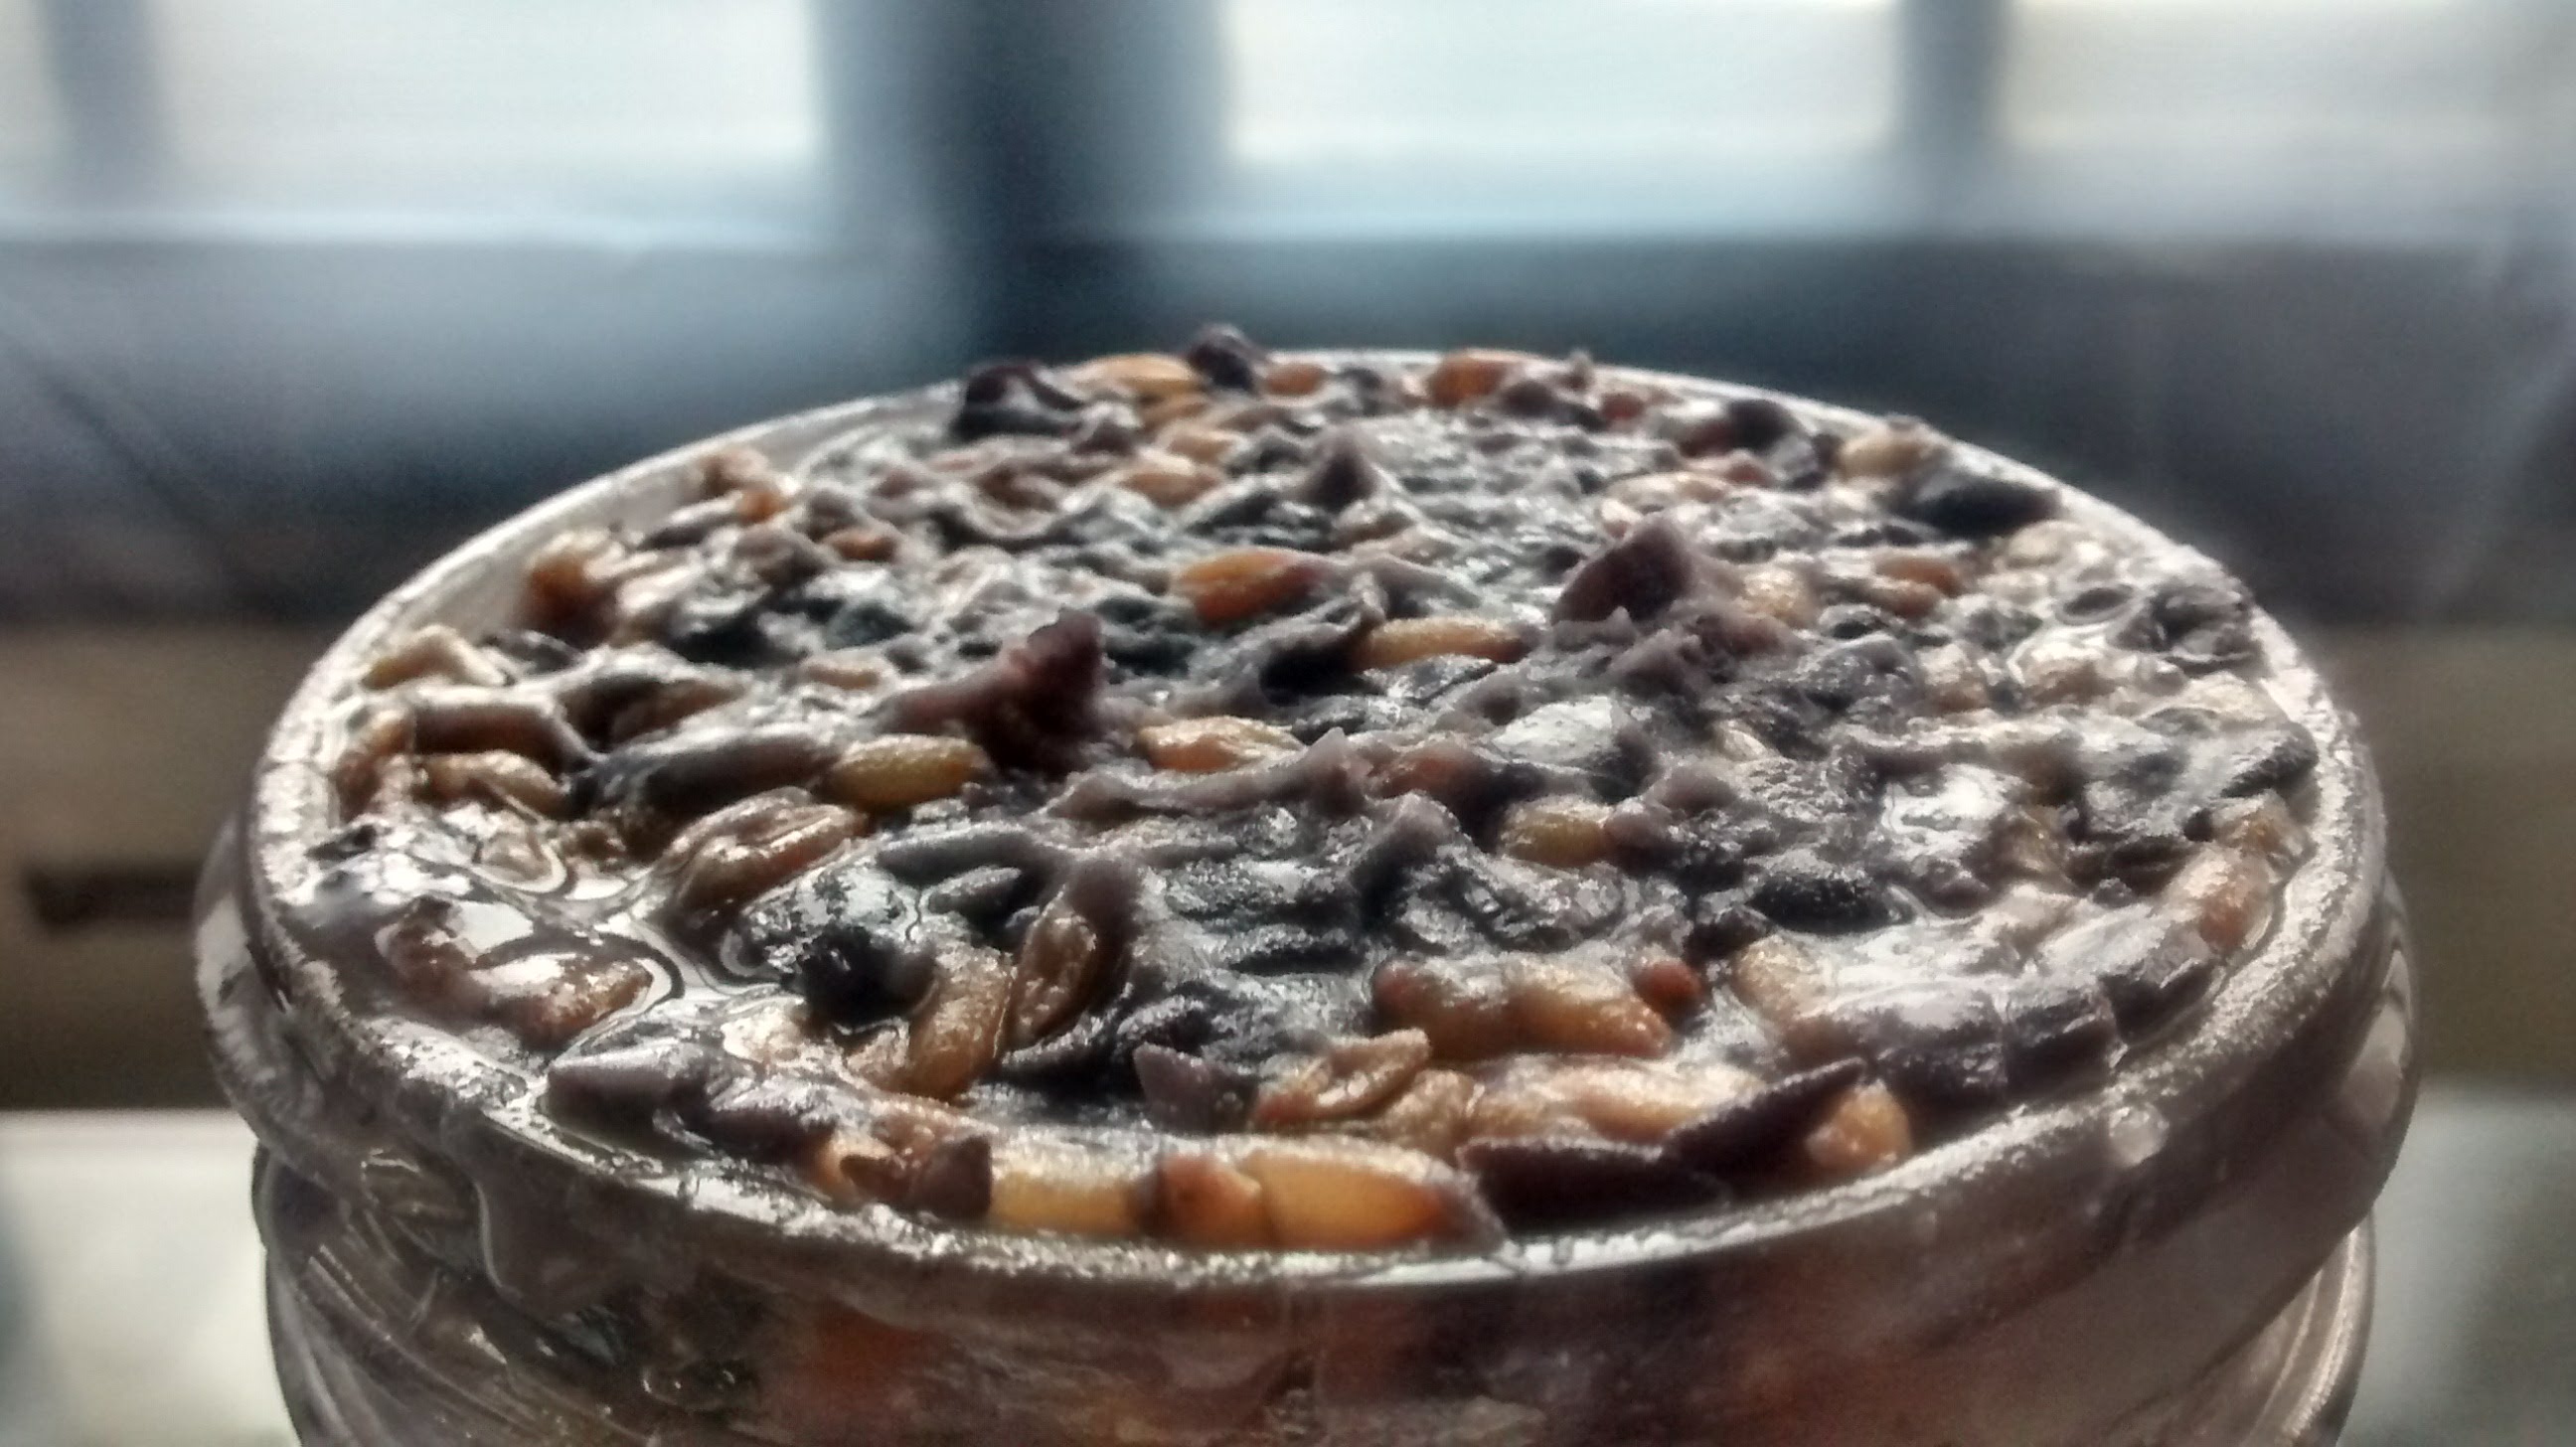
Pack the miso in a jar or container pushing down to minimize air pockets. Leave ample head space for the big initial fermentation event on the horizon (the photo below shows too little headspace and the consequential overflowing). Many folks like to put a fresh sprinkling layer of salt over the final miso surface. It’s possible to pop a screw lid on top but the miso will commence fermentation and need some gas release. I like a loose-fitting lid but a cloth with rubber band or similar is good too. When the vigorous fermentation eventually ceases it’s a good idea to throw on some kind of lid. Depending on your conditions the miso could dry out. I’ll let the fermentation boil to a dripple in a bigger vessel, then transfer the miso to mason/ peanut butter jars and lid them to be taken to the basement for long term storage. I like breaking them down into many smaller jars so when one is being actively scooped from, the oxygen exposure is limited to just that jar as with all the microbial activity in there, things will begin to grow.
Consume when you’re ready to- in a few months, a year, or many years.