Continuous Sour Pickles

Vegetable Fermentation

In my backyard at home I have four pickling cucumber plants that are giving round about 6-12 cucumbers a day or so right now. Those 6 or so picked nice and small fit perfectly in a pint jar and make it easy to do sour pickles one jar at a time as the cucumbers roll in. Since there’s the summer heat to contend with and I want a crisp pickle we’ll let the fermenting just get started at room temperature then turn to the refrigerator for a long slow souring process. Additionally, I do not like to cut them open as the seed pod and inner flesh risks getting mushy.

Process

Pack as many little cucumbers into your jar as you can manage.

Add a clove of garlic and a handful of fresh herbs like dill and cilantro to each jar. Add as much salt as is your preference. For a moderately salty pickle add 2-3 TBS of salt per a quart. That will hit about the 3.6- 5.2% salinity which is pretty tasty.

Cover everything with water and fasten the lid securely.

Leave it out on counter for 3 days, or until you notice some vigorous bubbling activity. If you’re using a lid with a pop top, I like to use that as an indicator. When the lid is bulging it’s ready for the fridge, where you can move it to the back and forget about it until some time later in the winter.

Enjoy!

Lacto-Fermented Pickles of Any Kind

fermentation, homesteading, Uncategorized, Vegetable Fermentation

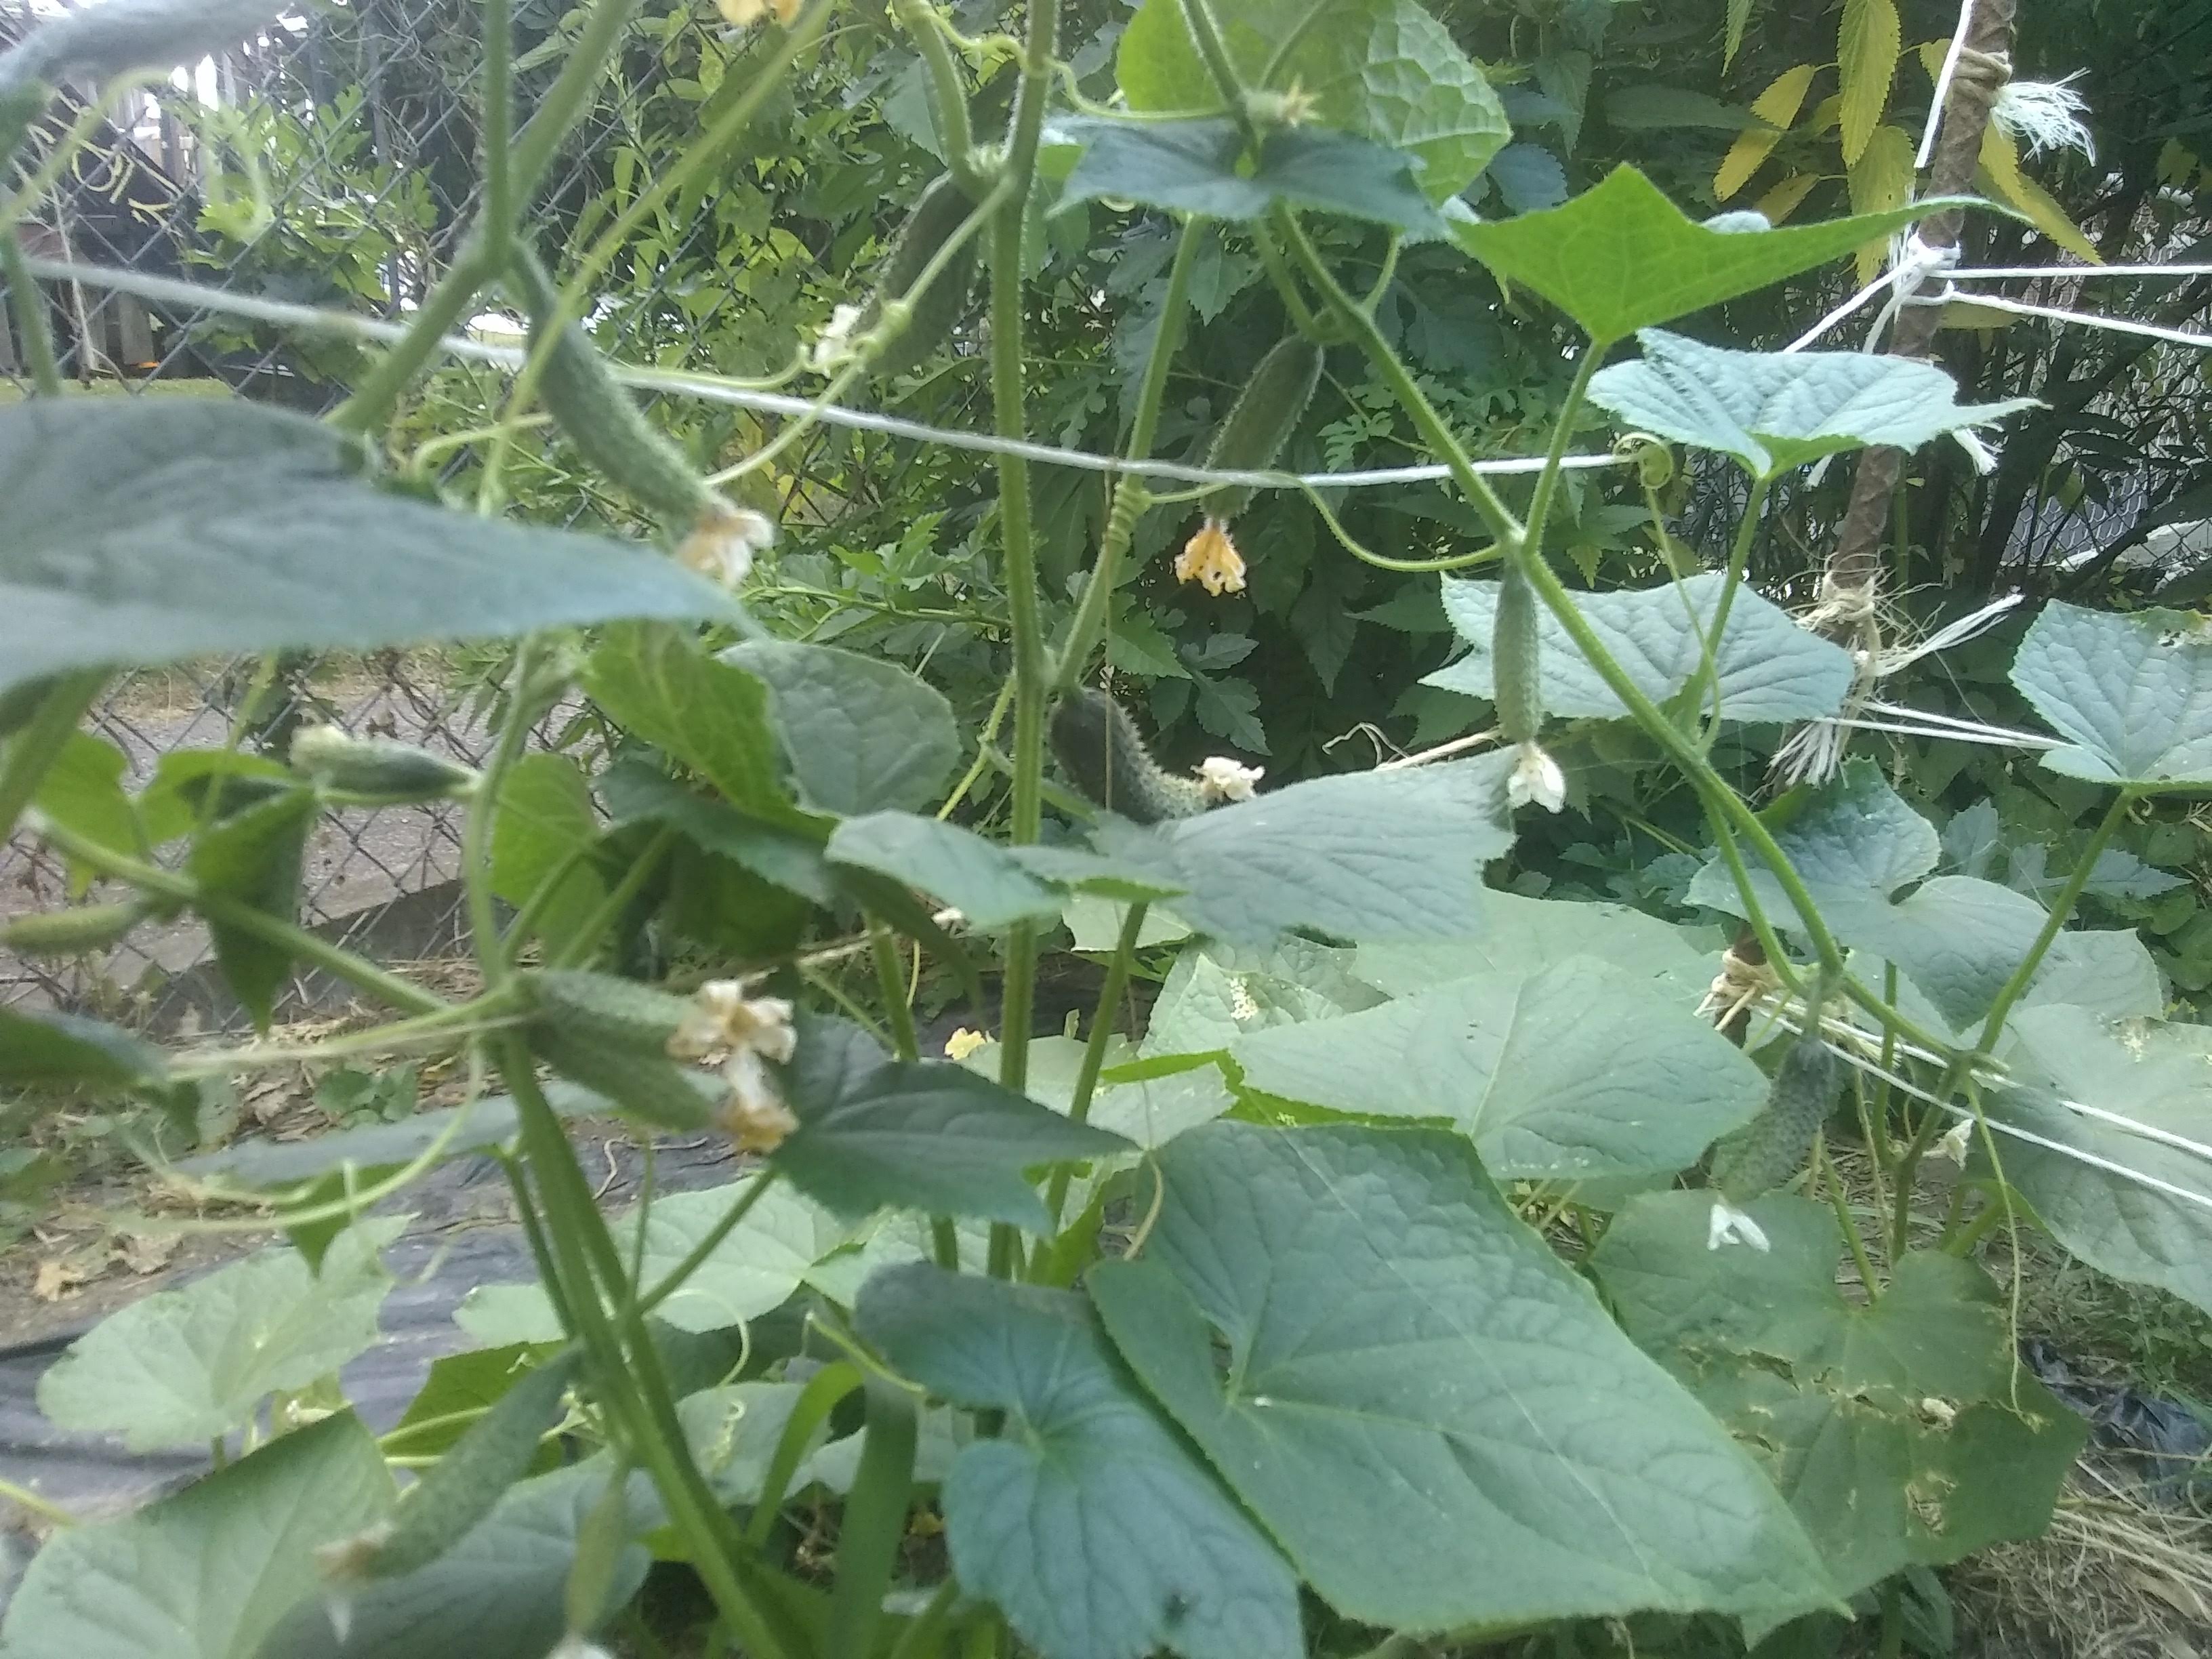
The chase is in full swing. Fleeting moments that contain green beans, cucumbers, peppers, eggplant, and all the rest are here to either catch or miss. Each jar and crock filled is a thriving moment of anticipation for that winter day when you unlock the memories of summer and you proudly present them to your fellow diners- these are my pickles! In addition to the fantastic name, dilly beans were likely my very first homemade pickle. However, like all recipes, are open to your play and creativity.

For the modest backyard garden that gathers maybe a handful of something every other day or so, setting up a continuous pickling regiment is great. Line up your either mason jars, old peanut butter jars, etc and make them as you go- one little jar at time perhaps. Either way the laid-back nature of lacto-fermented pickles assures you can have the time to make delicious pickles this summer.


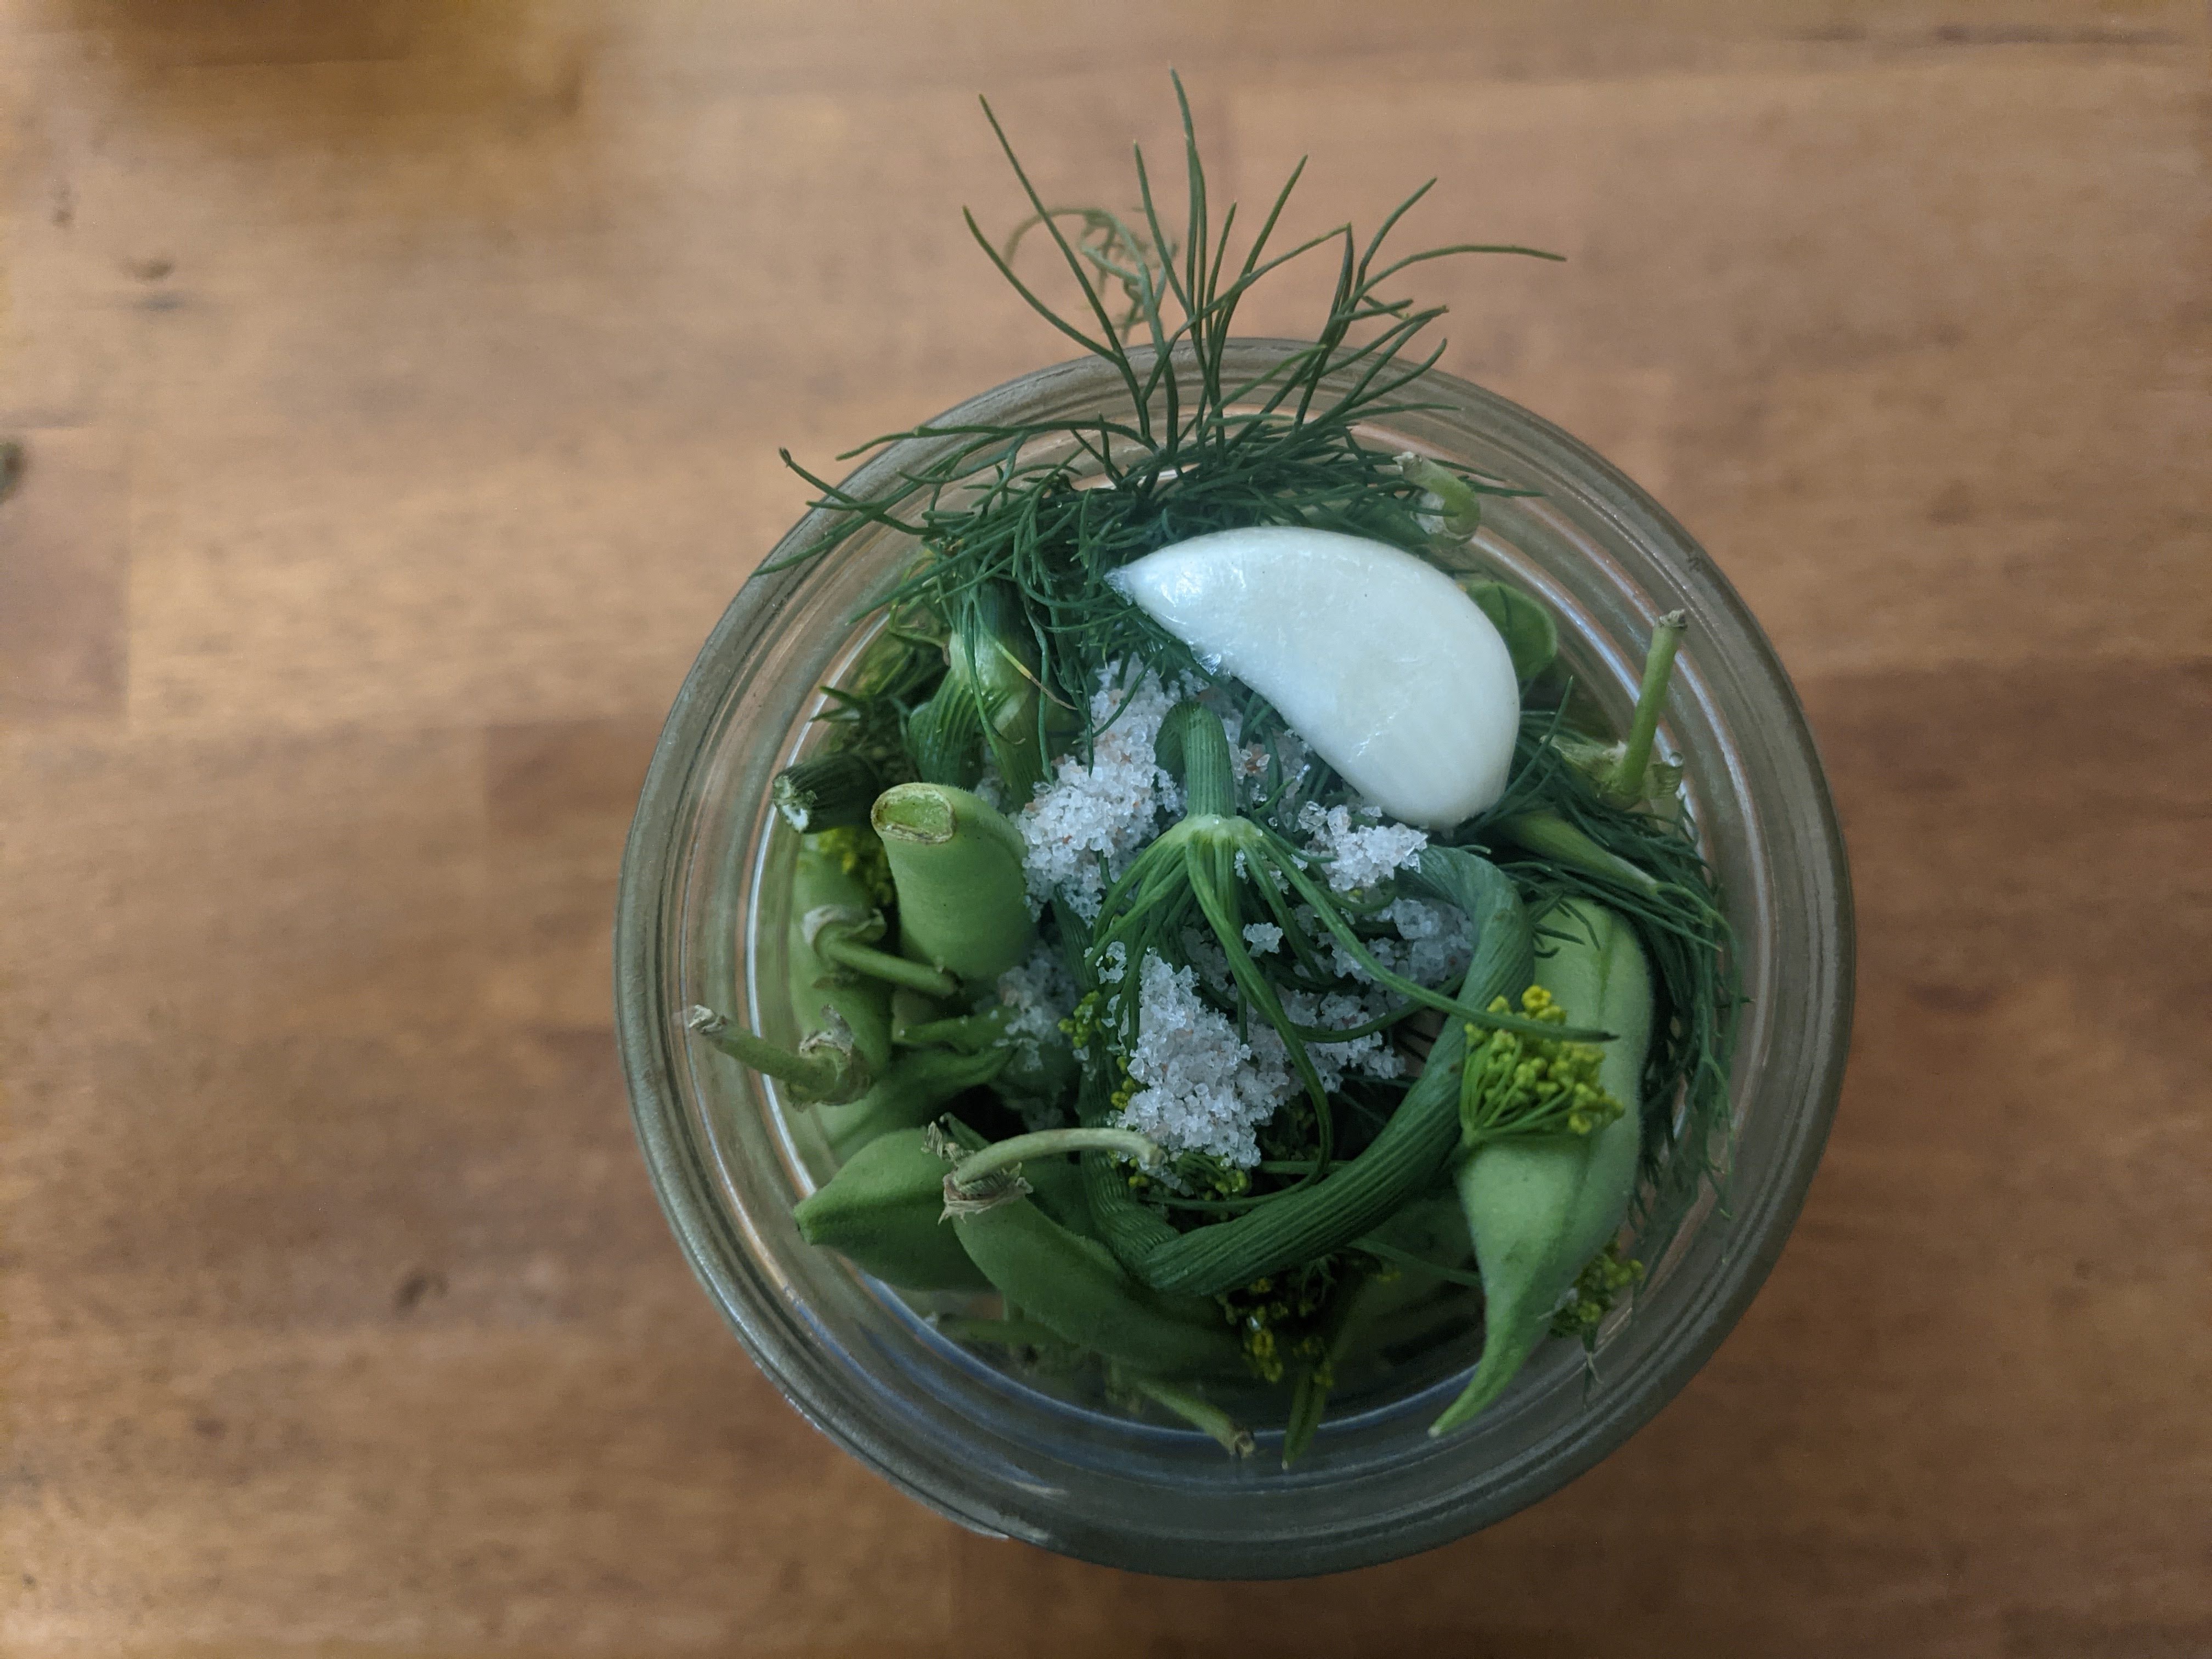
Pack as much fresh or dried herb as you can while leaving some room still for the veg. Dill blossoms, green coriander, fresh garlic or scapes, fennel blossom, hot peppers etc. It’s nice to shuve the whole thing, stalks and all, when using fresh herbs.

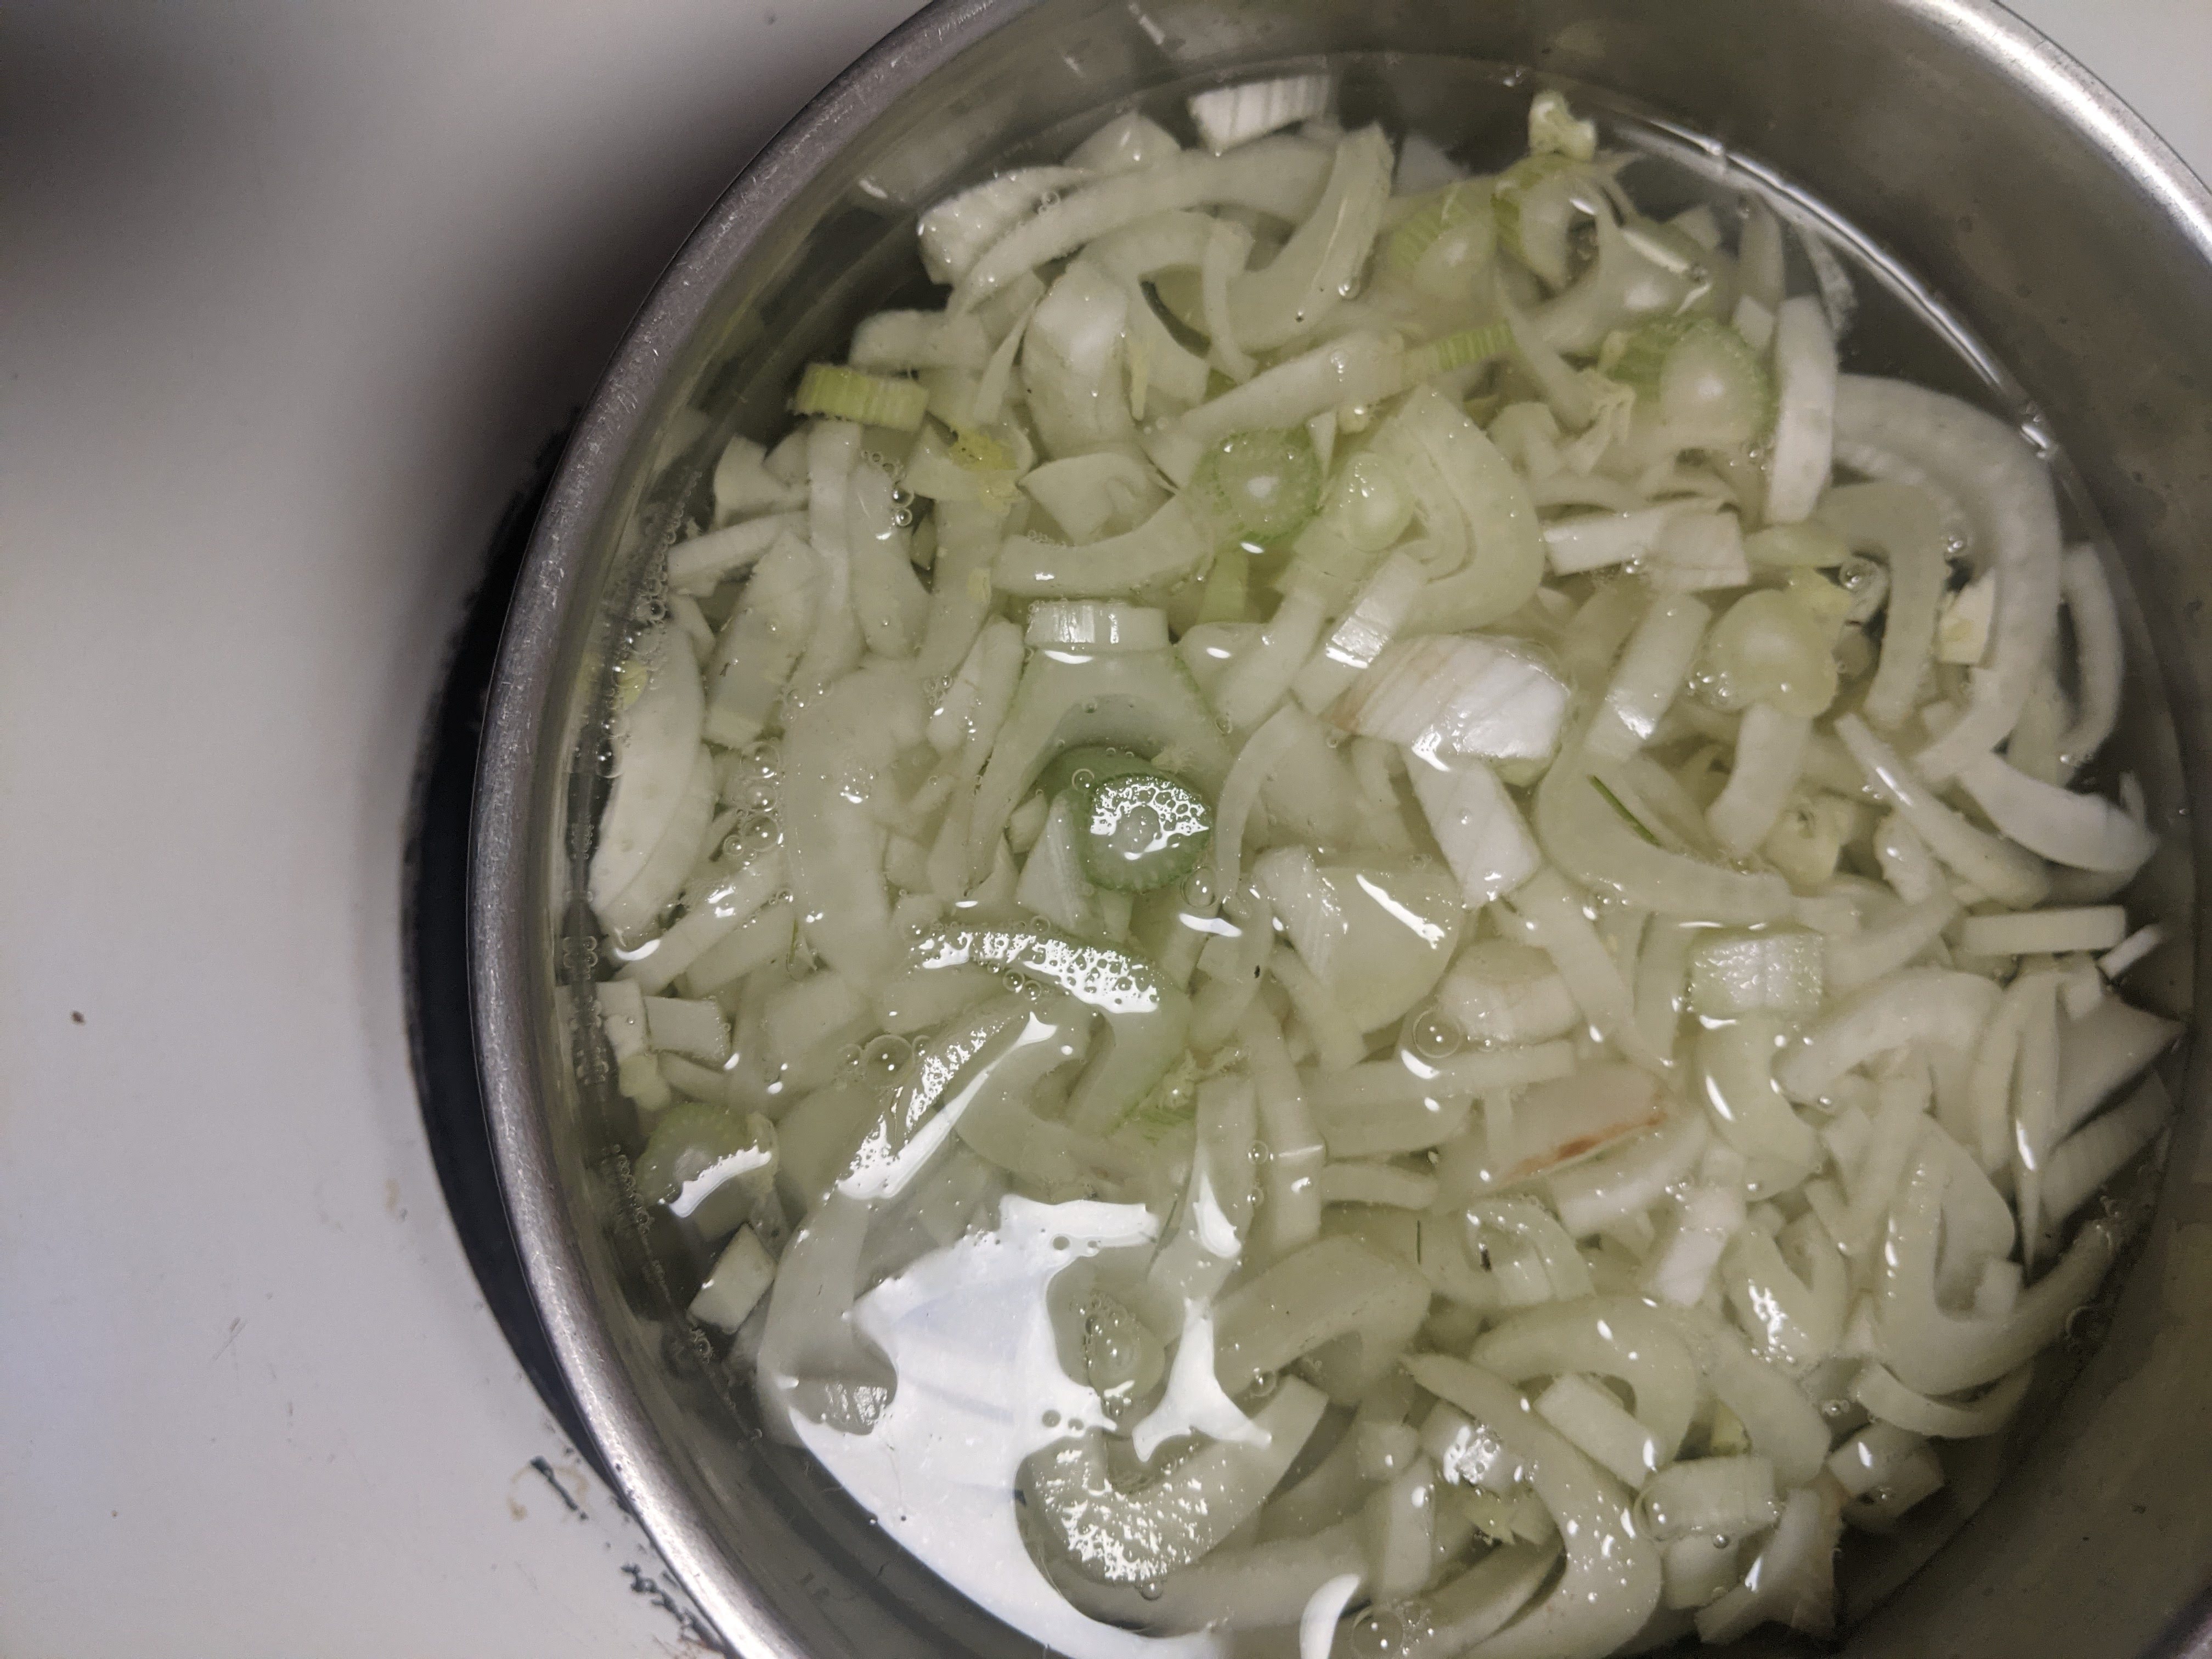
With whatever remaining leftover room squish in as many cucumbers, beans or whatever veg or veg combo into your jar as you can manage.

I like to eyeball my salt (and maybe return later to taste and adjust) but for the rest a nice middle ground place is 2-3 TBS of salt per a quart. That will hit about the 3.6- 5.2% salinity which is delicious.

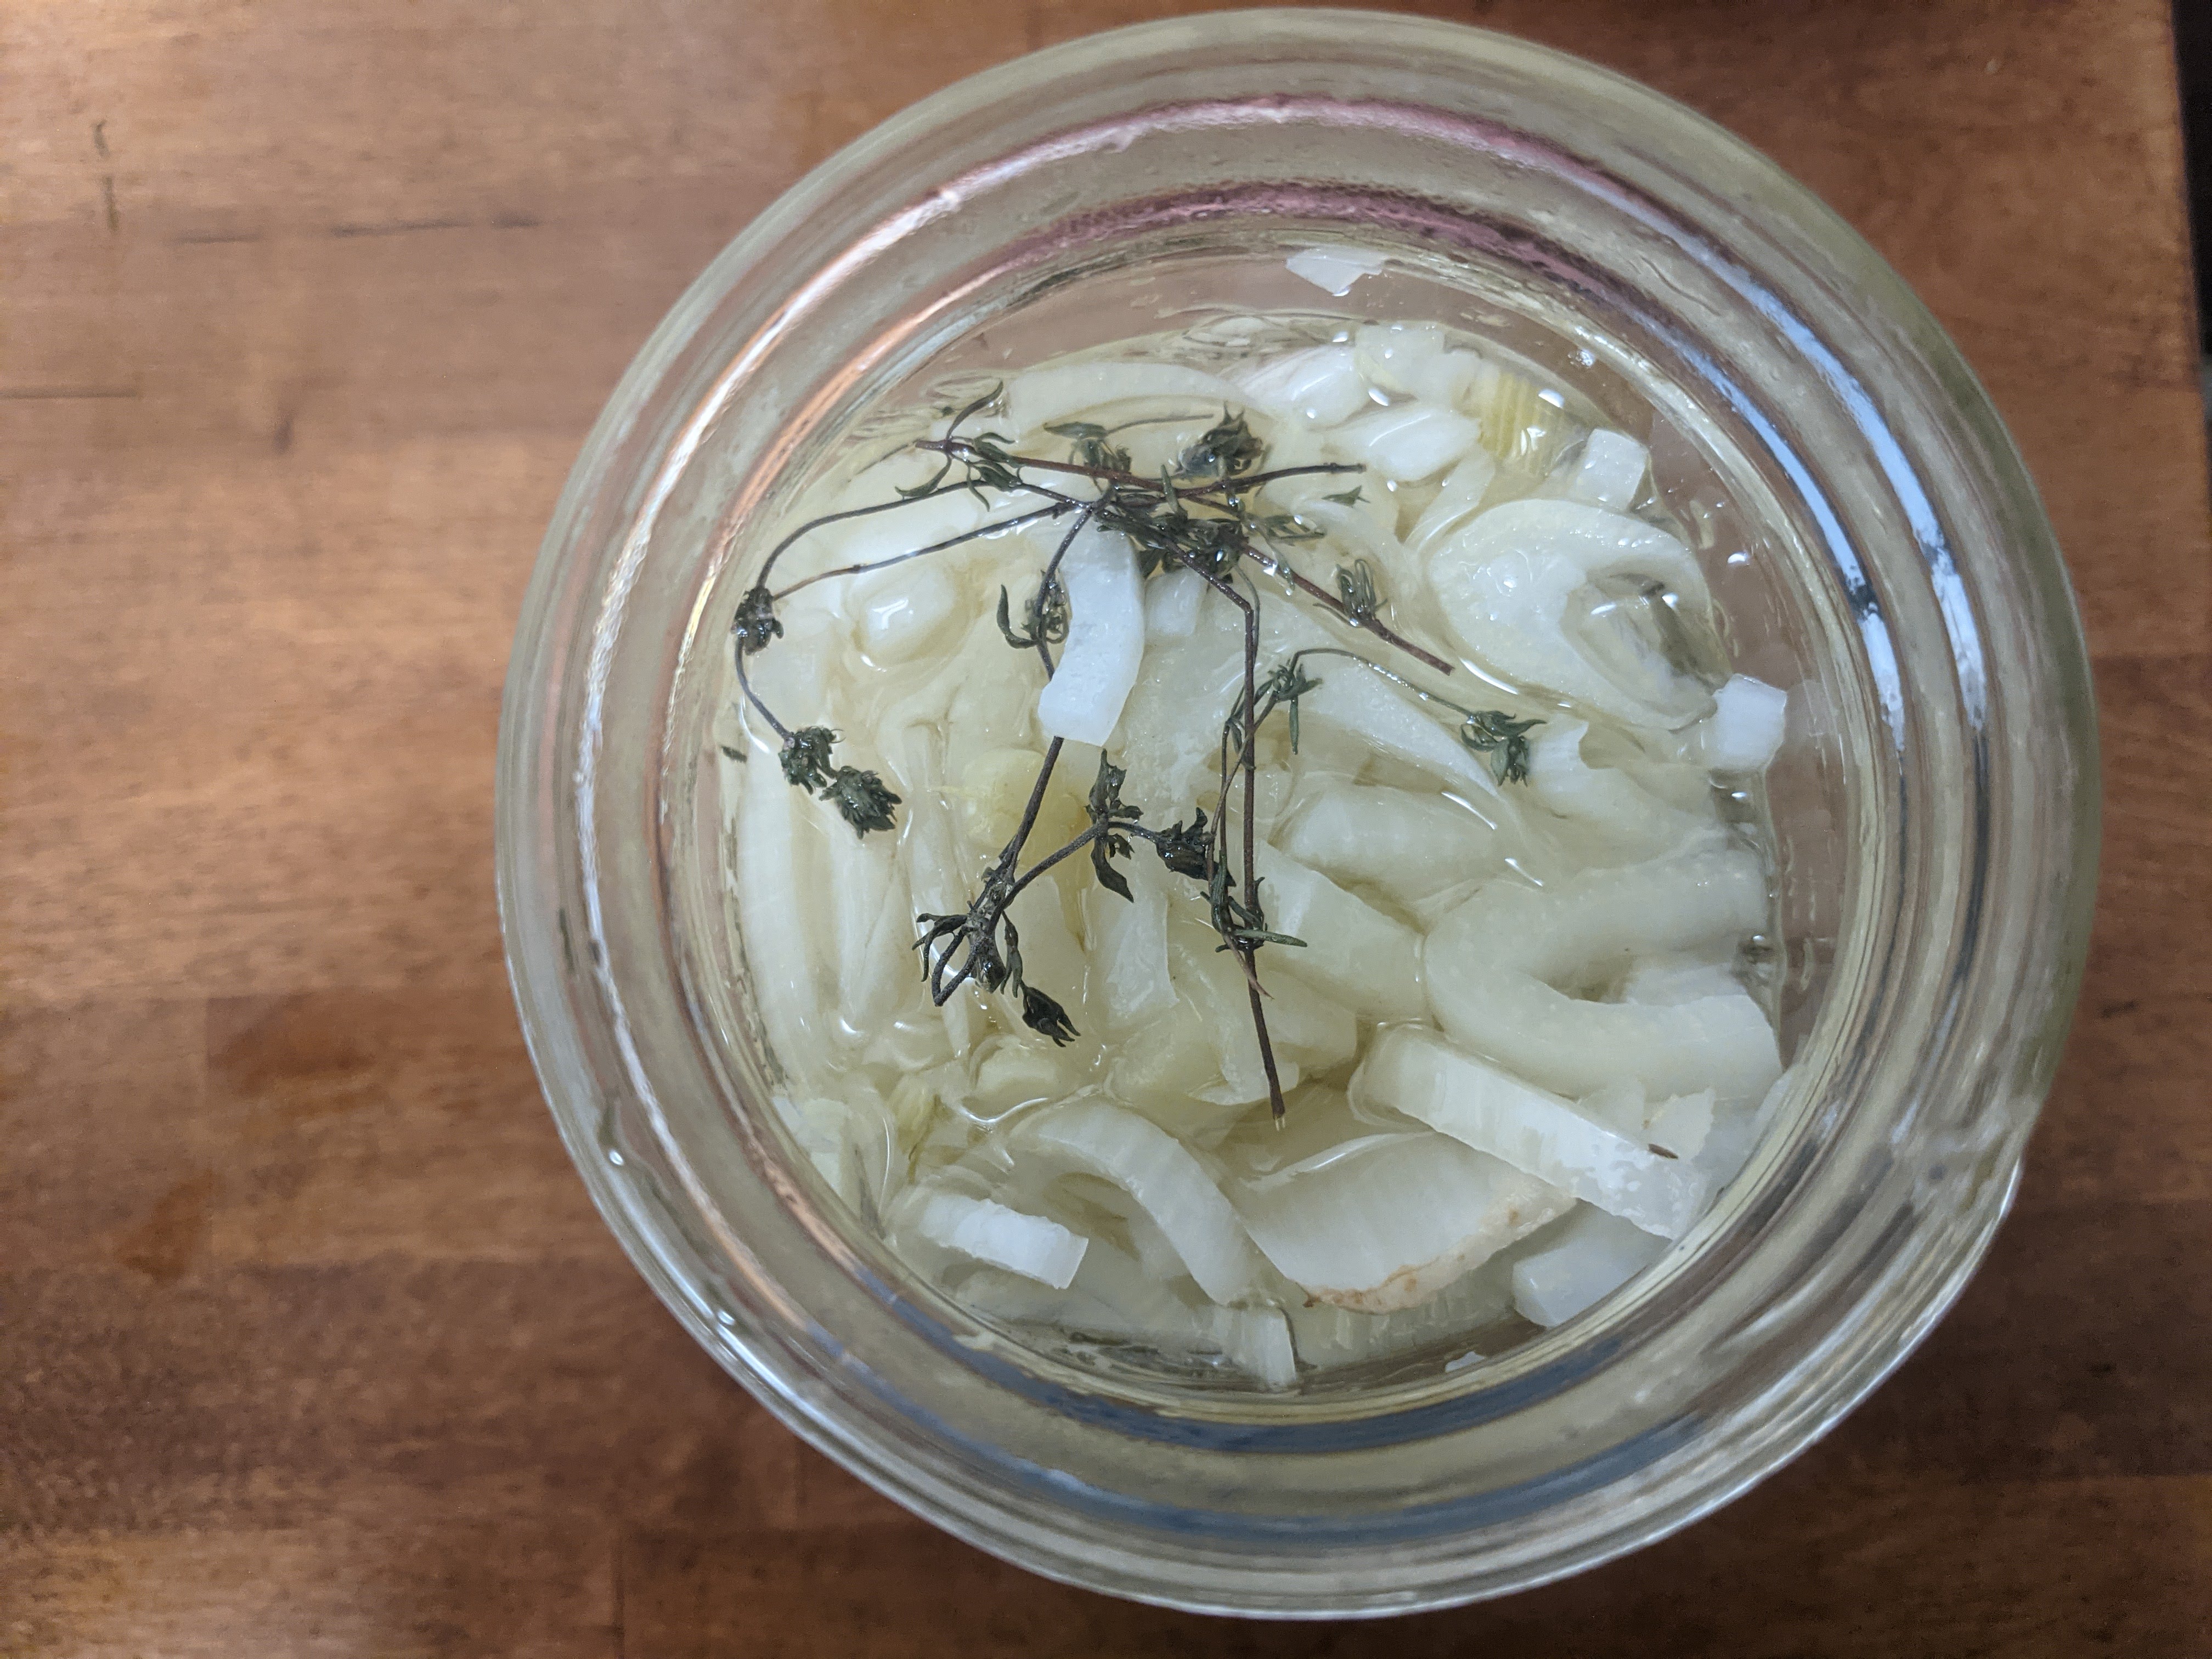
Add water to cover everything as best as possible and fasten the lid securely.

Leave it out on counter for 3 days, or until you notice some vigorous bubbling activity. The tell-tale sign will be a bulge in the lid. When that occurs, move to the back of the fridge until you forget and remember again that it’s there some time later in the winter. This quick counter to fridge process ensures the crispest pickle for anyone pickling in some hot weather. The fermentation will crawl along slower but to me sure beats having mush.

Forget about the pickles in the back of fridge for at least a month or two but even better the longer you wait. Also, consider not removing the lid once you get a bulge in it. The reason is, that accumulated Co2 is pushing any oxygen up and away from any plant parts not submerged by the brine thus keeping mold away as if it were submerged. There is also an added bonus of getting some effervescent pickles when you open them!

*Most of these posts are resources for Ferment Pittsburgh’s monthly newsletter that features seasonal ideas, techniques, and musings. Consider jumping aboard?

Processing…
Success! You're on the list.

Pickled & Marinated Preserved Summer Veg

homesteading, Uncategorized

This is quickly becoming a favorite process of ours for preserving summer veg. It’s especially exciting for those who spend their winters pizza-ing through their larder. It works with almost any firm veg and involves a flash boil in pickling brine to pick up on a wonderful pickled bite, then submerging in oil to marinate and preserve until you’re ready to use it. This veg is absolutely delicious and are a wonder to dig out of a jar, already coated in fat to enhance any future meals.


Make a simple pickle brine of 1:1 ratio water to vinegar, and add a teaspoon of salt for every 4 cups of liquid. (The brine amounts depend on how much veg your preserving.) Bring it to a boil.

After cutting your veg to the shape and size of your desires, plop them into the boiling brine for roughly 2-5 minutes. However this time is more dependant on the vegetable you’re using. The goal is to soften it to al dente- softened but still retaining some bite. No worries if it’s not perfect.

In the meantime drop any decorative seasonings into a jar- a clove of garlic, herbs like thyme, oregano, perhaps a sliver of hot pepper.

When the veg is ready, strain it and immediately pack it into the prepared jar. Also immediately, cover it completely to the top with oil, pop on the lid and let it be.

This marinated pickle lasts a couple months in the pantry but can also last quite a lot longer in the fridge.

*Most of these posts are resources for Ferment Pittsburgh’s monthly newsletter that features seasonal ideas, techniques, and musings. Consider jumping aboard?

Processing…
Success! You're on the list.