Borscht & Fermenting Grated Fall Roots

Uncategorized

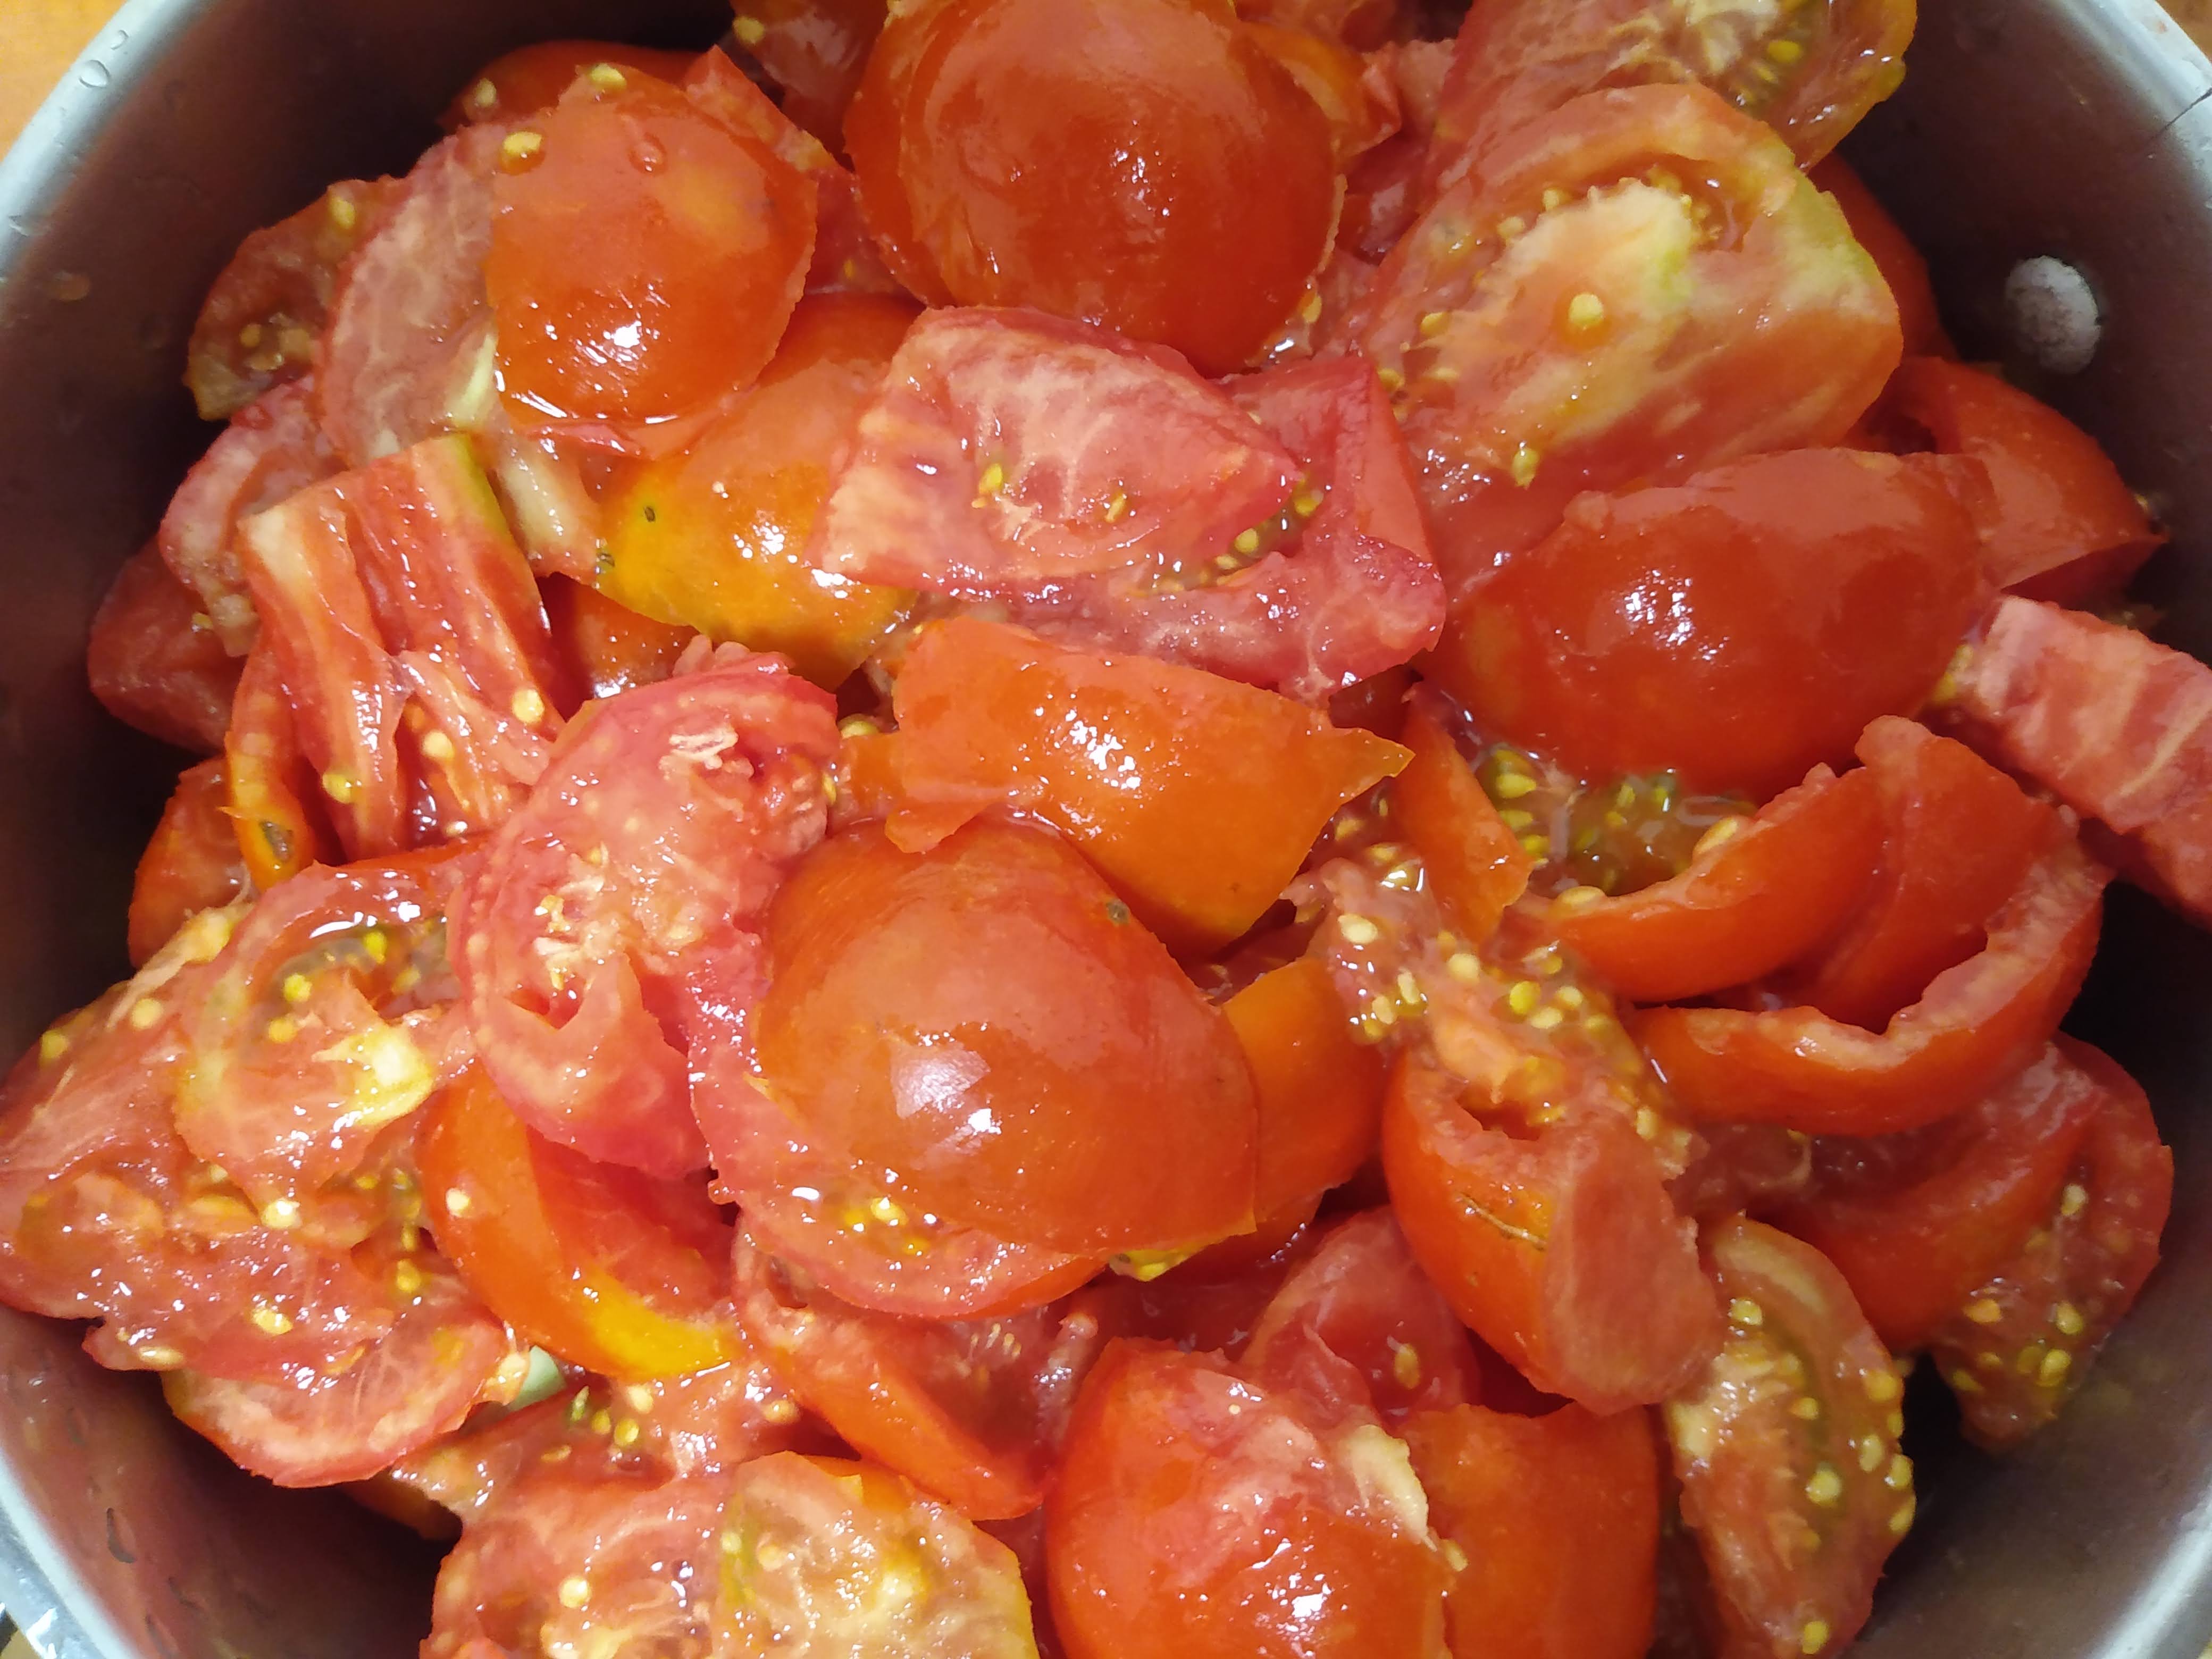
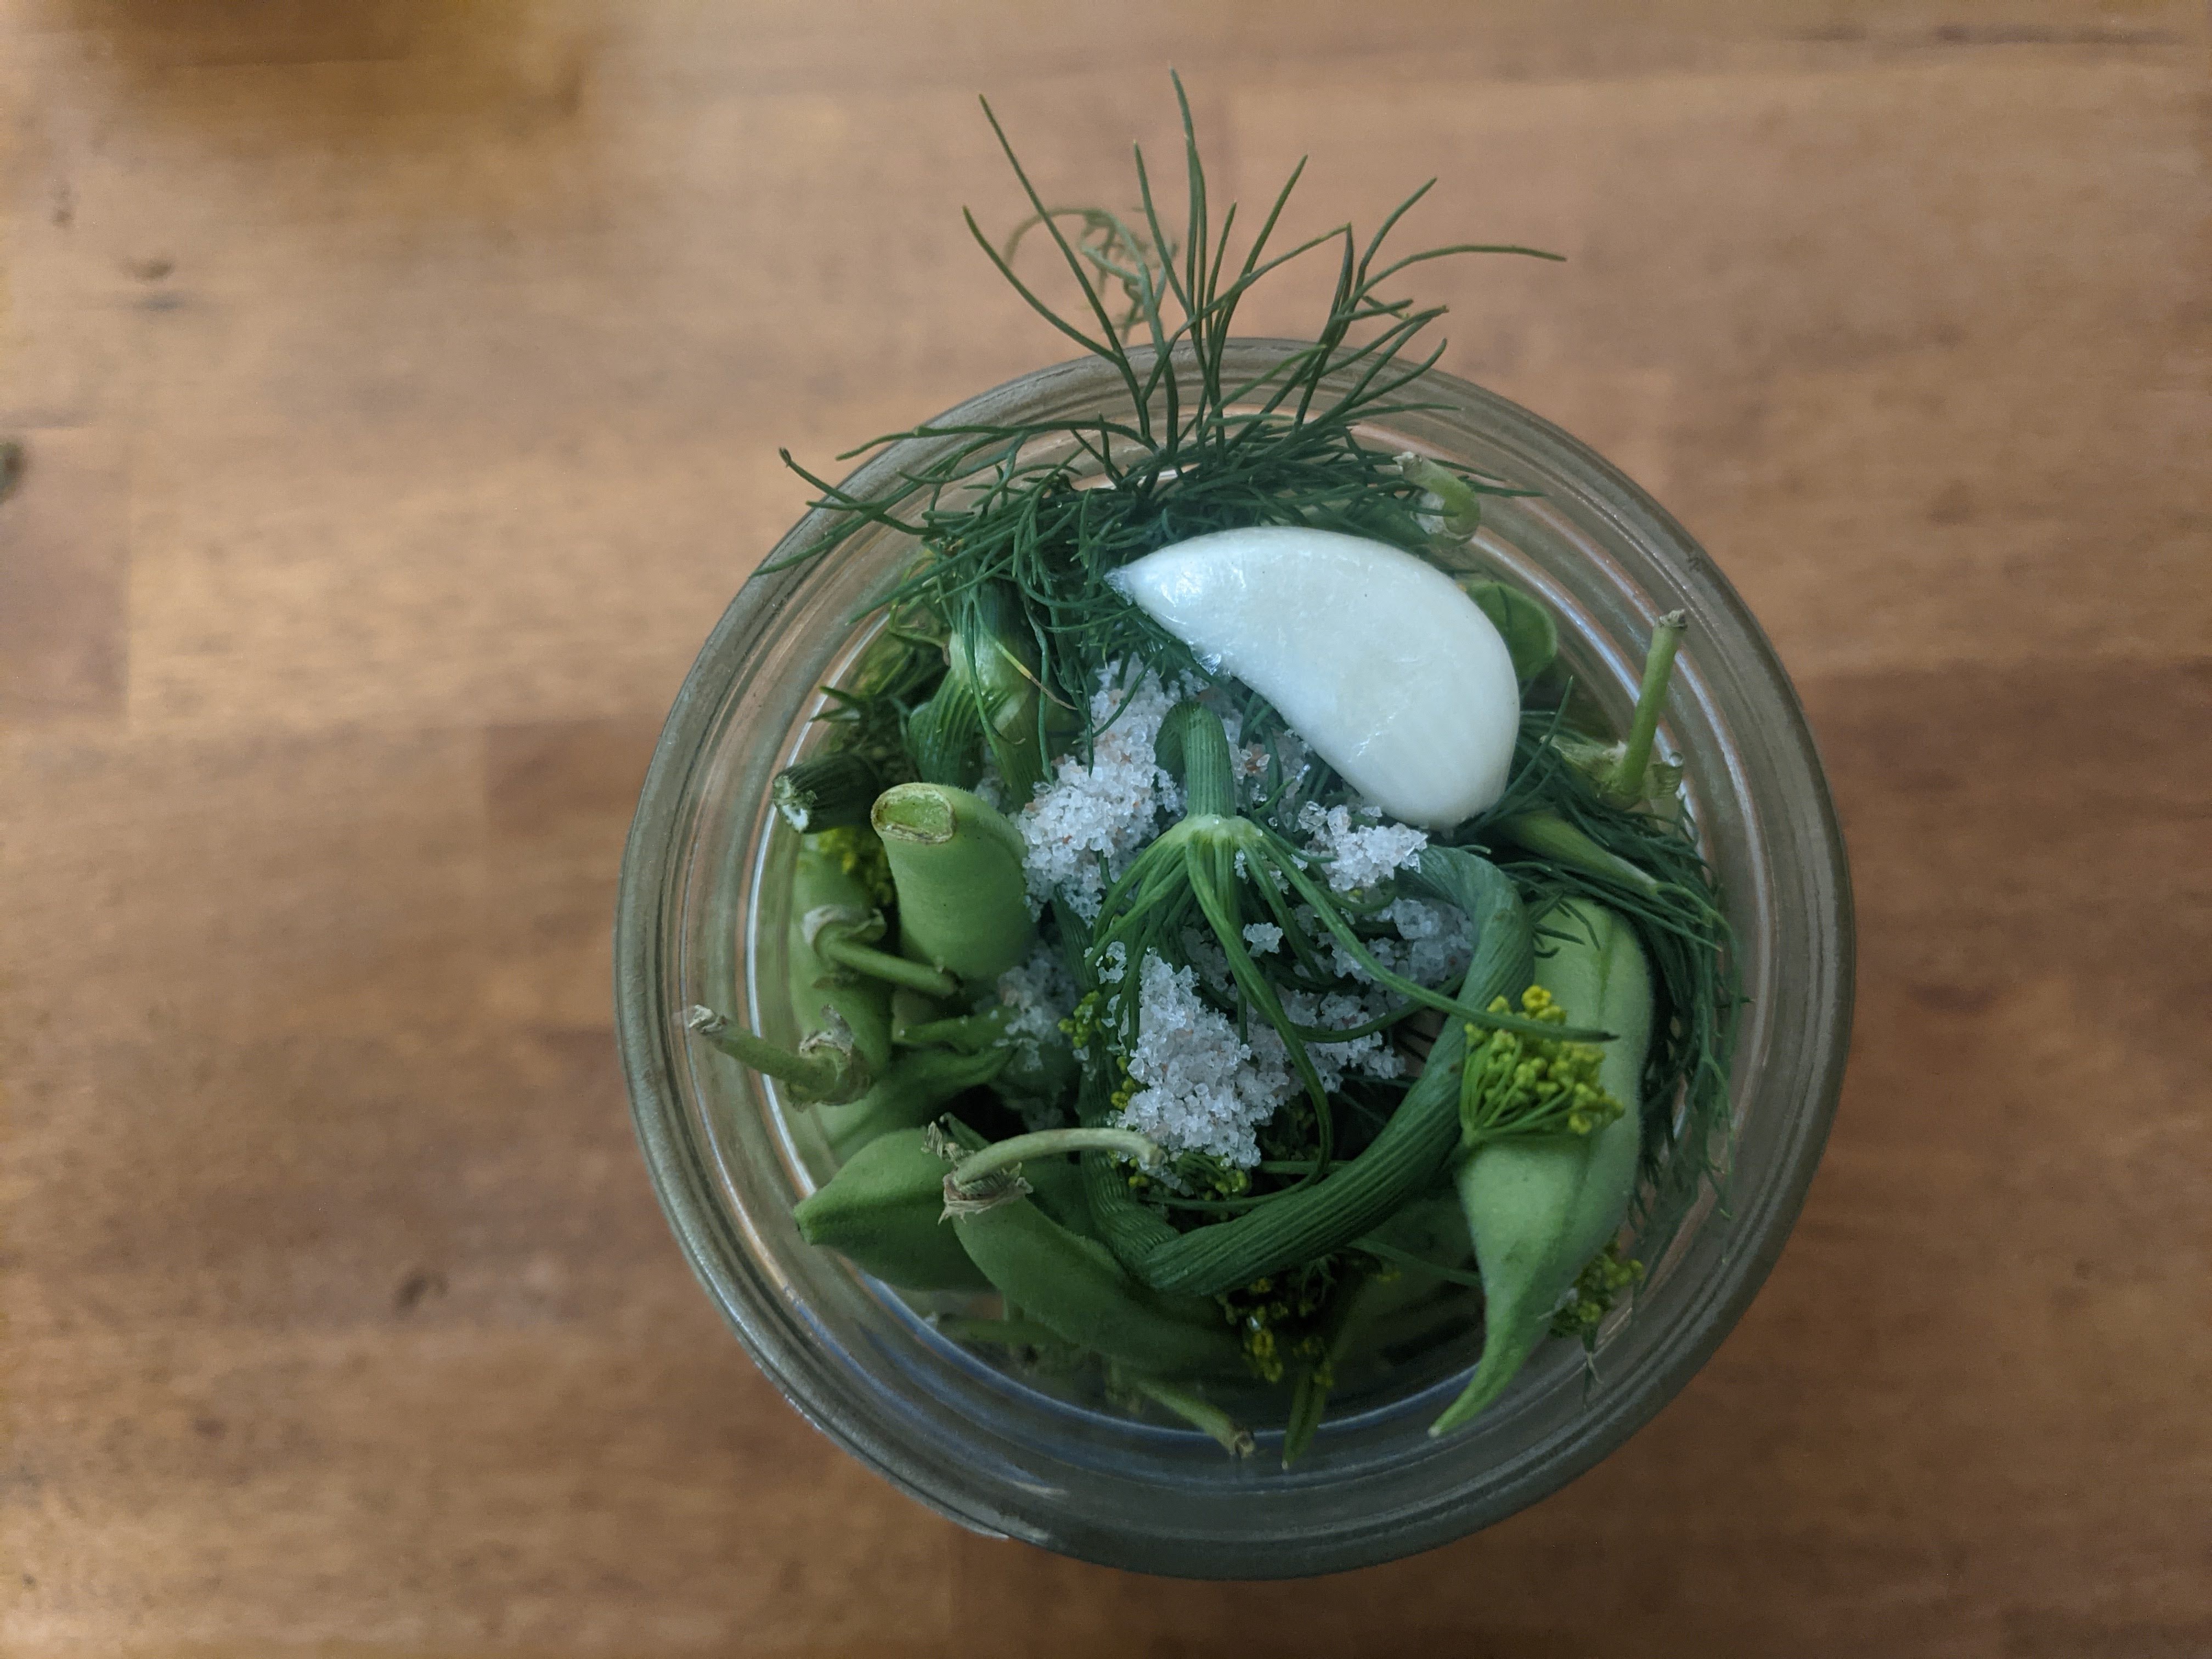
When the locust trees turn golden it seems to mark the main event for the fermentation season. And while as the years go by the tasks of preserving pile on seemingly nonstop, starting with the first shoot of green in late winter, there’s something about a last hurrah of fresh food in combination with cool ambient temperatures that carry the microbial transformation more gracefully that sparks some momentum. It’s exciting that the best way to celebrate this moment is a return to the basics. Those fermentation gateway techniques like kraut-making are a life-long essential practice, rather than something to “graduate” from. It’s kraut and kimchi season.

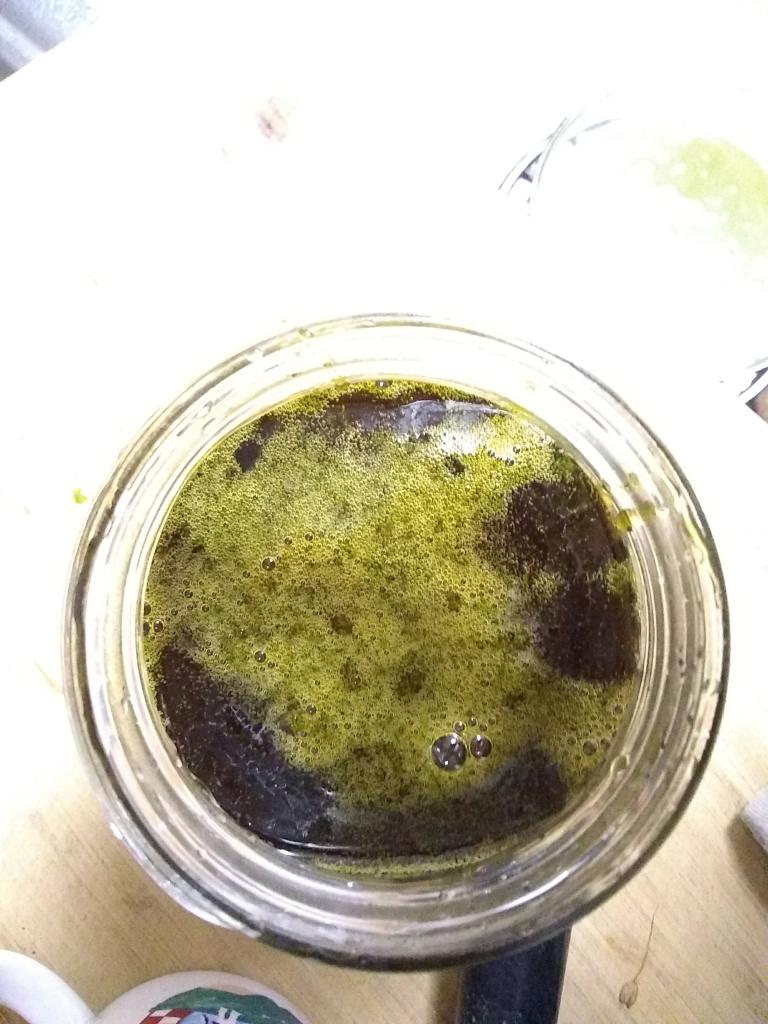
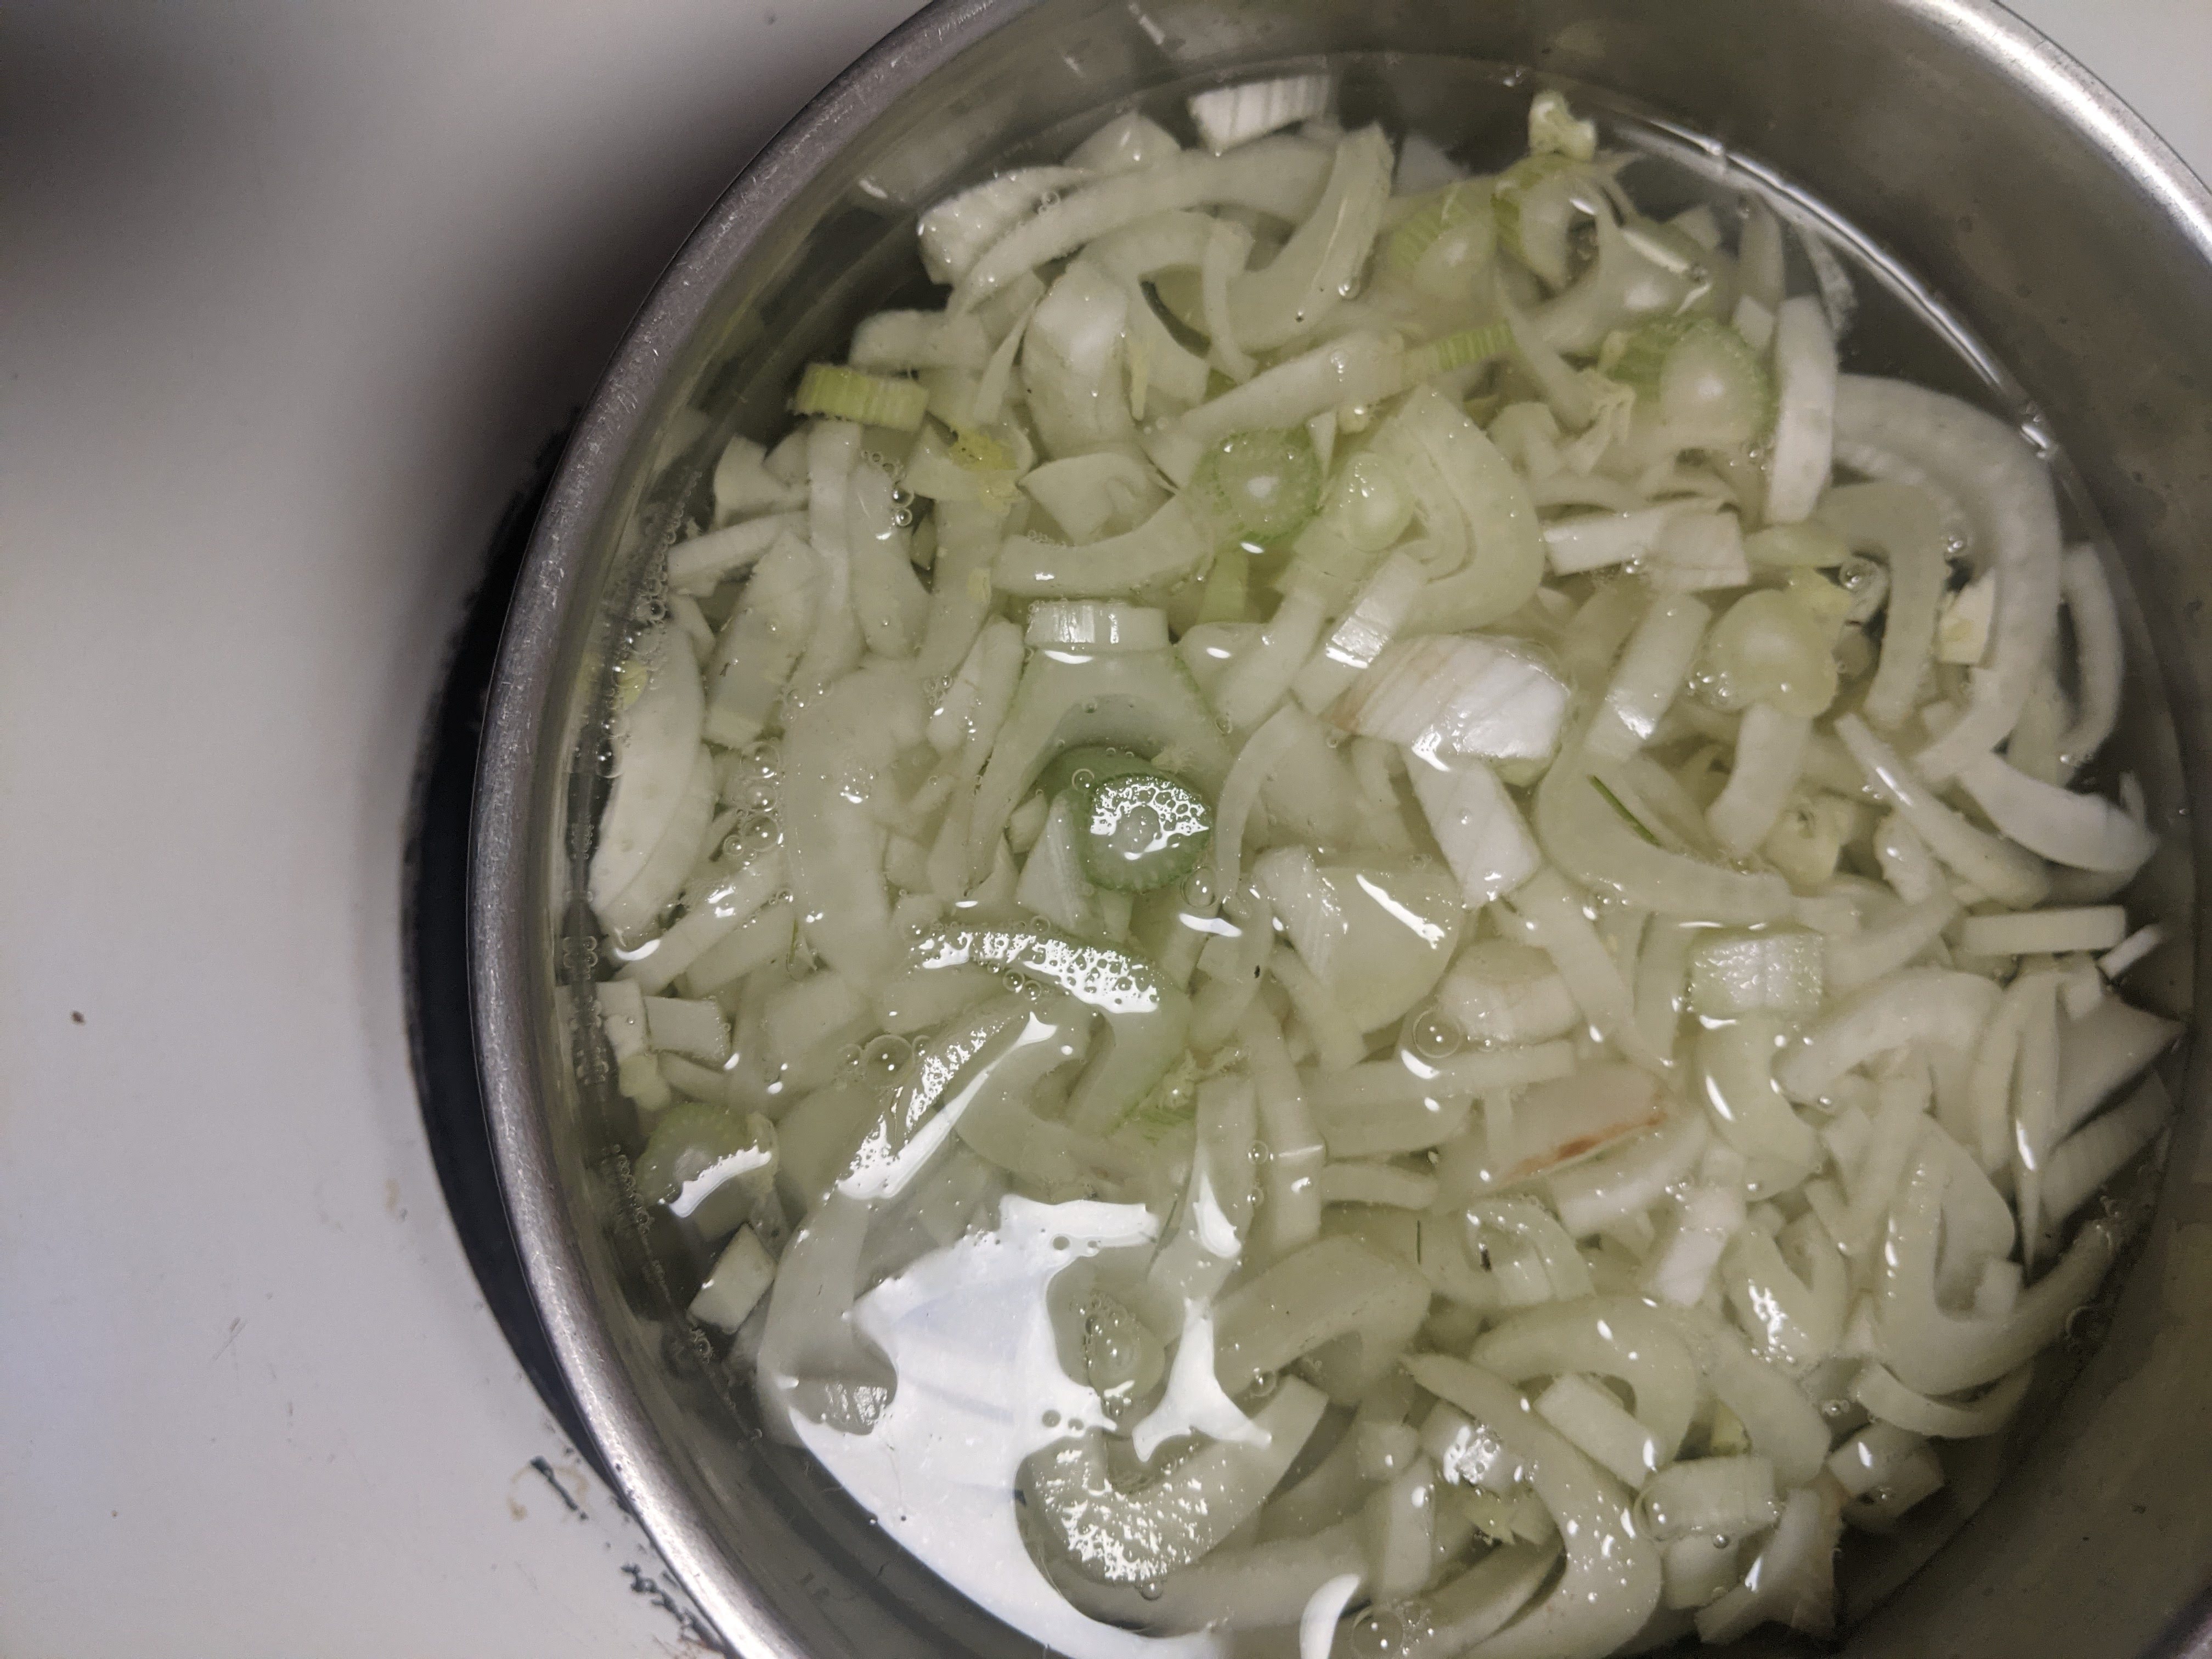
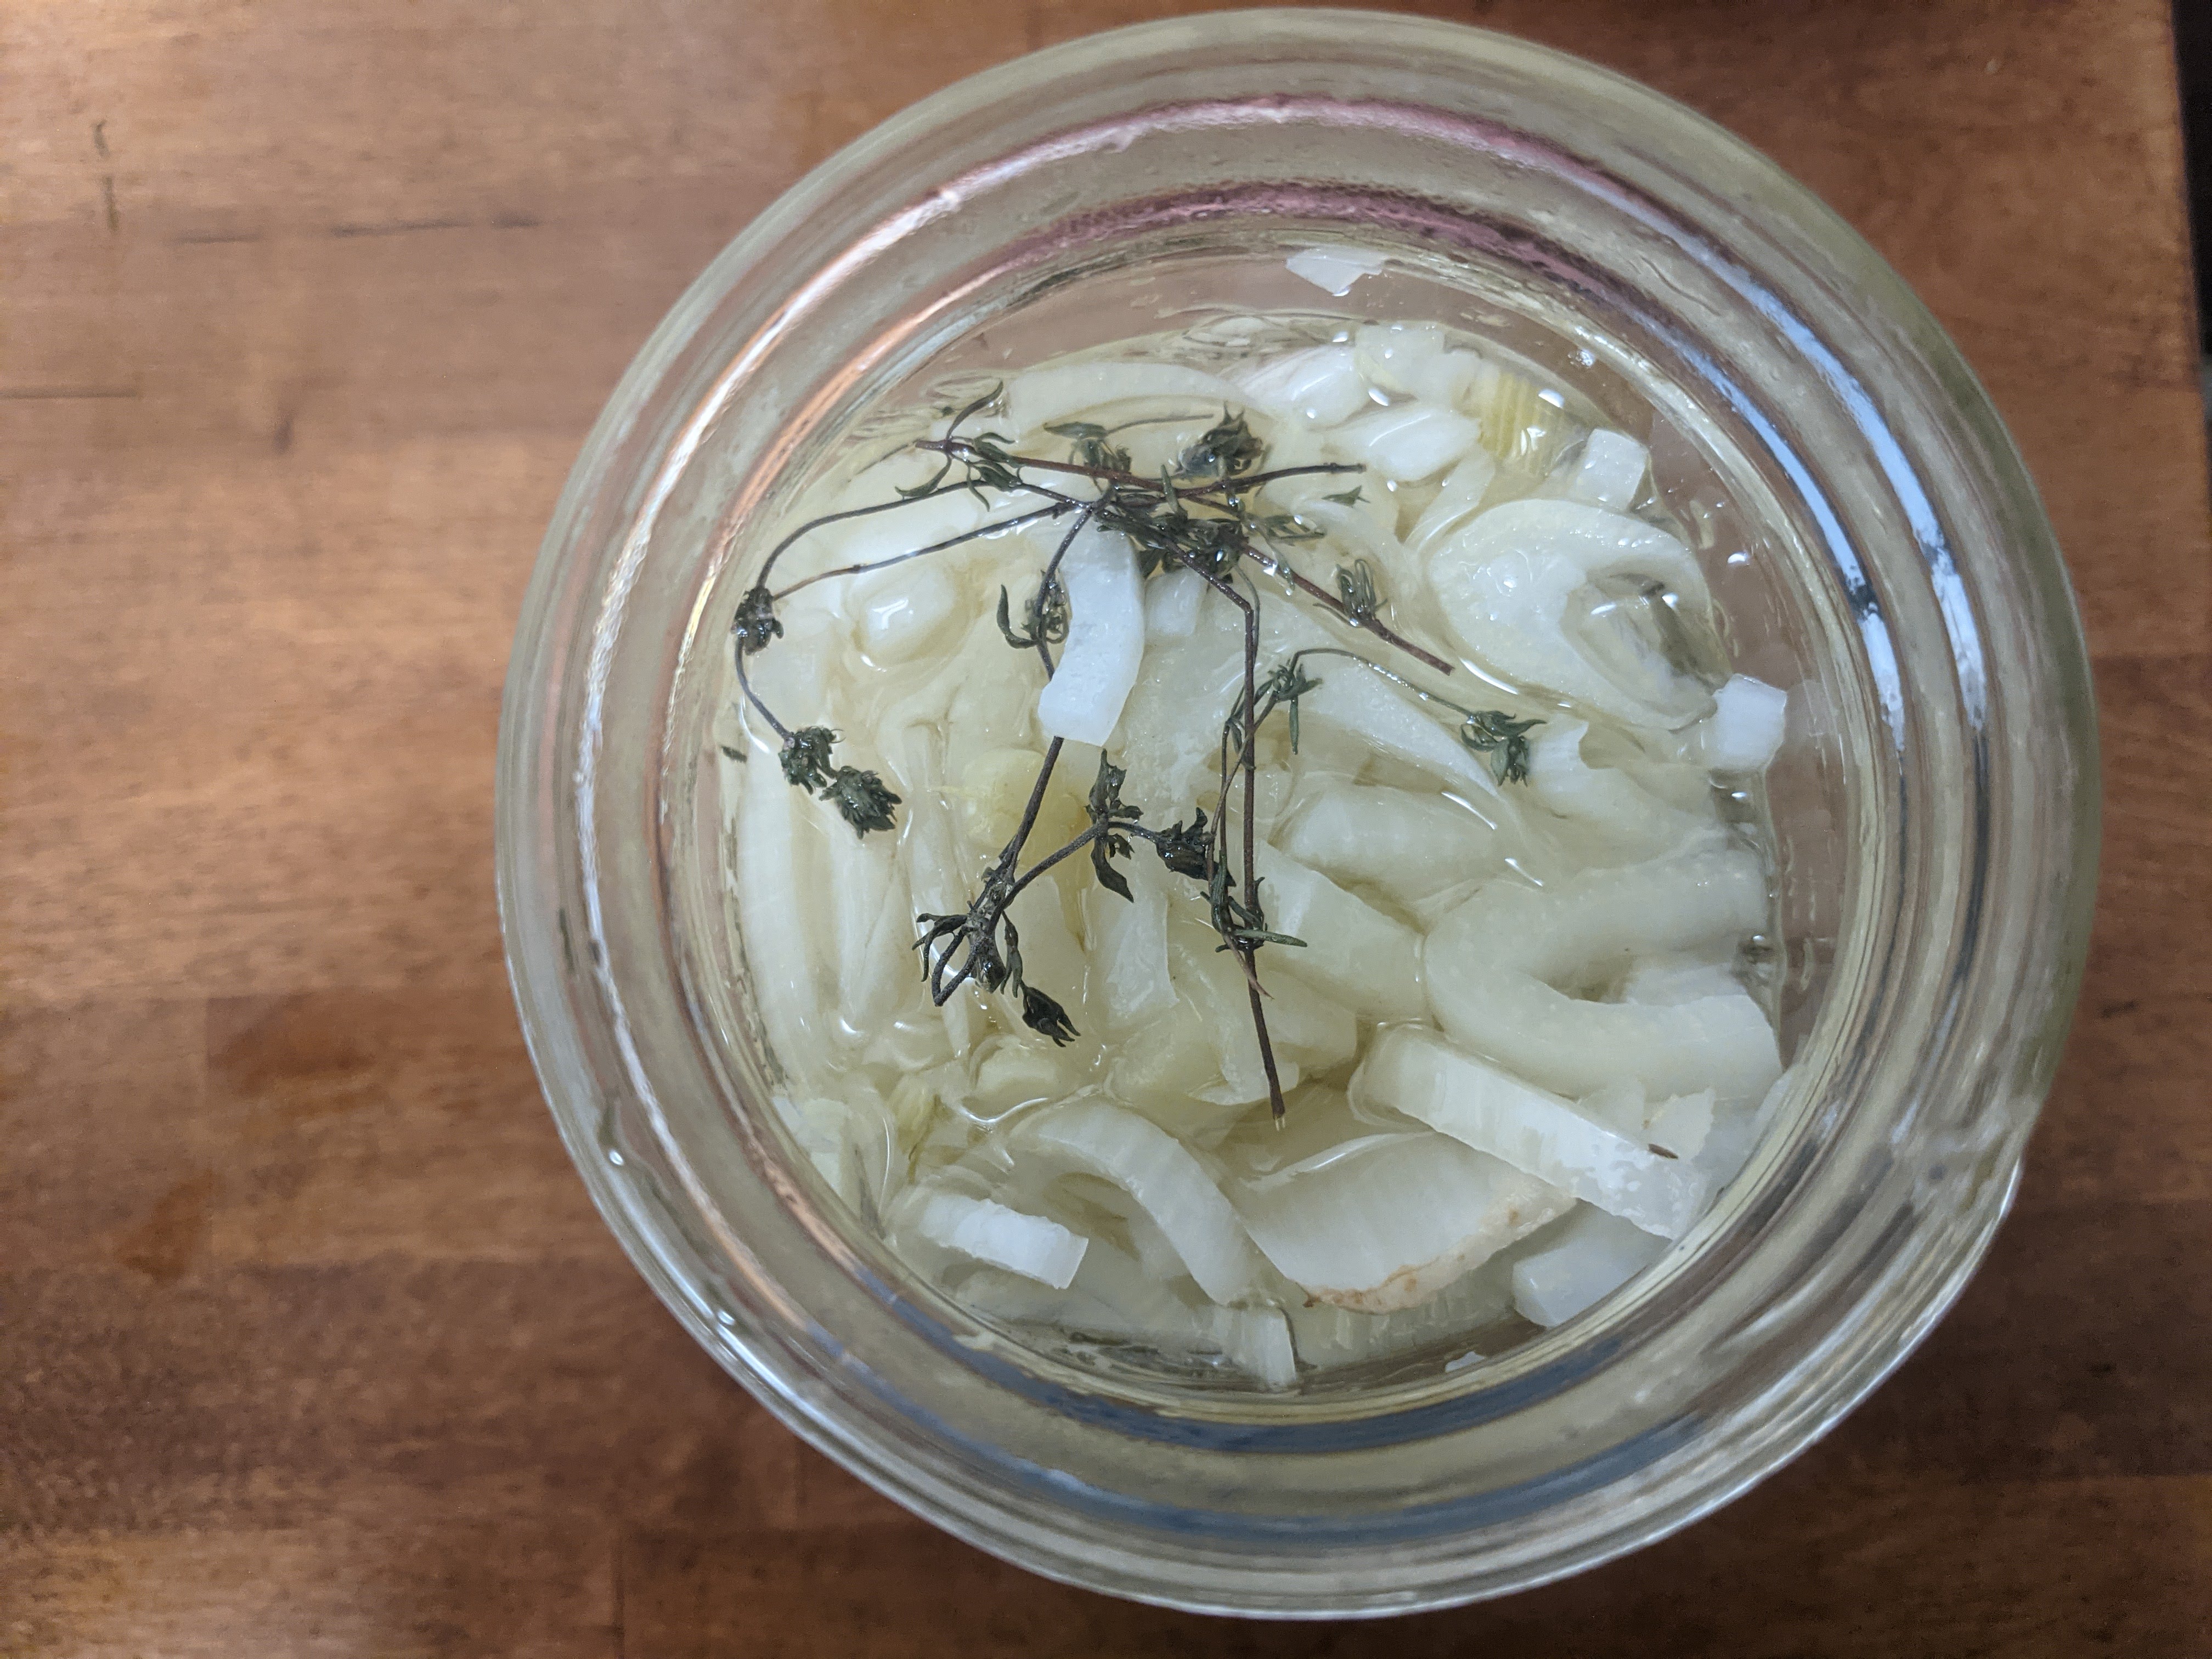
For those who are fortunate enough to have cool space where you live can consider storing local fall vegetables root cellar style. But for most of us who lack the cool basement or maybe don’t have a basement at all, cellaring may be too much of a challenge. One of my adaptations for the warm urban living situation over the years has been to grate and ferment most of the roots. I feel like if knives magically went extinct, the grater would finally get its due. (Have you ever made a stiff pasta dough and grated it straight into boiling water for noodles?) I like to grate, salt, and ferment individual types of vegetables to live in a series of colorful jars that surround the stove. All winter long I’ll scoop out piles of the different hues onto anything from stews to sautés and roasts. And all of these serve to complement our 5 gallon buckets of sauerkraut. (Certainly whole roots ferment well in 5 gallon buckets of salt brine too.) In the winter almost everything gets cooked in a bed of kraut. For those curious if your living situation is too warm for such a thing take note: A half used bucket became an emergency weight for the greenhouse in the spring and consequently did a full round of summer completely exposed in the backyard. I opened that up recently and after maybe an inch of mush revealed a spectacular deeply rich kraut. Laziness is a pathway to discovery.

The history of borscht is varied and fascinating and counter to what it has evolved into today, doesn’t begins with beets. Those folks who investigate the past say that borscht long predates the beet altogether, who were believed to be first used for their leaves before their roots became of interest. Who knows? Regardless what’s more interesting is the question then, without beets what is borscht? Like all things, borscht needent be homogenized into a single small idea, but you may find it interesting that certain evidence gives way to the theory that for the longest time borscht was a sour soup, that is, plant material fermented in a salt brine, and then used to make a soup by adding it to a meat broth or other, and simmered with other vegetables. (Not only does modern times like to homogenize ideas but it also loves ripping fermentation from foods and replacing it with vinegar.) In the case of white borscht we’re dealing with rye or wheat flour that is fermented with water, and made into a soup as previously mentioned. Yep, it is another neat use for your leftover sourdough starter, but you can go the extra yard by fermenting your starter with spices in it.

I bring this up, not only because it’s a fantastic time to rekindle the nurturing character of warm soup, but because those aforementioned colorful jars of fermented grated roots are basically pre-borscht set ups waiting in the wing.

Because the marvelous beetroot is so marvelous it does deserve to have its own soup kingdom so for now let’s stick to the popular beet affiliation. For making your own sour beet soup, a large scoop of that shredded fermented purple on the shelf will have it ready for you when you’re ready for it. After a little saute of garlic, onion, meats if you want, add your beet and drown them in your choice of stock, maybe a little white (radish) and some orange (carrots naturally), don’t forget the kraut (yellow? or is yellow rutabagas?), and anything else you have around. Any spare brine is welcome too. But at the very least, at least in my household, don’t dare forget the dill and marjoram.

Fermented Method of Homemade Tomato Paste

Uncategorized

The first tomato paste I ever tried to make was a romantic pursuit involving crushing the tomatoes and laying them out in the late summer sun to gently dry. While it didn’t turn out as I hoped, the flies loved it. With the second attempt I tried cooking the tomatoes down on the stove top then roasting them in the oven on low heat for what seemed like an eternity. For the perfect combo of quick and romance of fermentation there is this wonderful method.

Start by cutting up the tomatoes and placing them into a container to ferment in. Nothing else needs added, just leave at room temperature with a secure covering- cloth or otherwise, for 3-7 days.

The fermentation will separate the water from the solids to the point that you can hand scoop out the tomato peices leaving behind a big pool of tomato water. Run the tomato bits through a food mill to get the seeds and skins out.

Then strain the solids to the consistency of paste you desire. When it’s done you can mix in some salt or coat the surface with oil after its packed in a jar to help a little with preserving- or leave it as is. Keep in mind that it’s an alive and active ferment so if you pop on a lid it will produce some gas.

Growing a Sorghum Syrup Tradition

homesteading, Uncategorized

Growing and pressing sorghum is a fun crop to have in your garden rotation for homegrown sugar. Sorghum stalks are filled with a sugar-rich sap that once pressed out takes just a short bit of boiling to get syrup.

Growing sorghum

Growing sorghum is similar to growing corn. Look for cultivars that specialize in being pressed for sugar over ones that favor its grain production. Direct sow after the last frost in a bed prepared with high fertility with 1/4″ depth. Space similarly to corn with rows 3-4′ and 8″ in row. Overseeding is fine as you can thin as they grow up.

Harvesting

Harvest sorghum when the grains on its seedhead reach soft dough stage. This means that the grain has filled in and no longer exudes a milky ooze when bitten. They should be red colored. This happens usually towards the end of September and early October here in Western Pennsylvania.

To harvest pull all the leaves off in the field, which can be done by hand. Using a pair of snips cut off the seedhead. These can be saved and used as grain and/or seeds for next year. Then cut down the stalk using a machete, sickle, or other method and stack the stalks.

Sorghum stalks are firm but can snap easily. If it happens its not a big deal but it helps to keep in mind where you’re planning to press to minimize moving them around.

Pressing

We’ve tried pressing sorghum a couple of different ways. The first time we tried we used a wooden hand-cranked apple crusher. It was immediately obvious that we were missing out on a lot of juice. A proper pressing mechanism is handy.

A tabletop sugarcane press does a great job. They seem to cost around $100- $250, but can do a lot of sorghum every year.

Get a friend and start cranking. Do a handful of stalks at a time according to how much your machine and cranker can handle. Usually we’ll have one person feed the stalks and the other turn the crank as the juice flows out to a pot below.

Boiling

Sorghum syrup boils down at a 10:1 ratio rather than 60:1 like maple sap. It’s a much quicker process and one I don’t mind doing on my home stove, as it’ll be just a few short hours.

Boiling will make a lot of crud on the top so skim the surface throughout the process. Boiling is done when a the sorghum reaches you desired syrup consistency. If you have a hydrometer, 74 Brix is the level of store-sold syrup. We fill them in mason jars hot and flip upside down for a seal.

*Most of these posts are resources for Ferment Pittsburgh’s monthly newsletter that features seasonal ideas, techniques, and musings. Consider jumping aboard?

Processing…
Success! You're on the list.

Lacto-Fermented Pickles of Any Kind

fermentation, homesteading, Uncategorized, Vegetable Fermentation

The chase is in full swing. Fleeting moments that contain green beans, cucumbers, peppers, eggplant, and all the rest are here to either catch or miss. Each jar and crock filled is a thriving moment of anticipation for that winter day when you unlock the memories of summer and you proudly present them to your fellow diners- these are my pickles! In addition to the fantastic name, dilly beans were likely my very first homemade pickle. However, like all recipes, are open to your play and creativity.

For the modest backyard garden that gathers maybe a handful of something every other day or so, setting up a continuous pickling regiment is great. Line up your either mason jars, old peanut butter jars, etc and make them as you go- one little jar at time perhaps. Either way the laid-back nature of lacto-fermented pickles assures you can have the time to make delicious pickles this summer.


Pack as much fresh or dried herb as you can while leaving some room still for the veg. Dill blossoms, green coriander, fresh garlic or scapes, fennel blossom, hot peppers etc. It’s nice to shuve the whole thing, stalks and all, when using fresh herbs.

With whatever remaining leftover room squish in as many cucumbers, beans or whatever veg or veg combo into your jar as you can manage.

I like to eyeball my salt (and maybe return later to taste and adjust) but for the rest a nice middle ground place is 2-3 TBS of salt per a quart. That will hit about the 3.6- 5.2% salinity which is delicious.

Add water to cover everything as best as possible and fasten the lid securely.

Leave it out on counter for 3 days, or until you notice some vigorous bubbling activity. The tell-tale sign will be a bulge in the lid. When that occurs, move to the back of the fridge until you forget and remember again that it’s there some time later in the winter. This quick counter to fridge process ensures the crispest pickle for anyone pickling in some hot weather. The fermentation will crawl along slower but to me sure beats having mush.

Forget about the pickles in the back of fridge for at least a month or two but even better the longer you wait. Also, consider not removing the lid once you get a bulge in it. The reason is, that accumulated Co2 is pushing any oxygen up and away from any plant parts not submerged by the brine thus keeping mold away as if it were submerged. There is also an added bonus of getting some effervescent pickles when you open them!

*Most of these posts are resources for Ferment Pittsburgh’s monthly newsletter that features seasonal ideas, techniques, and musings. Consider jumping aboard?

Processing…
Success! You're on the list.

Pickled & Marinated Preserved Summer Veg

homesteading, Uncategorized

This is quickly becoming a favorite process of ours for preserving summer veg. It’s especially exciting for those who spend their winters pizza-ing through their larder. It works with almost any firm veg and involves a flash boil in pickling brine to pick up on a wonderful pickled bite, then submerging in oil to marinate and preserve until you’re ready to use it. This veg is absolutely delicious and are a wonder to dig out of a jar, already coated in fat to enhance any future meals.


Make a simple pickle brine of 1:1 ratio water to vinegar, and add a teaspoon of salt for every 4 cups of liquid. (The brine amounts depend on how much veg your preserving.) Bring it to a boil.

After cutting your veg to the shape and size of your desires, plop them into the boiling brine for roughly 2-5 minutes. However this time is more dependant on the vegetable you’re using. The goal is to soften it to al dente- softened but still retaining some bite. No worries if it’s not perfect.

In the meantime drop any decorative seasonings into a jar- a clove of garlic, herbs like thyme, oregano, perhaps a sliver of hot pepper.

When the veg is ready, strain it and immediately pack it into the prepared jar. Also immediately, cover it completely to the top with oil, pop on the lid and let it be.

This marinated pickle lasts a couple months in the pantry but can also last quite a lot longer in the fridge.

*Most of these posts are resources for Ferment Pittsburgh’s monthly newsletter that features seasonal ideas, techniques, and musings. Consider jumping aboard?

Processing…
Success! You're on the list.

Freeze Distilling for Apple Jack

alcohol, homesteading, Uncategorized

During those rough stretches of winter when the temperature gets to 0 and below and everyone doubles down inside their homes, we have a rare opportunity where I live in Pennsylvania to not only do a little pond ice skating but to let nature concentrate my brews through freeze distillation. Freeze distilling is in line with all of the great methods of “natural technology” where you really don’t have do anything. All the work is in making your alcoholic beverage as you usually do and letting nature do the rest.