Making a Jam & Jelly Tradition

fruit, sugar

The first jelly I ever made was out of the wild foraging legend Euell Gibbons’ book Stalking the Wild Asparagus. It was made from elderberry and sumac. And forever after making jelly and jam has been lashed tightly to such wild adventures as sudden stops along country roads and climbing up forgotten hillsides around the city in search of clearings covered in berries.

Fruit and berries, as we know, are among the most fleeting of the fleet, so preserving such limited time special flavors is special to the utmost. Due to their higher sugar content, mashing them up with enough liquid gives us a soda, a brew, and/ or ultimately vinegar. All of those products are expressions of the fruit or berry with the soft or hard kiss of fermentation attached to it. To preserve fruit’s fresher summery personality here comes sugar more.

70 degrees brix is the amount of sugar content honey needs to resist spoilage. A ripe apple alone only has upwards of maybe around 13 brix. By boiling the fruit we can concentrate the sugars, while also, naturally, adding sugar to also bump up the brix.

Jam

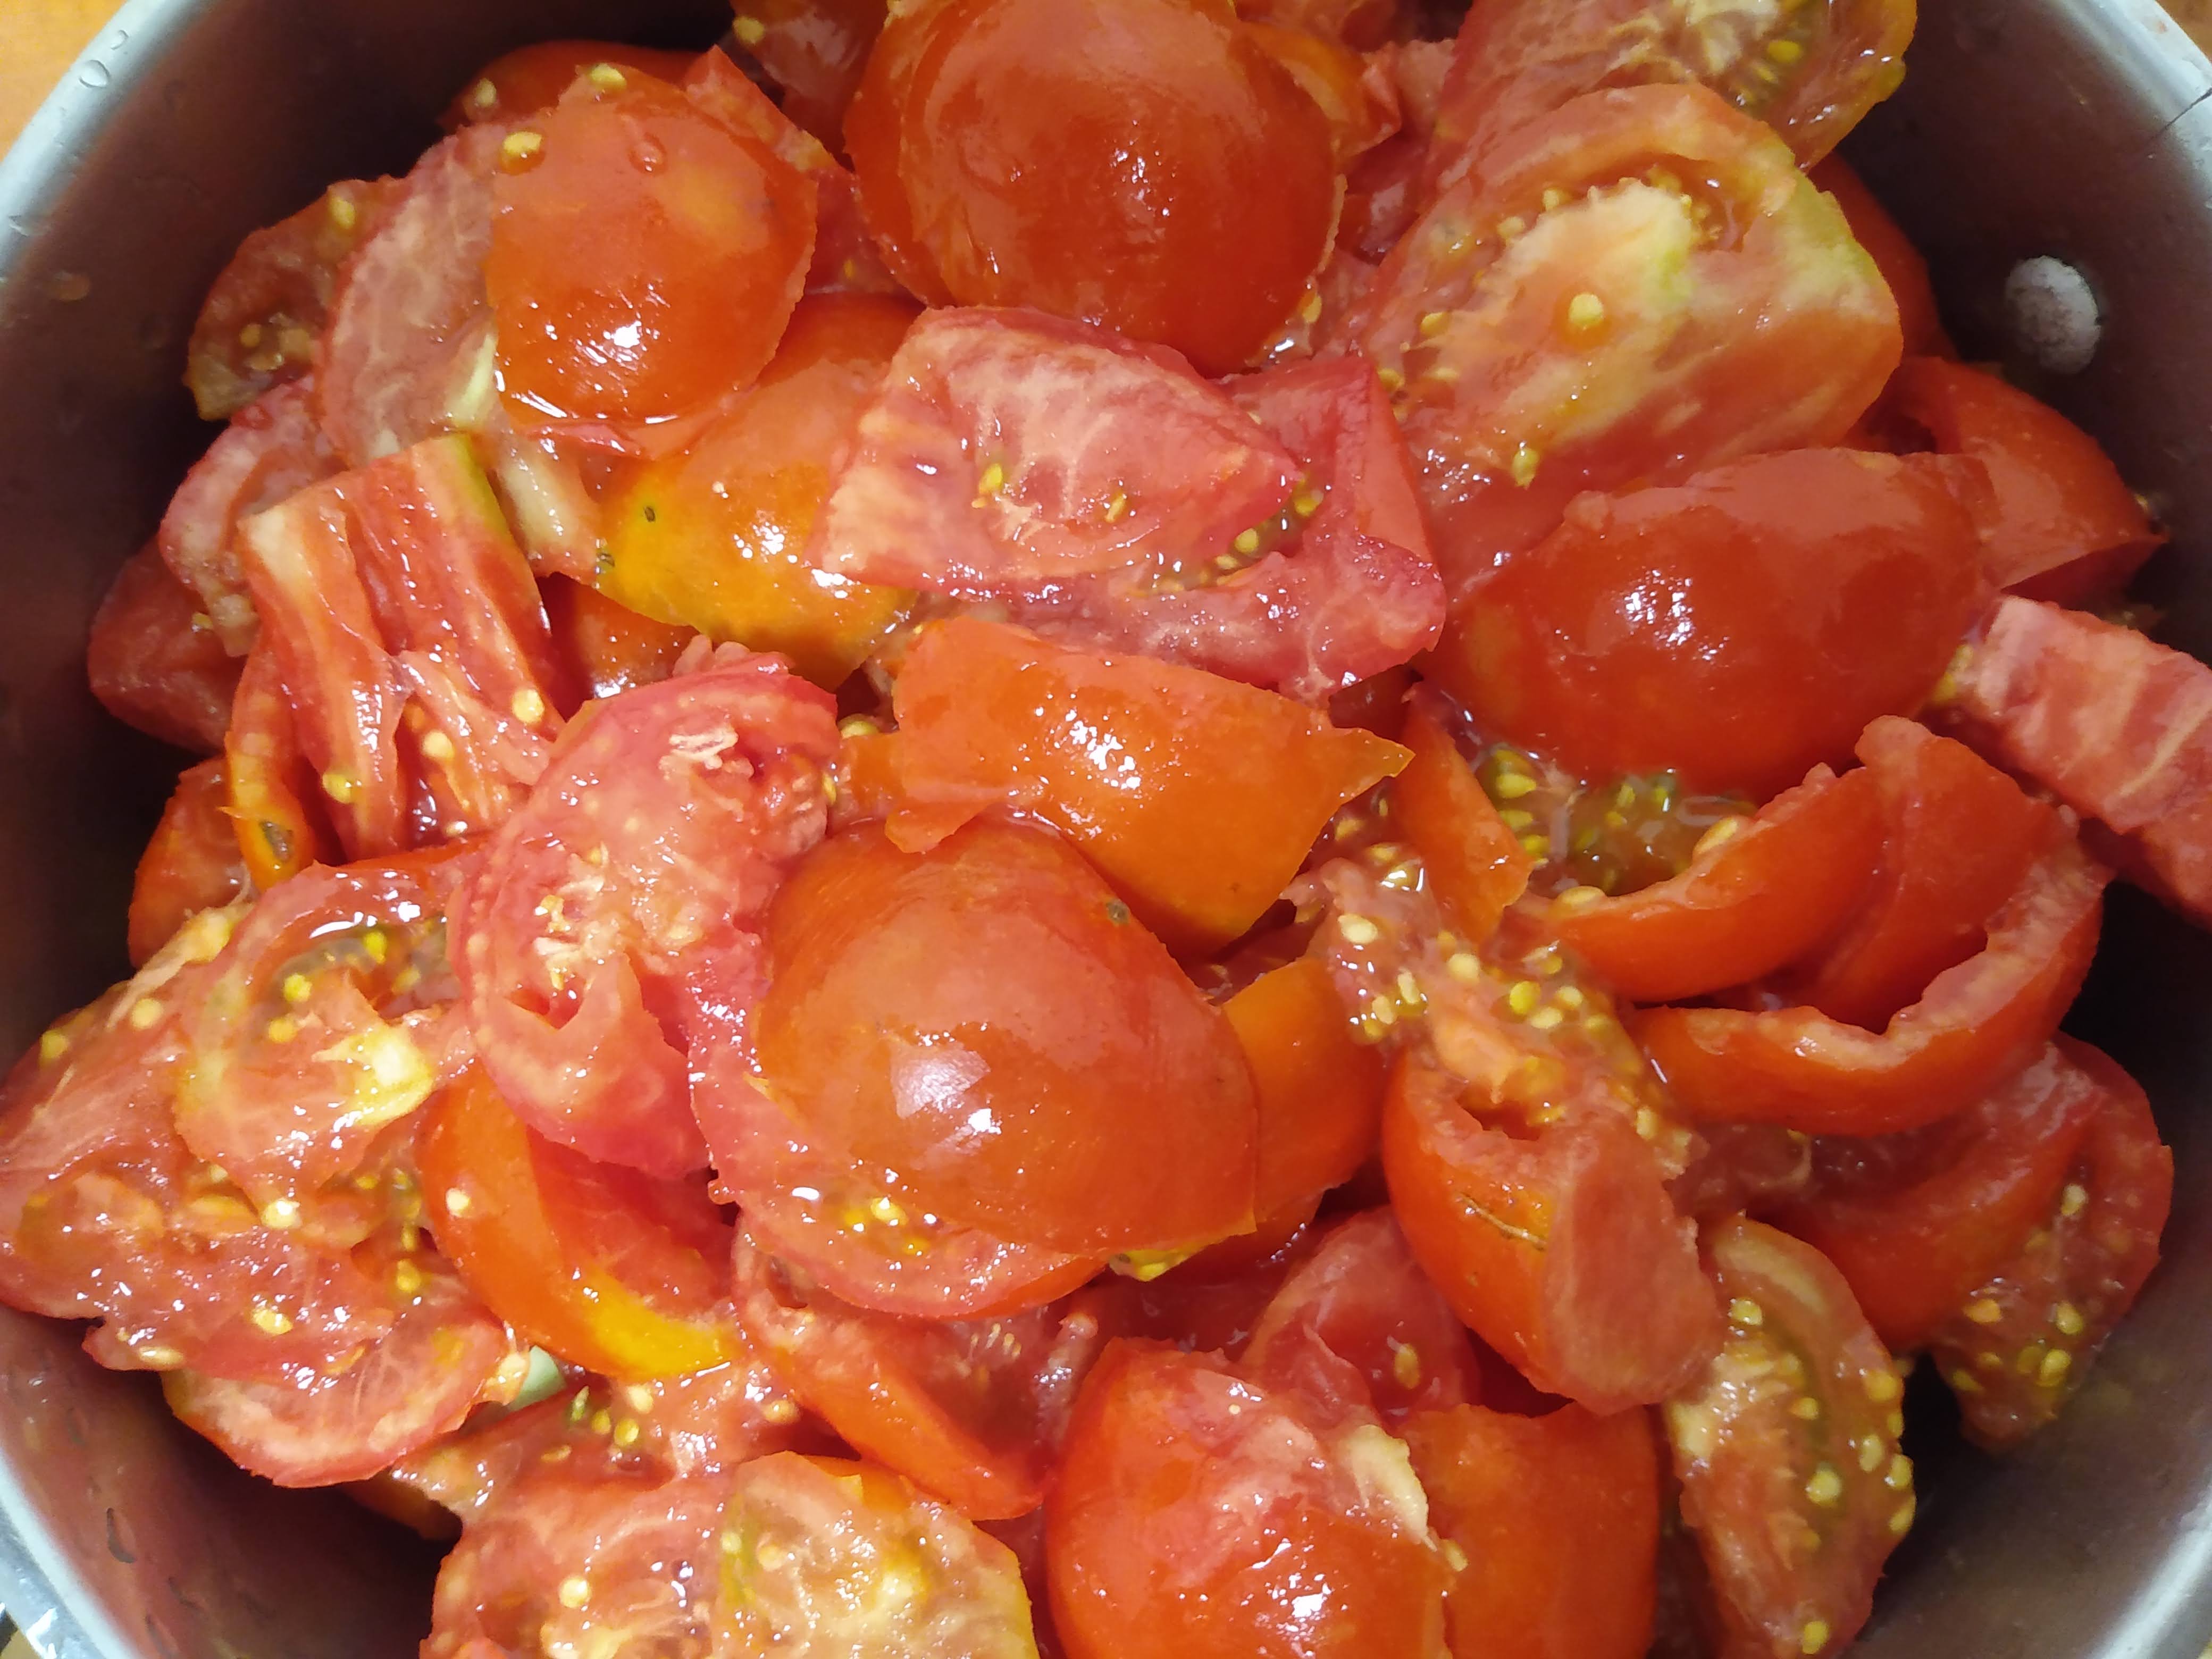
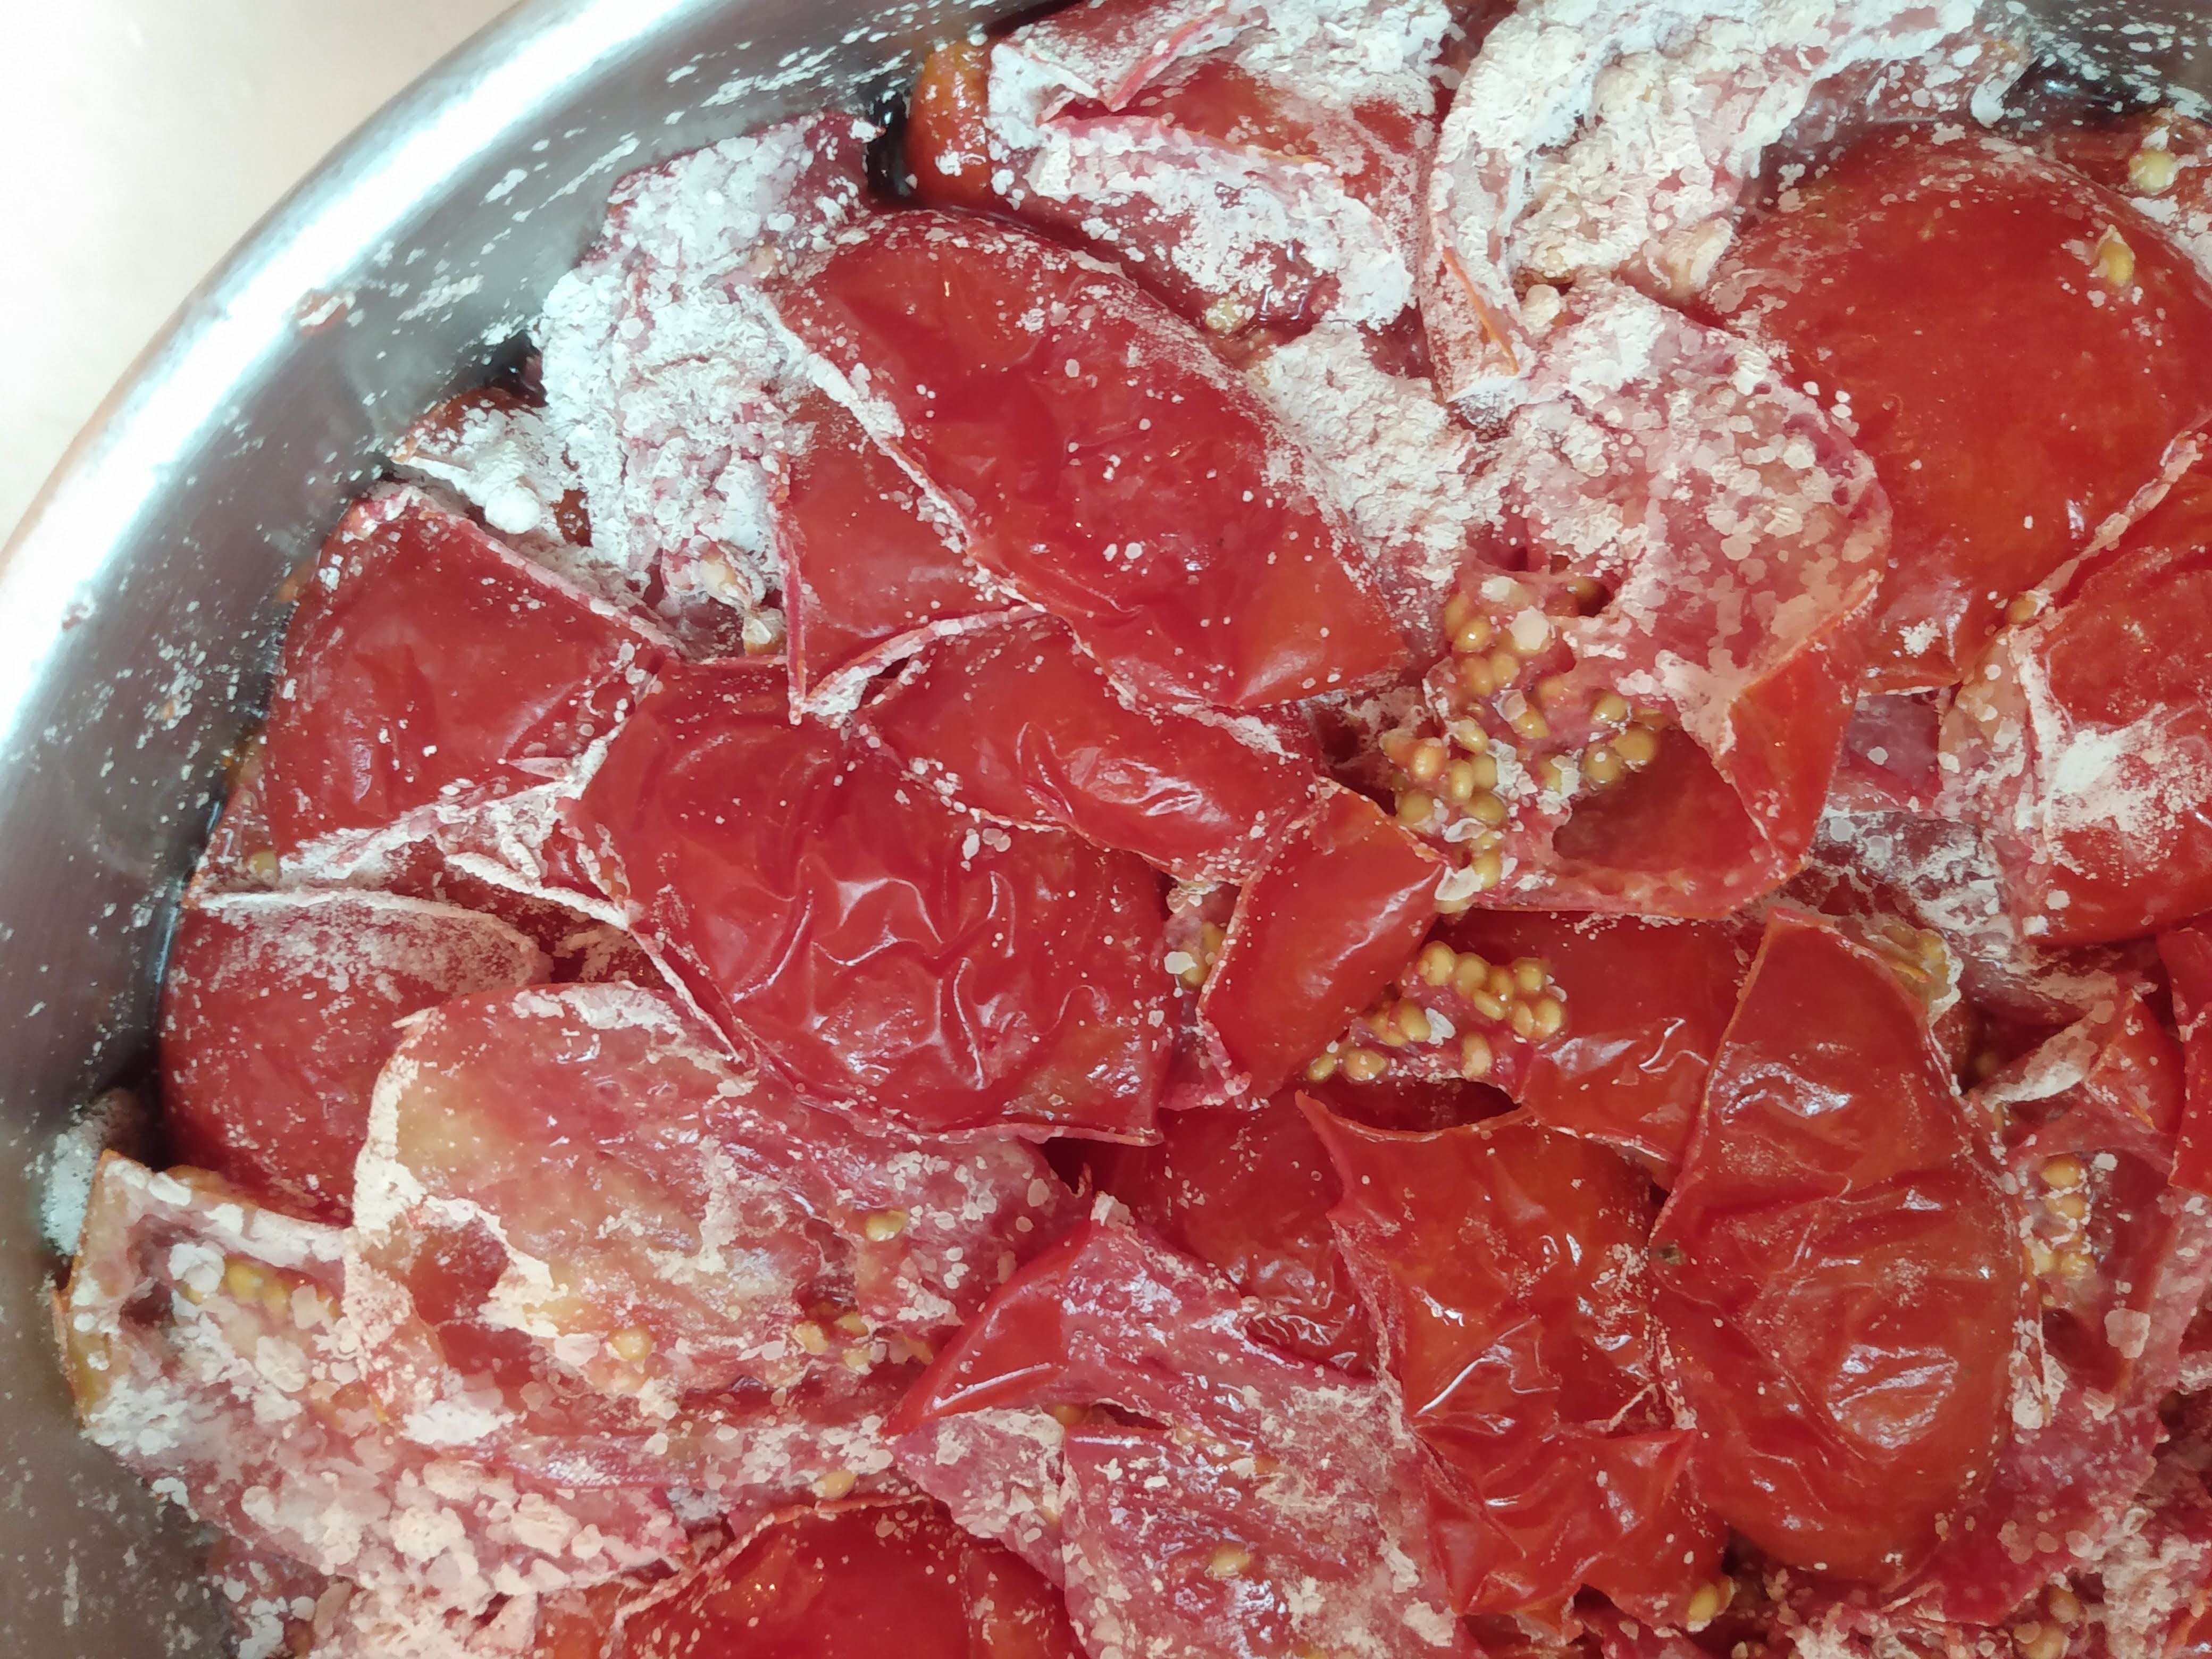
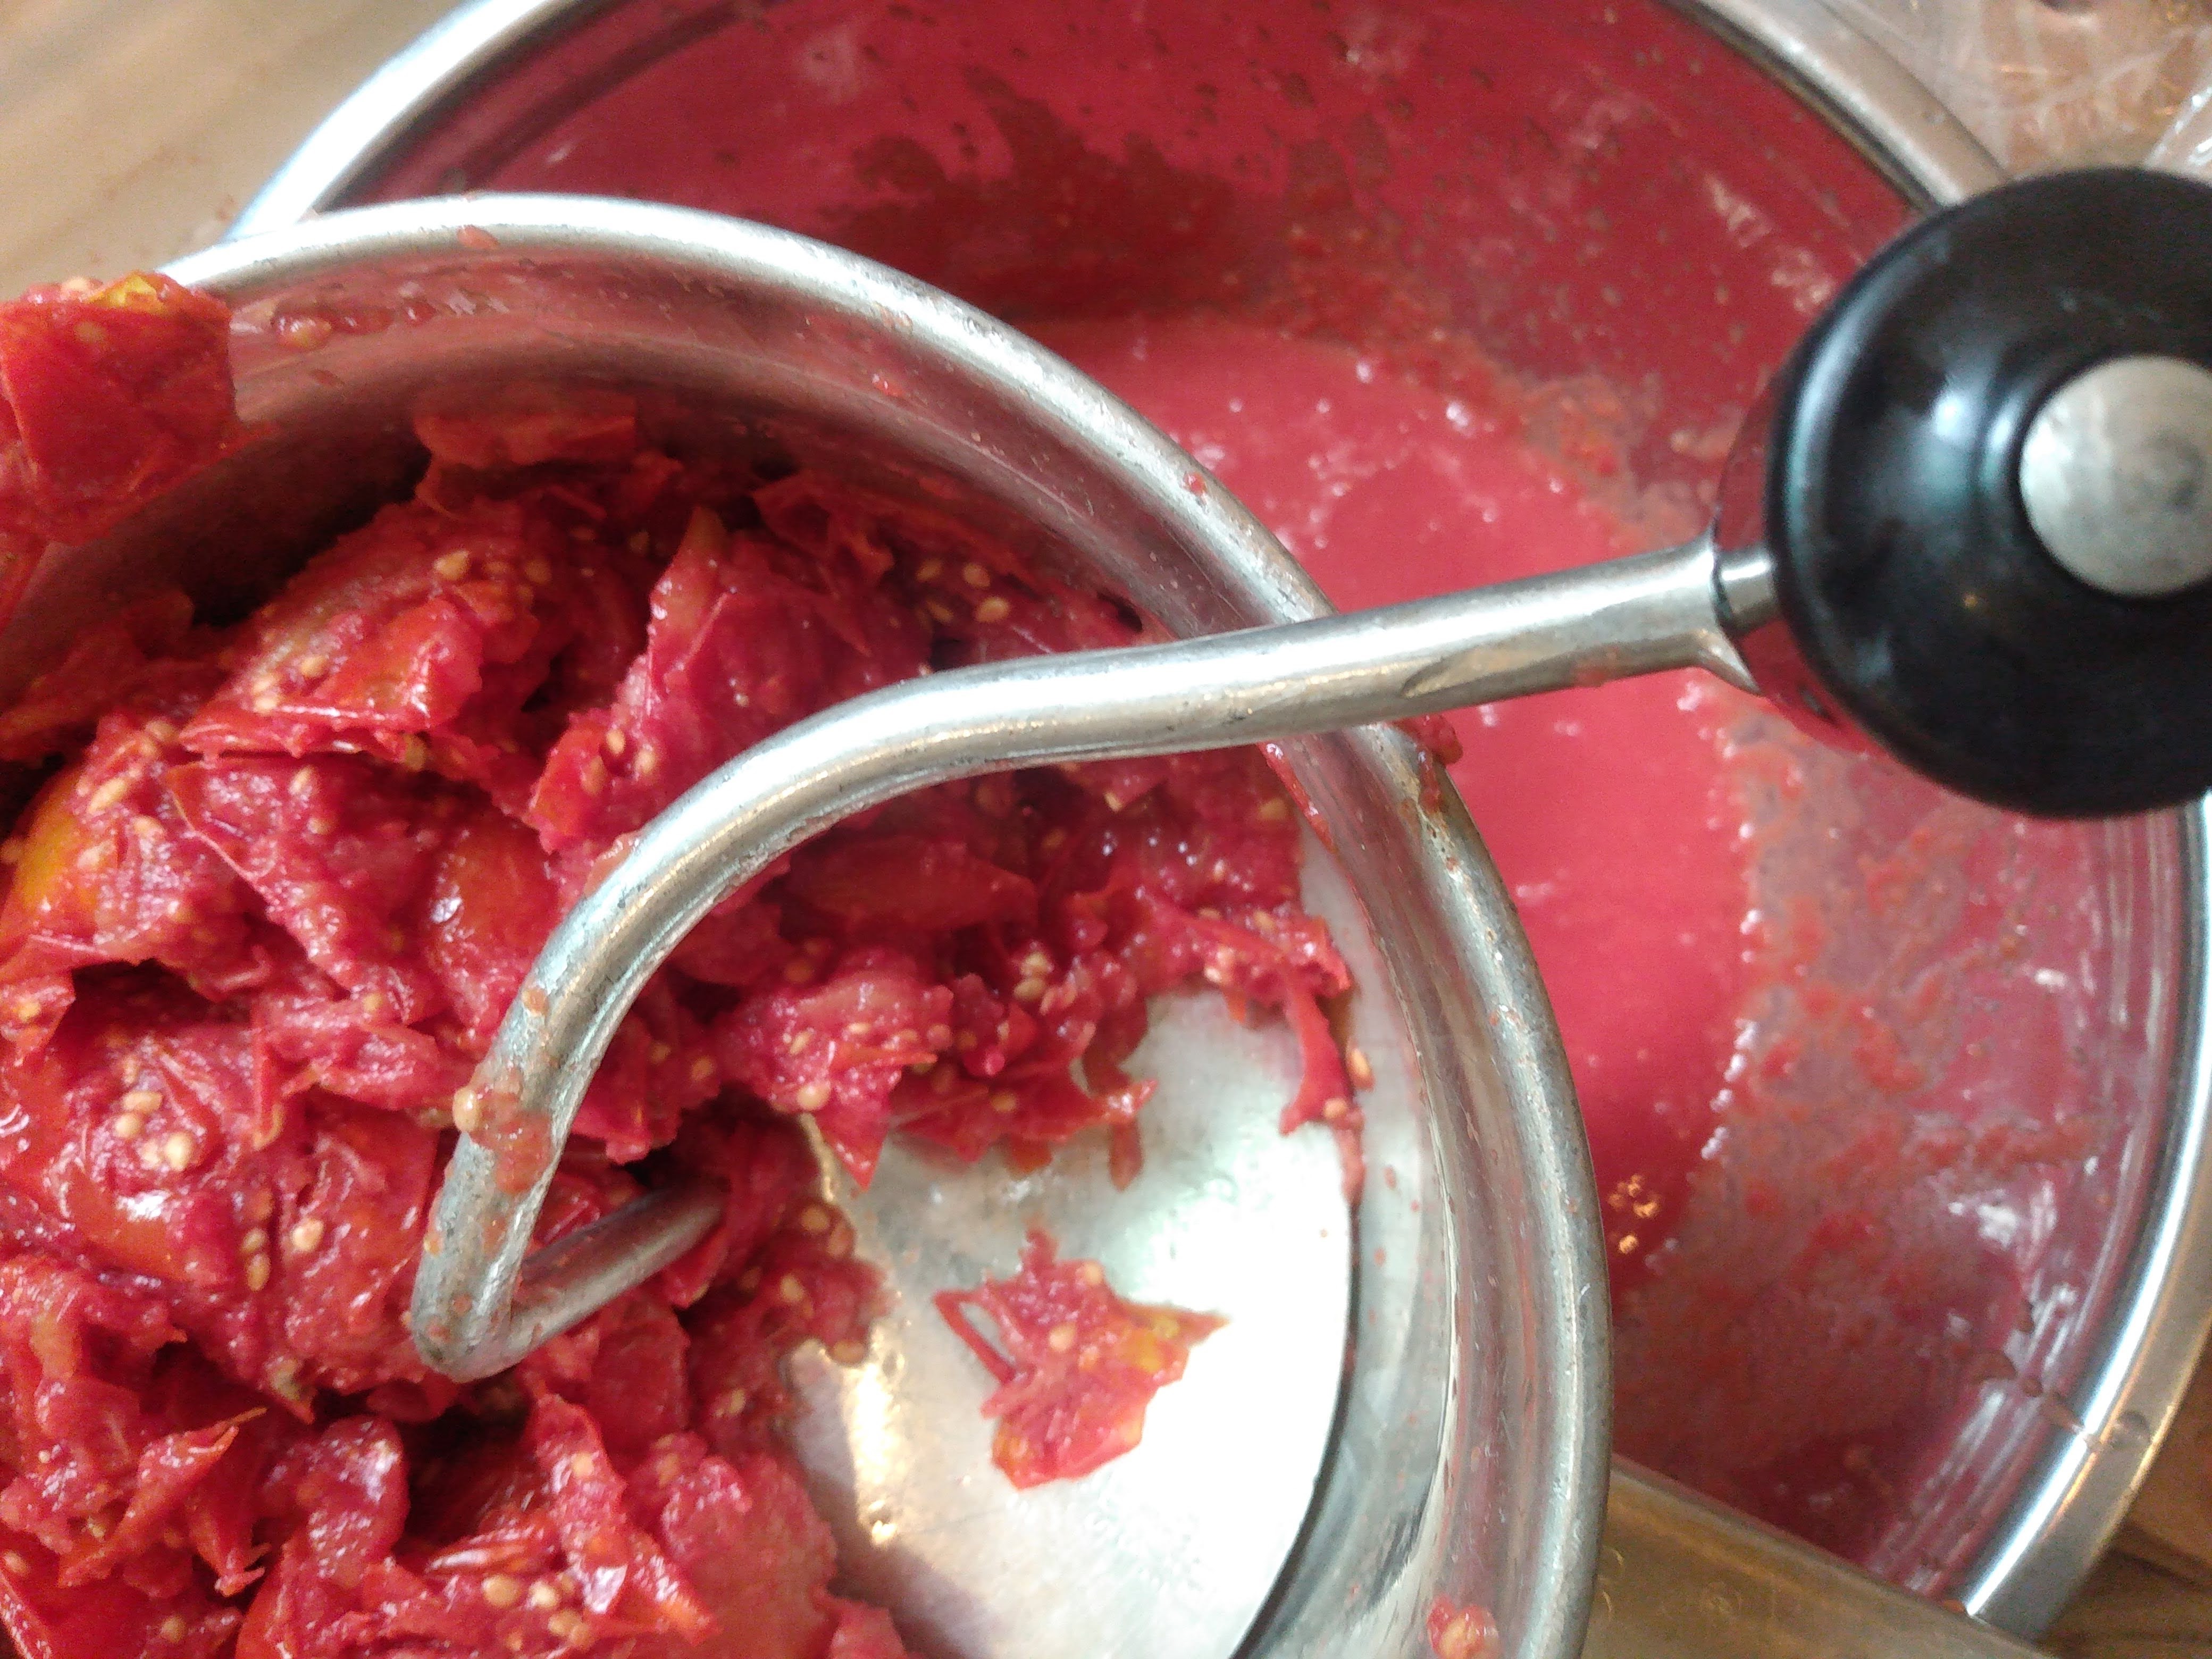
Jam is the fruit or berry cooked down slowly. To make it simply cook down the fruit (perhaps with a splash of water as necessary to keep it from burning) then add as much or as little sugar as you wish until it is dissolved, you may even add none. The more sugar the better it will be at preserving. 1:1 fruit to sugar is common, but too sweet for me. Gosh, I wanna be able to taste the fruit still, so 1: 1/2 suits me better if I do add some. Adding a slight pinch of salt too really lifts the flavor better than not.

Pectin

Those familiar with jelly making are likely aware of the distinct difference between jelly and jam and that’s the added ingredient of pectin. Pectin is a naturally occurring plant fiber that creates that gelatin “set” character rather than jam’s oozy one. Some ingredients contain enough of their own pectin that no additional pectin needs to be added. Most commonly we’ll head to the grocery stores to get little packets of it in powdered form when we’re attempting to make a jelly with something lacking ample enough pectin to set itself. However with some planning this isn’t absolutely necessary. Taking the fruits naturally high in pectin like underripe apples, rosehips, cranberries, and the rind of grapefruits, oranges, and lemons we can make our own. The first packaged pectin was made from scraps leftover from a large apple juice producer. Here’s the technique:

Chop up fruit scraps like cores, peels, and peices- everything- and place in a pot with enough water until it’s not quite covered. Bring to a boil, then take your time simmering everything until the apple parts are good and mushy. Then let it strain in a suspended cheesecloth overnight. The remaining liquid is your pectin that should work with about ¼ cup per a cup of jelly- though that’s a pretty open-ended estimate.

The downside to adding pectin whether powdered or homemade is that it will take on some of the flavor, which in a storebought sense is sort of tart appley. The upside is that we can make jelly out of anything- kombucha, coffee, wine, flower syrups…

Jelly

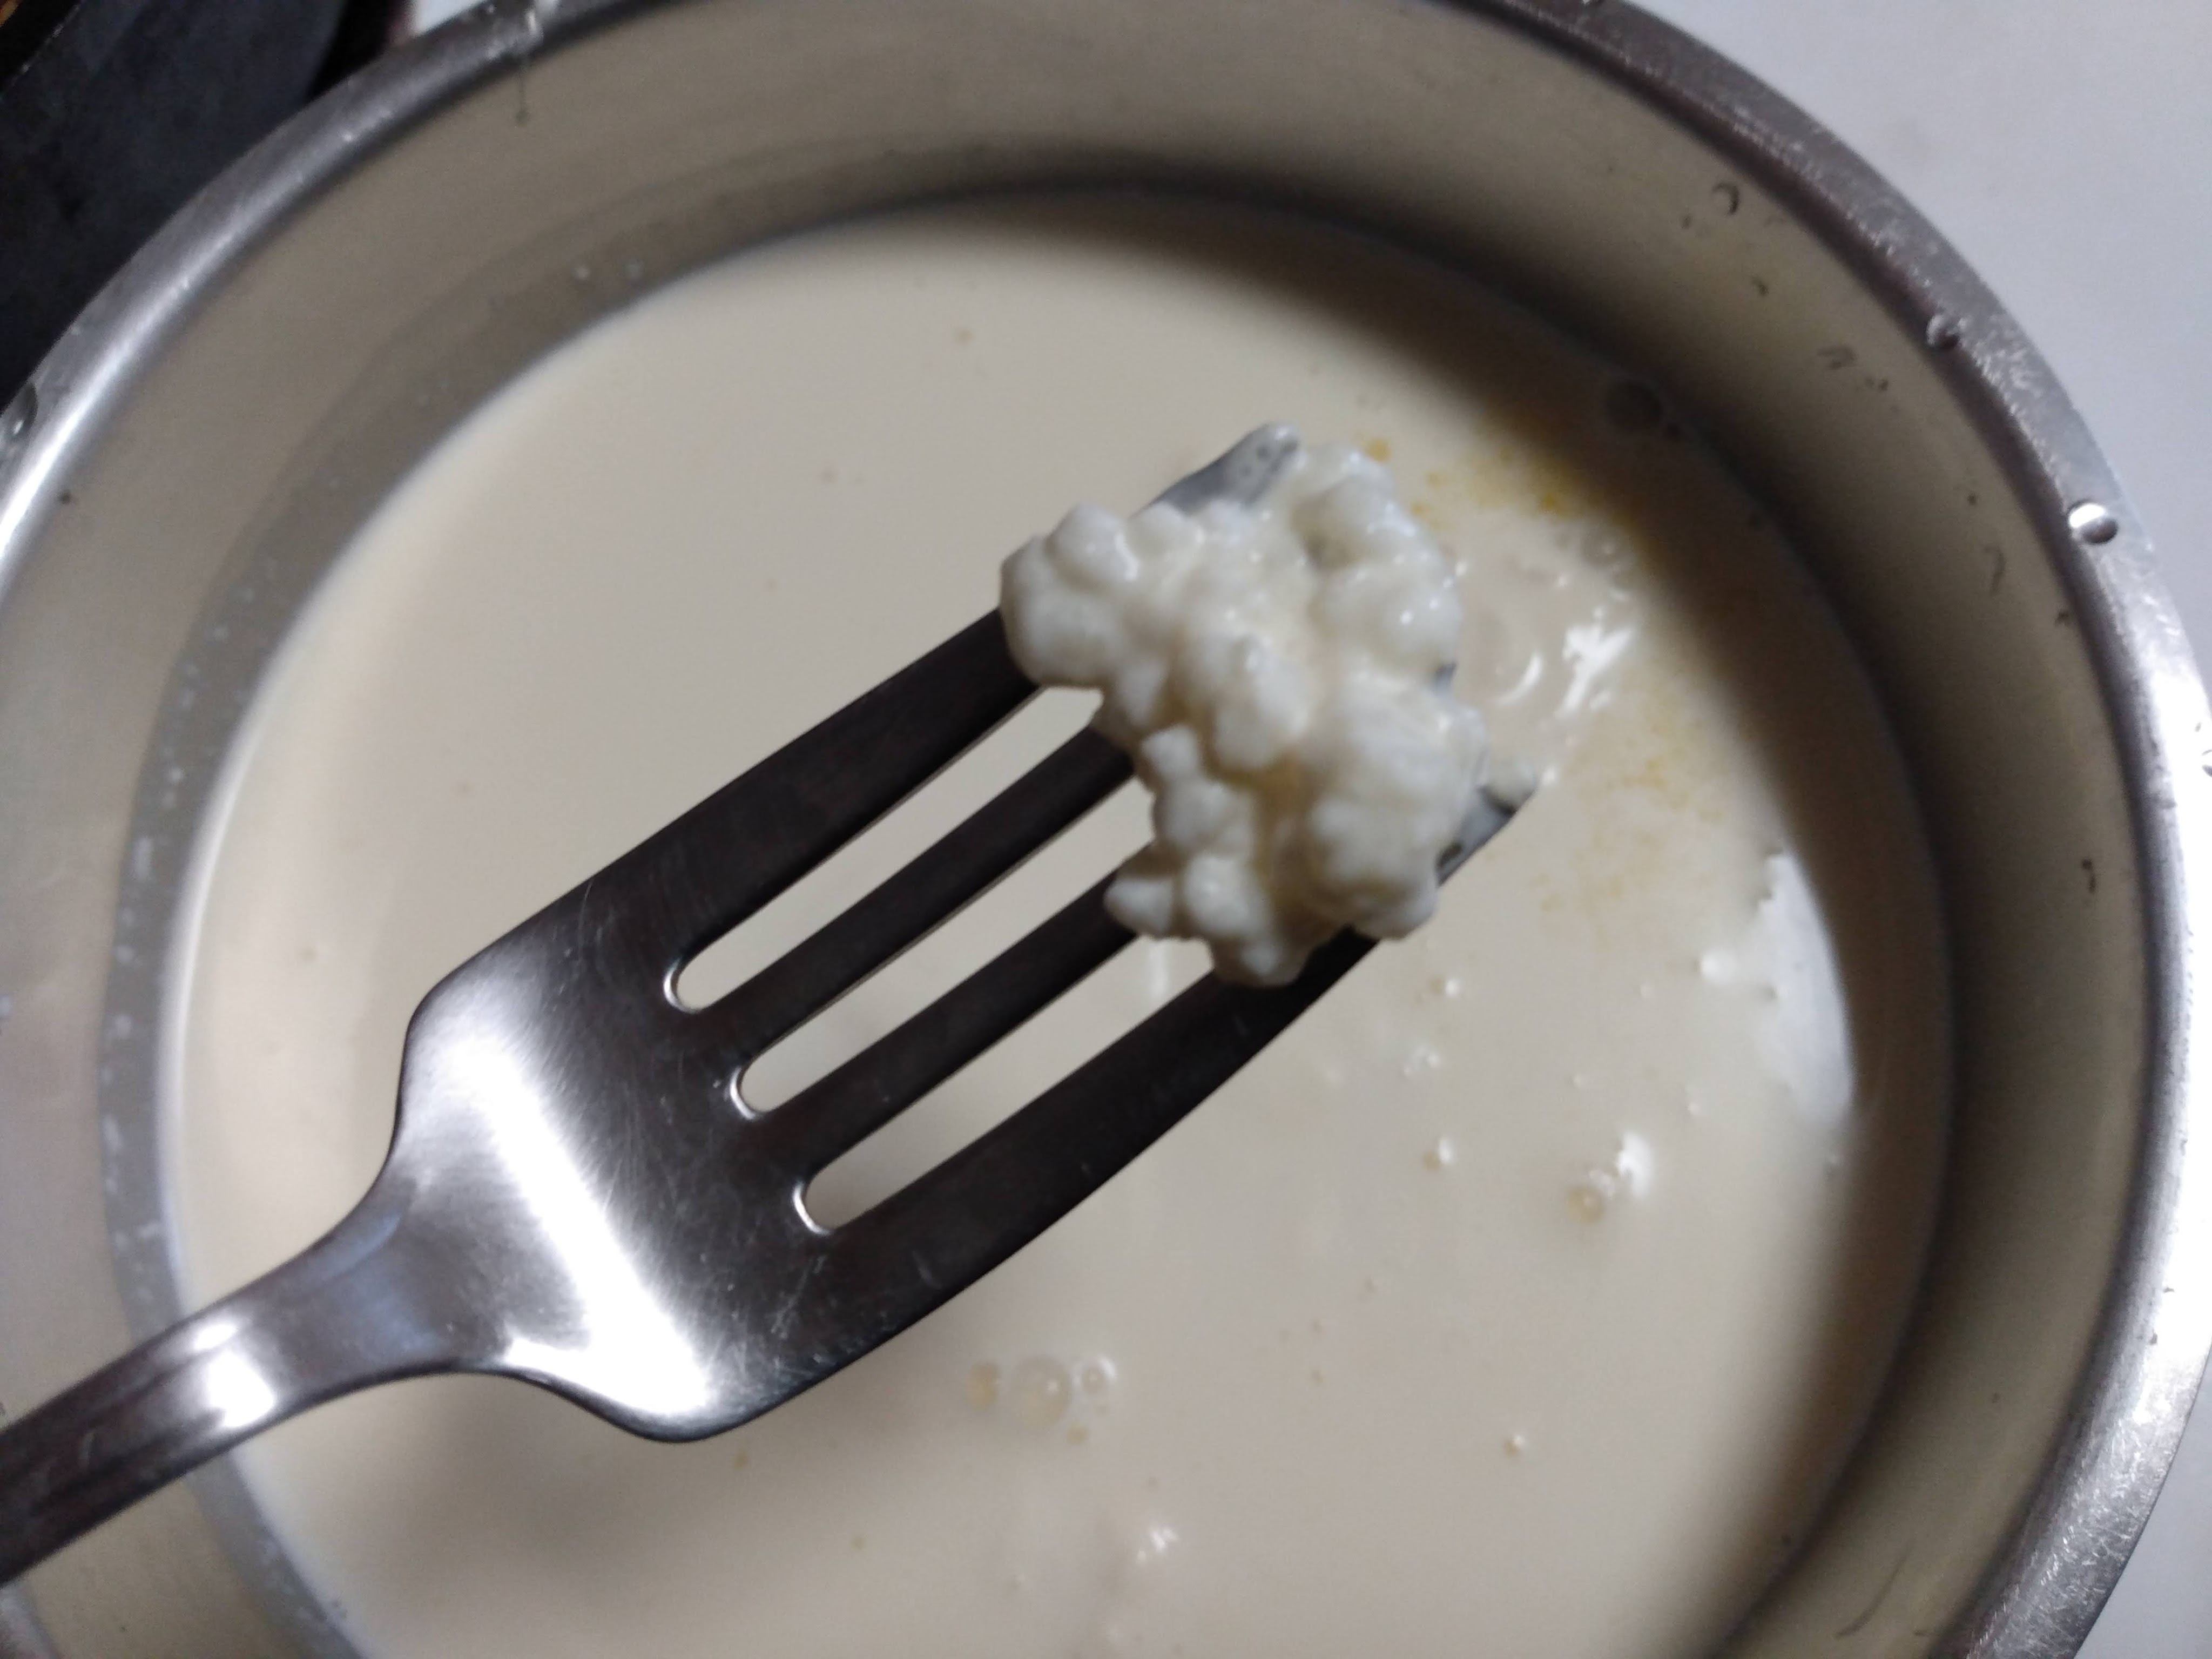
To make jelly, fruits and berries that have their own pectin first need boiled down to mush in order to access it, but regardless this generally goes for whatever you’re working with. Add enough water to cover your fruit and boil and simmer until the flavors are released. Then strain out the solids and the resulting juice can be measured then reboiled with roughly a 1:1 ratio of sugar. Whisk in pectin if needed. If using a storebought packet, follow their instructions. Check the “set” of the jelly by cooling off a small scoop of it on a metal spoon and popping it in the fridge or freezer to see if a film develops. Continue to simmer it until reaching the desired set.

Both jam and jelly can be preserved in jars passed through a hot water bath or just popped into the fridge. If a little mold pops up on the surface it’s usually no big deal to just scrape it off.

Continuous Sour Pickles

Vegetable Fermentation

In my backyard at home I have four pickling cucumber plants that are giving round about 6-12 cucumbers a day or so right now. Those 6 or so picked nice and small fit perfectly in a pint jar and make it easy to do sour pickles one jar at a time as the cucumbers roll in. Since there’s the summer heat to contend with and I want a crisp pickle we’ll let the fermenting just get started at room temperature then turn to the refrigerator for a long slow souring process. Additionally, I do not like to cut them open as the seed pod and inner flesh risks getting mushy.

Process

Pack as many little cucumbers into your jar as you can manage.

Add a clove of garlic and a handful of fresh herbs like dill and cilantro to each jar. Add as much salt as is your preference. For a moderately salty pickle add 2-3 TBS of salt per a quart. That will hit about the 3.6- 5.2% salinity which is pretty tasty.

Cover everything with water and fasten the lid securely.

Leave it out on counter for 3 days, or until you notice some vigorous bubbling activity. If you’re using a lid with a pop top, I like to use that as an indicator. When the lid is bulging it’s ready for the fridge, where you can move it to the back and forget about it until some time later in the winter.

Enjoy!

Strawberry Amazake

fermentation

Amazake is a Japanese sweet beverage/ porridge made from koji mold and grain that can be reminiscent of a smoothie. (Mold smoothie? Yum.) Amazake is easy to make, wonderfully delicious, as well as vegan and sugar free. Its unique earthy sweetness is provided by enzymes in the koji that saccharify the grain starches into sugars. It is the infant state of sake and mirin, as amazake is the stage where sugars are being made to later convert into alcohol.

Making amazake is just mixing koji, a cooked grain, and water, and letting it incubate in a jar or sealed container for around 6-12 hours. The ratio of ingredients can be changed to your preference but a good starting place is 1:1.5:3/ koji: cooked grain: water. Incubation needs to be on the warmer side, ~120-140 degrees, as the higher temperatures are what activates sweeter results.

This is definitely a good “taste as it moves along” type recipe as you find your perfect “sweet spot.” An over mature amazake will start tasting sour (alcoholic).

When you have the amazake of your dreams incubated you can just pop it in the fridge to put the brakes on the fermentation. It’ll likely keep creeping along but you probably have a few days before it starts souring. For a refreshing summer smoothie give it a blitz in the blender, but if you do, why not also toss in a couple strawberries or whatever else you have on hand? Yum.

It’s also possible to make amazake from leftover grains from dinner as well as things like oat “milk.” To sweeten and inoculate your favorite non-dairy “milk” do a 1:3 ration of koji to “milk” and follow the same procedure.

Need some koji? Buy some online or get some spores to make your own.

Fermented Nettle for the Garden

farm, fermentation

If you take the stinging nettle season very seriously- as I hope you do- we previously mentioned a couple of ways to preserve them, but now it’s high time to transition with the plant as it grows. Personally I’ll never pick anything taller than my knee and here in Pittsburgh stop right around May 1st. After this point the tender leaves and stems will become courser as the stem elongates and she prepares to flower and set seed. Let’s let that happen and let the seeds drop too, then we can cut down the tall stalks to use as an all-purpose fertilizer for our gardens. We’ll be trying out in earnest this year making some fiber from them too, which we hope using this technique will produce some good results.

Stinging nettles contain a wide span of nutrients leafy green plants love such as potassium, phosphorus, calcium, and magnesium. By doing a basic ferment those nutrients are released for easier access. The liquid can be dumped at the foot of a plant or sprayed on the leaves for foliar feeding. This fertilizer is best for leafy green plants or plants in their growth stage, that is, before showing any signs of transitioning to flowering.

The process is easy. Cut down the tall nettles and stuff em in a bucket. Cover them with water, with rainwater being best, and let get good and stinky (outside naturally). Use anytime really. Depending on conditions we tend to start using it once the plant looks good and broken down and use a sprayer to foliar feed a lot of crops. It’s really satisfying to leave the farm behind in a cloud of stink.

Preserving Foraged Flowers- Syrup & Drying

sugar

Late spring is a tremendous time of year when at any given time your olfactory can be flooded by an unsuspecting intoxicating plume. From roses and elderflowers (two personal favorite flavors), to dandelions and liden- there is a world of flavors wafting in the breeze. Making syrup from them is a way to preserve their fresh flavors for as many uses as you can muster.

Syrup Process

Remove as many green parts as you feel like by hand. Place flowers in a bowl and add enough water to cover. *The quantities of everything here are pretty relative, as who knows how much you get, etc.

Cold steep in the fridge for 24 or so hours. This method of extracting the flower flavor I think is the best. The cold temp successfully grabs the flower essence without taking on any planty or bitter flavors from the other plant parts, but also means you don’t have to be too thorough when removing the green parts.

Strain & measure your perfumed water. Add equal parts sugar and set them to simmer to not only reduce to a syrup but to concentrate the flower flavor. 

When you get to the consistency of syrup you desire, you can hot-bath can it in a mason jar or just store it in the fridge for quite a while, however be careful, making a little spritzer with seltzer and a dash of fire water is what summer porch sitting is all about, and your flower syrup may disappear quicker than you thought.

Additionally: Let winter get jealous when you pull out your dandelion or rose petals for scones, or other favorite baked good. Dried petals are the champion of brightening up deep winter baking. Why not fill up your cupboard now? If you’re into picking dandelion blossoms but hate separating them from the green parts just let them dry first and the petals pull out with ease.

Another thought: Try steeping your flowers in cream to either spin into ice cream, or use it in your coffee for whatever the people are into these days- lavender latte?

Homemade Cream Cheese

dairy, fermentation

Cream cheese is another very simple cheese that is worth making if you’re able to get your hands on some really good local cream.

We culture via the David Asher method of using kefir. A simple plop of our kefir into the cream and we’ll let it sit out for a day at room temperature and then strain the grains out before heating. This culturing makes sure that our pasteurized cream has strong populations of the beneficial microbes we need. And perhaps according to your taste preference you can let the culturing go a little longer, or not.

The next step is to warm up the cream gently to a temperature comfortably warm to your finger, or say around 80- 90 degrees. Heat slowly and carefully, then add a small dose of rennet. (Rennet is the curdling agent we need to make this cheese. Here’s a decent source for getting it either derived from animals or vegetables.) We use animal rennet, which is very effective and we use the smallest drop we can get for a pint of cream. The drop is mixed with a 1/4th cup of lukewarm water and then gently stir in and all around for 20 seconds or so. Let the cream settle for an hour or two and it should have a yogurt like consistency, after which we like to plop it in the fridge overnight as we feel it makes a very loose curd a tad firmer for when we get to straining. Is it true? Who knows but nonetheless has evolved into our cream cheese making process.

When you’re ready to start straining prepare your set-up such as laying a towel, or even just a ink-less t-shirt over a colander with a bowl underneath. After carefully ladling in the cream, pop it in the fridge to slowly strain to the thickness you desire while occasionally mixing to encourage an even strain. Often times we’ll let it strain for up to 3 days. As it thickens up you can ball up the cloth and hang it, up to you. Doing things as gently and gradually as possible feels good sometimes.

When the cream cheese is strained to your liking mix in salt to suit your tastes and pack away.

This is a great recipe to dollop on your bigos, or naturally, to pair with your bagels.

Spring Rain Kombucha

fermentation

There’s an added benefit to a poetic tumble into consumable nature. Who knows what exactly, maybe just a strange feeling of connectedness. (Who couldn’t use a little more non-electrified connectedness?) Eating seasonally is a great start to nurturing a sort of ceremonial significance with what’s happening outside. It can begin as an arrangement of local ingredients on your plate and then expand to things like chasing the first stinging nettles for soup to welcome the coming growing season, or the wondrous moment of your first bite of summer’s tomato on a sandwich, but until it’s interacted with creatively, imbuing it with our emotion, senses, and intuition it doesn’t fully come alive as it deserves to.

Take for instance this whimsical take on kombucha that expands nourishment into intangible realms, that while noted here for our current season of spring, could be replicated any time of the year, with as many variations as you can imagine.

Process

Lay an open, wide vessel outside to collect the rain that is coming on fast over the horizon. Rush out to the woods, or wildest patch of growth near you and pick modest amounts of different edible herbs, possibly in various states of grows (roots, arial, flower, fruit, etc). Whatever is exciting to you. Filling your fermentation vessel with your collected rainwater, add the spring herbs to steep, and perhaps some green tea.

Add your recently made maple syrup, or honey from you bees, or your neighbors bees, or any sweetener meaningful to you or best you can manage and sweeten to your preference. Plop in your SCOBY, affix your cloth covering, and let the brew come bubbling to life, just like the post-rain cricks that trickle down hillsides, feeding the spring herbs around its edges. And lastly, and quite importantly, repeat annually or with each new season as a tradition that grows in significance and strength with each revisit.

Smoked & Marinated Smelt

fish

Reminiscent of your favorite canned fish, this recipe is a nice smokey bite to add to so many meals, its even great for fishing out for a snack.

Soak thawed (if frozen) fish in a brine of 3/4 water & 1/4 apple cider vinegar, garlic, salt, and honey to taste, for ~3 hours in the fridge. (Generally for a quart it’ll be a tablespoon salt and a teaspoon of honey with 1 smashed garlic clove.)

A nice trick is to get together the salt, honey, and garlic and add enough piping hot water for it to dissolve, then finish topping it off with cold water so the brine is ready immediately.

Strain and pat the fish with a towel and leave uncovered to dry in the fridge for a couple hours. The smoke sticks best to things tacky to the touch.

Smoke the smelt for ~30 minutes at 175 degrees, or until done. Be careful to not overcook or they will dry out quickly.

In a jar add garlic clove, herbs like thyme, a piece of dried hot pepper, a slice of lemon, and whatever else strikes you. Pack in the smoked fish and cover with olive oil.

Store in the fridge and enjoy on bread with kraut and cream cheese.

Fermented French Fries (& Potato Chips)

fermentation, Vegetable Fermentation

In a makeshift urban root cellar such as we have, the turning of the weather is felt in more places than the breaking of tree buds. While a fermented french fry recipe featured above seems lighthearted and fun, it serves a practical purpose as the tail-end of our stored potatoes also experience an early Spring “bud-breaking” (or spud-breaking?). It works two-fold as what needs eaten needs done with a little more pep, while those potatoes put aside for seed are getting a little pre-sprouting before going in the ground soon enough. The light fermentation adds a more dynamic lacto-pickley flavor to your fries that goes great with traditional condiments, making them worth a try.

Leaving the skin on, cut up the potatoes into your preferred fry shape.

Normally fries get an overnight soak in cold salt water to wash off excess starches. In this case we’ll do the soak as usual, but at room temperature and for a couple more days.

In your fermentation vessel cover the fries with water and add enough salt that the brine has a pleasant lightly salted taste. There’s no wrong answer with salt, except the potatoes will be taking on salt during the ferment, so too much can result in over-salty fries. A light brine enables you to still add salt after frying without overdoing it.

Ferment the fries for a couple days depending on ambient temperature and your preference. We do 4 days in 70 degrees. The potatoes get a nice pungent odor. The final taste is much more restrained than the smell describes so if you’re a lover of the funk, you could keep going. Strain and rinse before you’re ready to fry.

Heat your favorite frying oil- whether that be canola or tallow or other, to 250 degrees and par-fry the potatoes for 7:30 minutes. Work in batches if space in your frying vessel is limited.

Par-fried fries can be held in the fridge to finish for a week or so. When you’re ready for french fries, heat your oil once again but this time heating it to 375 degrees. Cook your fries to your preference, likely somewhere between 2-3 minutes. Strain excess oil and toss with a pinch of salt.

For potato chips follow the same process with these changes/ tips:

Cut whole potatoes on a mandolin- our cabbage mandolin for sauerkraut does the job here. Whether they are thin or thick is up to you.

Ferment the same as with the fries above.

There is no par-frying needed with potato chips. Fry them once in oil at 375 degrees for ~5min or so. The color should be your indicator here. Make sure to move the chips around periodically because they rise to the top and can get some uneven frying. Under-fried parts will be chewy rather than crispy.

Strain and toss in salt, or maybe your favorite spice blend.

Fermenting Homegrown Flax into Linen

farm, fermentation

It’s said that the first automated spinning machine helped kick start the industrial revolution. The practice of spinning fibers itself came from a rudimentary toolset such as a stick and a small weighty rock that was invented independently all over the world as separate cultures birthed their own thread spinning traditions. And this simple act of spinning, spinning, and spinning fibers, over and over made clothes, bags, and sails for ships to launch out to sea, which using a non-automated spinning wheel would take around 4 and a half years to spin. Flax is believed to be one of the absolute earliest cultivated plants and one used for its fiber. But in order for the world to hop on the back of flax to fully spin out of control it needed fermentation to carry it from plant to fiber, from flax to linen.

Growing

In growing habit flax is a cooler weather loving plant so is often sown in the spring in Western Pennsylvania. It has thin strong stalks that reach maybe around 3’ or so. They can be broadcast but doesn’t compete well with weeds. Flax grown for fibers are sown close together to discourage the plant from branching. Conversely if it’s the oil-rich seeds that are desired, give em a little more space. After around 100 days the plant begins to yellow (round mid-July) and the plants are pulled, by hand, with root and all to maximize the fiber length.

Processing

The stalks are laid out to dry for a few weeks (after which threshing can occur to save or obtain the little flax seeds by carefully whacking the stalks). And now things start getting good and rotten.


Next comes the stage of retting. Linen is a bast fiber meaning that the fibers are collected at the phloem, or inner bark, part of the stem. Incidentally the xylem (outer woody part) and phloem are bundled together by pectin which need broken down to separate out the desired fibers.

The word retting is thought to originate from rot, our dear friend to fermentation. A prolonged saturation of the plant causes the cells around the phloem to burst which in turn invites microbes to come and work on the carbohydrate-based pectin, and this action frees the cellulose fibers from its woody stalk.

Attention must be taken at this stage as under-retting won’t cause proper separation, and over-retting can disintegrate the fibers. Verifying success comes through testing to see if when you break the stalk you see the fibers separated.

Retting

There are several methods to ret. The first is dew retting where the flax is simply laid in thin layers on the grass to rot with the accumulated morning dew, dry out during the day, and repeat. This can take a while, upwards of a few months and produces a darker gray color.

Another way is to submerge the dried flax plants in a pond or stream weighed down possibly by rocks. On a large enough scale this method has been trouble for fish and has led to various bans of it overtime. It’s much quicker, taking maybe a week and a half or so and produces a more blonde color.

The way we chose for our trials, and by far the stinkiest is by submerging the fibers into a stagnant pool. This was done in a large tub. And since we used just hose water, we also dumped a cupful of pond water in as a sort of starter culture to ensure some microbial activity. With a lid on top to keep the water from evaporating in the summer sun the smell was horrendous and beautiful. It took about a week and then the stalks were taken out and dried again.

Fibers Emerge

At this point the dried stalks are ready to be broken and shattered which should free the long thin fibers from the woody parts of the plant. It’s quite magical to watch the beautiful blonde fibers released from the bondage of their wooden cell. This is also a step we might save for another time, and instead shove the prepared stalks into the basement to await a winter day when there’s more free time to complete the process.


All the steps to processing hereafter are involved enough themselves and perhaps too much to go into here. We took on flax growing a few years ago and tackle it as a project to gradually develop. A couple years later and finally this winter we got to find out what spinning was all about. For that we took a handmade ceramic fermentation weight that happened to have a hole through the middle and jammed a dowel rod into it, then bent a nail at the one end to act as a hook. The pros recommend a cd and dowel rod to get started. And clumsily off we go to spin, spin, and spin, to cherish the perspective replaced by a now automated process that is mostly taken for granted.