Ferment Hot Pepper Flakes (& Hot Sauce)

fermentation, Vegetable Fermentation

Fermented hot sauce can be a complicated or quite simple affair, but is indisputably indispensable for bringing your winter stored potatoes, squash, and beans to life. My preferred method is just pureeing hot peppers with a little salt, letting it ferment, and donezo! That works well with fresh peppers but you can also ferment them submerged in a salt brine if they’re dried. Though if you want to take your fermented peppers one step further, try making fermented hot pepper flakes from your fermented hot sauce.


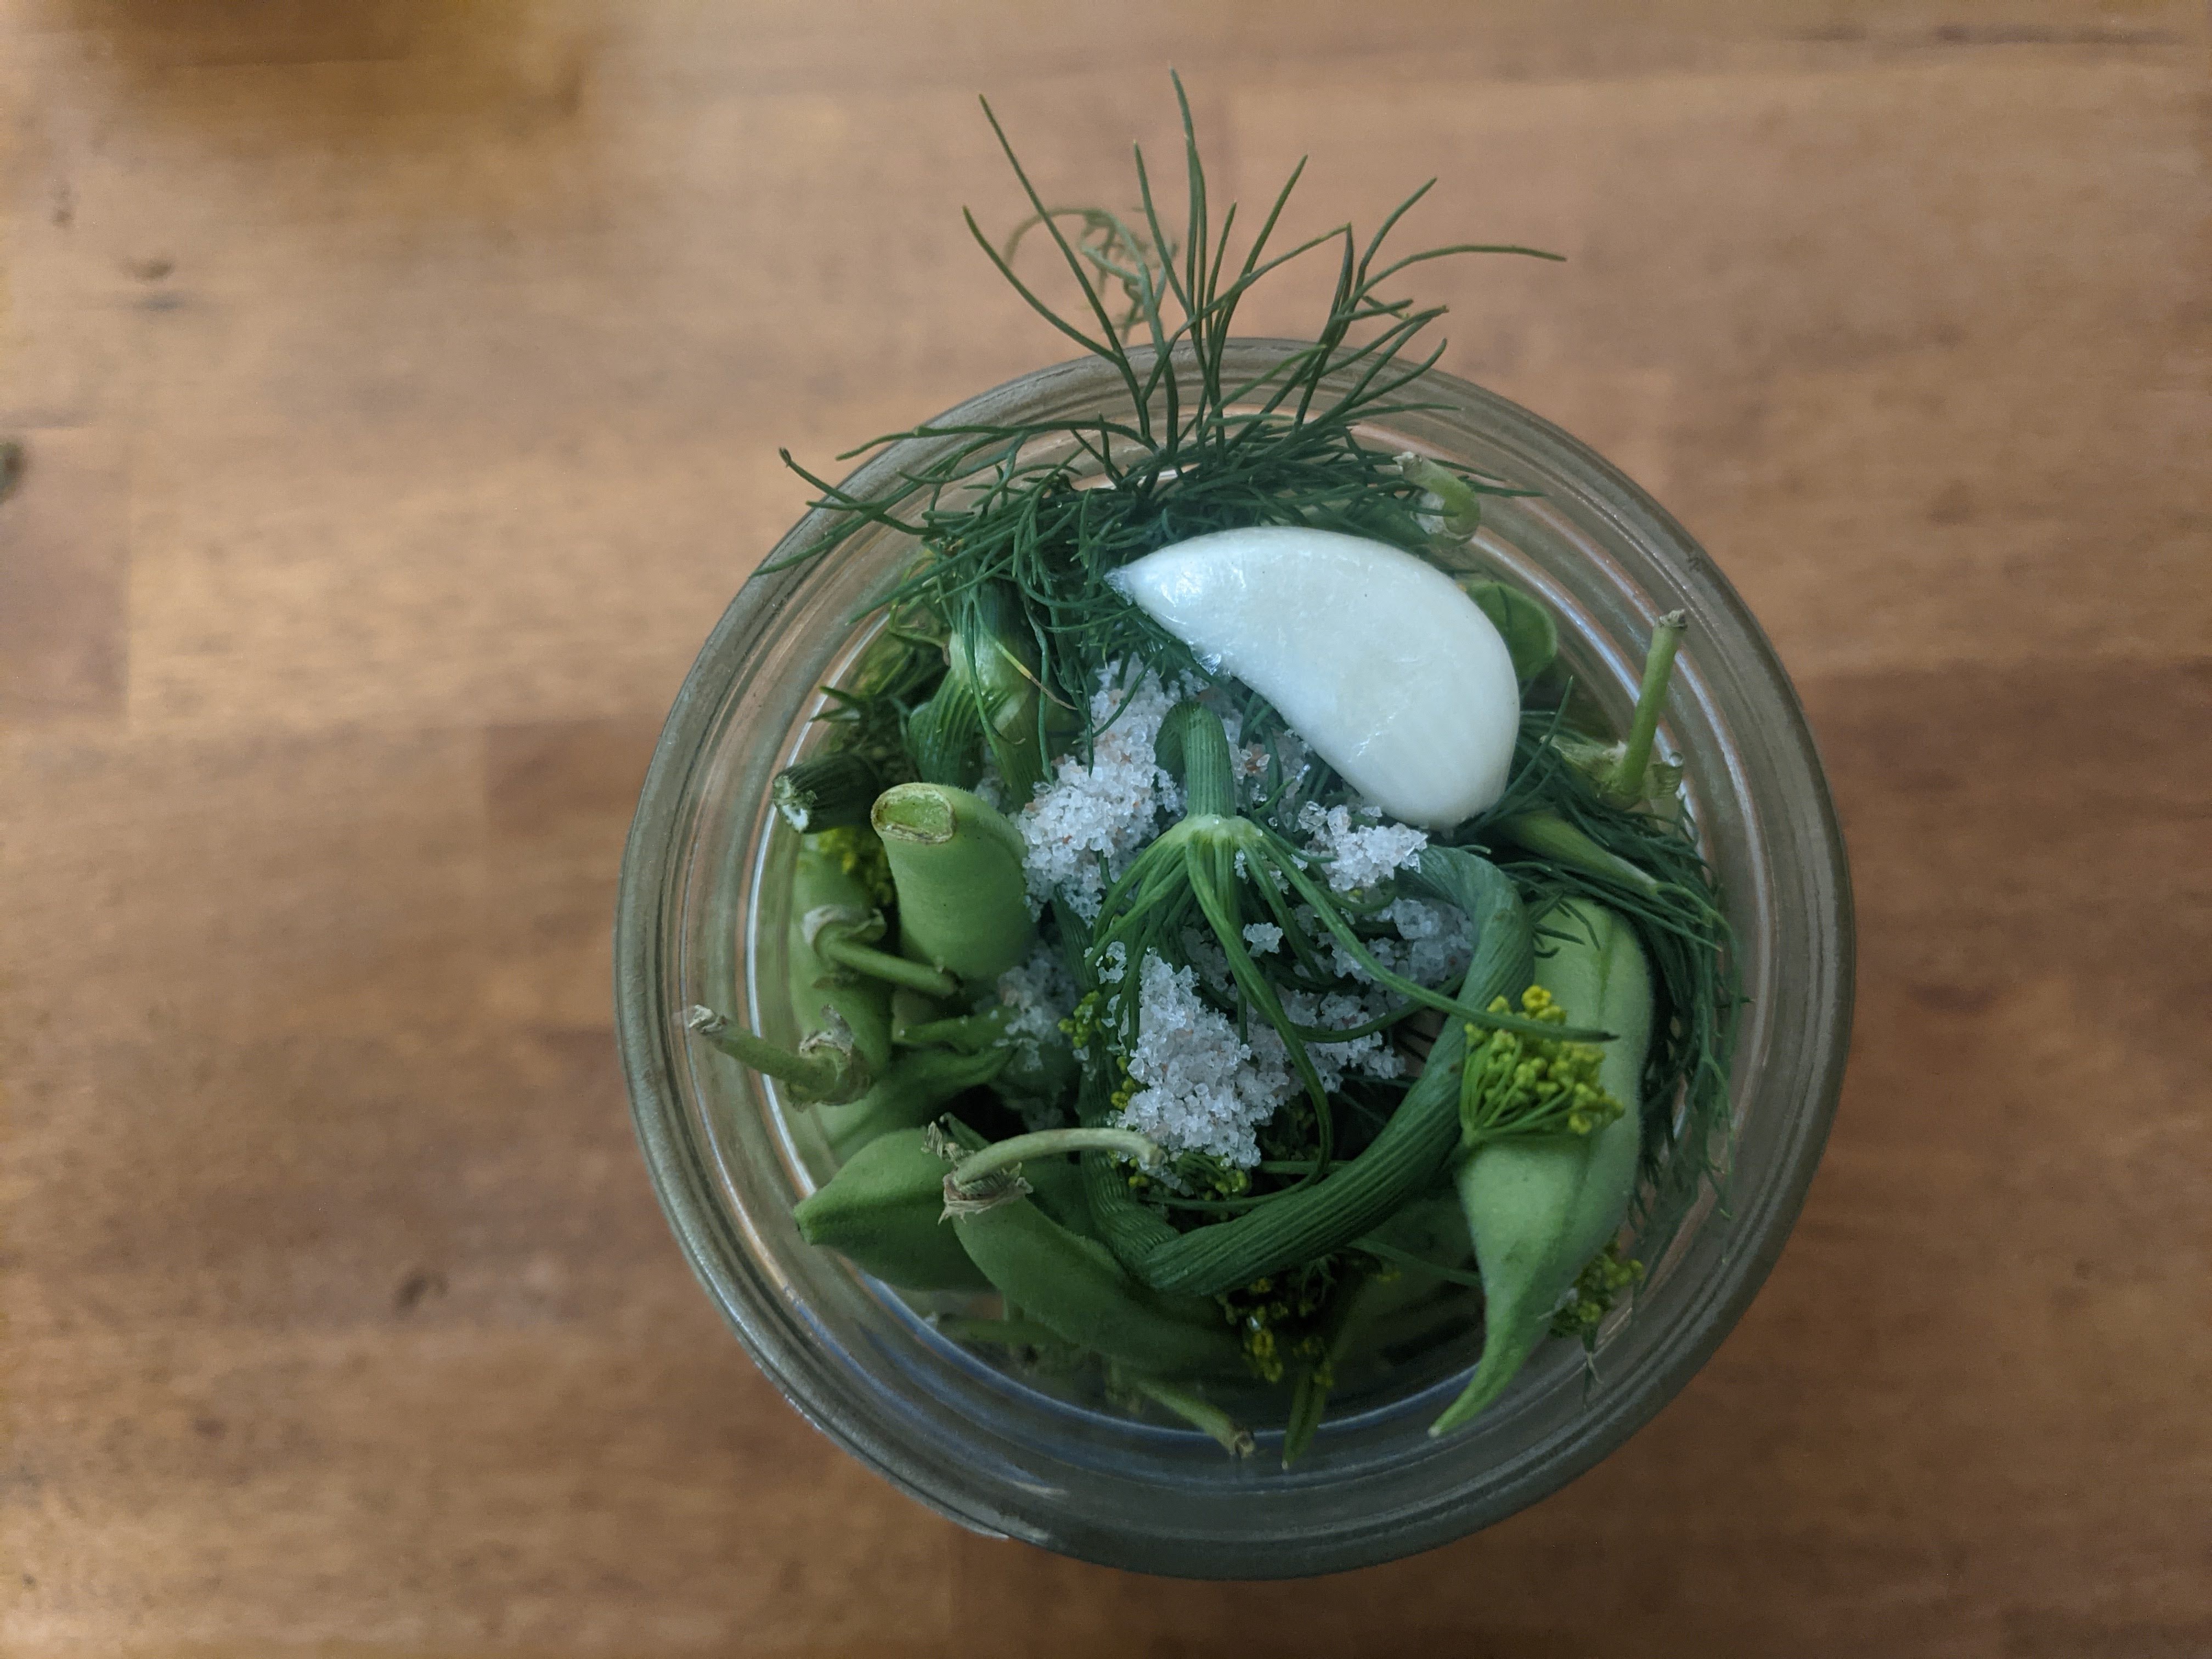
It’s a pretty open door as to how you might want to get creative with making your fermented hot sauce. Add a clove of garlic (or maybe roasted garlic) to your puree, or a hunk of onion, perhaps some garden herbs like oregano. Follow you gardens and markets.


A great little trick is fermented hot pepper flakes. These pepper flakes are a fun addition to a pantry, sneaking a hot and tangy zing to your foods, and super easy to do, while stretching one product into two. Instructions are below, just be sure to do your drying outside if possible or where there’s good ventilation!

Fermented Hot Sauce Method

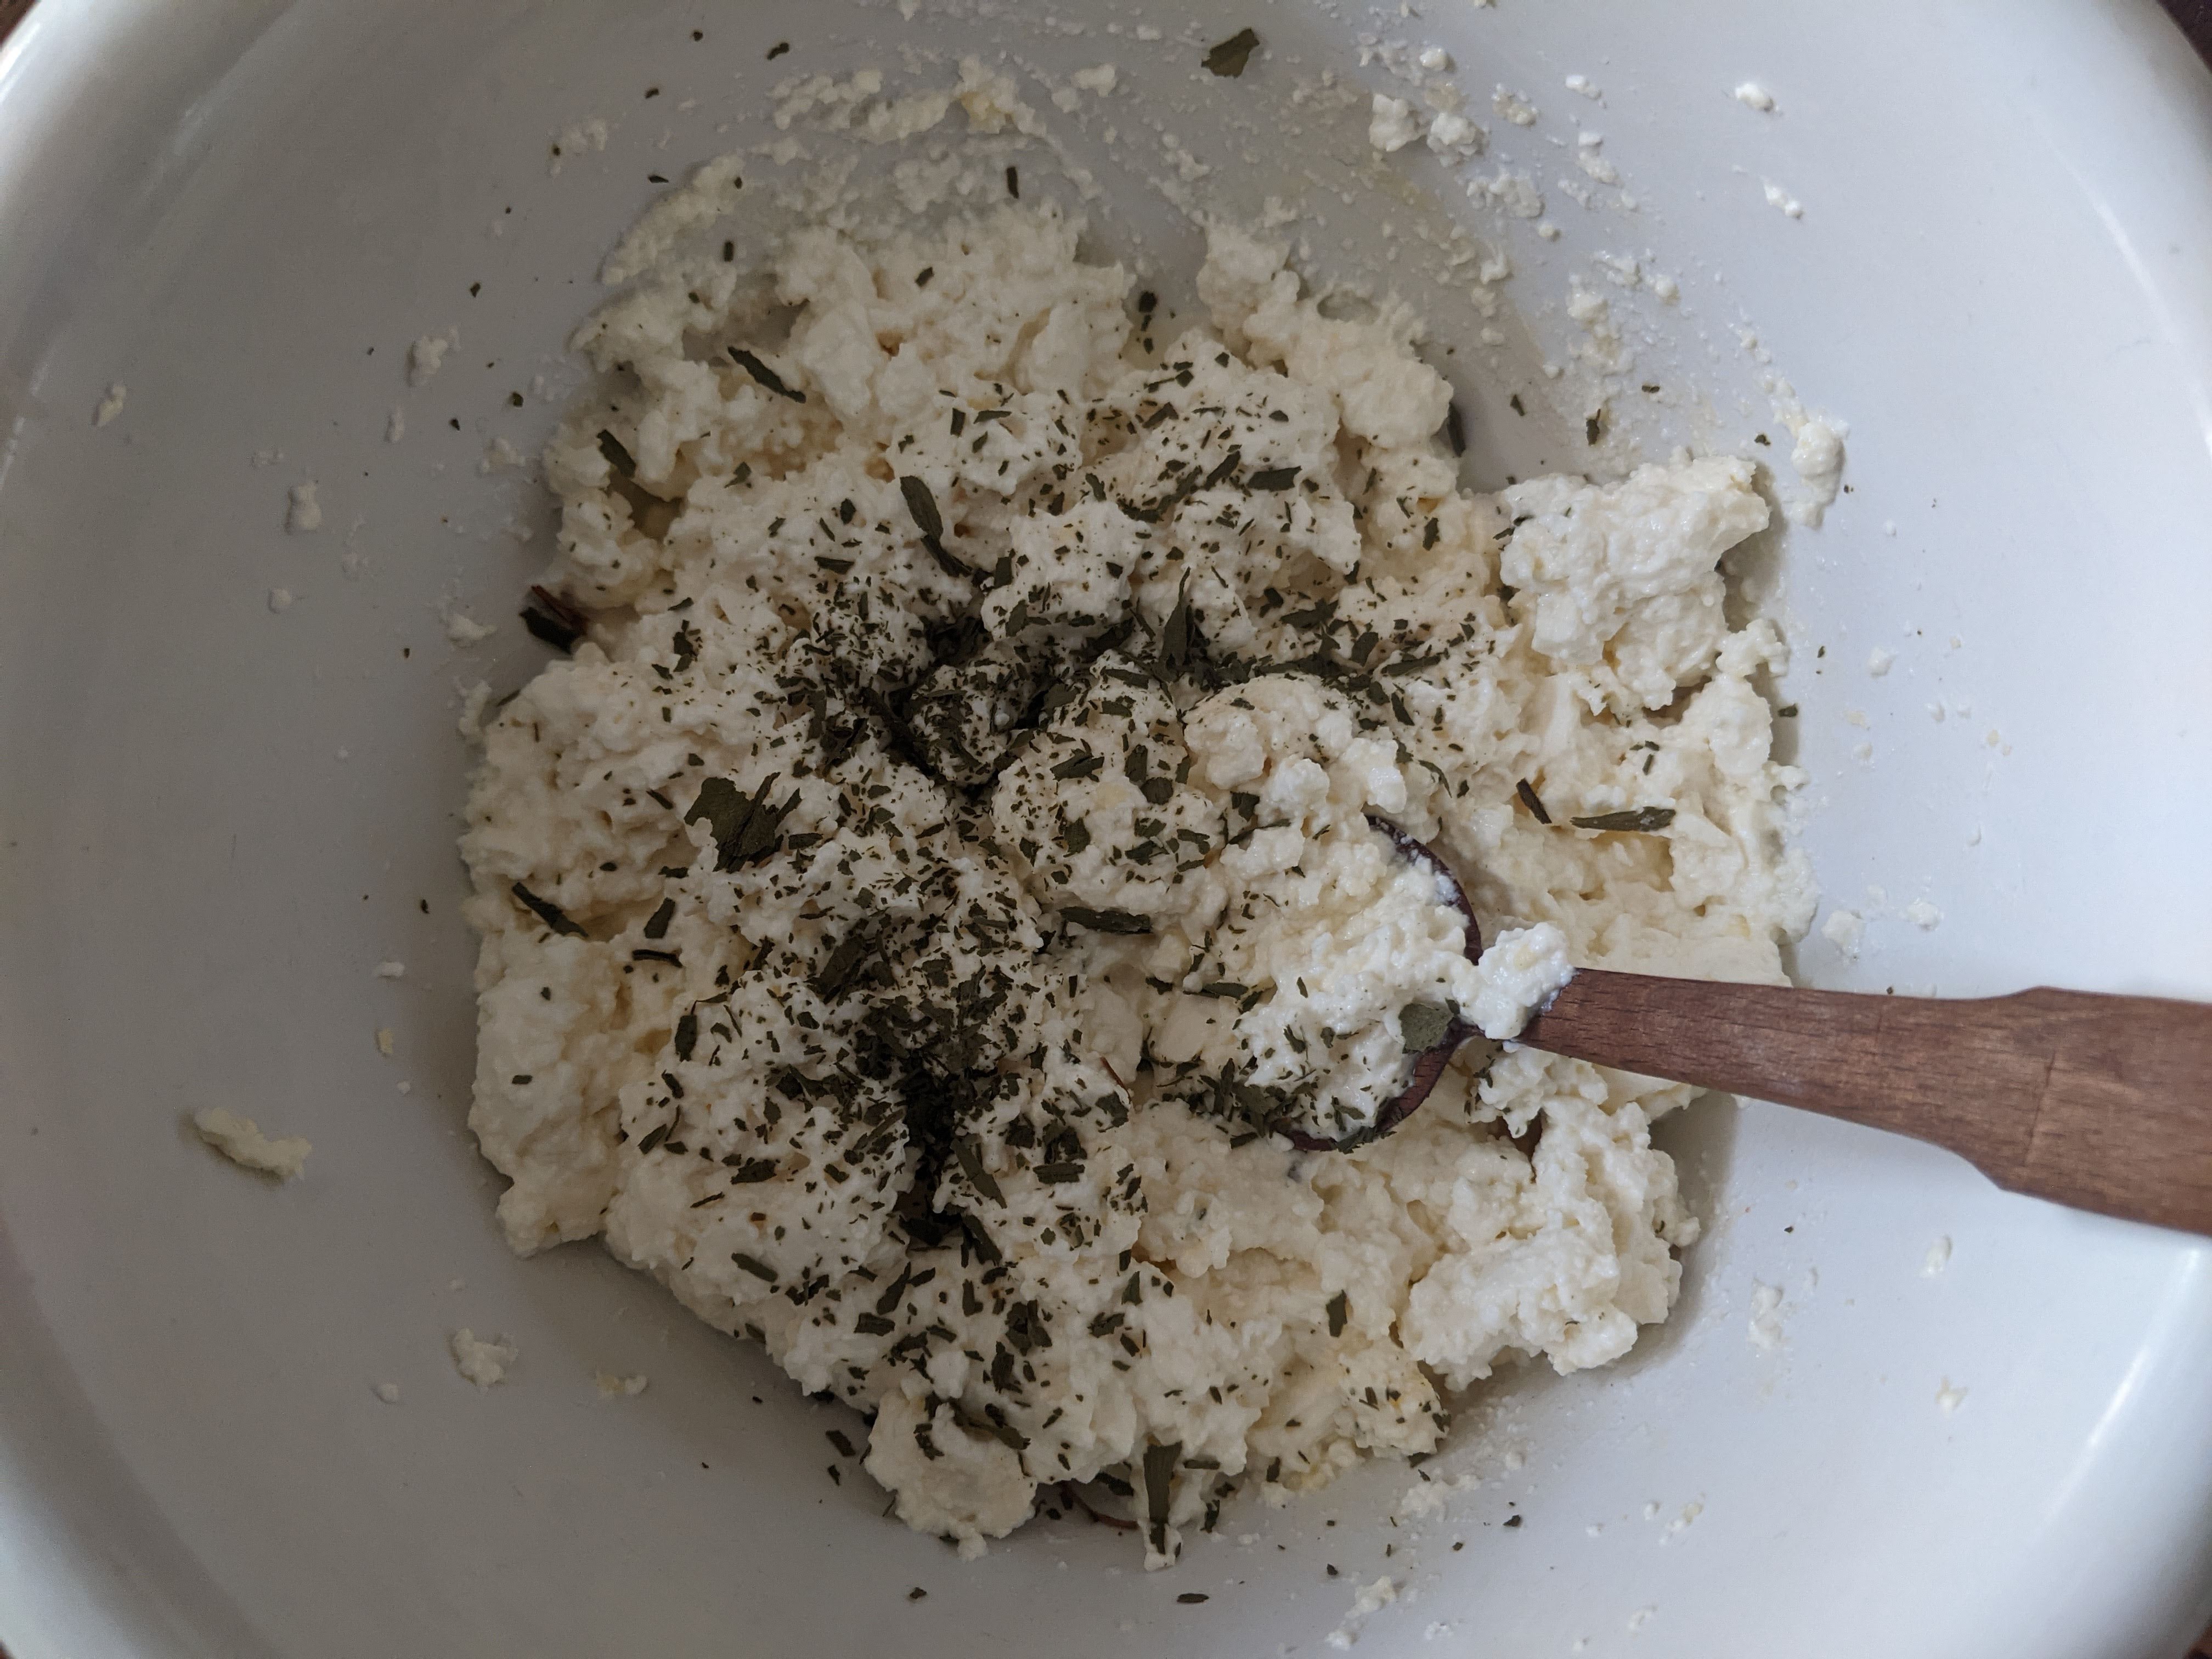
1. Clean and destem your choice of fresh hot pepper or hot pepper medley. Prepare any other ingrdients: garlic, onion, fruit, herbs, etc.
2. Grind everything together in a food processor or blender. Add a bits of water as necessary to get a fully purred slurry to a nice slushy consistency.
3. Stir in salt for a 3% brine, so that’s about 1-3 tablespoons per a quart of slurry.
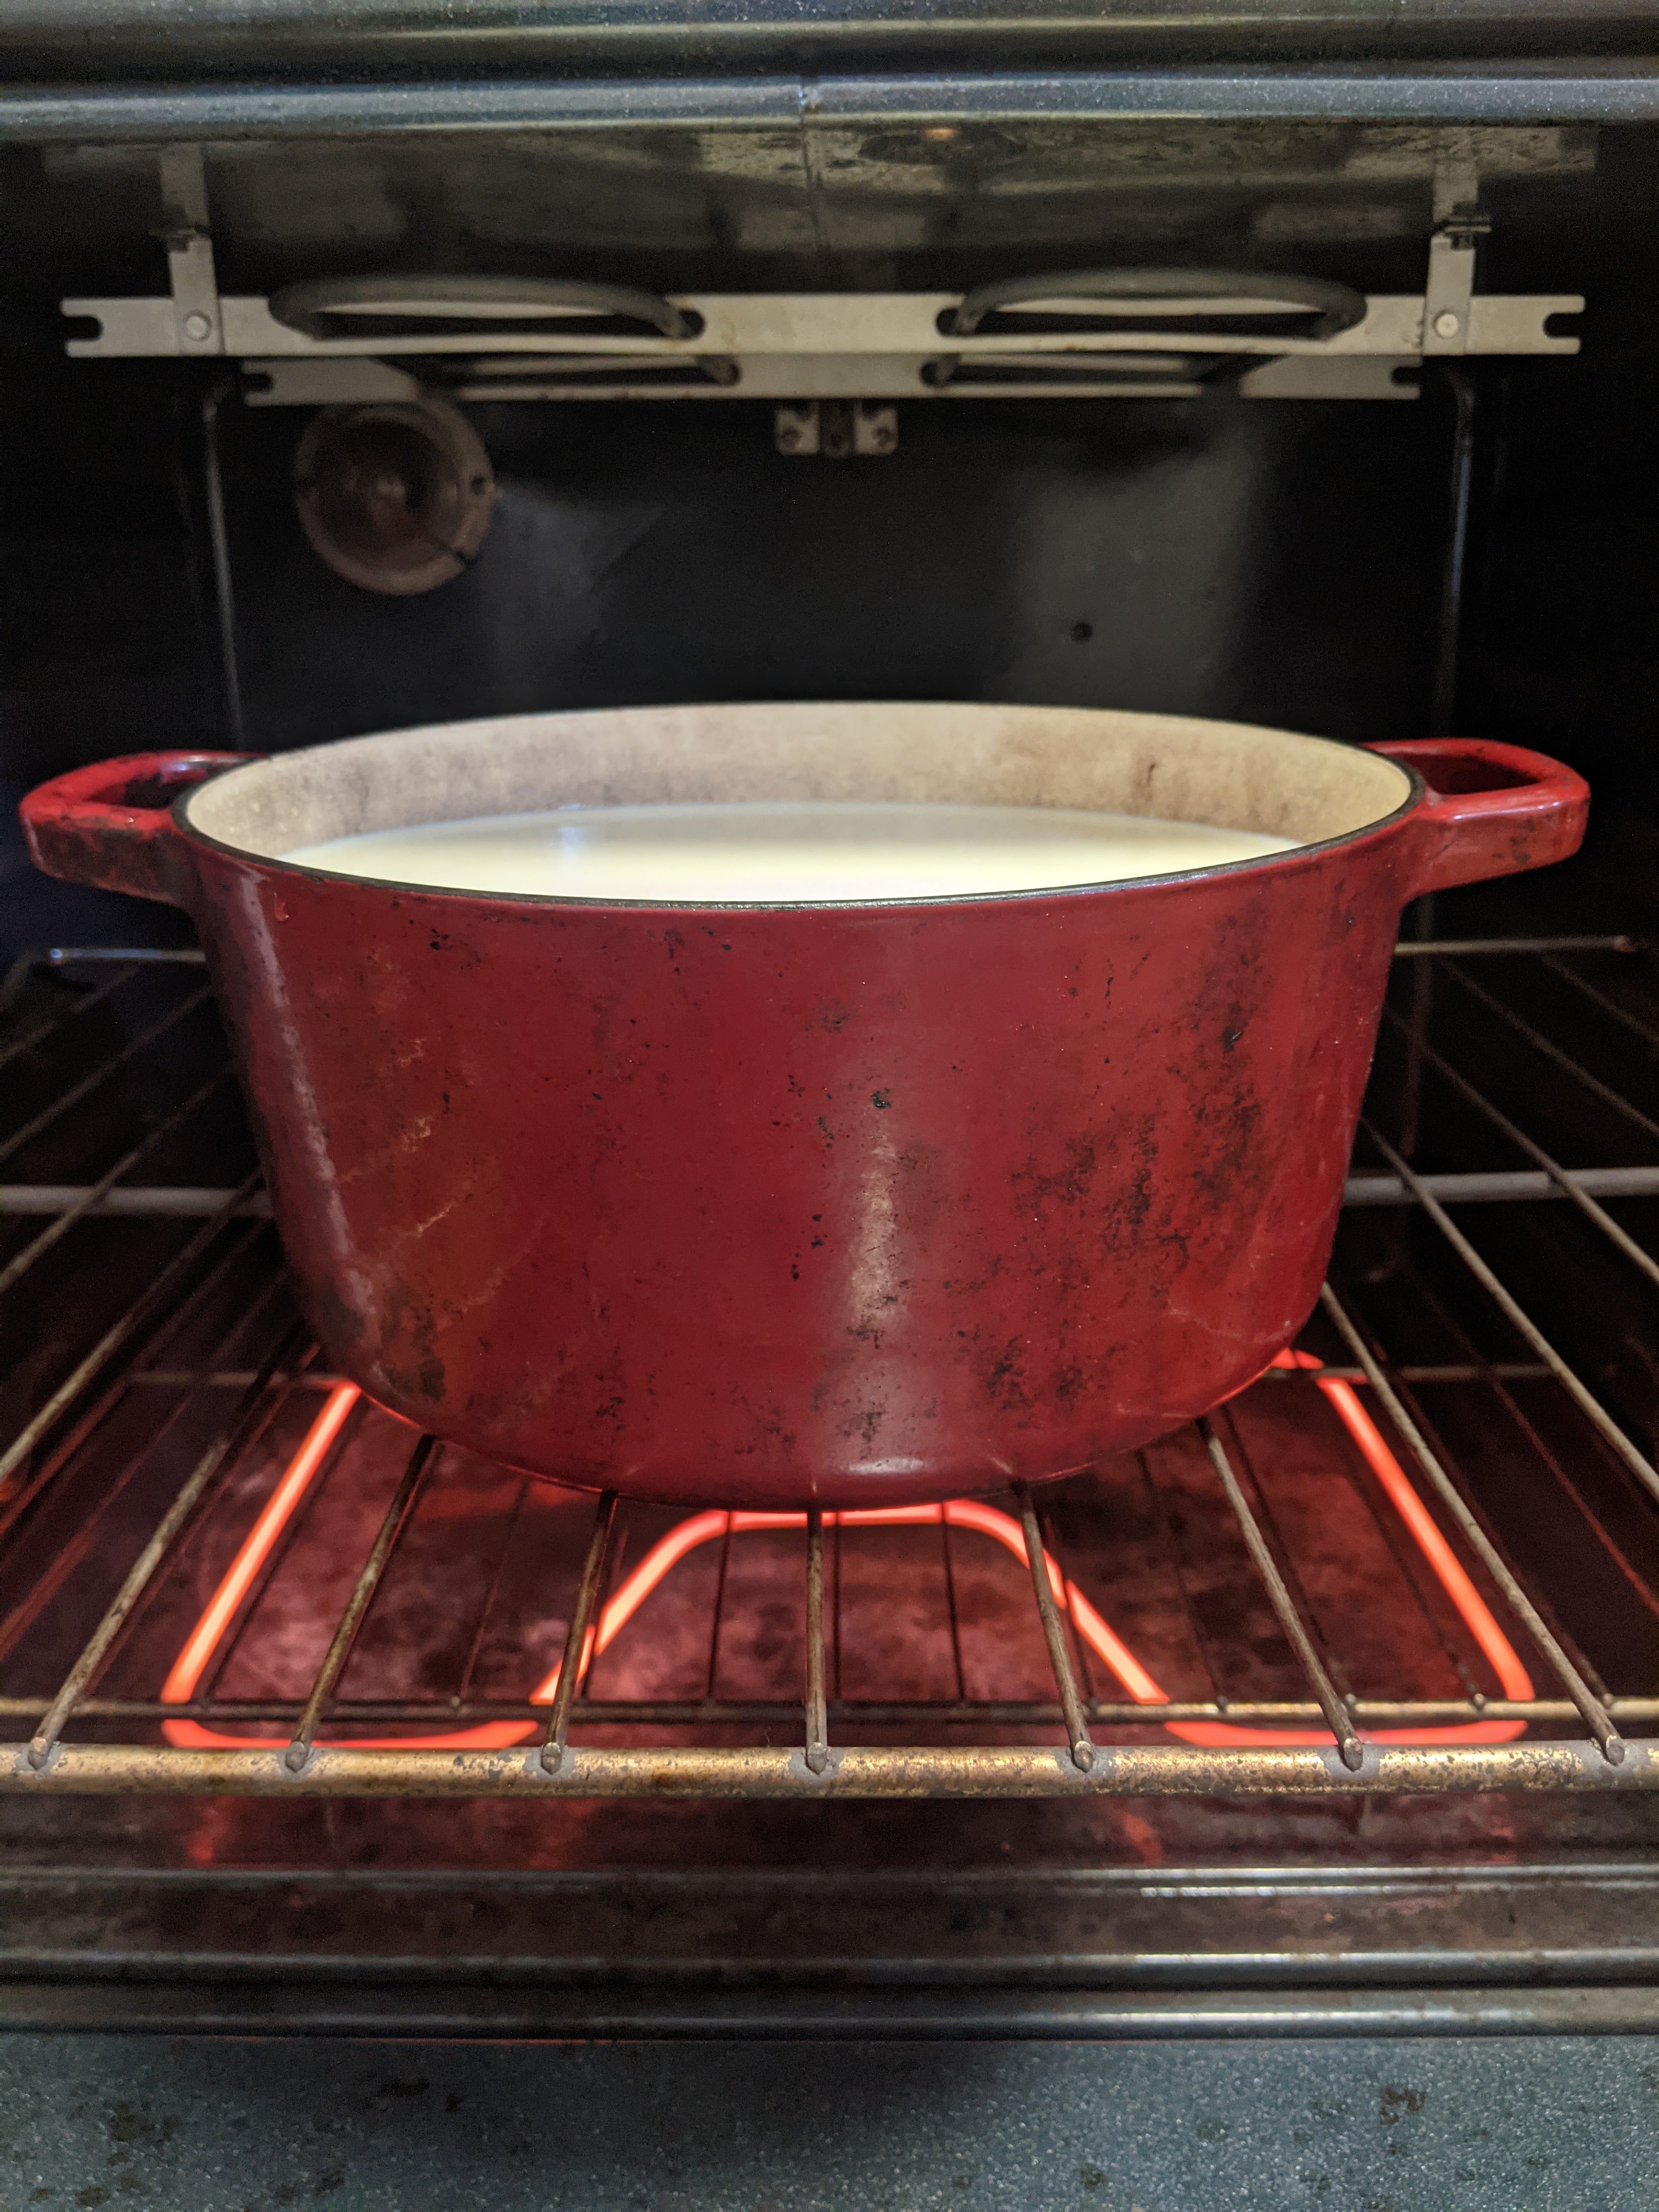
4. Ferment with lid on or off according to preference. I like to do the lid on and burp it every few days to keep the weird films from developing on the surface. Without a lid make sure to stir it up every few days.
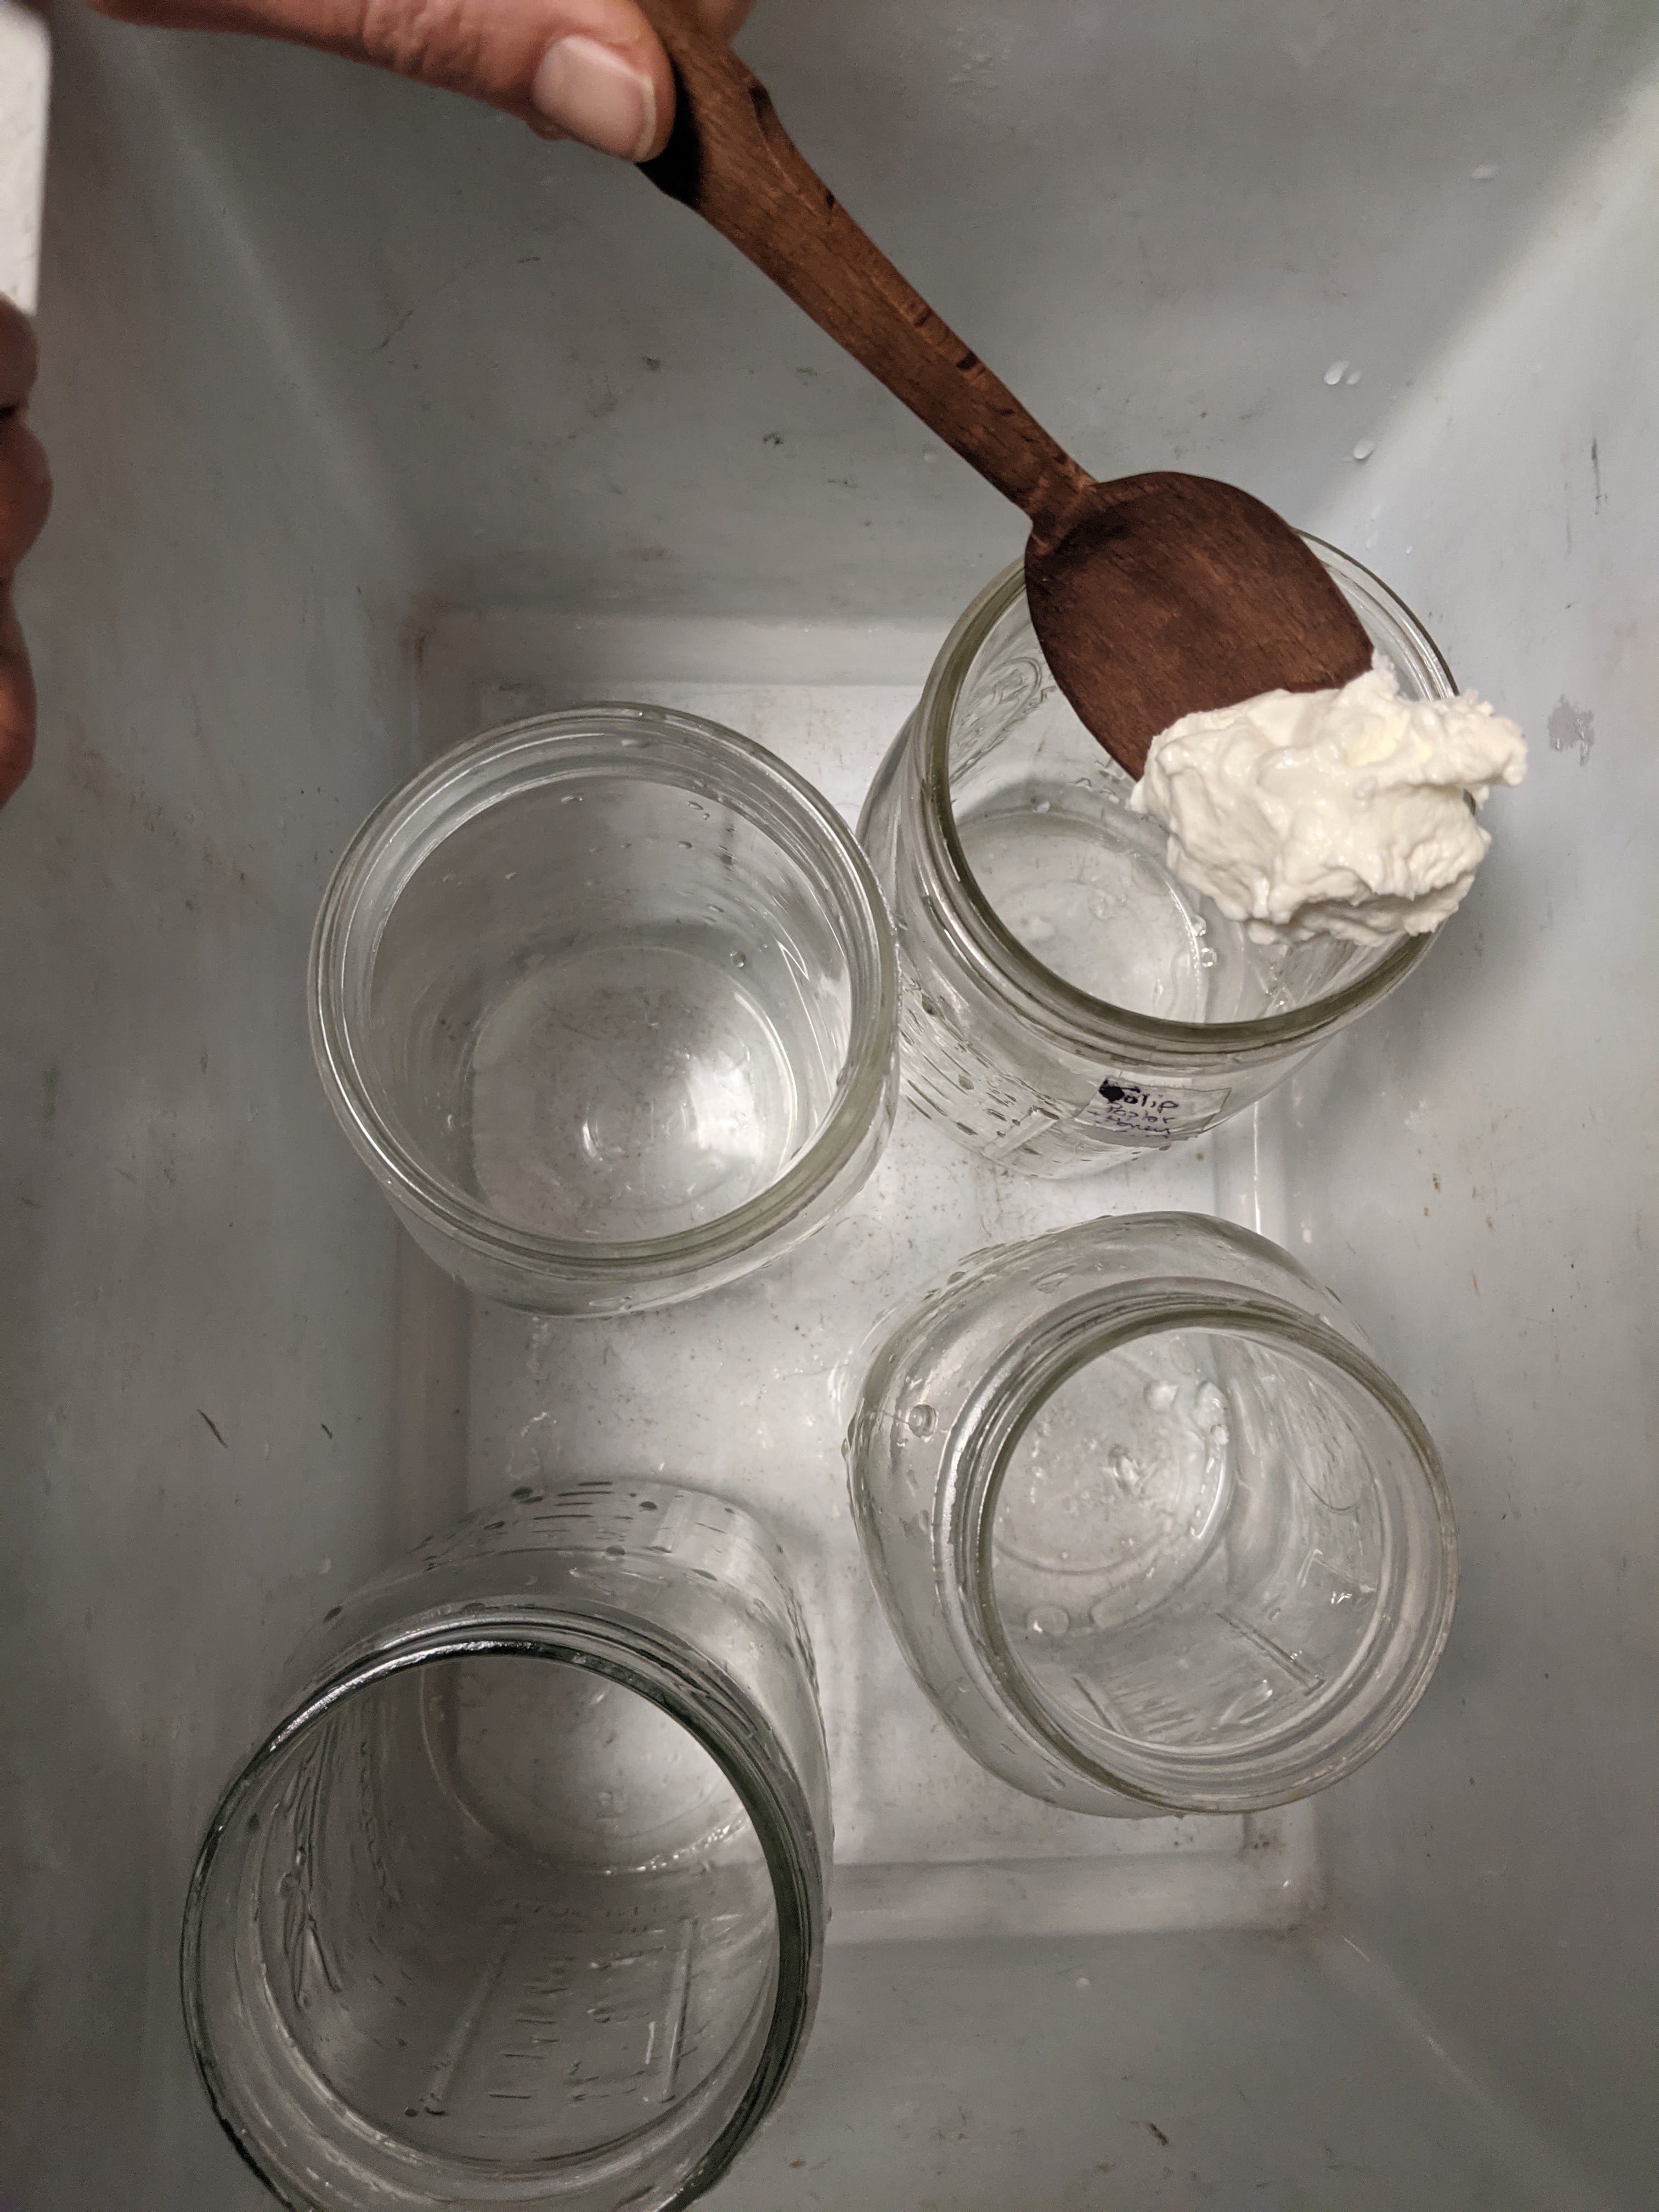
5. Ferment to your preference, maybe 1 week, maybe a few months. Pack it away in the fridge to store when or cap it at room temperature with a snug twist sealing lid.

Fermented Hot Pepper Flakes

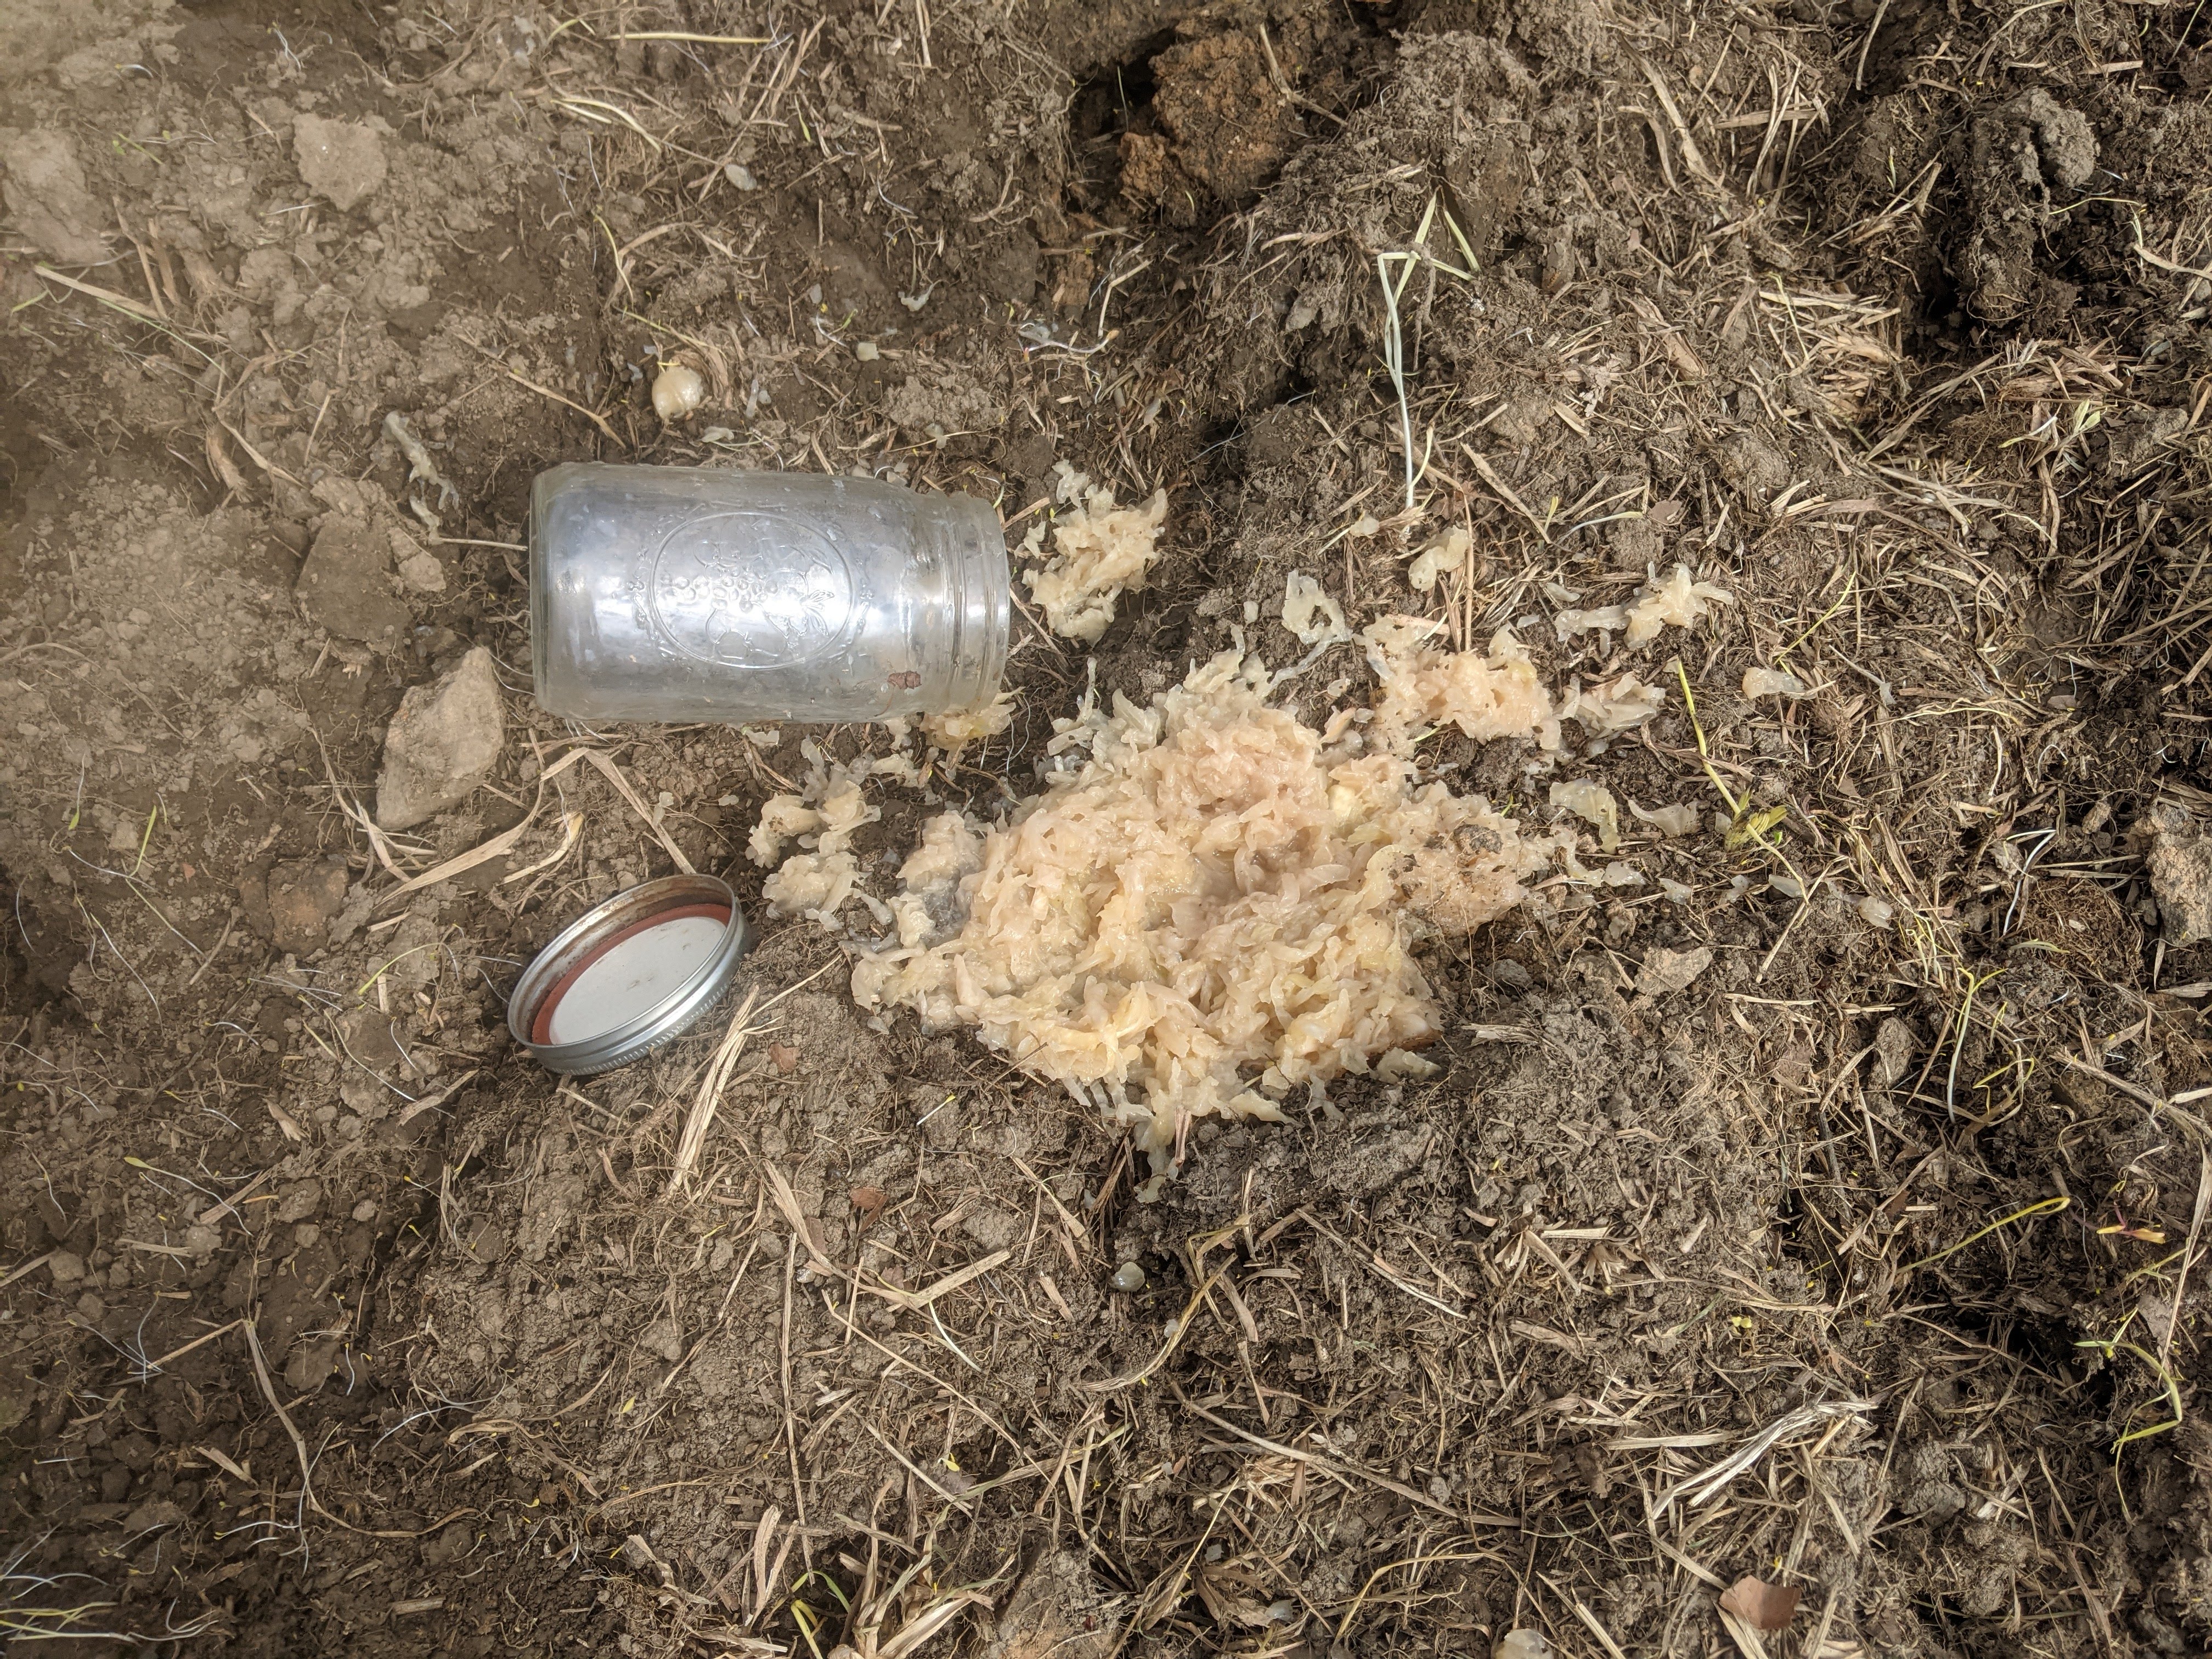
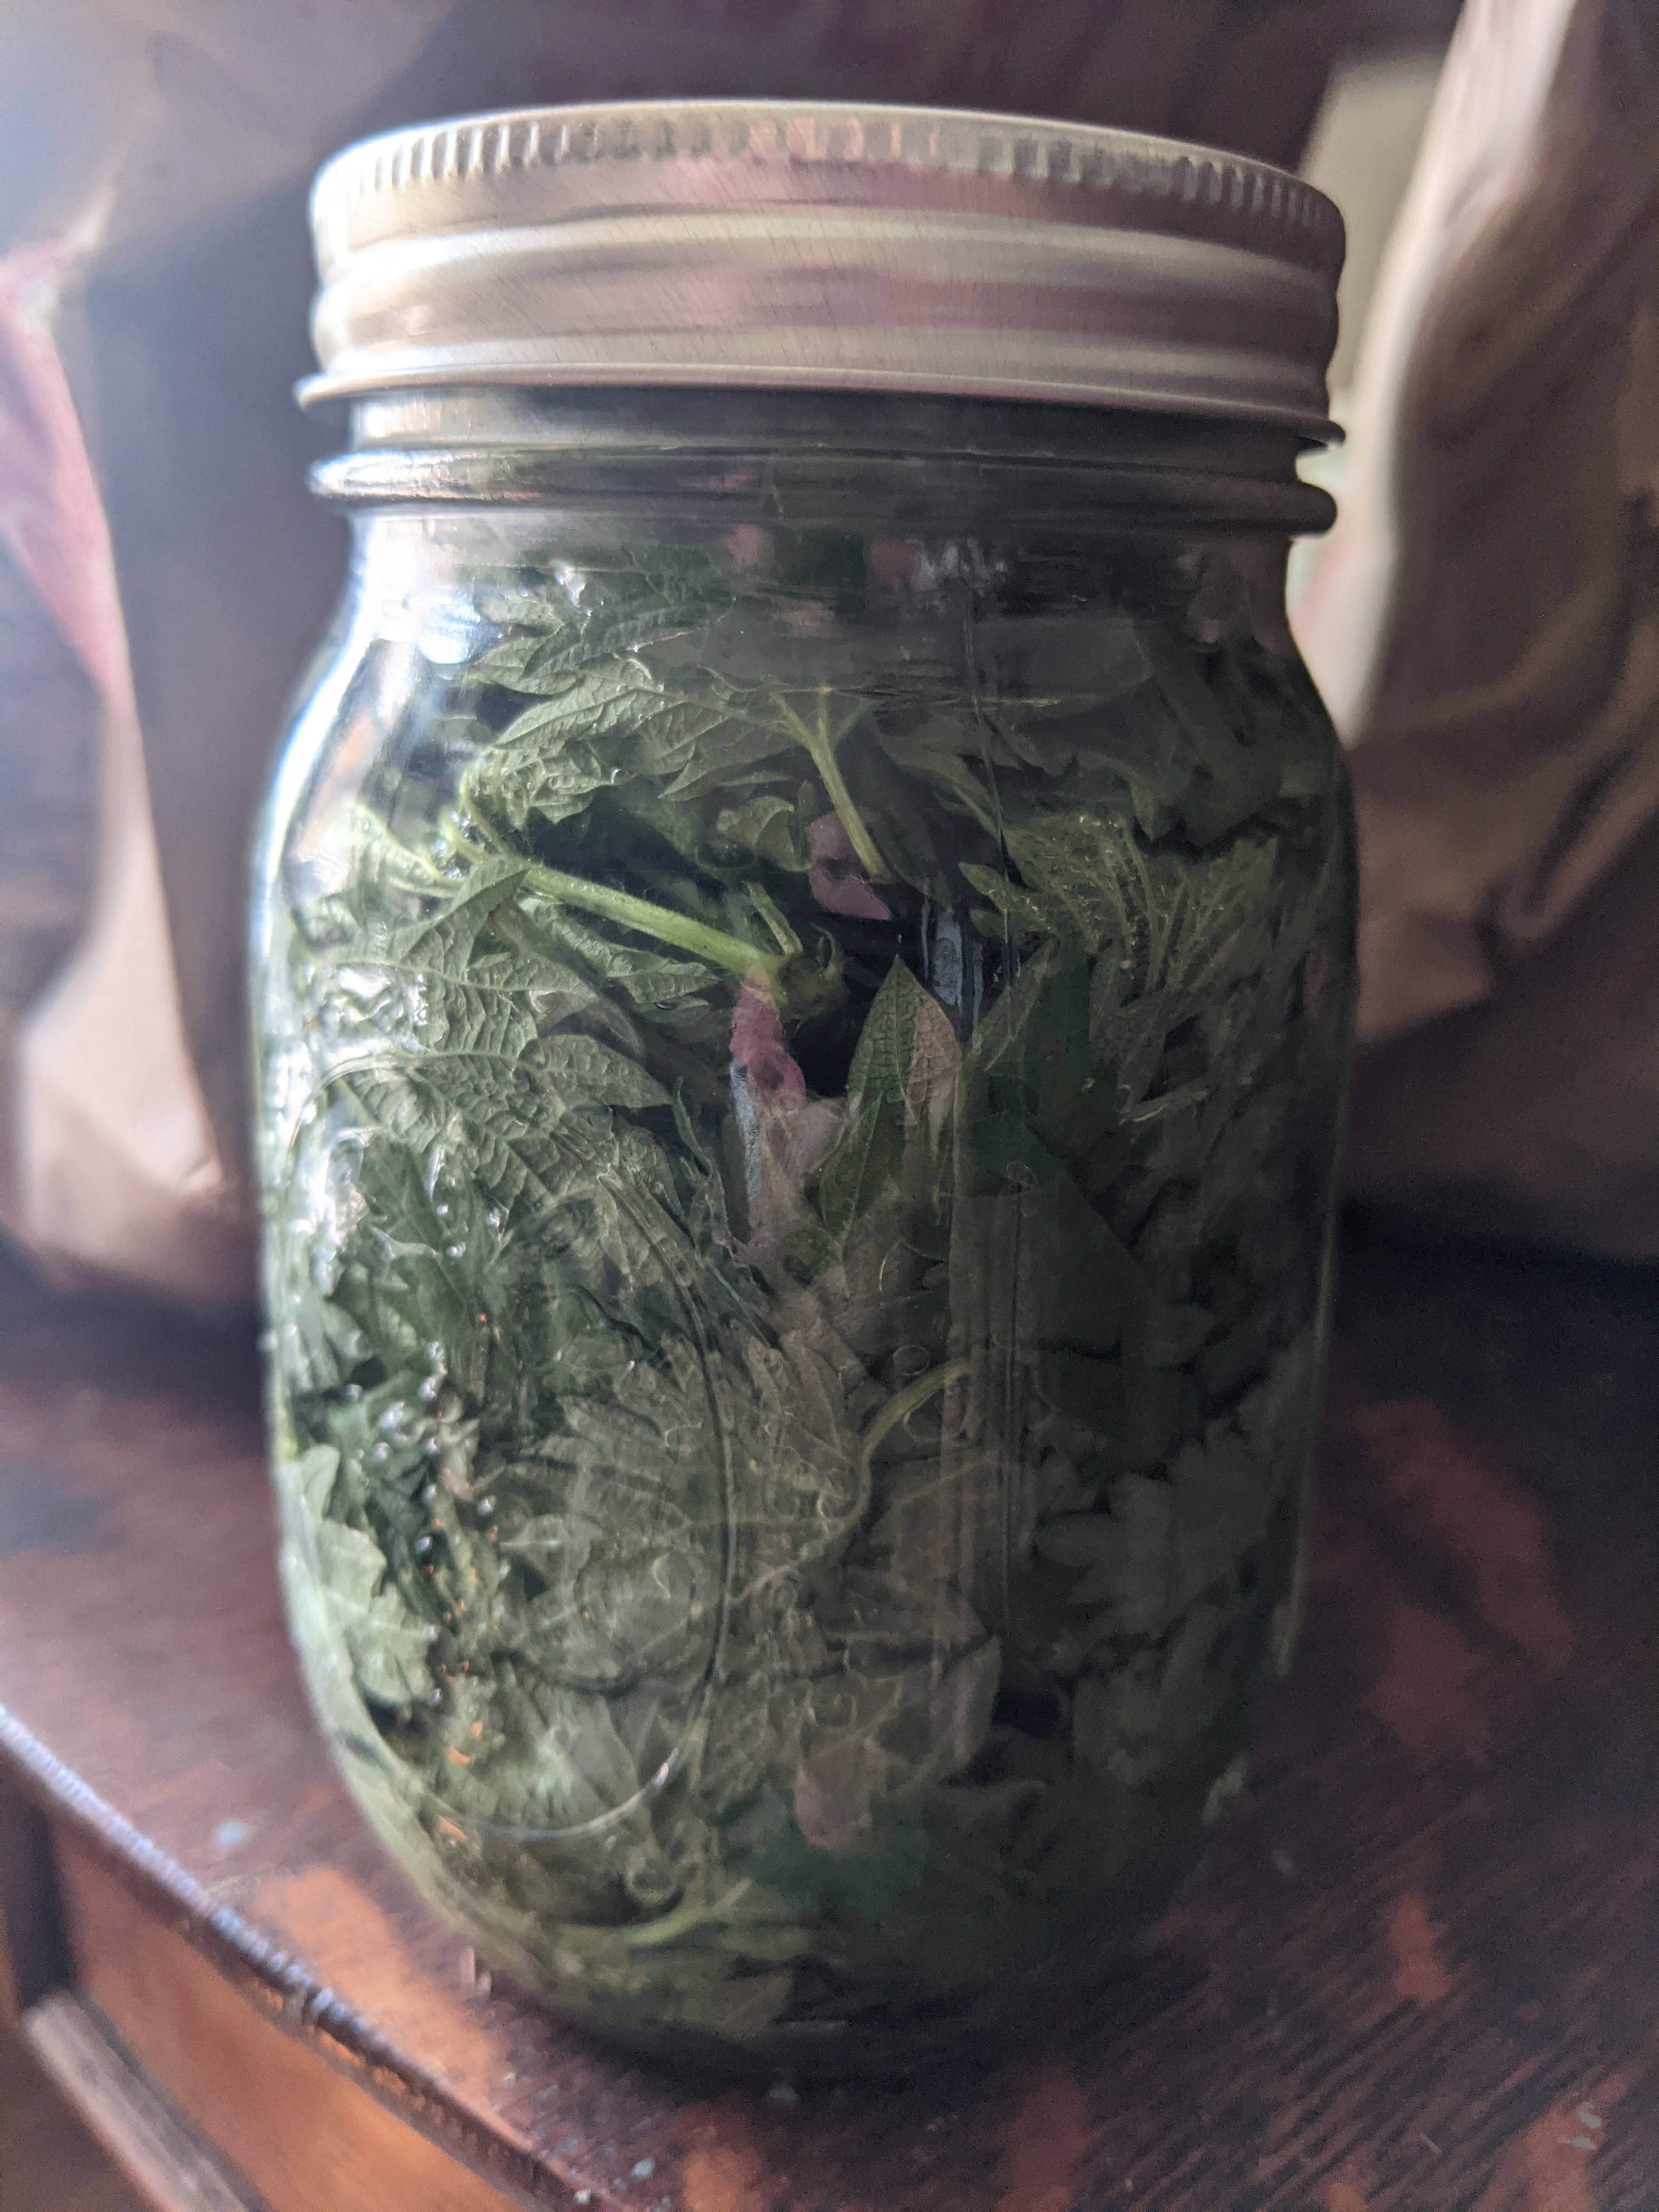
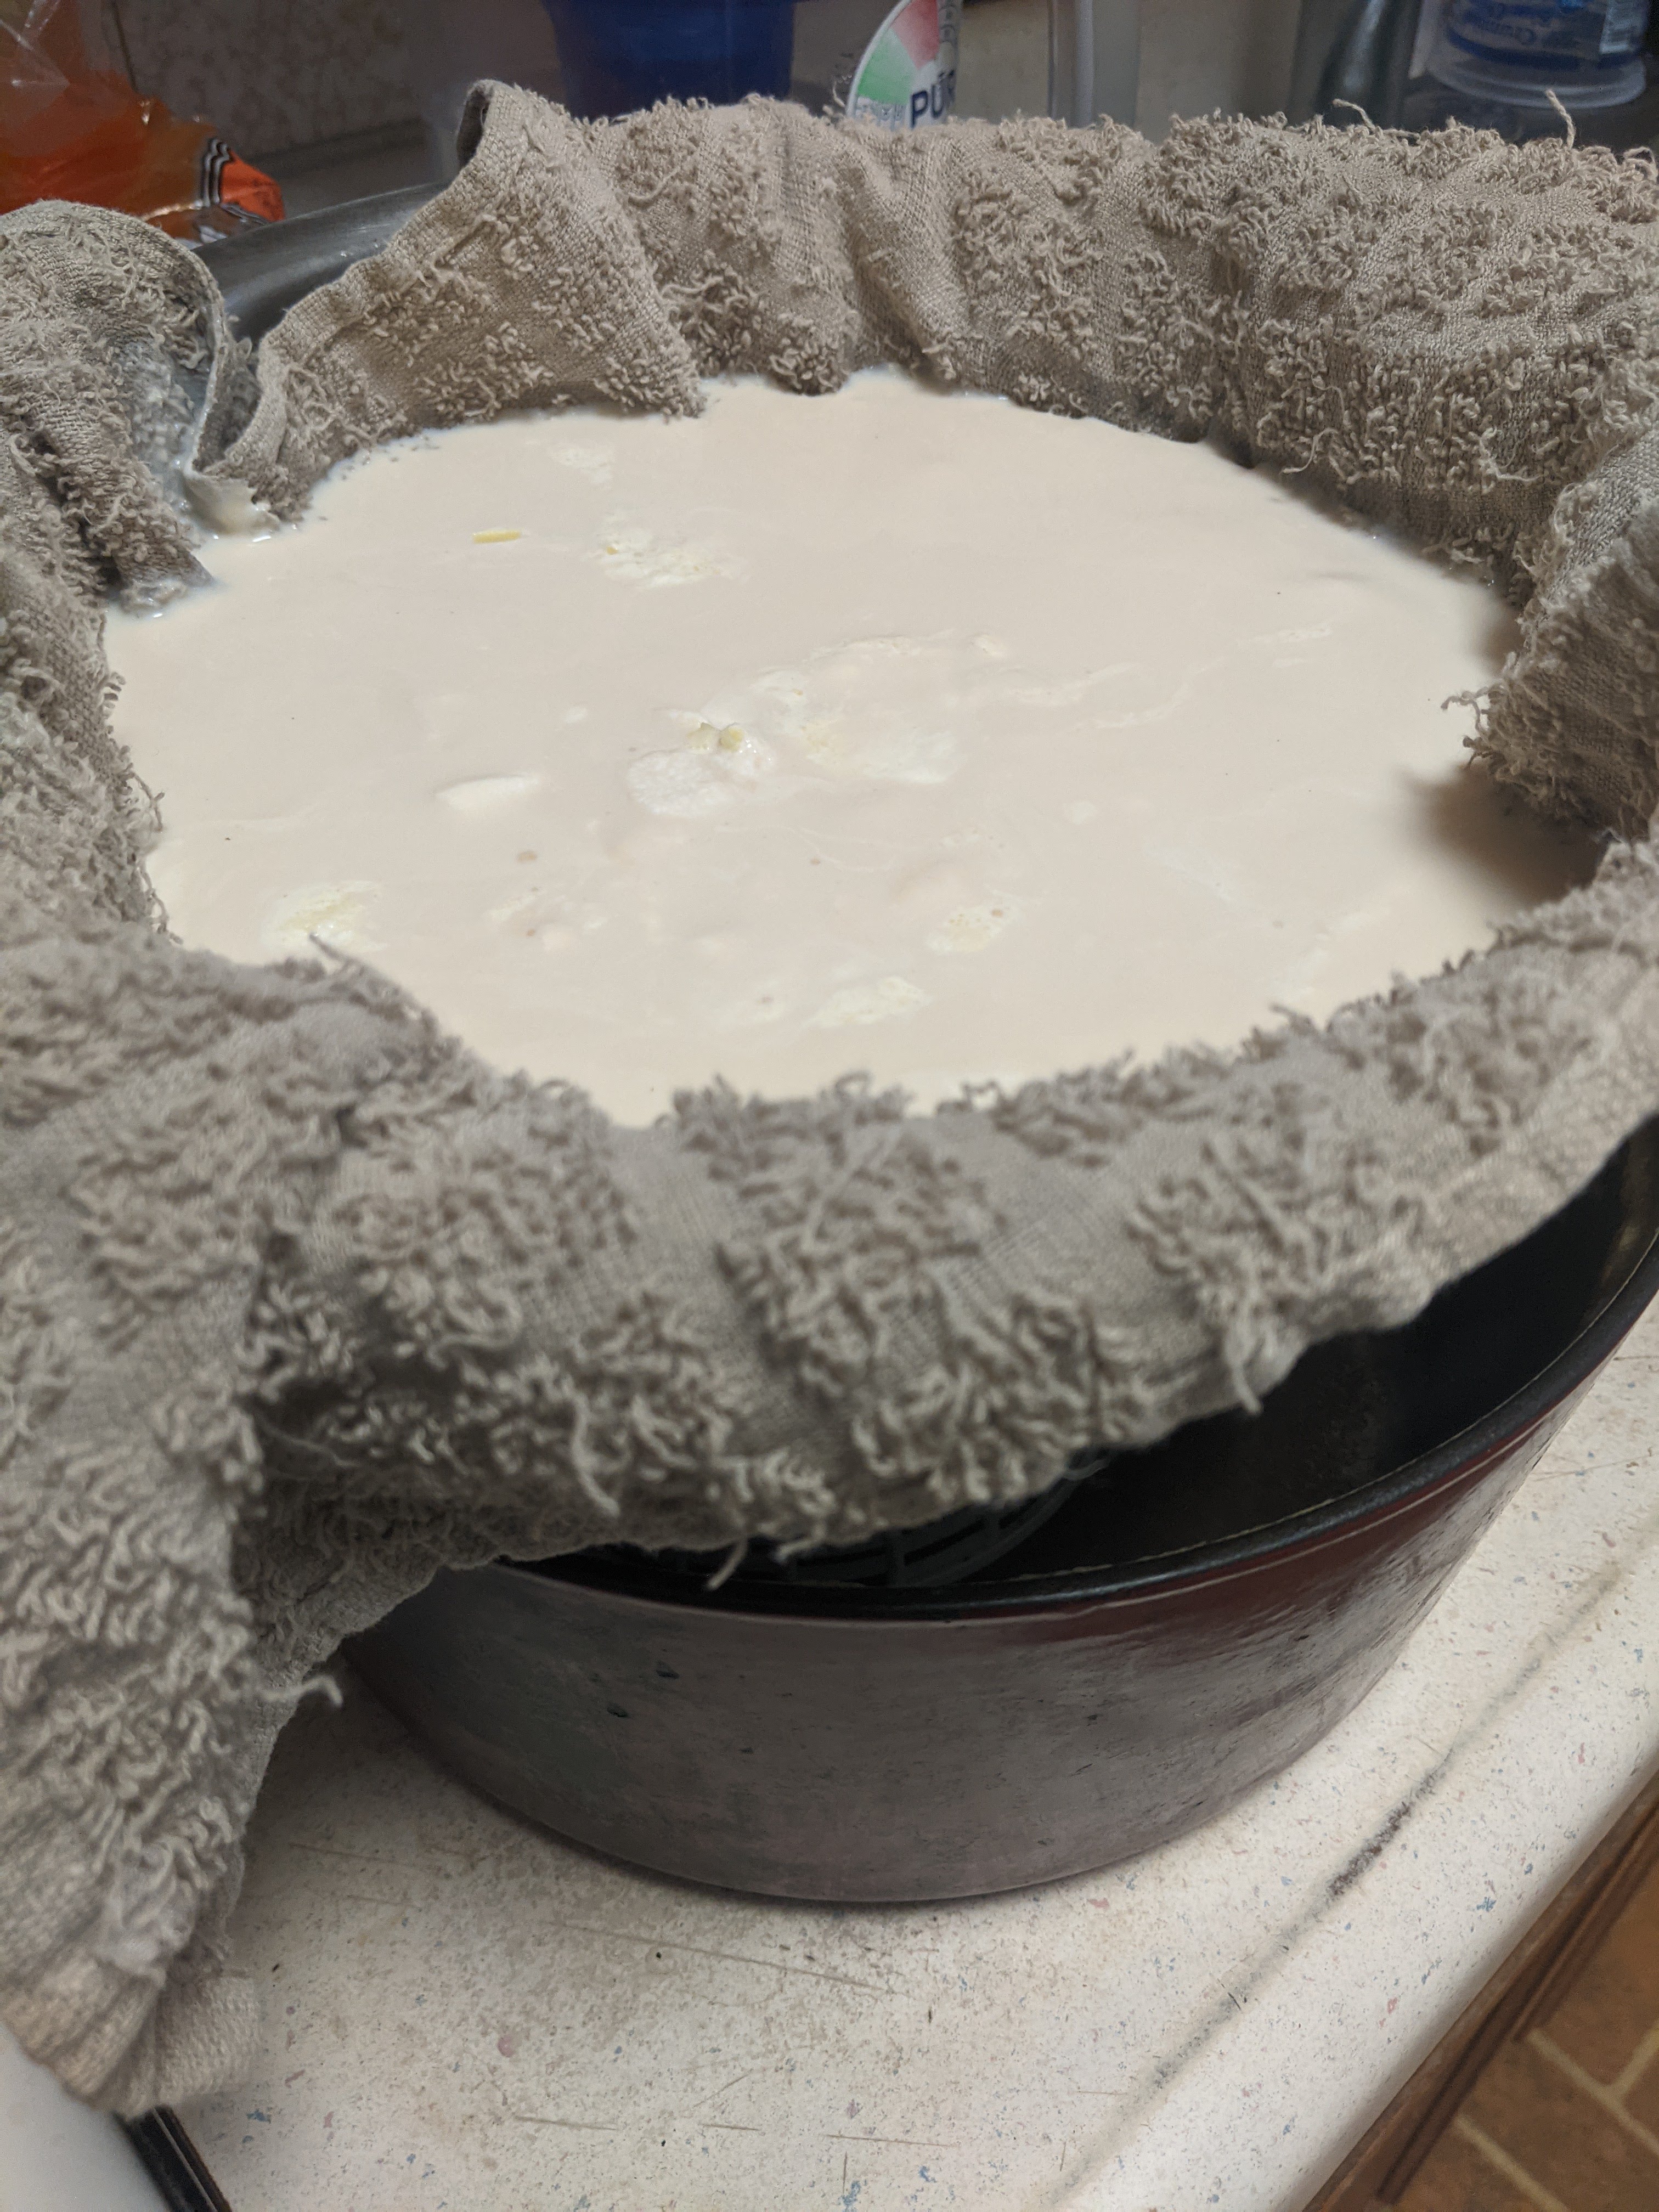
  1. After your hot sauce is done fermenting strain out the solids using a fine mesh strainer.
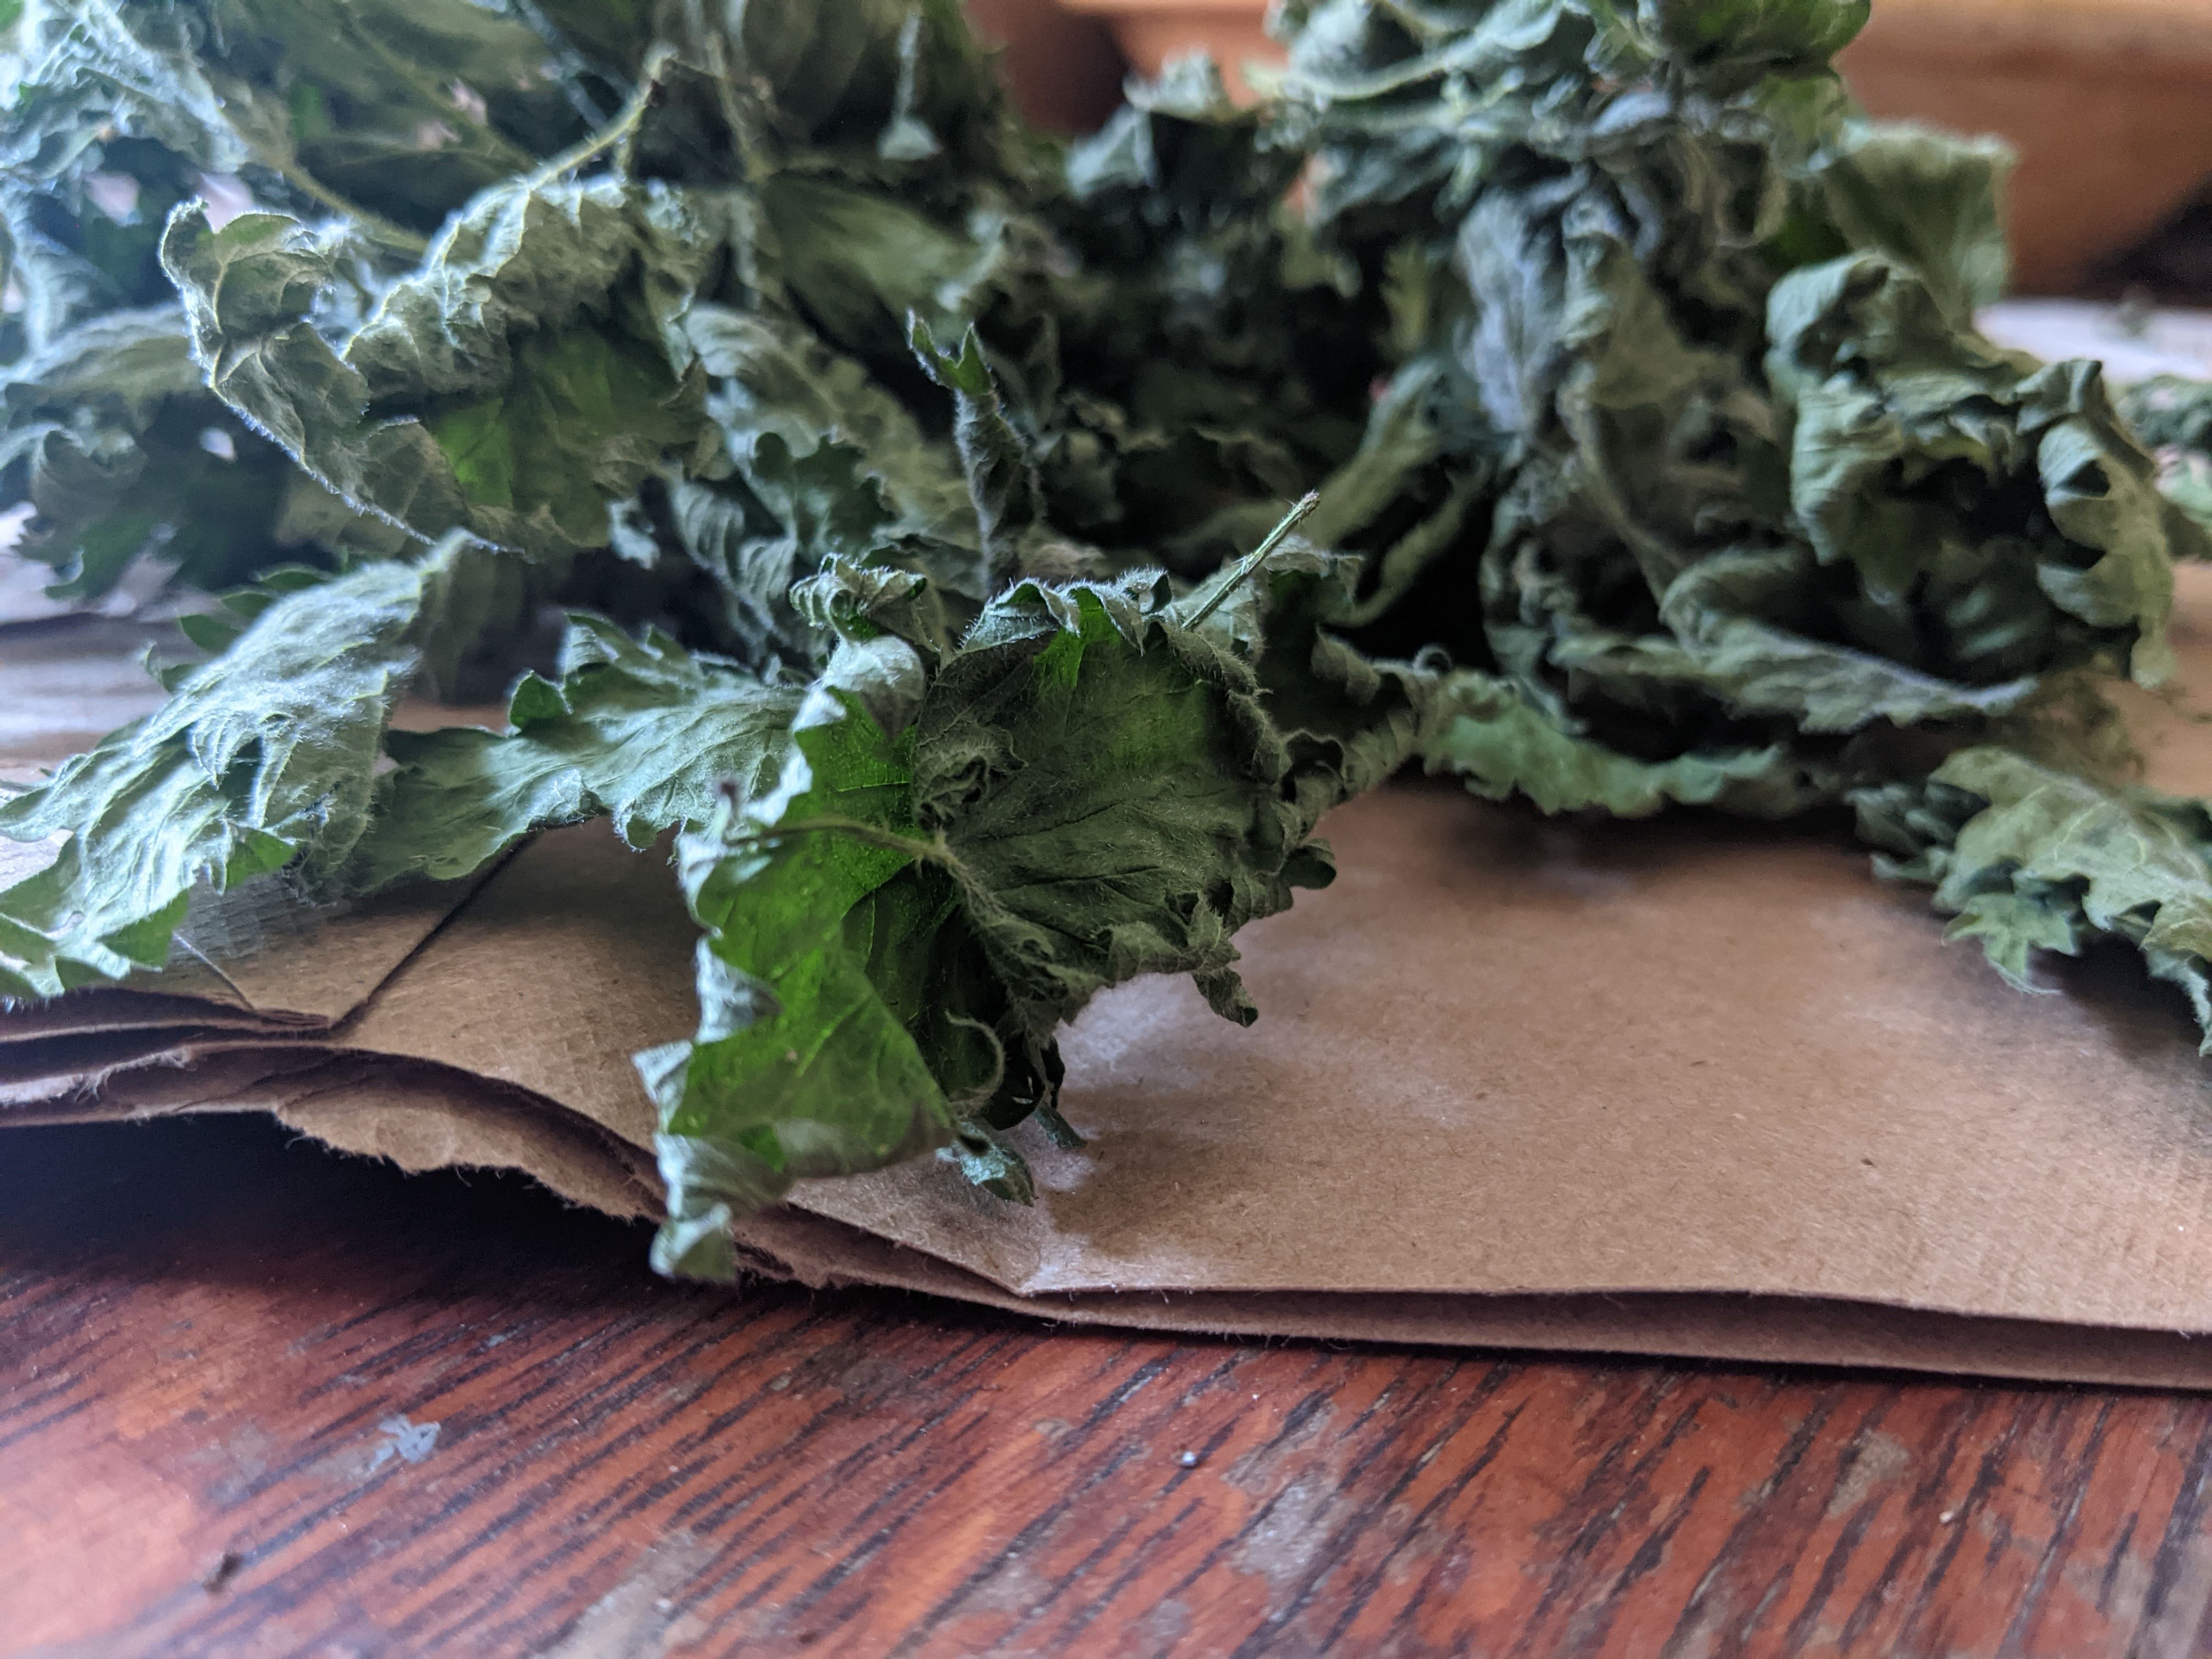
  2. Bottle up your hot sauce liquid, then dehydrate the solids using your favorite method. If you don’t have a dehydrator you can dry it with a regular old fan or in the oven at the lowest setting. (The oven will require some close monitoring and frequent stirring. A fan might be better done outside.)
    3. Be sure to break up the fermented solids every so often when dehydrating as they will clump together. Also be careful as the drying fumes could be intense!
    4. Grind up the dried solids or break up with your hands and store away!

*Most of these posts are resources for Ferment Pittsburgh’s monthly newsletter that features seasonal ideas, techniques, and musings. Consider jumping aboard?

Processing…
Success! You're on the list.

Wild Fermented Berry Country Soda

fermentation

Berry season comes rushing in with the flood of vigorous heat and daylight, and who doesn’t love a refreshing bubbly water during a hot day in the sun. This technique is great for blemished, damaged, or overripe strawberries, blueberries, raspberries, or fruit and berry of any kind. The process came by accident on a bike touring trip where I stumbled across a sprawling wild berry patch. I picked a bunch into a mason jar for eating later but it macerated and fermented as I rode that day in the early July sun. The recipe has been refined since then but still doesn’t beat the original that was cooled overnight by being submerged in the Potomac River.

Process

Pack ripe, crushed berries into a mason jar maybe about 1/3 of the way. Top with water and tightly secure a screw lid. Leave the container out in the hot sun or counter for a day or two. Keep an eye out for a heavily bulging lid- that’s the sign we’re ready.

Place the jar in the fridge to chill. (Tip: liquid absorbs carbonation better at colder temperatures, you can even roll the jar occasionally to distribute the Co2.)

Enjoy your naturally carbonated, naturally sweetened chunky sparkling beverage. You can strain the chunks to plop on ice cream if the day warrants it.

Lacto-Fermented Pickles of Any Kind

fermentation, homesteading, Uncategorized, Vegetable Fermentation

The chase is in full swing. Fleeting moments that contain green beans, cucumbers, peppers, eggplant, and all the rest are here to either catch or miss. Each jar and crock filled is a thriving moment of anticipation for that winter day when you unlock the memories of summer and you proudly present them to your fellow diners- these are my pickles! In addition to the fantastic name, dilly beans were likely my very first homemade pickle. However, like all recipes, are open to your play and creativity.

For the modest backyard garden that gathers maybe a handful of something every other day or so, setting up a continuous pickling regiment is great. Line up your either mason jars, old peanut butter jars, etc and make them as you go- one little jar at time perhaps. Either way the laid-back nature of lacto-fermented pickles assures you can have the time to make delicious pickles this summer.


Pack as much fresh or dried herb as you can while leaving some room still for the veg. Dill blossoms, green coriander, fresh garlic or scapes, fennel blossom, hot peppers etc. It’s nice to shuve the whole thing, stalks and all, when using fresh herbs.

With whatever remaining leftover room squish in as many cucumbers, beans or whatever veg or veg combo into your jar as you can manage.

I like to eyeball my salt (and maybe return later to taste and adjust) but for the rest a nice middle ground place is 2-3 TBS of salt per a quart. That will hit about the 3.6- 5.2% salinity which is delicious.

Add water to cover everything as best as possible and fasten the lid securely.

Leave it out on counter for 3 days, or until you notice some vigorous bubbling activity. The tell-tale sign will be a bulge in the lid. When that occurs, move to the back of the fridge until you forget and remember again that it’s there some time later in the winter. This quick counter to fridge process ensures the crispest pickle for anyone pickling in some hot weather. The fermentation will crawl along slower but to me sure beats having mush.

Forget about the pickles in the back of fridge for at least a month or two but even better the longer you wait. Also, consider not removing the lid once you get a bulge in it. The reason is, that accumulated Co2 is pushing any oxygen up and away from any plant parts not submerged by the brine thus keeping mold away as if it were submerged. There is also an added bonus of getting some effervescent pickles when you open them!

*Most of these posts are resources for Ferment Pittsburgh’s monthly newsletter that features seasonal ideas, techniques, and musings. Consider jumping aboard?

Processing…
Success! You're on the list.

Cleaning Up Fermentation Disasters

fermentation, homesteading

It’s one of fermentation’s most thrilling moments: perhaps it was a bit over-zealousness, maybe insects snuck in an threw a party, or maybe warm weather grabbed hold and ran away with it. Regardless you made something other than what you intended, a mold farm? And it’s time to inoculate the world with your fuzzy rainbow.

Why not get comfortable with these usually unwanted intrusions? It could mean your project is unretreivably off-course, but the processes of nature are continuing to move forward in ways that transform ugk into new life. It really is beautiful. Show off your art piece to your friends. Then, give this a whirl…

Throw a lid over the top to keep any flies or spores from dancing around as you bee-line it for outside. Do this on a cool or rainy day, it’ll keep the stink down.

Take the creative creation to either your compost pile, garden bed, or beneath a tree and flip it upside down. Don’t feel shy about scurrying away quickly. In fact run. Why? Because it’s fun, and if your neighbors don’t think you’re crazy yet then you’re doing something wrong. Maybe this is an overwhelming situation, maybe emotional, but maybe it’s also no big whoop either.

In another day or couple of days kick over the vessel so it’s laying on its side. We’re just letting nature do the cleaning by allowing her to finish the processes she started in your house. Consider it a compromise. The insects will move on, the mold and slime will dry out or wash away. In enough time the life cycles will run through and the vessel will be much easier and friendlier to clean.

There’s an added benefit to having a calculated place to dispose of your secrets and mistakes. What you’re dumping out, through the hard collaborative work of pests, microbes, and you, is rich in nutrients and microbial life to be taken in by the soil, aka, your fermentation disaster is increasing soil fertility.

There’s a neat website here that describes the various nutrients each plant has, and those nutrients get unlocked and added to your soil through the fermentation process along with an added inoculation of microbes.

As far as the scrubbing goes having something that sprays with some good pressure is amazing. It’s especially helpful in getting off any larval carcasses who tend to affix themselves to the sides (yum). But what a great job you’ve done fostering the processors of nature.

For a really good clean I like to soak in a food safe lye solution- the same one I use for pretzel and bagels, just a pinch or two of granules, but only if you’re dealing with a non-corrosive container.

Then scrub to your heart’s content until your next fermentation adventure. Consider lessons learned. Congratulate yourself on inoculating your lastest insect/ mold farm into the world for the health of the whole ecosystem.

Couple Ways to Preserve Stinging Nettles

fermentation, homesteading

Picking wild nettles is one of the essential traditions of spring. I’m certain the world will cease to turn the first year that nettle soup doesn’t make its way to the table. (As should be the case.) For nettles all year long here are a couple things to do.

Blanch & Freeze

Prepare a large pot with boiling water and enough salt that it tastes good to you. Leave enough extra room for when you plunge the nettle in. When you achieve a rolling boil add modest handfuls of nettle, pushing them down to submerge for about 2-4 minutes. Remove, strain, and place in iced water, or the coldest water you have and repeat as necessary until all of your nettle is blanched.

When all the nettle is done and cooled, strain them from the cold water bath and squeeze excess water out. I like to roughly chop it at this point. Next, divide the nettle into portions, put them into freezer bags, or other containers, and place in the freezer. These are great for adding straight away into dishes like stews or stuffing into ravioli all winter long.

Lacto-Ferment

A quick and natural ways to preserve nettle while influencing its unique nutritive qualities is a quick lacto-ferment. Just pack nettles into a jar with a sprinkle of salt (3% salt by volume brine is the general comfy amount) and top with water. Screw the lid lightly shut and let it bubble up at room temperature for a couple days. Thin leaves like these do have a tendency to get mushy and fall apart if left to ferment long enough so I prefer to move my fermented nettle to the fridge a couple days into the jar getting active.

Add to Sauerkraut

If you happen to have some sauerkraut lying around or are about to make a batch, sauerkraut works as a great “bed” for leaves like nettle to help resist them turning to mush. Mix fresh leaves in with your cabbage or kraut to make a fun seasonal variation.

Dry

I think drying is the best use for the big, late spring nettles. The small, delicate ones deserve to be eaten right away. The dried nettle are great as a seasoning or nourishing tea at any time. I like to take advantage of the new warm sunny rays and simply lay the nettle out in a single layer on newspaper, flipping and turning as I remember. The gently dried nettle can then be stored in jars.

Homemade Spring Herb Chevre

dairy, fermentation, homesteading

In the spirit of welcoming spring, chevre is a perfect companion. It’s creamy, yet sour notes describe the thawing and waking of the world around us. It’s also a cheese I refer to as a lazy cheese. It’s the perfect gateway for anyone wanting to get into cheesemaking, with several steps that run the pattern of- “do one thing, then forget about it for a day or so.” To make it even more special it begs to compliment the first herbs that rise from the ground, or even if you’re in need of using them up, perhaps the last of last year’s dried herbs. It can be made from any mammal’s milk really, so why not pick some herbs on your walk to the milk store?

Start with good milk. It’s best to use the most minimally processed milk you can get your hands on, but definitely non-homogenized milk. Often this is called cream-top. The process of homogenization destroys the milk’s ability to turn into the cheese we want.

Next you’ll need rennet. Rennet is the coagulator that will give us our curd. Traditionally it originates from enzymes in the stomach of a calf, however there are now all sorts of options from plant-based rennet to weird laboratory synthetic ones. Check out Cultures for Health for a full line up that’s great for home use.

Lastly you’ll need some kind of inoculant if you’re not using raw milk, which provides it’s own cultures. Dairy kefir grains work great.

Process

If using a half gallon of milk, pour off a cup with your kefir grain to culture for 1-2 days at room temperature. A jar with a loose fitting lid works great. No need to be super precise if you don’t want to.

Once your kefir has generally ripened, take the reminder of your milk to the stove and heat to a pleasantly warm 90 degrees. Turn off heat and add your kefir (straining out the grain for future use). Stir and incubate the milk for at least an hour.

Next measure out your rennet according to the manufacturer’s instructions of the particular kind you have. We are using just 1/4th of a dose. I dilute mine in a small splash of water before pouring it in the milk. Stir the milk gently for 20 seconds making sure to touch every part- top, bottom, and every side. Put a lid on and let it rest.

In fact let it rest for 24 hours. I’m convinced this cheese was invented by someone who just flat forgot about it. Regardless, the curd will set within a half hour, and will then slowly ferment in the whey building up lactic acid bacteria. The results of this 24 hours time vary upon environment. Best to taste it if you’re particular. The warmer the room temperature/ the longer it goes, the more sour tasting it will become.

After 24 hours, or so, set up a cheesecloth straining system. Sometimes when I can’t find a cheesecloth I opt for a white teeshirt. Tie it up around a spoon and suspend it over a pot or bowl to drain out. Straining should take another 12-24 hours, or you can check periodically for your desired consistency.

Next open up your beautifully strained curd and place in a bowl for mashing and mixing. Add salt to taste, perhaps a teaspoon at a time until it is just right for you. Then the fun part- add whatever spring herbs you have around whether they be ramps, nettles, redbud flowers, dandelions, etc. Whatever flavors excite your imagination.

I think it’s essential to celebrate the new flavors that come up with every new stroke of the season’s wandering melody. Not everyone can stroll over to a ramp patch any time so consider dehydrating some to call upon for stoking some excitement for the flavors close at hand. Ramps and fresh chevre taste like spring to me.

Enjoy.

Making Maple Mead from Sap

alcohol, fermentation

To make this mead you’ll need a plentiful amount of sap to work with. Maple mead is a great idea for a home tapper who gets overwhelmed with sap. This recipe is for those ambitious types who do their makings from scratch- go out there and tap those trees!

The sap itself can be quick to spoil. It is high in pectin which will, in time, make the sap into a weird jelly-ish texture, this then could invite mold or other unwanted microbial influence such as the fermenting away of the little amount of sugar presently available. The sap is only ever-so slightly sweet, 40:1 sugar ratio. Therefore it doesn’t have enough sugar to ferment into much alcohol just as is. However, by boiling it down we can concentrate the sugars into a beverage to produce a suitable amount of alcohol.

When making alcoholic beverages I prefer to get my measurements generally accurate, erring away from specifics but shooting for close enough- and for that I use a hydrometer. While not an advocate for buying too many things, I do think this instrument is worthwhile, and is only about $20 anyway.

Hydrometers measure sugar in terms of brix. And roughly converted about 1 degree brix can ferment into about 0.5% alcohol. Therefore for an average 5-6% beverage we’d need somewhere around 10-12 brix, for 10% we’d need about 20 brix, etc. For those who wish to eye-ball it rather than measure I’d recommend boiling down to about 1/10. The sap should taste sweet as juice. The sweeter, the higher alcohol you’ll likely get. However, there is too sweet that it won’t ferment. In that case you’ve made maple syrup- congrats.

Monitor your boiling, whether it’s indoors or outside. More information on boiling is given in the maple syrup post here. Regardless of your method do keep an eye on it to reach your desired brix level or finger-licking sweetness level. A burnt sap is a heartbreaker. Keep in mind too that the temperature of the liquid affects the hydrometer reading, so if you’re use a hydrometer with some hot sap here’s a handy calculator to use.

Once the liquid has reached your target, let it cool.

We have boiled to death any microbes previously in the sap and consequently have a pasteurized base, we now need to think about how to start it fermenting. This can be done by adding yeast, backslopping from an active brew, or reinstating wild yeast by leaving it open to the air. Inviting wild yeast can be assisted through vigorous and frequent stirring, however this can increase your chances of acetobacter (giving your final brew a hot acidic bite), but maybe it’ll work out?

Ferment to dry either continuing to use your hydrometer to get a reading below 0, or to wait until absolutely all bubbling activity has ceased. Rack then age in a clean carboy with an airlock for 3-6 months, or bottle away.

Ryazhenka – baked & yogurted milk

dairy, fermentation, homesteading

Since we are in oven season here is a recipe that you can’t miss to help warm your house and your spirits. It seems likely that this technique was developed by making full use of woodheated ovens. After a day of baking, a crock of milk was tossed in the residual heat, with the oven cover sealed, and left to slowly caramelize. The milk changes to a bronze-ish hue with brown caramel-y flavors as the sugars in the milk does its Malliard reaction thing. The baked milk is then inoculated with a lactic-acid culture and fermented into a delicious beverage.

The possibilities of this technique are great. I love the flavor of the baked milk and can be inoculated with everything from kefir, to sour cream. In this example I use yogurt as it’s my preference. The cultured product can then be drunken as is, perhaps spruced up with some maple syrup and cinnamon, or strained into a thick Greek-style yogurt. The choice is up to the maker.

But stay keen on the hidden treat of the crispy surface that develops on the milk as it bakes. That crispy, fatty, creamy cap deserves to rest on a slice of freshly baked bread and get eaten immediately.

Start with delicious milk.

Then bake it uncovered in the oven at 225 degrees for 6-8 hours or until it has reached a nice carmelized-ish hue, with a superbly crispy layer on top. The color of the milk can vary but you can determine its done-ness by a dark, crispy surface layer.

Quick snack break

Grab a freshly baked bread slice, scoop off the hot crispy top layer, add a sprinkle of salt. Swoon.

Making the yogurt

Let the baked milk cool. If you have a thermometer cool it to 120 degrees, if you’re low tech, test it by dipping a finger. When the temperature on your finger is hot but still comfortable you’re good to go.

Set up your jars or containers to ferment in. Basically anything with a lid. You can inoculate with a dollop of your favorite store bought live-culture yogurt or follow the instructions on purchased cultures. For this montage, I just put a dollop of already made yogurt into my quart mason jars.

Pour in the warm, baked milk, and stir everything up to incorporate the starter culture.

Incubation

My preferred yogurt incubator is a small cooler and hot water. I incubate at 120 degrees for 4 hours, and the little Playmate cooler handles the job smashingly.

I take my inoculated milk jars and place them in the cooler. It’s a good idea to pre-warm my cooler by filling it with hot water while the milk was cooling. Next fill the cooler with a new refresh of 120 degree hot water and fill it up to the height of the milk in the jars. My taps run at 120 degrees at their hottest making this an easy task. Otherwise you can heat up water on the stove.

Close the cooler lid and give it 4 hours of solitude.

Then pop the yogurt into the fridge to cool and firm up.

Straining Yogurt

There are a couple directions to go here. You can leave it as is. Ryazhenka is a cultured beverage so you can drink your yogurt as is, use it as yogurt, or strain it into something thicker. I like thick yogurt so I opt for a strain.

Using a clean, wet, and wrung out cloth, line a colander with a catch basin beneath for the whey that runs off. Since it’s winter I just throw this outside to avoid taking up too much refrigerator space. When it reaches a thickness you like it’s done. Greek yogurt perhaps? A thick dollop for my bigos?

A Beverage?

It also makes a delicious beverage with nothing more than a generous shake to distribute the thickness. Sometimes I’d add a dash of maple syrup and a pinch of salt for a wonderful treat. Cinnamon and ginger also suit it well.

Shio Marinaed Carrot Jerky &/or Beef Jerky

fermentation, homesteading, mold, Vegetable Fermentation

Shio Koji

Shio koji is a slurry using koji rice, water, and salt that is left to ferment. The mixture matures with time into a sweet, salty, umami porridge that is perfect for using as a marinade as the enzymes in the koji asssist in tenderizing the ingredients. If you’re not familiar with koji, it is a fungus, usually grown on a grain with certain enzymes that are responsible for the unique flavors in products like miso, sake, and shoyu. I like to use the shio for almost any meat, including all poultry or even different vegetables to add another dimension to my cooking.

Making shio is very easy. I combine dry koji to water at a 1:2 ratio. Add 1 tbs salt per 2 cups of mixture, or to your preference. Pop it all in a mason jar with lid fixed snug, give it a shake, and let it do its thing at room temperature.

If you’d like to get well acquainted with it, taste it every couple of days and note how it changes. After about 2 weeks you should be at a decent spot of maturity to do some marinating. However feel free to go as long as you wish.