Fermented French Fries (& Potato Chips)

fermentation, Vegetable Fermentation

In a makeshift urban root cellar such as we have, the turning of the weather is felt in more places than the breaking of tree buds. While a fermented french fry recipe featured above seems lighthearted and fun, it serves a practical purpose as the tail-end of our stored potatoes also experience an early Spring “bud-breaking” (or spud-breaking?). It works two-fold as what needs eaten needs done with a little more pep, while those potatoes put aside for seed are getting a little pre-sprouting before going in the ground soon enough. The light fermentation adds a more dynamic lacto-pickley flavor to your fries that goes great with traditional condiments, making them worth a try.

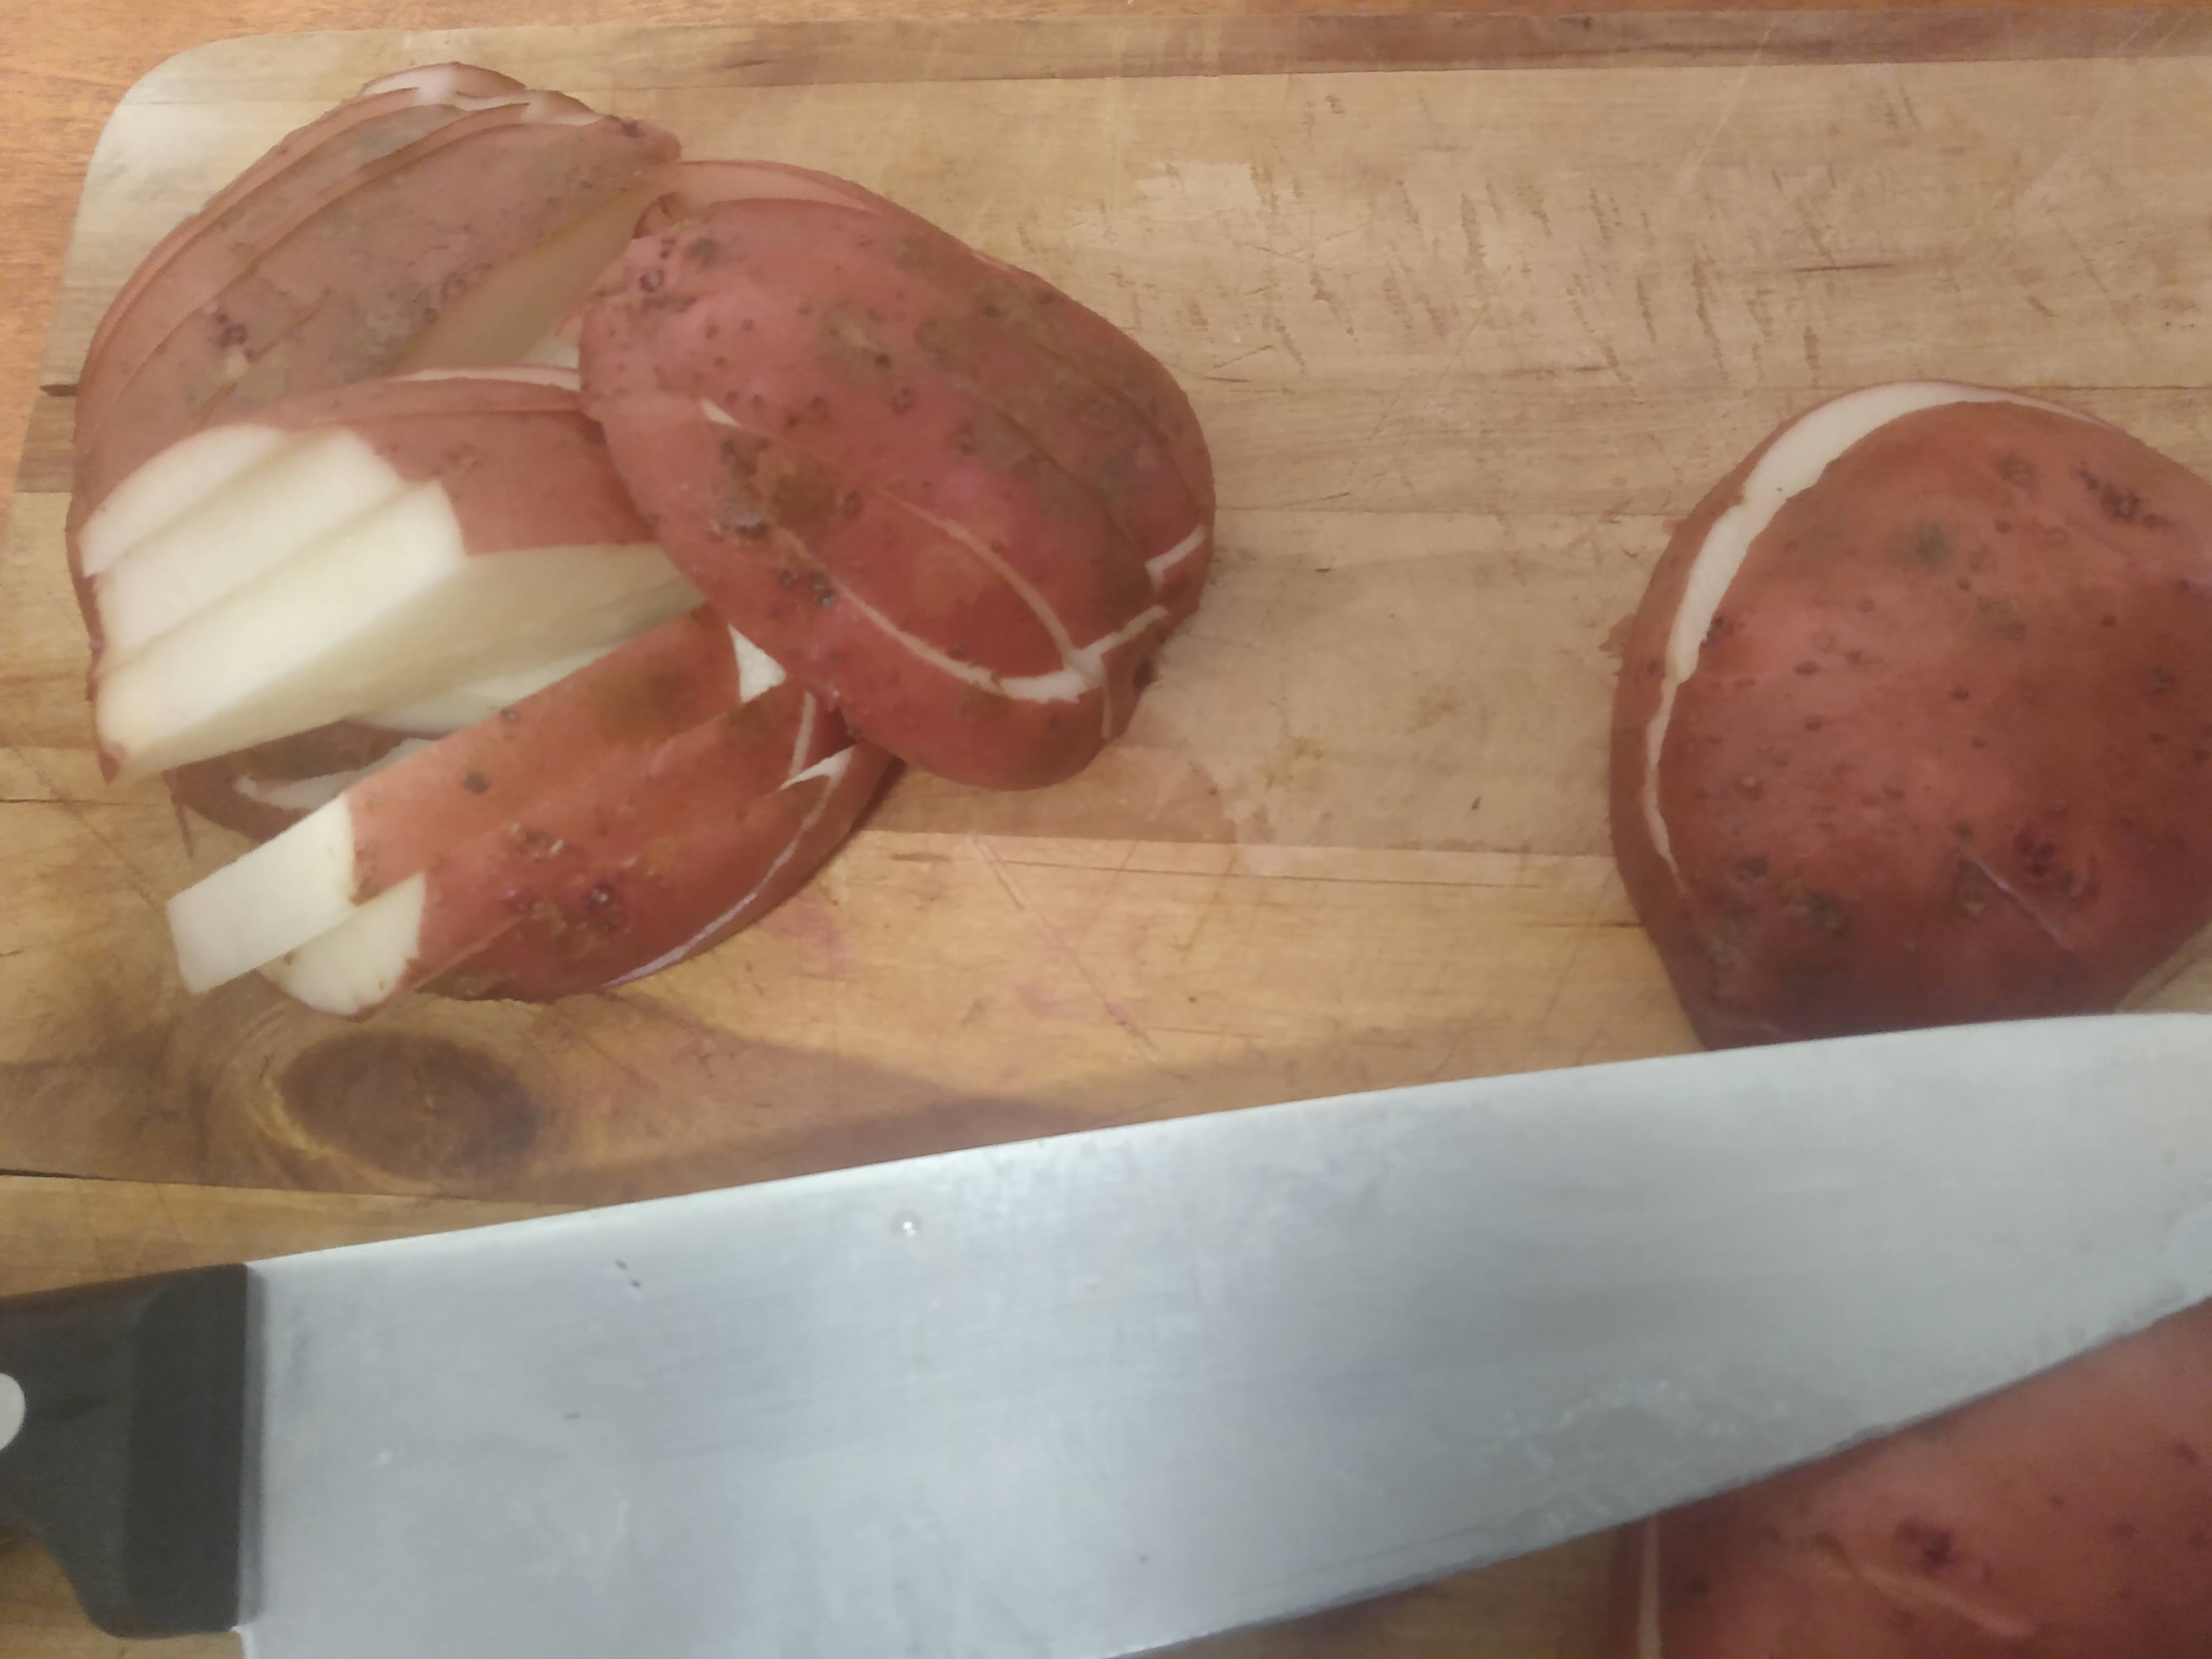
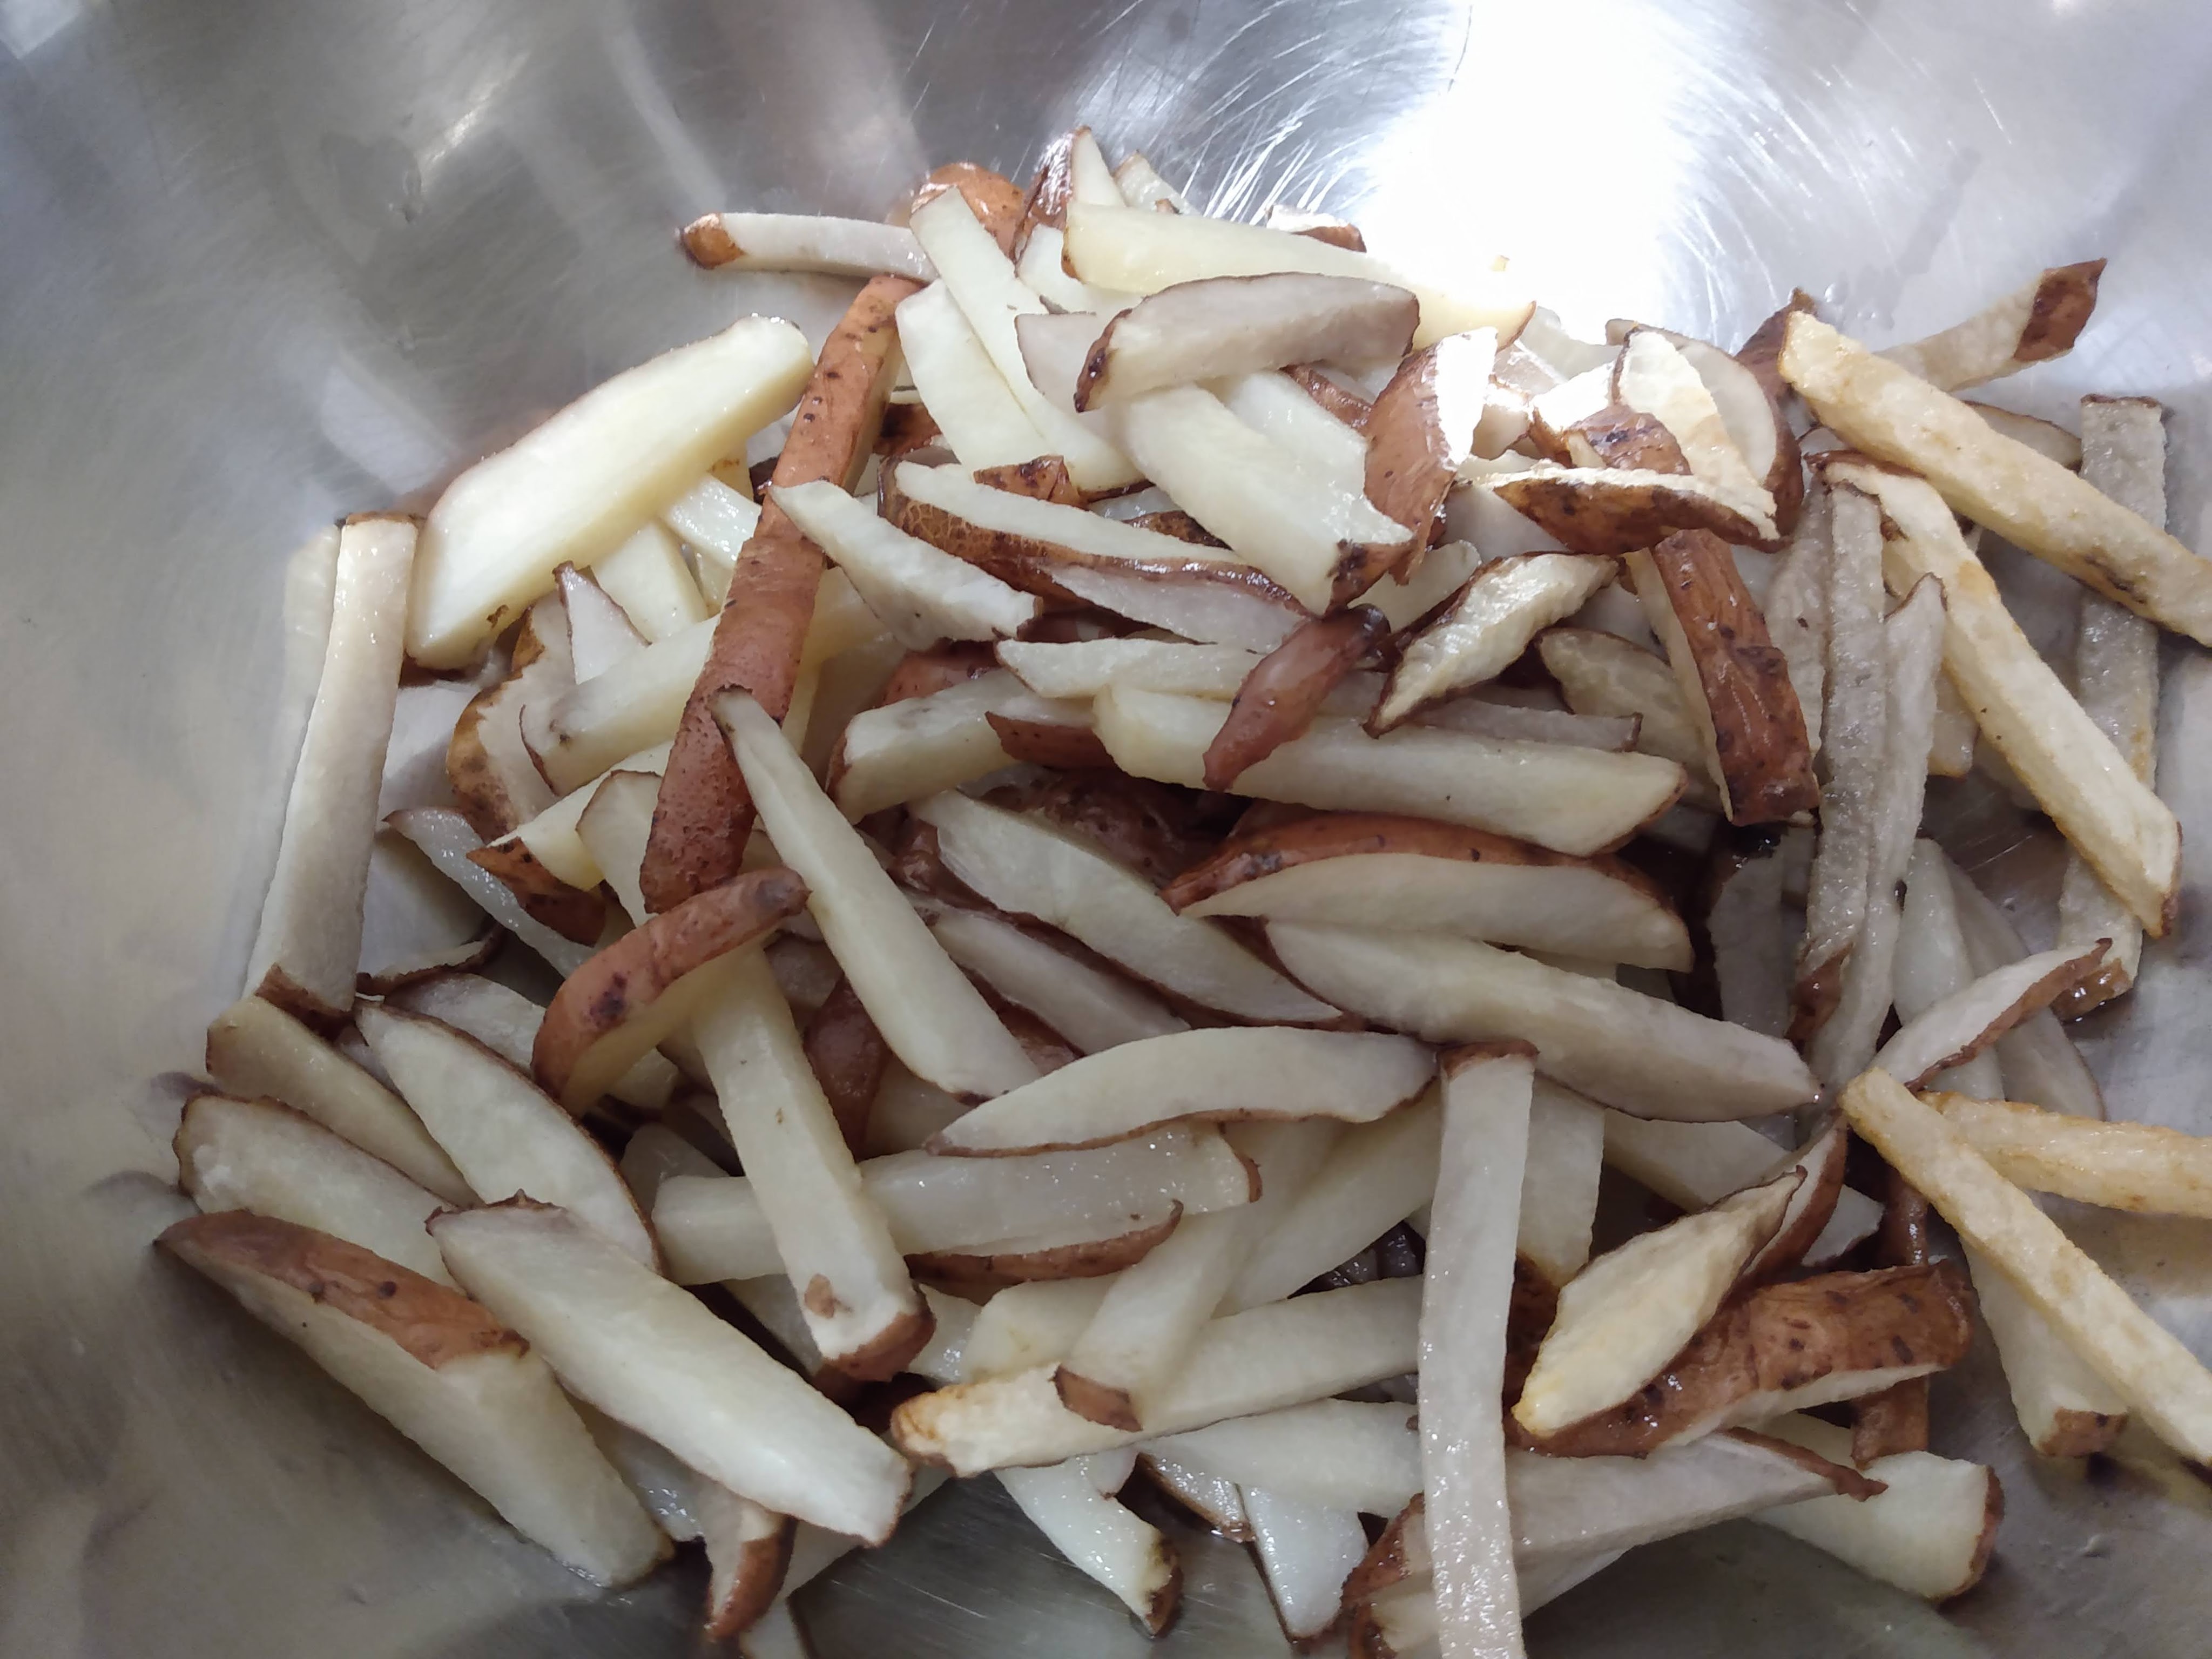
Leaving the skin on, cut up the potatoes into your preferred fry shape.

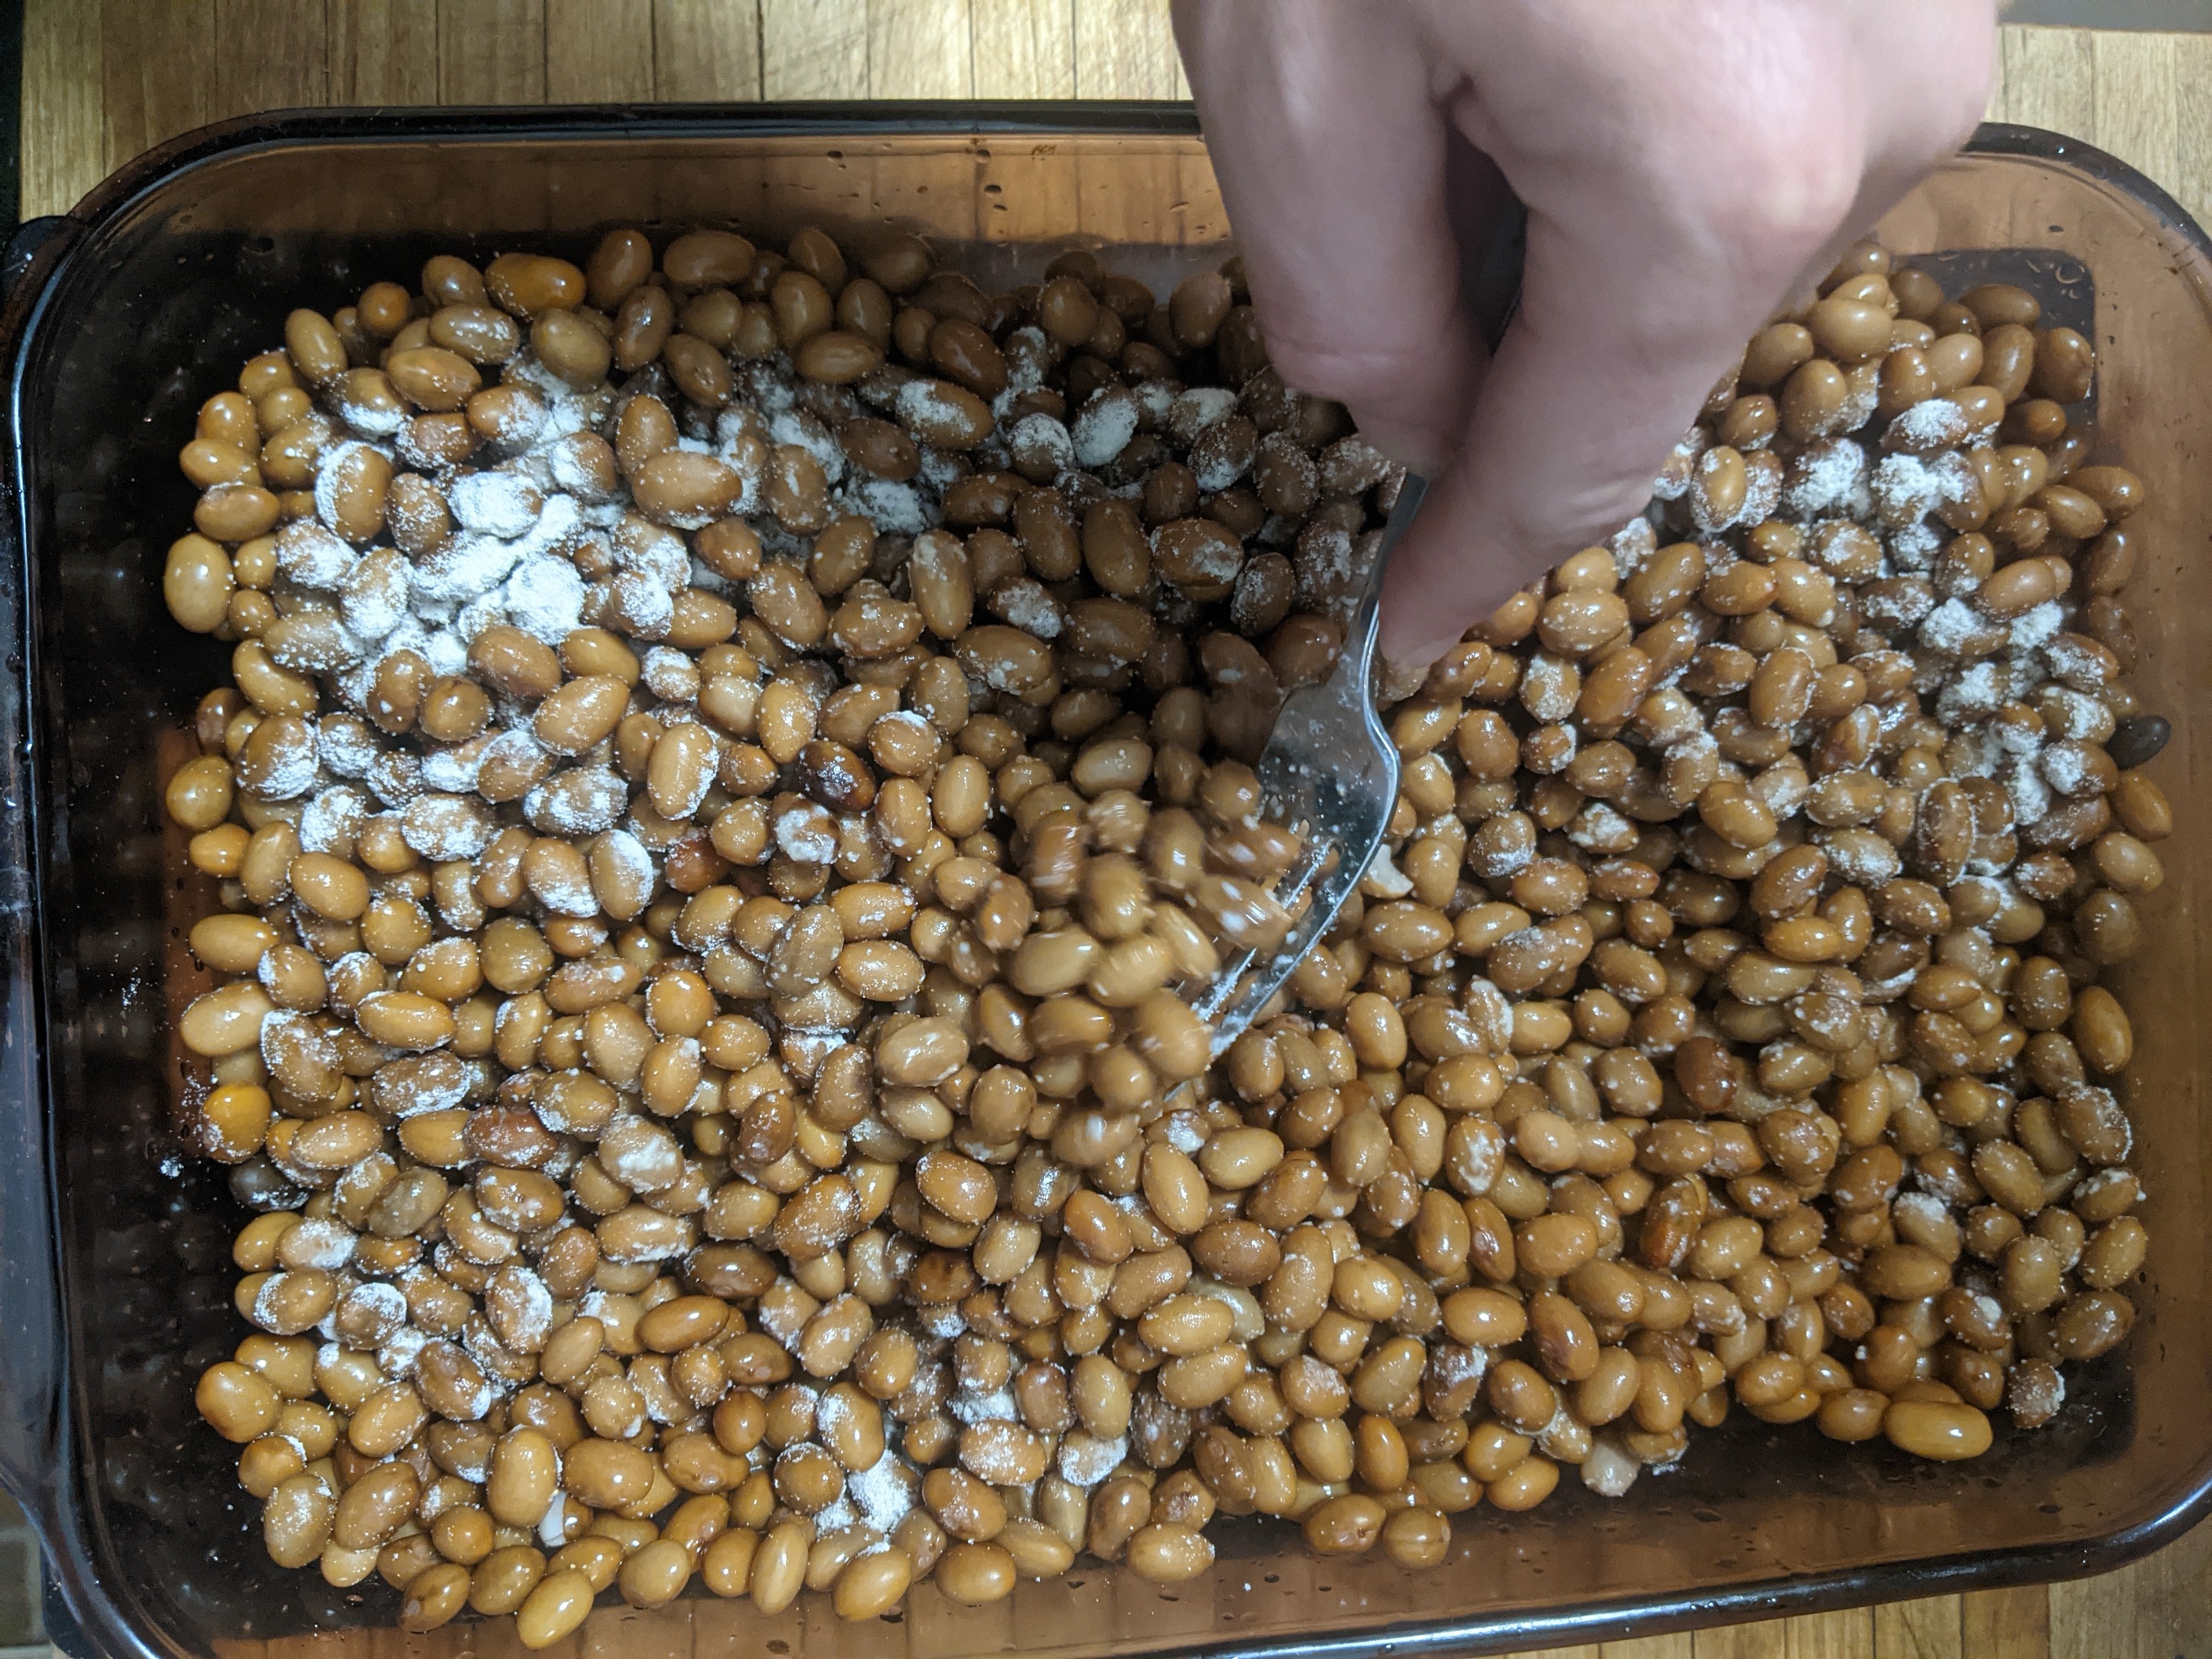
Normally fries get an overnight soak in cold salt water to wash off excess starches. In this case we’ll do the soak as usual, but at room temperature and for a couple more days.

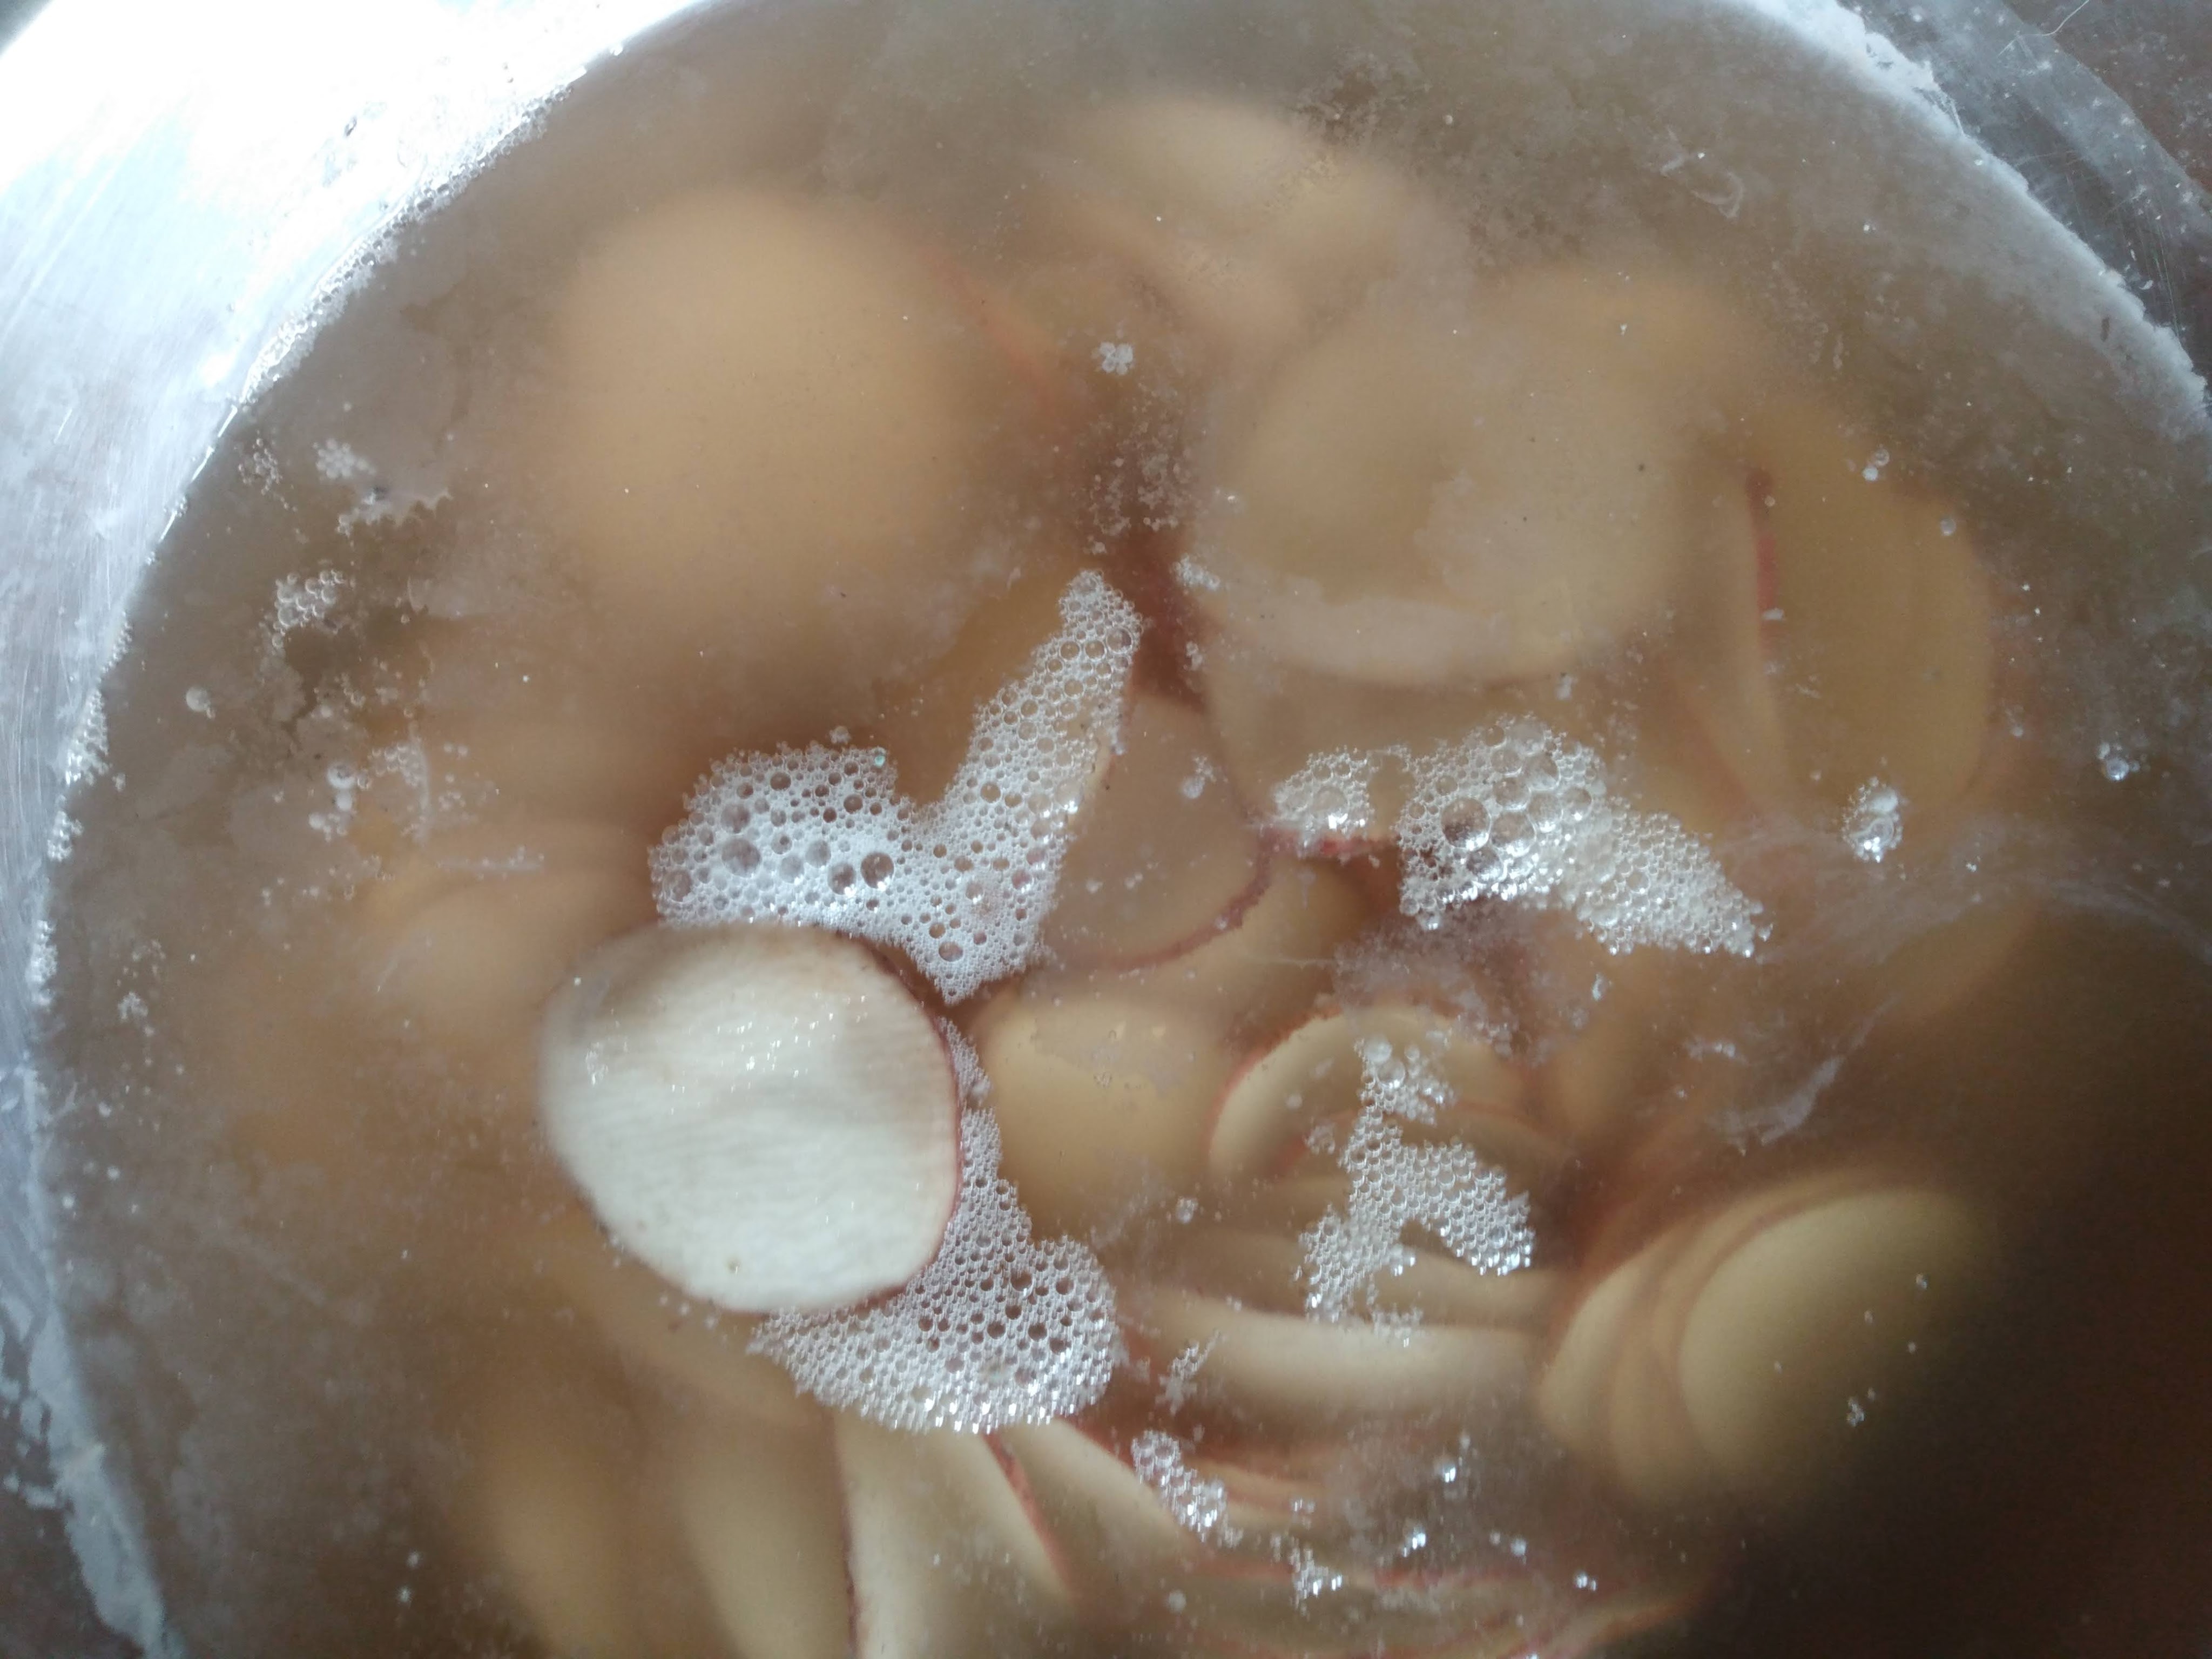
In your fermentation vessel cover the fries with water and add enough salt that the brine has a pleasant lightly salted taste. There’s no wrong answer with salt, except the potatoes will be taking on salt during the ferment, so too much can result in over-salty fries. A light brine enables you to still add salt after frying without overdoing it.

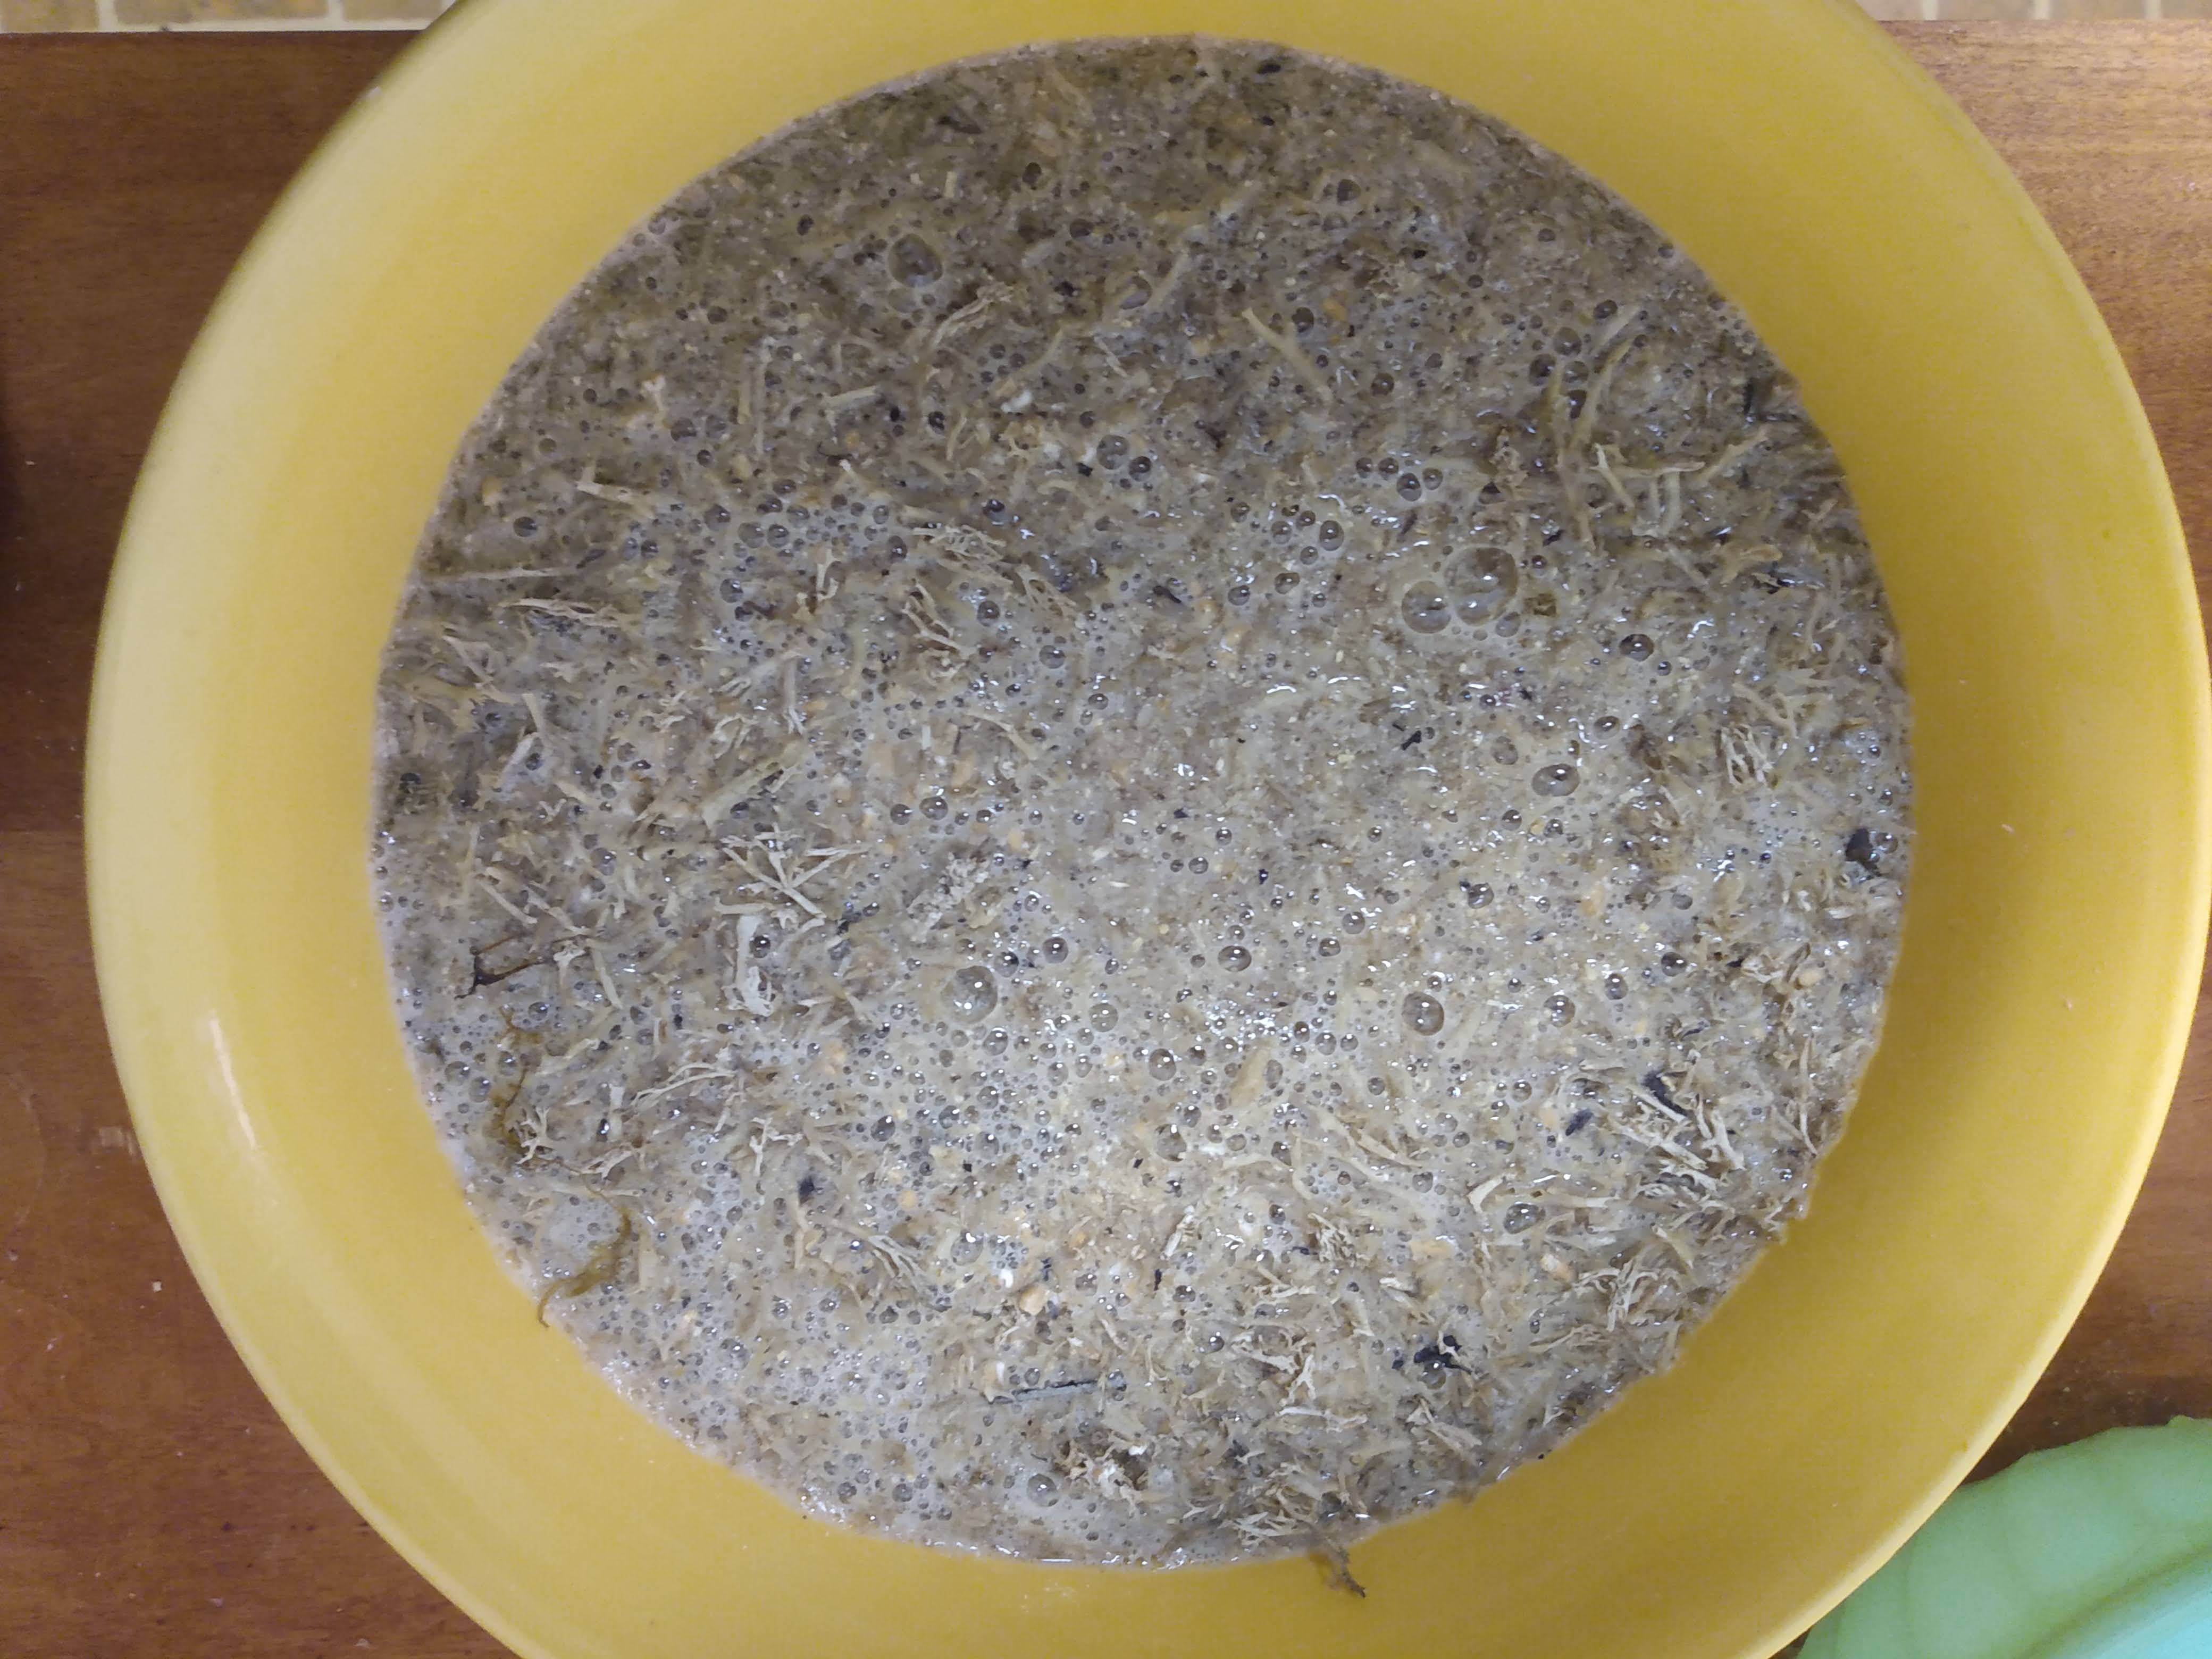
Ferment the fries for a couple days depending on ambient temperature and your preference. We do 4 days in 70 degrees. The potatoes get a nice pungent odor. The final taste is much more restrained than the smell describes so if you’re a lover of the funk, you could keep going. Strain and rinse before you’re ready to fry.

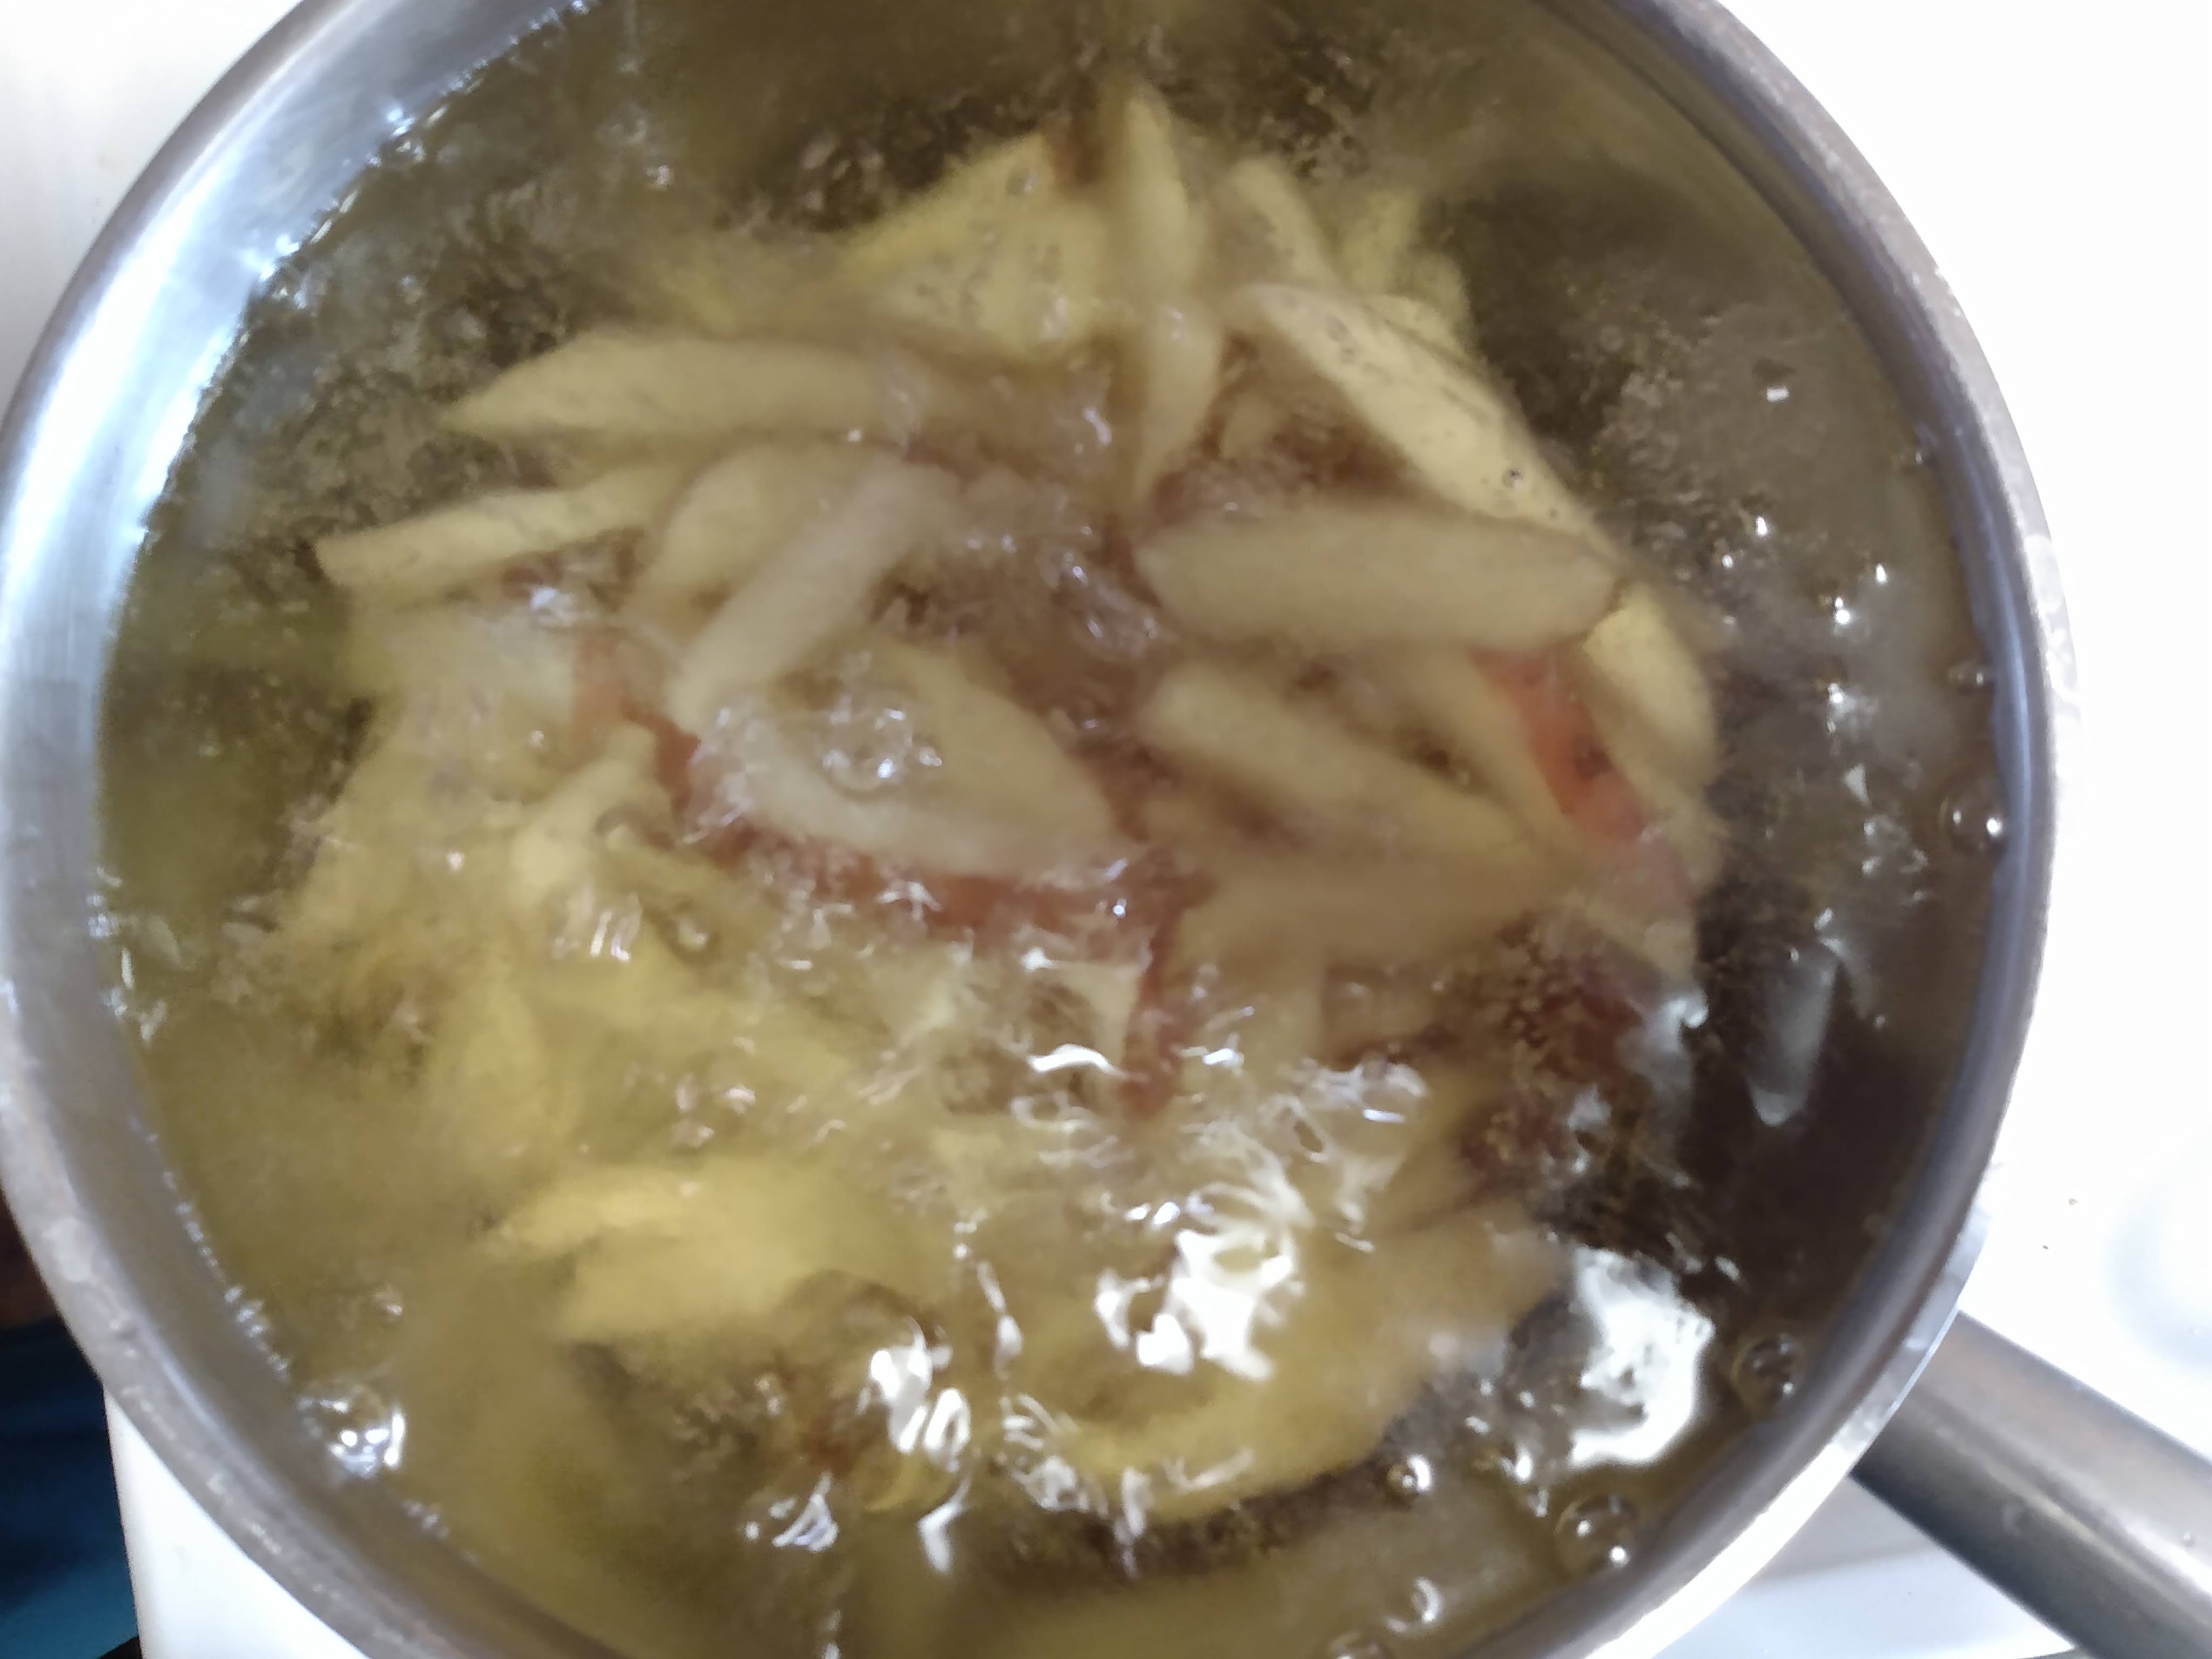
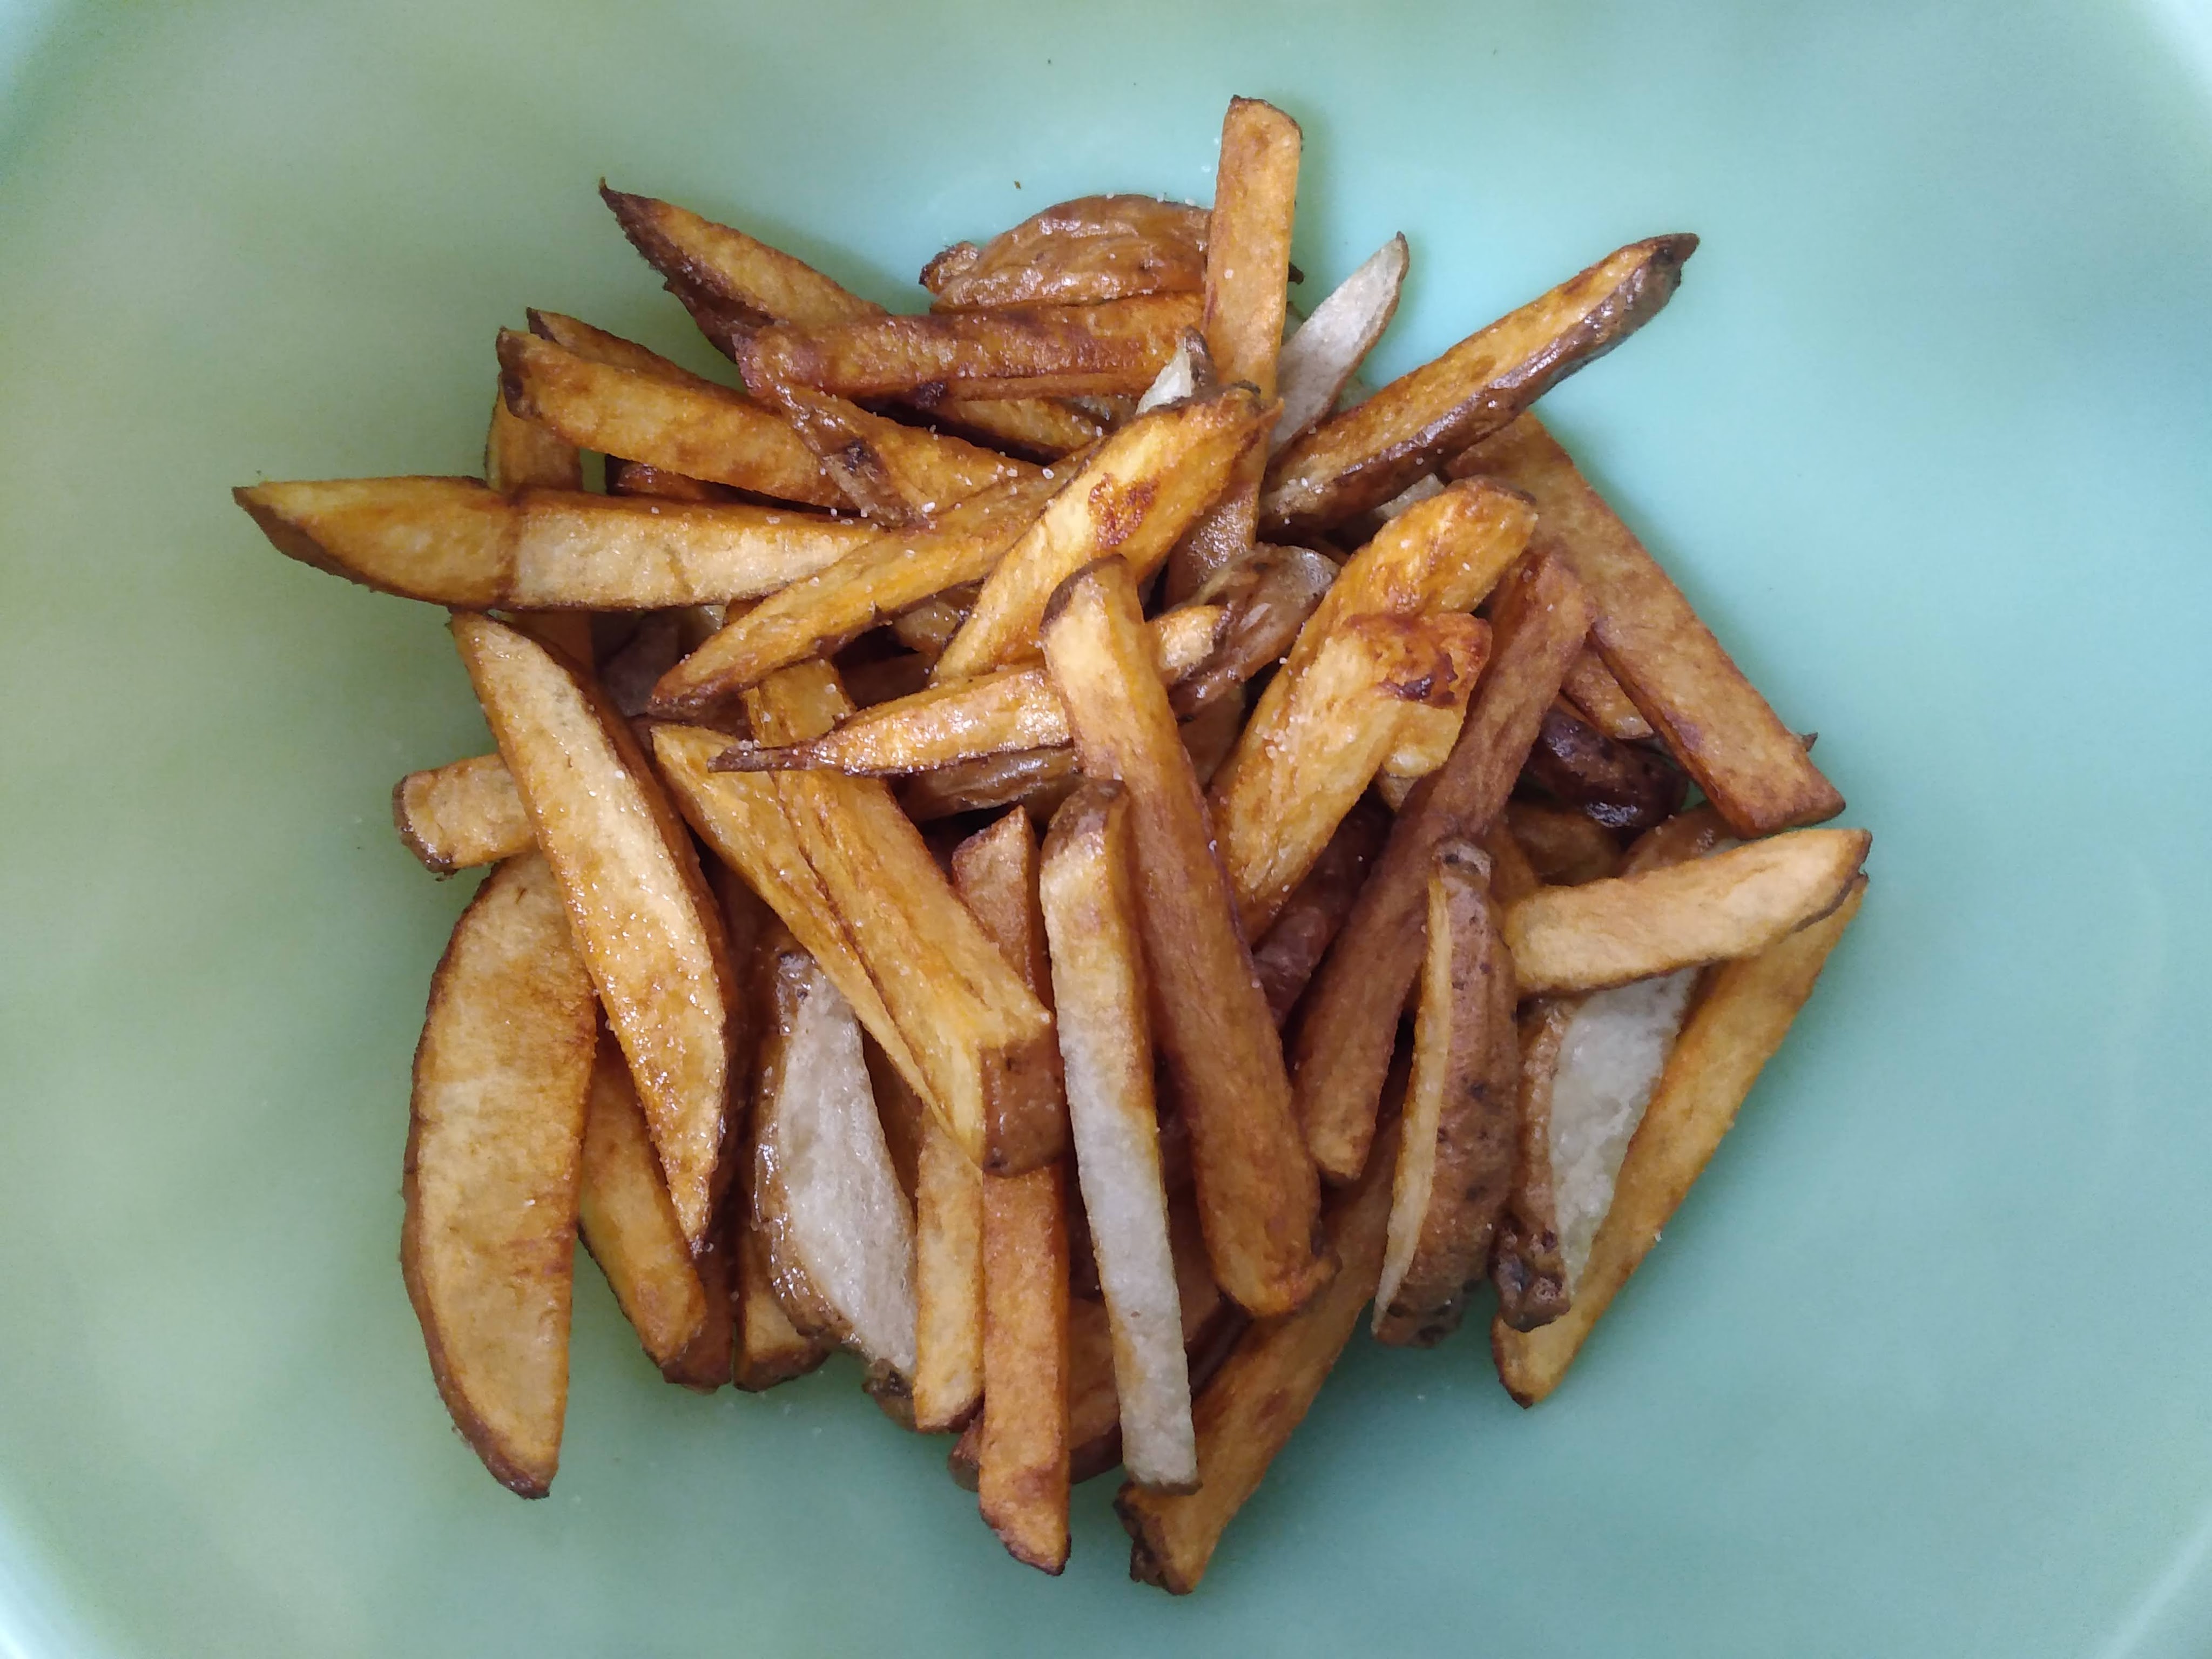
Heat your favorite frying oil- whether that be canola or tallow or other, to 250 degrees and par-fry the potatoes for 7:30 minutes. Work in batches if space in your frying vessel is limited.

Par-fried fries can be held in the fridge to finish for a week or so. When you’re ready for french fries, heat your oil once again but this time heating it to 375 degrees. Cook your fries to your preference, likely somewhere between 2-3 minutes. Strain excess oil and toss with a pinch of salt.

For potato chips follow the same process with these changes/ tips:

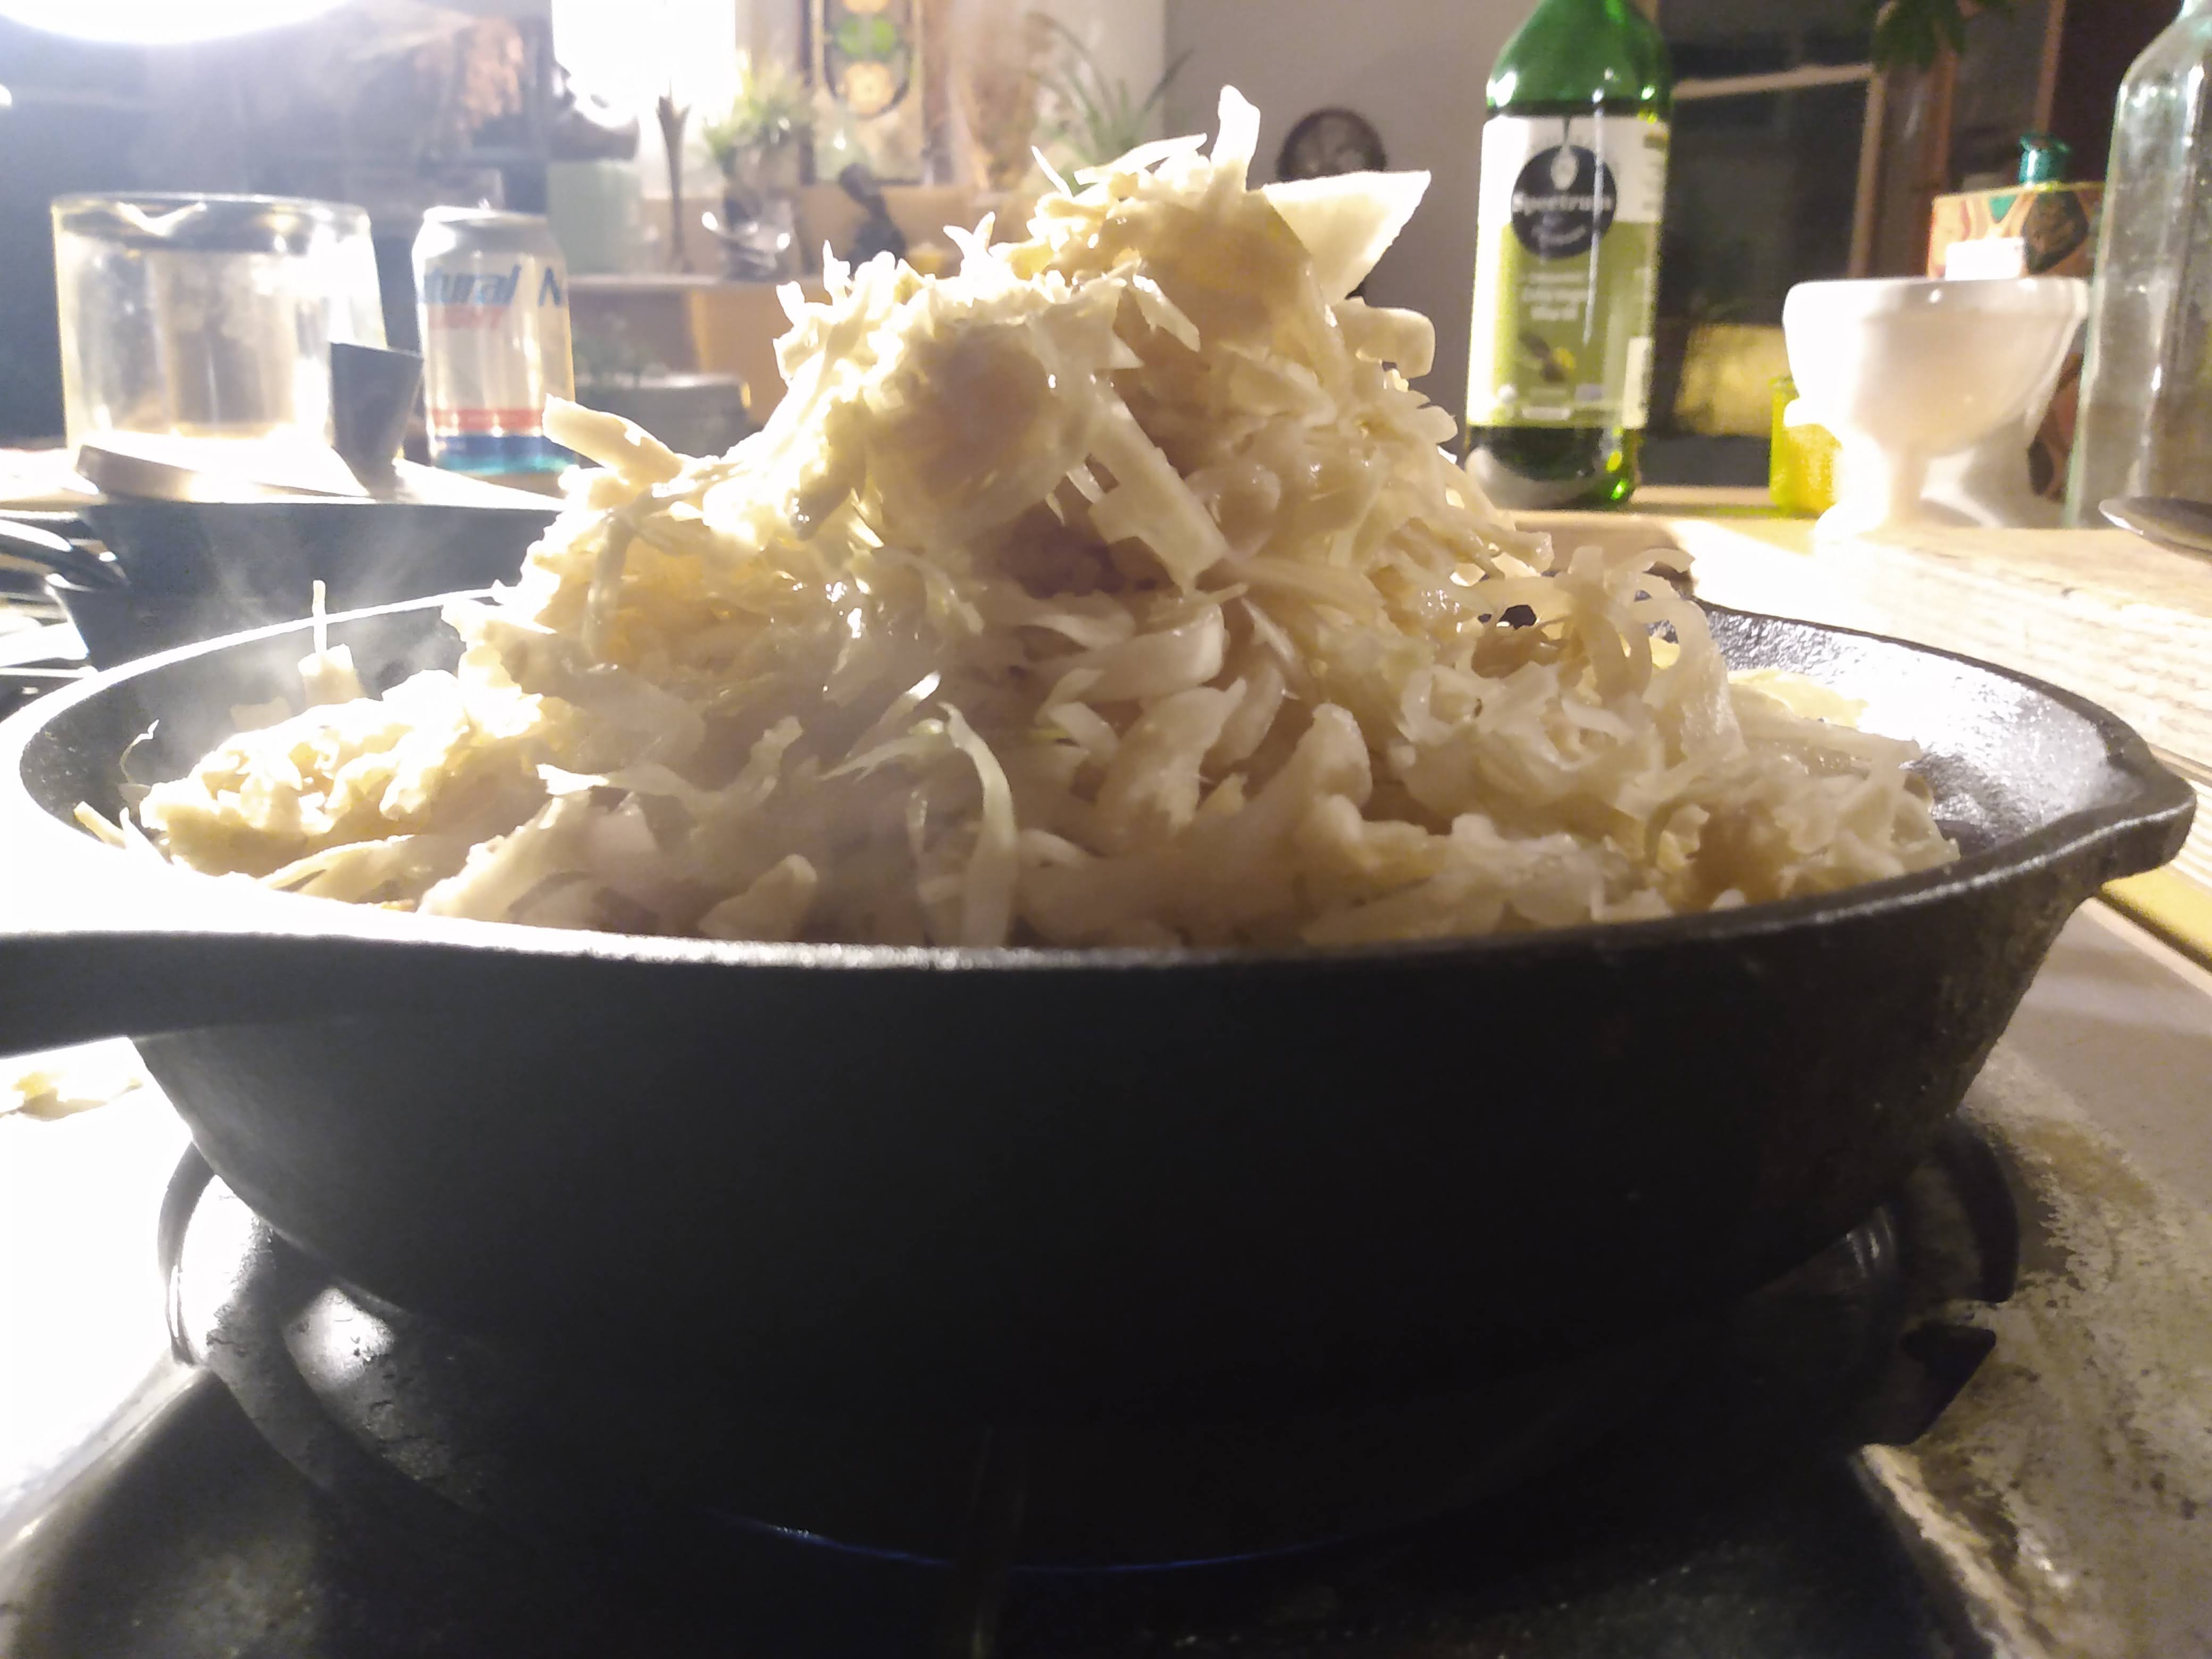
Cut whole potatoes on a mandolin- our cabbage mandolin for sauerkraut does the job here. Whether they are thin or thick is up to you.

Ferment the same as with the fries above.

There is no par-frying needed with potato chips. Fry them once in oil at 375 degrees for ~5min or so. The color should be your indicator here. Make sure to move the chips around periodically because they rise to the top and can get some uneven frying. Under-fried parts will be chewy rather than crispy.

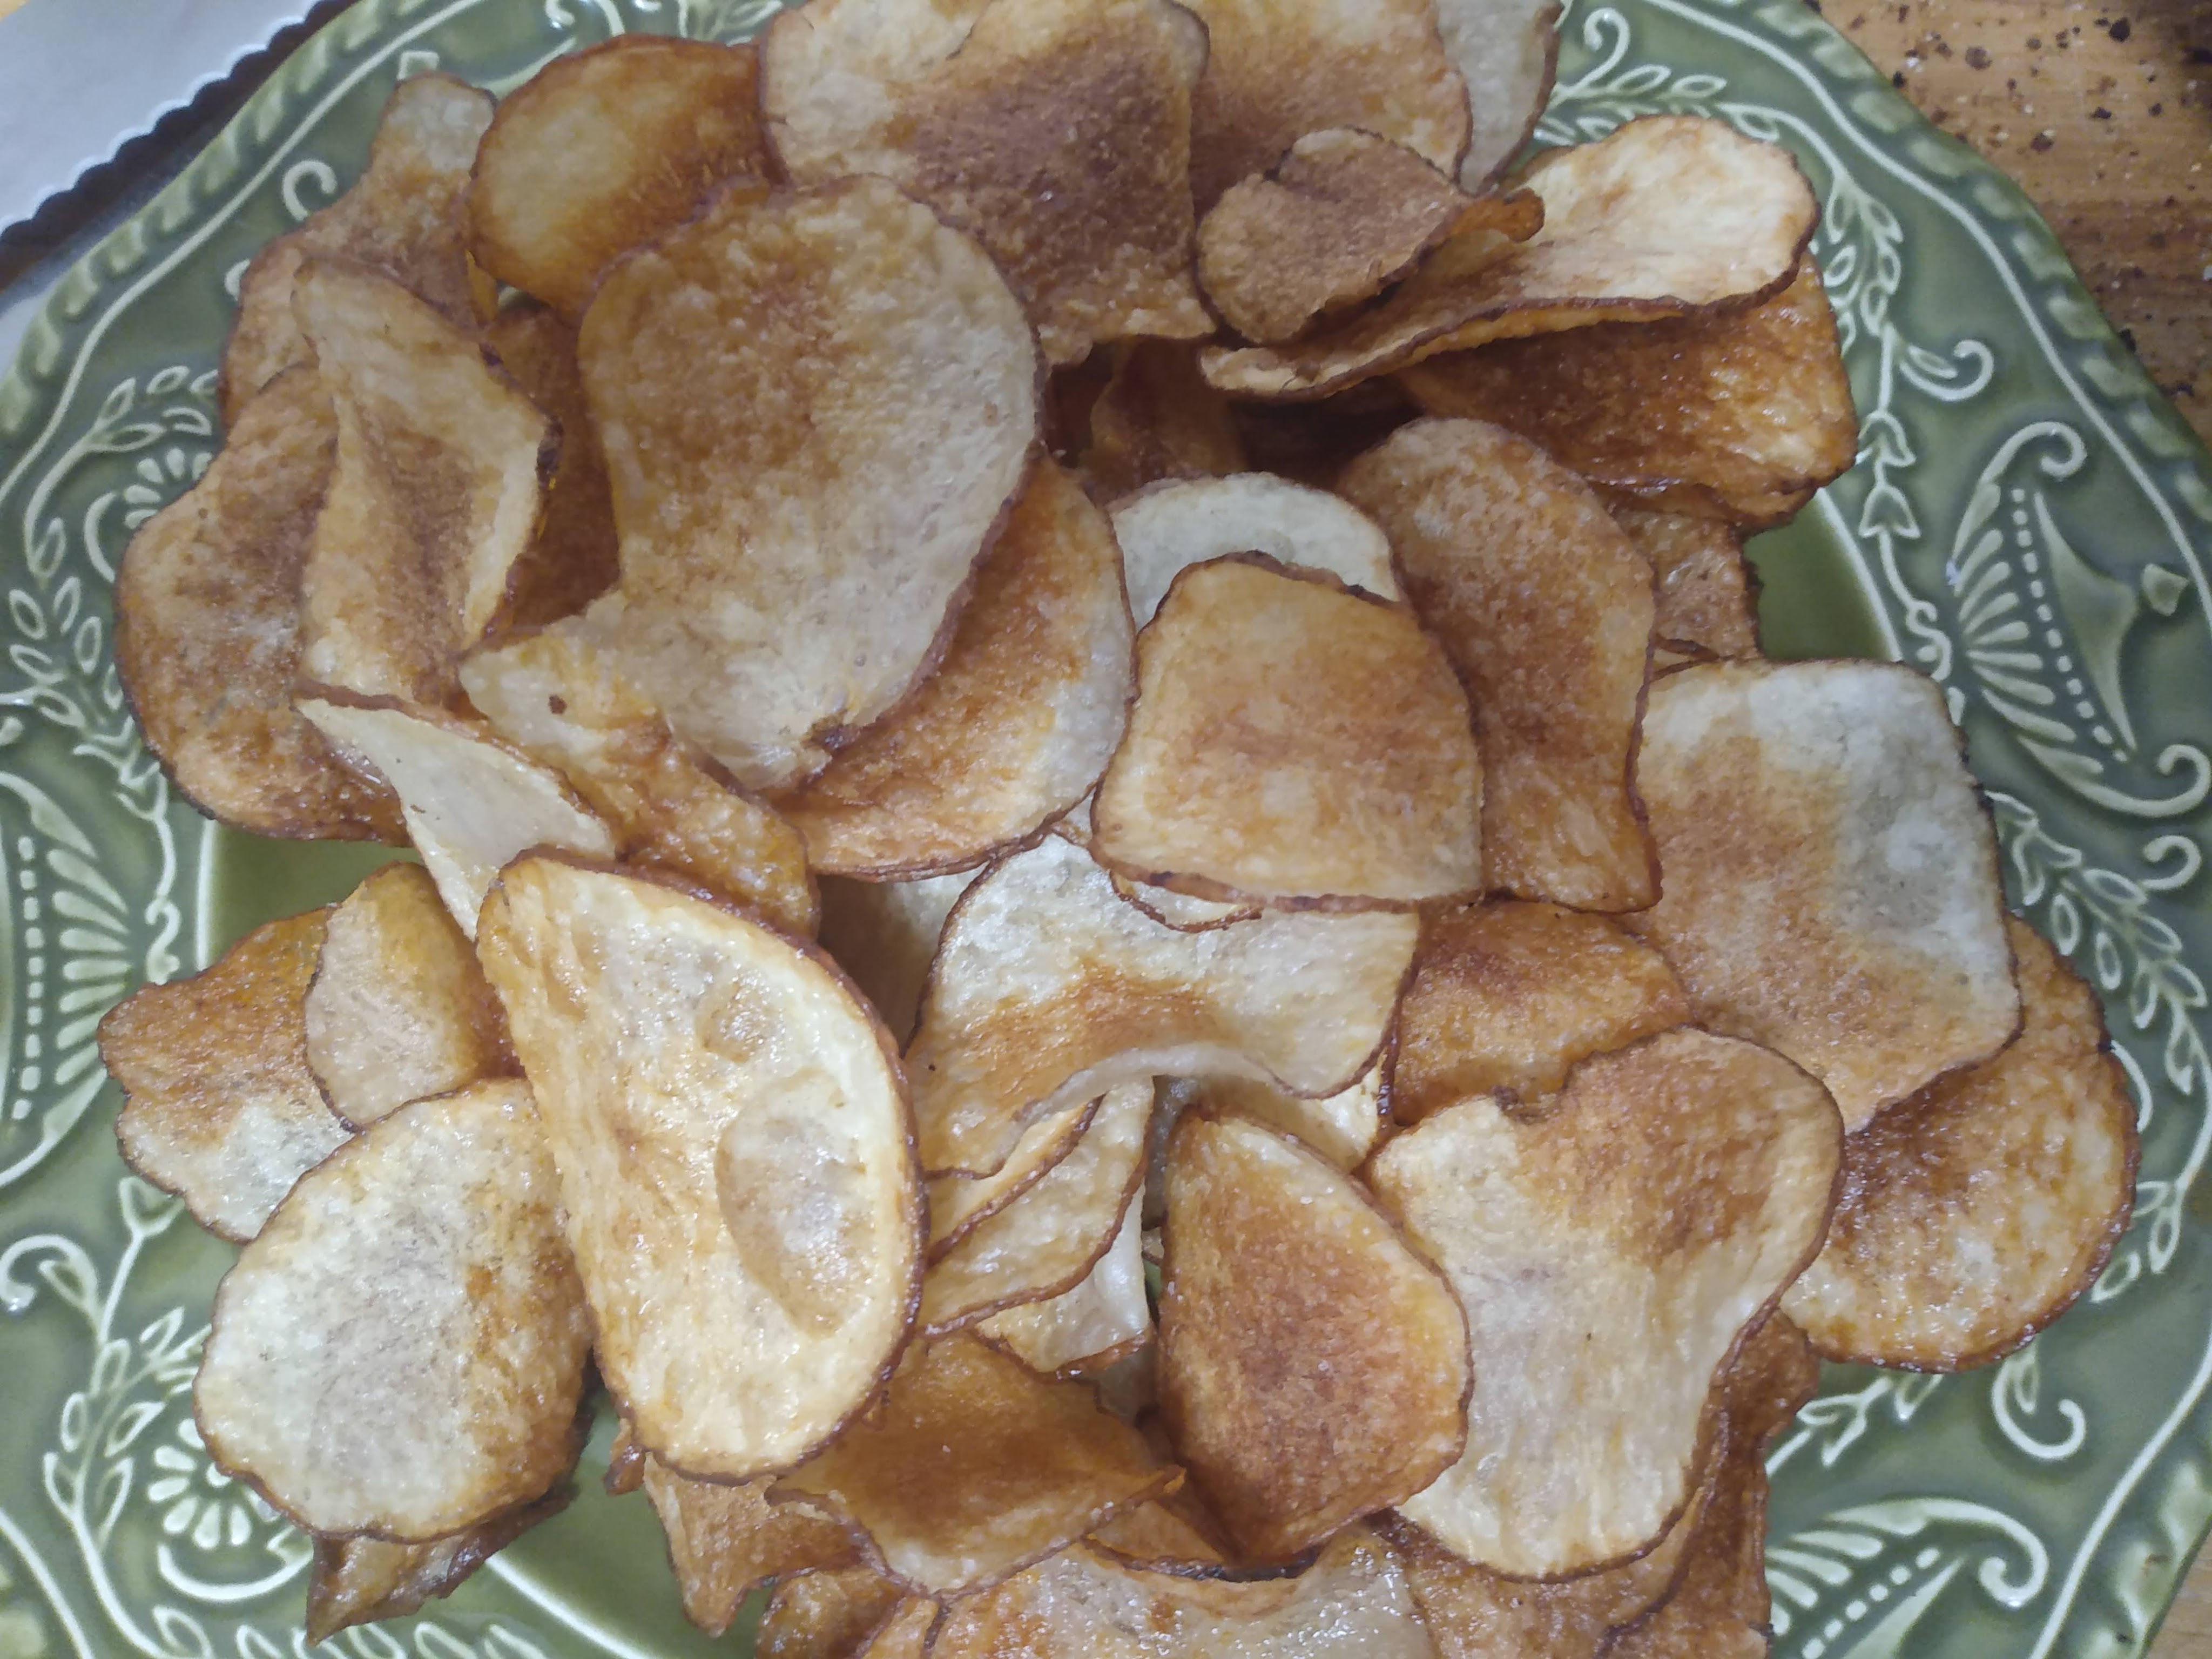
Strain and toss in salt, or maybe your favorite spice blend.

Fermenting Homegrown Flax into Linen

farm, fermentation

It’s said that the first automated spinning machine helped kick start the industrial revolution. The practice of spinning fibers itself came from a rudimentary toolset such as a stick and maybe a small weighty rock that was invented independently in different forms all over the world as separate cultures birthed their own thread spinning traditions. And this simple act of spinning, spinning, and spinning fibers, over and over made clothes, bags, and eventually sails for ships to launch out to sea which led to our now global world and using a non-automated spinning wheel would take around 4 and a half years just to spin. Flax is believed to be one of the first cultivated plants and used for its fiber. But in order for the world to hop on the back of flax to fully spin out of control it needed fermentation to carry it from plant to fiber, from flax to linen.

Growing

Flax is a cool weather loving plant so is often sown in the spring in Western Pennsylvania. It has thin strong stalks that reach maybe around 3’ or so. They can be broadcast but doesn’t compete well with weeds like thistle and bindweed. Flax grown for fibers are sown close together to discourage the plant from branching, and the closer they’re grown, the finer the fiber that can be made from them. Conversely if it’s the oil-rich seeds good for eating, paint, and finishing wood that are desired, give em a little more space to multiply with buds. After around 100 days the plant begins to yellow (round mid-July) and the plants are pulled, by hand, with root and all to maximize the fiber length.

Processing

The stalks are laid out to dry for a few weeks (after which threshing can occur to save or obtain the little flax seeds by carefully whacking the stalks). And now things start getting good and rotten, next comes the retting stage.

Linen is a bast fiber meaning that the fibers are collected at the phloem, or inner bark, part of the stem. Incidentally the xylem (outer woody part) and phloem are bundled together by pectin which need broken down to separate out the desired fibers.

The word retting is thought to originate from rot, our dear friend to fermentation. A prolonged saturation of the plant causes the cells around the phloem to burst which in turn invites microbes to come and work on the carbohydrate-based pectin, and this action frees the cellulose fibers from its woody stalk.

Attention must be taken at this stage as under-retting won’t cause proper separation, and over-retting can disintegrate the fibers. Verifying success comes through testing to see if when you break the stalk you can see the fibers separated.

Retting

There are several methods to ret. The first is dew retting where the flax is simply laid in thin layers on the grass to rot with the accumulated morning dew, then dried out during the day (or not), and repeat. Depending on weather this can take a few days to a few weeks and produces a greyer-brown fiber.

Another way is to submerge the dried flax plants in a pond or stream weighed down possibly by rocks. On a large enough scale this method has been trouble for fish and has led to various bans of it overtime. It’s much quicker and produces a more blonde color.

By far the stinkiest is by submerging the fibers into a stagnant pool. This is done in a tub large enough to submerge the stalks. Hose water could work, but like a good starter culture, a cupful of pond water is great to get the microbial activity going. Place a lid on top to keep the water from evaporating in the summer sun, as well as the smell down and it takes about a week. 

Once the stalks are tested and a good break of stalk and fiber is easily seen then they are moved to a dry place out of the weather.

Fibers Emerge

At this point the dried stalks are ready to be broken and shattered which should free the long thin fibers from the woody parts of the plant. It’s quite magical to watch the beautiful blonde fibers released from the confinement of their wooden cell. This is also a step we might save for another time, and instead shove the prepared stalks into the basement to await a winter day when there’s more free time to complete the process.

All the steps to processing hereafter involve cleaning the fibers from the stalks which include breaking (which can be done in a sugarcane press or simple cracking), a whacking to then shed the remaining pieces, and a combing to leave clean, straight, and untangled fibers ready to be spun and then woven.

Our Three Favorite Subsistence Crops

farm, homesteading

Making lists is silly but we did it anyway here because we think there’s some real value in turning people’s attention to the foundations of feeding yourself in our geography where growing tomatoes in your garden is far more popular. Even if you don’t have the space to produce that much food you can still save the seed and pick up the rhythm.

All three of these crops provide a certain degree of simplicity and reliability. They also are generally low maintenance all the way from sowing to harvest, at a home scale require no special equipment to process, while also being straight-forward to store for the winter and having endless uses in the kitchen. Though if I had to pick a favorite crop it would be onions, which brings up another curious point for another day- should your favorite food take priority as your top subsistence food?

Beans

Beans are very easy to grow. Direct sow after the frost up until early June for most varieties. Seed in rows 8″ apart and cultivate once or twice until the bean canopy fills in. Watch out for groundhogs. Leave out until plants dry in the field, but not too long or the pods may mold or shatter. They produce a reliable seed. Bush are easiest to harvest, there is a node at their base you can use snips and clip them at, hauling out the whole plant. For larger plots I’ve taken to coming in with the scythe when the bean pods are about halfway to dry. It’s an efficient way to harvest big patches without shattering too many pods. Climbing beans are more work to harvest.

I’ve learned to finish drying out the beans under a cover in the open like an open barn, porch, or shed, in a pile turning it occasionally to prevent molding. I’ve noticed that the longer you wait to thresh them the easier it is. Most of my beans I’ll wait to thresh until a hot dry day in the spring. And when that time comes they are easy to break with your feet alone, and winnowing is a breeze. At that point they are ready for storage in buckets or other containers that seal out the moths.

Potatoes

Potatoes are wonderful because they can be grown lazily. Put a potato in the ground and get more potatoes. It can be as simple as kicking a little soil over them. Dig trenches if you’re a go-getter and drop them in every foot or so. Look for storage varieties to get through the winter. I use a poor storage type that I think is delicious, maybe the seeds are slowly adapting. When I plant those varieties I just say I’m planting pre-sprouted potatoes. Cultivating can be as easy as hilling them a couple times with a rake, or as many times as you can manage. Voles may gnaw on them but otherwise hopefully they’re left alone. It’s possible to get an abundant harvest in smaller space, around a pound per a potato seed. When the green arial parts die back it’s time for harvest. If the soil is loose enough it could even be done with hands, though a shovel works so long as you don’t slice into them. After harvesting make sure your potatoes are exposed to the least amount of sunlight as possible so they don’t turn green. Let them cure for a week at ambient room temperature, then move them to a cool, dark space.

Corn

I set out to grow wheat as my primary grain initially but ultimately fell in love with field corn which could be either flint or dent. I think the big difference is in harvesting and processing the grains. Corn requires much less labor to get to your plate, and no special equipment. Comparatively to wheat I love the ease of threshing corn. I like to nixtamalize my corn in huge batches and have it on hand as dried hominy. While wet in the nixtamalizing process it can be mashed up for easy masa without a mill. Field corn does require a minimum amount of plants to achieve pollination as its wind pollinated. Four rows at least 4′ long are recommended as a minimum. It also need a lot of nitrogen in the soil to be happy. Depending on your variety sow corn in rows 2- 4′ apart, around 8-12″ apart. Hill and feed with nitrogen as the plants reach your shins. Cultivate a round or two until the canopy fills in, then wait for the plants to die back. The corn is ready when the kernels can’t be dented with a fingernail. Then just pull them off the plants, husk them and give them a good ventilated place to dry. I’ll hang mine, tying them up by the husks, either indoors or outside under a pop tent. After a few weeks of drying they get either bagged up or threshed and stored in a bucket away from mice and moths.

Homemade Black Garlic

Vegetable Fermentation

Black Garlic is a product of the Maillard Reaction (when sugars and amino acids are exposed to sustained high heat) and is an exciting addition to year’s pantry. The process is very simple. The garlic is wrapped to retain its moisture then held at 135- 170 degrees F for 30-60 days. The long slow heat gives it a distinct black color and deep flavor, while concentrating the sugars.

Process

Wrap the garlic.

There are a couple ways to do this. The above picture shows a vacuum sealer but it also works just as well to wrap the garlic in a couple layers of plastic wrap, or to pop it into a jar or tupperware container. The goal is that it doesn’t lose its moisture while on the extended warm journey.

While not usually a huge fan of speciality equipment, the vacuum sealer has become a handy tool in the journey to preserve food, especially when not another jar could fit on the shelf. They are commonly sold at big stores these days.

Keeping Warm

The garlic will need consistent heat for anywhere from 30- 60 days. A dehydrator is the best way I’ve found to do this. Depending on how the garlic is wrapped the garlicy odor can be powerful. The first time I did this I used the cheapest dehydrator I could find, wrapped my garlic in plastic wrap, and placed everything outside against the house in a nest of blankets and tarps. It was November and notes of roasted garlic wafted through the neighborhood all month long.

With a couple upgrades, such as the vacuum sealer, no smell is present and the dehydrator can be hidden away in some corner easily indoors.

Temperature and Time

There is some play possible in how you chose to proceed with time and temperature. Temperature may be determined by the limitations of your heating method. Intuitively we know that lower temperatures will take longer and higher temperatures will take a shorter amount of time. Holding the garlic at 135- 140 degree F can take upwards of 60+ days to achieve the desired color development, while 195 degrees F can take maybe 20 days. Sometimes it’s helpful to know there’s more than one route to get there.

A very helpful study done by a group of researchers has noted that garlic held at 160 degrees F for about 40 days scored highest in their sensory evaluation. Check it out here.

Easy 100% Rye Loaf with Homegrown Rye

baking, bread, Homegrown Grains

Growing grains has become a bit of an obsession, however with the more fashionable challenges of chasing high gluten in wheat, rye fell to the backburner for a while. Reestablishing a connection with the simplicity of making super delicious 100% rye loaves has reignited a fervor for the grain. This bread is super low maintenance with excellent results.

Growing rye is very similar to growing wheat and this primer can be used. Rye tends to be the first of our winter grains to be ready for harvest.

Sponge

  • 125 g starter
  • 280 rye flour
  • 280 water

Final Mix

  • All of sponge
  • 100g seeds: sunflower, flax, pepitas, sesame, etc (optional/ amount is variable)
  • 50g coarse rye (if possible, otherwise make up for it in rye flour)
  • 230 rye flour
  • 280 water
  • 15 salt

Mix the sponge ingredients the night before, we’re aiming for it to rest 12 or so hours. The reason being that rye bread is unique in that it contains high amounts of amylase enzymes, and left to their own device these enzymes will consume too much starches in the dough and cause the end product to be gummy. The way to avoid this is to create an environment unsuitable to their activity, thus we make an extended fermented sponge to boost the overall acidity.

When the sponge has done its thing, mix all the remaining ingredients together. Note that the seed situation is entirely based on preference. I find that 100g of sunflower seeds suits my desires. We have our own grown pepitas, flax, and sesame but usually save them for other occasions.

The dough should be sticky but won’t quite hold together, it’ll be more like a batter because of rye is naturally low gluten. Grease a common 8″x4″x3″ loaf pan with oil or butter and transfer the batter to the pan using a spatula to push out any air pockets and making it even. Dip the spoon in water to smooth out the top.

Using a second loaf pan of the same size, flip it upside down and lay on top to make a nice dome for final proofing. The dough is ready for the oven when cracks and holes appear on the surface. The time will be reflective of the temperature. It could be a hour or two, or over 12 hours. Depends.

When it looks ready, pop the loaf into an oven preheated to 450 degrees, including the loaf pan on top for humidity, and bake for 45 minutes. Remove the top pan for the final 10 minutes of baking time to get that final coloring on the top.

Remove the loaf from the baking pan and move to a cooling rack. Let it cool undisturbed for at least 12 hours. Then slice thinly and enjoy with anything!

Easy 100% Rye Loaf: 24 hour Bake Pumpernickel Style

baking, bread, Homegrown Grains

If you poke around you’re likely to find that most pumpernickel bread recipes ask for a dark sweet component, usually in the form of molasses or beer. However legends persist of a traditional pumpernickel bread that excludes all sweeteners while still sporting pumpernickel’s characteristic dark color and and malty sweet flavor. One version of this technique can still be found today as the Westphilian Pumpernickel from Germany, coming from a time long before shortcuts were the going-style. While some in that region lay claim to the creation of the traditional pumpernickel technique by way of a resident baker forgetting a loaf in the oven for a very long time, it’s certain that people have been forgetting about loaves as long as their have been ovens. And all of those pioneers of the baking world blessed with forgetfulness paved the way for a greater understanding of the process modern times refers to as the Maillard Reaction.

This recipe utilizes a method called scalding, which is basically cooking a percentage of the recipe’s flour and water until it gelatinizes. This method is often helpful in dealing with low gluten grains, like rye, in order to create structure and maintain moisture.

Scald

  • 262g rye flour
  • 262g water

Stir ingredients together in a small pot and warm over medium low heat, while constantly stirring. Continue until a thermometer reads 160 degrees F or seeing the grains appear gelatinous.

Dough

  • All of Scald
  • 225g rye flour
  • 19g salt

Mix all ingredients together and place in a small pan lightly greased with butter or oil. Either place another pan of the same size on top as a lid, fixed in place with foil crimped around the edges or with just a covering of securely fixed foil. There will be no rising with this loaf so head space isn’t a concern.

Place in a 220 degree F oven for 24 hours.

When out of the oven, remove from the loaf pan and cool on a cooling rack for at 24 hours before cutting into it.

Sugar, Saccharification, & Homemade Reindeer Lichen-Malt Syrup

alcohol, fermentation, sugar

Question: how is potato vodka made? Like, how is a potato turned into alcohol? You need sugar right? Shred a potato into water, ferment it and what happens? Yuck. So where does all the sugar come from?

Alcohol made from grains uses malt to produce sugar. Malt is a grain that is sprouted for just a few days, then is dried and possibly roasted. A grain kernel contains mostly starches, which is that prized stuff we eat every day in various forms of flours. When the seed begins to make new life, those starches are converted into sugars (denaturing its bread-worthy-ness) through enzymes to assist in the growing of that new plant. What an amazing human moment this must have been to nibble on a just sprouted seed and taste a sweet kernel! (Here is a malt-making tutorial).

Similarly another likely result of curious human nibbling was in the case of moldy rice in Asia. The white fuzz later became referred to as koji and also converted the plentiful starches on grains into fermentable sugars.

While it’s probable you’d get some additional sugars from molding a potato in koji, I wouldn’t necessarily go about sprouting it. There has got to be a better way.

In both cases with the malted grains and with the koji-cultured grains a similar thing is occurring- the process of saccharification. By way of enzymatic activity present starches are being converted into sugars. But not only can they do it for their hosts but they actually hold the capacity of converting additional starches as well. This is known as its diastatic power. Any additional starches that get added, the brewing universe refers to as adjuncts. Therefore malt and koji can be used as the sugar-making “starter” which we add something else- possibly cheap, plentiful, and packed with starches- like the potato!

Or… lichen!

Why lichen? Reindeer lichen specifically, aside from being good landscaping for your model train set, has been found to be also packed with starches- packed as in 94% carbohydrates compared to the potato at 14%. A little inverted compared to the mushroom world, most lichens are edible, with the minority being problematic. The only drawback is that, in the case of reindeer moss, it also contains acids accumulated over time which can erode stone and when in your stomach, while it won’t kill you, doesn’t feel great. Therefore in order to make sugar from it we first we need to leach out the acid, which is easily done with the help of an alkaline water bath using lye, cal, or baking soda.

It’s done like this:

  1. Cover the lichen with water in a pot and add 1 teaspoon of lye, bring to a boil, turn off heat, and let soak for 24 hours.
  2. Drain and rinse.
  3. Take a small piece and dry it. Taste a nibble for any bitterness. If there is any, repeat steps until its gone. It should take 2-3 changes of water to do. When the coast is clear, proceed to drying the whole thing.

Supposedly history tells us that lichen’s hayday came during World War 2 when the supplies for sugar beets and potatoes were low, yet demand for alcohol was unwavering and spirits were made from lichen. However it never really took off as the processing of it was never cost effective. Prepared lichen could be crushed and used in bread, added to thicken soups and sauces, or we can go on to convert it into sugar, thusly:

  1. Combine crushed malt and crushed and dried lichen in a 1:1 ratio. (Note: this ratio was randomly picked to ensure the desired results)
  2. Heat water separately to 155 degrees, add to the grain and lichen mixture to cover liberally and hold at 150 degrees for 1-2 hours. Why you ask? Because the enzymes need to be broken down in order to be accessed and 150 degrees gelatinizes many things including grains. Note also that at 165 degrees all enzymes are destroyed. How shall I heat it may you ask? Perhaps a pot in the oven if your oven goes low enough, a pot in a dehydrator that goes high enough, maybe this handy incubator design, or a thick pot with a keen eye on stove and frequent stirring.
  3. (Optional). You can let the mixture cool overnight to allow more time for the enzymes to further breakdown the starches.
  4. Strain and squeeze excess liquid from the solids.

You can now either boil your sweet liquid into a molasses-like malt syrup or go ahead and brew it, distill it, or what have you.

Reindeer lichen, often referred to as Reindeer Moss, is fairly abundant in our region, especially in our nearby forests. One thing you should know is that reindeer lichen is extremely slow growing, about 3mm per a year. While expansive patches exist in Western Pennsylvania, it’s always worth considering such details to decide whether its worth it to harvest. My little harvest was to explore the rumor I’ve heard about lichen as a sugar and I hope you found it worth it.

How to Malt Homegrown Grain

alcohol, bread, Homegrown Grains, sugar

Malt is a grain that has been sprouted for a short period and halted in order to optimize its enzymic potential to convert starches into fermentable sugars. It can be a useful ingredient to have around for making sweet malt syrup, for baking, and for fermenting into alcohol.

This works on any grain, whether it be corn, millet, einkorn, wheat or other. Each grain differs in respect to its diastatic power, which is a measure of its potential enzymic activity.

Process

Soak grains in enough water to cover for about 10 hours.

Strain and put in a warmish place. We’re shooting for around 70-75 degrees. Rinse by covering with water and straining every 8 or so hours, stopping once some germination begins to show.


For optimal diastatic power we’re letting the sprouts develop until the acrospire is about the same length as the seed kernel. The acrospire is the little shoot that is the new plant as opposed to the rootlets. It grows in the opposite direction of the rootlets. If the kernel is allowed to continue growing it will eventually use the nutrients itself to assist its own growing and our diastatic power will be compromised.

Some “mixing” or turning with your hands may be helpful as the rootlets leg out in order to encourage uniform growth. In big malting operations they will rake them.

When the kernels are ready to halt their growing process dry them for 8-10 hours at 120 degrees. This produces a “green” malt. At this point the rootlets should flake off easily. It’s thought by some that they contribute bitter notes and are separated and removed before proceeding.
If additional flavor is desired move the malts to an oven at 170- 180 degrees and roast until the color and aroma suits you. Raising temperatures above 165 degrees destroys the enzymes however, not allowing the malts to contribute to any adjunct starches. This non-diastatic malt can be used to contribute sweetness, flavor, and possibly color to your bread, beer, or whatever recipes.

Diastatic malt (not dried or roasted above 165 degrees) can be combined with additional starches to make sugar through a mashing process that involves holding the crushed grain and adjunct at 150 degrees for 1-2 hours. Learn more about this and how to make a malt syrup here.

If milling and using for bread baking it is recommended to use nondiastatic malt, or use diastatic malt in small quantities (0.5 – 2% total flour weight) and only for breads with short fermentation times. Diastatic malt is a great energy source for yeasts however it can break down too many starches resulting in a gummy crumb.

*Most of these posts are resources for Ferment Pittsburgh’s monthly newsletter that features seasonal ideas, techniques, and musings. Consider jumping aboard?

Processing…
Success! You're on the list.

Cooking with Sauerkraut – Bigos

cooking with ferments

Bigos is a Polish dish often with cabbage, a meat, and some other assorted vegetables. It works as an incredible starting point to inspire infinite variations of winter meals. The word “authentic” often get tossed around with recipes, but the most authentic way to make this dish may be to use whatever ingredients you have stored up in your larder or cellar.

The base of bigos is a heap of sauerkraut. We make our kraut for the year in 5 gallon buckets that we’ll scoop out handfuls for this recipe. The kraut is simmered as long as you have time to let it. The other ingredients are up to what you have. Big chunks of garlic and onions are natural companions, as would be roots like carrots, rutabaga, beets, potatoes, and radishes, as well as any dried herbs. Then toss in protein which could be your homemade sausage, frozed-away or cured meat, or homegrown beans or tempeh.

Use any variety of your winter storage veg and meat to go with your sauerkraut.

Chop everything up and toss it in.

Then dump on a heap of kraut.

Pop on a lid and let it stew on low heat for as long as you will. Don’t forget to salt to taste. The colder it is outside the darker I crave a brown caramelization. Stir occasionally.

Enjoy with a big dollop of sour cream or yogurt!

Homemade Tempeh

fermentation

Quick n’ easy Ferment Pittsburgh take on making homemade tempeh- in any shape.

Give your choice of bean or beans a good long soak, ~12 hours or so.

Cook the beans in boiling water, being careful to not overcook them. You’re after a bean that holds its shape. Its okay if it’s a tad undercooked, al dente works great. Mushy beans not so much.

Drain the beans and spread them out to dry and cool off a bit. Spread them out on a clean towel does a nice job. In the end you want the beans to be dry to the touch and about warm-lukewarm temperature. At this point add your tempeh starter at the suggested rate of your starter and mix well in a bowl.

Before you incubate you’ll need to pack the beans up so the fungi can knit them together into a cake. All that is required is covering enough to keep the beans humid and some air holes for ventilation.

You can place your beans in ziplock plastic sandwich bags with holes poked in them every inch or so to accomplish the classic tempeh cake look. A shallow pan like a casserole dish works well too, perhaps with a lid of cling wrap with a few holes poked here and there. Or better yet, why not make it a shaped cake pan? Below is Tempeh Wonder Woman.

This is one here is just a plastic bag filled with inoculated beans and incubated.

Incubate the beans in a humid environment at around 86 degrees for 24- 48 hours. If you’re using a pan or dish, the oven or a dehydrator could work well. This incubator tutorial using a lamp is our preferred method. However in the winter time a radiator is perfect and in-season.

The tempeh is done when the white mycelium has knit together and smells fresh and fungal. If let gone too long darker colors will develop and so will smells and flavors maybe more preferable to hard-core tempeh aficionados.